Photo Gallery
The astrophotography images on this page are the result of countless nights spent under the stars with my camera and telescope. I do most of my imaging from my light-polluted backyard in St. Catharines, Ontario, but I also travel to darker skies when possible.
I have learned much of what I know today from some of the original pioneers of DSLR astrophotography whose images have graced the pages of APOD and Sky and Telescope. I received my first astronomy picture of the day (APOD) in June 2020, a photo I took of the Tadpoles of IC 410.
See my latest astrophotography images on Instagram.
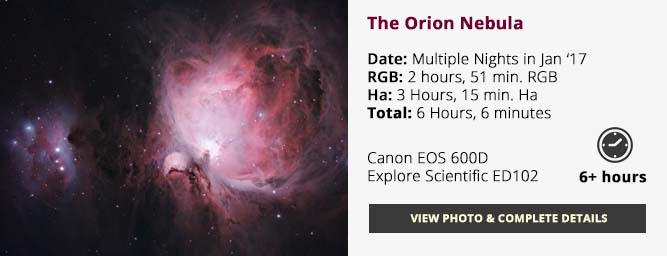
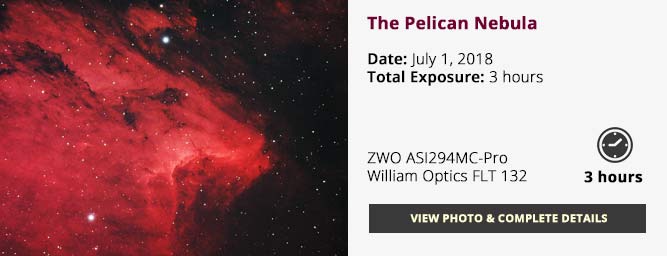
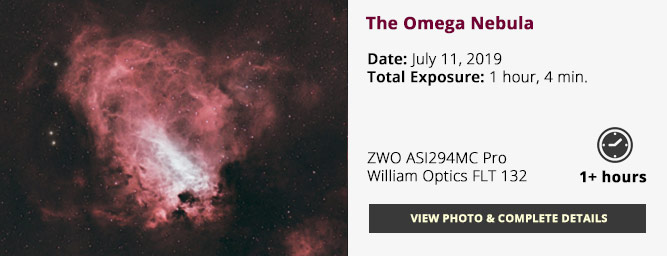
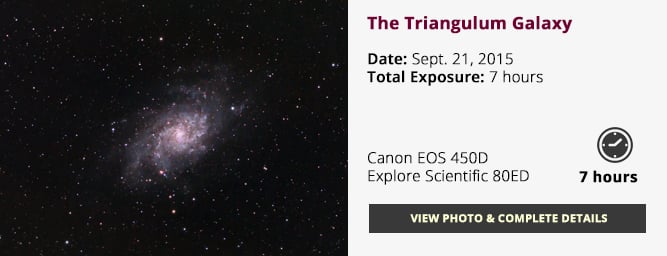
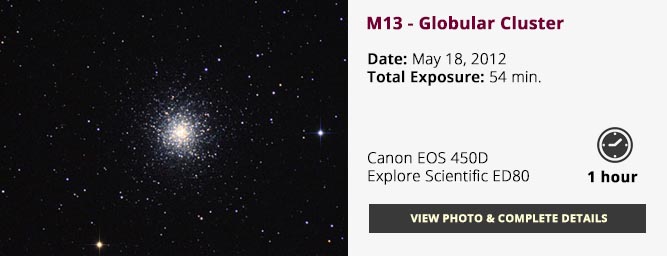
For information about each of the images on this page, click the title or the image itself. I explain the camera settings, exposure times, and telescope details for each photo. With proper autoguiding and polar alignment, you could expect similar results using the astrophotography equipment required for this type of photography.
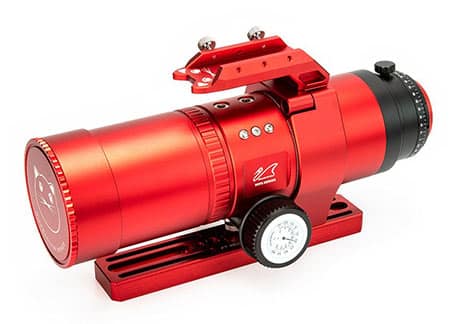
The configuration shown below is a typical setup I use for astrophotography. It includes an apochromatic refractor, an equatorial tracking mount, and a dedicated astronomy camera.
For help putting together a rig to take astrophotography images, please see: ‘Building Your Deep-Sky Astrophotography Kit.’
I currently shoot primarily through a William Optics RedCat 51 Apochromatic Refractor telescope (similar to the telescope shown above), but I also use many other telescopes throughout the year. In general, I prefer to use refractor telescopes for astrophotography over all other optical designs.
A wide-field apochromatic refractor can provide crisp, well-corrected, flat deep-sky images. They are also more portable and easier to focus than most other telescope designs.
The William Optics RedCat 51 is an excellent astrophotography telescope.
All the images on this page were created using image stacking software to calibrate and combine the image data. From there, I use a mix of image-processing software tools, including Adobe Photoshop and PixInsight. Please visit the astrophotography tutorials section of this website for tips and tutorials on taking your own DSLR astrophotography images.
You can also download my premium astrophotography image processing guide, which is a PDF document with live links to exclusive video tutorials. It provides a deep dive into the techniques I use to process my astrophotography images.
3 Stages of Deep Sky Astrophotography
All of the astrophotography images in this gallery are the result of many hours of work both underneath the stars and behind a computer screen.
- The imaging sessions that take place on a clear night are my favorite part of the process. This is where the actual astrophotography images are taken using a camera and telescope. I enjoy everything about those nights from the peacefulness of the night sky to the feeling of connection between myself and the Universe.
- The second step of the process involves bringing all of the image data together to produce a final image. I use a combination of software to get the job done including DeepSkyStacker and Adobe Bridge. This stage can be fun as well, especially if you have managed to acquire hours and hours worth of exposures on your target.
- In the final stage, the real magic happens as the images are brought into Adobe Photoshop for final image processing. With some proven image processing techniques, the images can be adjusted to correct color balance and boost detail. This is where the true color and beauty of the deep sky object can be brought forth, and the rewards of all of the hard work begin to show.
Recommended Astrophotography Software for your PC
All Deep-Sky Astrophotography Images
Below you will find a list of the Deep-Sky Astrophotography images I have photographed over the past 5 years. Looking back at some of them now, I realize just how far I have come with my capturing and processing abilities. The older images are not up to my current quality standards, but they show my continued dedication and passion for my craft.
Most of the images include the astrophotography equipment used to acquire the data, as well as some information about the object and processing details. For my latest images, please follow AstroBackyard on Facebook.
- Markarian’s Chain of Galaxies – Virgo Cluster
- Caldwell 49 – The Rosette Nebula
- Barnard 33 – The Horsehead Nebula
- IC 1396 – The Elephant’s Trunk Nebula
- IC 1805 – The Heart Nebula
- IC 2118 – The Witch Head Nebula
- IC 4592 – The Blue Horsehead Nebula
- IC 5070 – The Pelican Nebula
- IC 5164 – The Cocoon Nebula
- M13 – Globular Cluster
- M16 – The Eagle Nebula
- M17 – The Omega Nebula
- M20 – The Trifid Nebula
- M27 – The Dumbbell Nebula
- M31 – The Andromeda Galaxy
- M33 – The Triangulum Galaxy
- M42 – The Orion Nebula
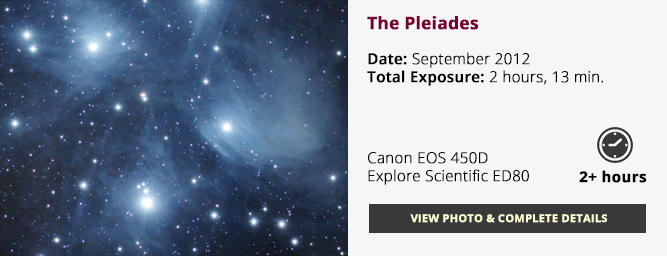
- M45 – The Pleiades
- M51 – The Whirlpool Galaxy
- M64 – The Black Eye Galaxy
- M78 – Reflection Nebula
- M8 – The Lagoon Nebula
- M81 and M82 Galaxies
- M101 -The Pinwheel Galaxy
- M104 – The Sombrero Galaxy
- NGC 1499 – California Nebula
- NGC 281 – The Pacman Nebula
- NGC 4565 – The Needle Galaxy
- NGC 4631 – The Whale Galaxy
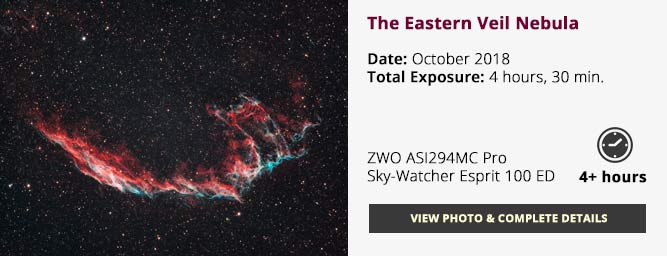
- NGC 6992 – The Eastern Veil Nebula
- NGC 7000 – The North America Nebula
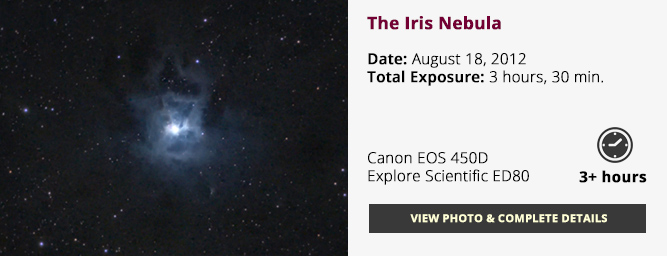
- NGC 7023 – The Iris Nebula
- NGC 7293 – The Helix Nebula
- NGC 7380 – The Wizard Nebula
- NGC 7635 – The Bubble Nebula
- Sharpless 136 – The Ghost Nebula
- Sharpless 157 – The Lobster Claw Nebula
Trevor Jones is an astrophotographer and a valued member of the RASC. His passion is inspiring others to start their astrophotography journey on YouTube so they can appreciate the night sky as much as he does. His images have been featured in astronomy books & online publications, including the NASA Astronomy Picture of the Day (APOD).


