Free Practice Data for Astrophotography
This section of the AstroBackyard website is for you to hone your astrophotography image processing skills. It is very interesting to see different takes on the same data set, using a variety of software to accomplish the job.
Astrophotography images require careful image processing techniques to reveal the faint and beautiful details that lie within the image data. By observing how others approach the same data, we can get a well-rounded point of reference for the subject.
In my opinion, there is no singular “right way” to process your astrophotos, nor is there a superior software choice above others. I am not the best at astrophotography image processing, but I have made steady progress over the years, and it’s been really satisfying. The best way to get better is to practice your craft.
The best part about having multiple people process the same data is that you can compare your image processing techniques with others without the countless variables involved with personal image acquisition techniques.
I have a premium astrophotography image processing guide available. This guide is a PDF document with over 100 pages of in-depth instruction and exclusive videos only found in the guide.
How it Works
The idea is that you download the data (a high-resolution .TIF file) from this page (the big blue links below) and process it using your image processing software of choice. When you are done, share your version of the image on social media with the hashtag #yourastrophotoskills so others can find it all in one place!
How you choose to process this image is up to you.
The only rules are that you do not indicate that the images were captured by yourself and that you please link them to my website (if possible) when they are shared. Also, if you incorporate some of your own data into the image, please make sure to specify this.
I captured all of the data shared on this page. The current files available are in .TIF format, and they have been registered, stacked, and calibrated in DeepSkyStacker (or PixInsight’s WBPP). They are quite large, so be prepared to wait for the download to finish before processing.

Available Image Files
Right now, there are 7 image files available to download. Each image includes a nebula, and this type of deep-sky object presents unique challenges and a worthwhile reward. All of the images were captured using a DSLR camera or dedicated astronomy camera attached to a telescope.
Update: February 17, 2023
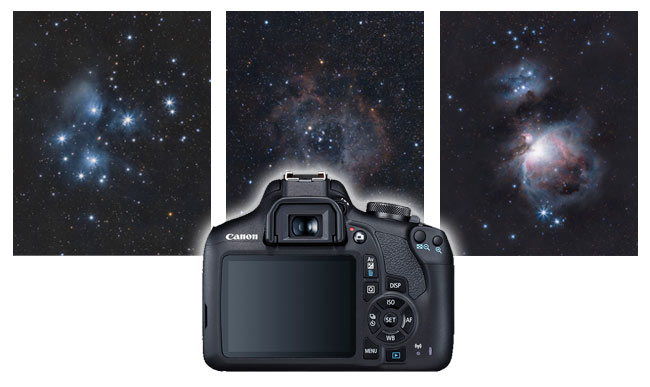
In my video, 3 Easy Astrophotography Targets for Beginners, I captured three deep-sky objects in one night using entry-level equipment. These images were created using a stock Canon EOS Rebel T7 DSLR camera and a Canon EF 300mm F/4L lens.
If you want to practice processing this data, you can download the image stacks below. But be warned, these images lack the recommended amount of integration for a quality signal-to-noise ratio.
However, these files may be useful to better understand what typical backyard astrophotography data looks like from a light-polluted backyard using a regular DSLR camera. The image frames have been stacked in DeepSkyStacker using dark calibration frames.
- Orion Nebula (26 x 90-seconds, ISO 800)
- Pleiades Star Cluster (30 x 90-seconds, ISO 800)
- Rosette Nebula (25 x 90-seconds, ISO 800)
The rest of the data downloads available on this page have a much better signal-to-noise ratio, and better overall results are possible.
Download: The Tulip Nebula Region
Total Exposure: 4 Hours, 20 Minutes
About the file:
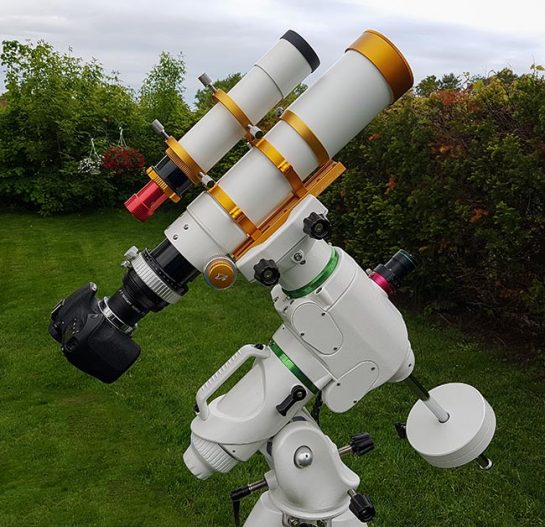
This image was captured from my backyard on April 30, 2025. The telescope used was an Askar SQA55 refractor.
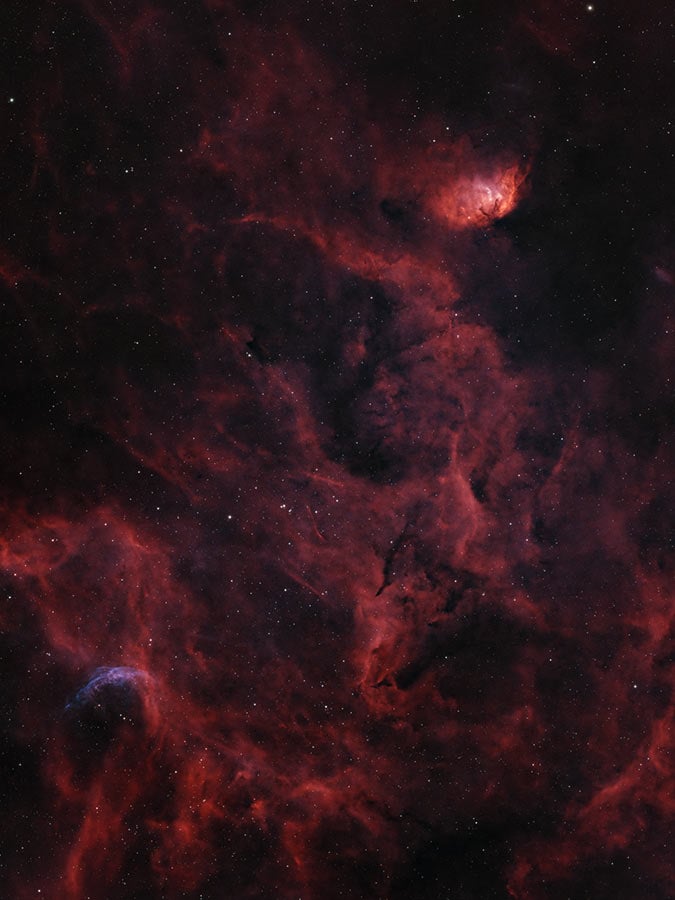
My process of the Tulip Nebula region. ZWO ASI2600MC Air, Askar SQA55.
Download: Witch Head Nebula in Orion
Total Exposure: 3 Hours
About the file:
This image was captured from the Winter Star Party in the Florida Keys in 2024. The telescope used was a William Optics Pleiades 68 WIFD Refractor.

My process of the Witch Head Nebula in Orion. ZWO ASI2400MC Pro, William Optics Pleaides 68.
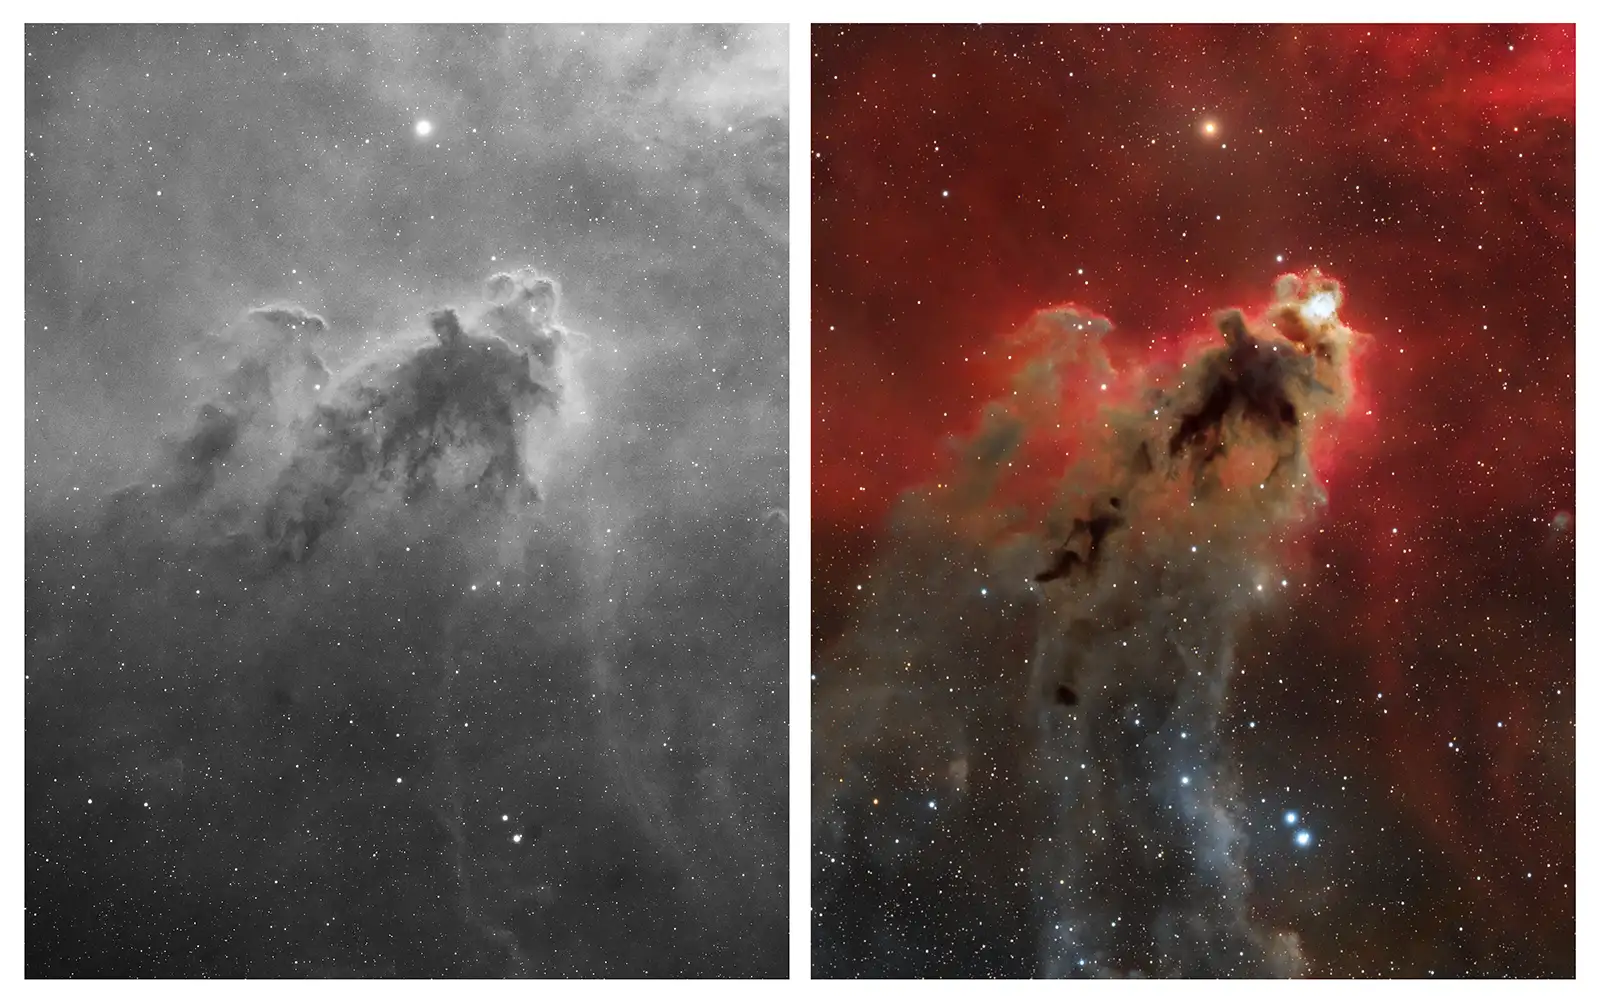
Download: IC 1396 in Cepheus (Elephant’s Trunk Nebula)
Total Exposure: 4.5 Hours
About the file:
This image was captured from my Bortle Scale Class 7 backyard using a Canon EOS Ra Mirrorless camera. A Radian Triad Ultra filter was used to help isolate the important wavelengths of light emitted by this nebula from a light-polluted sky. The image was captured using a Radian Raptor 61 APO refractor in October 2020.

My process of the IC 1396 data. Radian Raptor 61, Canon EOS Ra.
Download: The Cocoon Nebula (Canon 60Da)
You can download the individual exposures and calibration frames here.
Total Exposure: 1 Hour, 20 Minutes
About the file:
This image was captured from my Bortle Scale Class 7 backyard using a Canon EOS 60Da DSLR camera. A SkyTech CLS-CCD filter was used to help isolate this nebula from a light-polluted sky. The image was captured through a William Optics Zenithstar 73 APO refractor in June 2019.
Download: The Lagoon Nebula in RGB
Total Exposure: 1 Hour, 15 Minutes
About the file:
This image was captured from a Bortle Scale Class 4 site about 45 minutes from my home using a stock DSLR camera (Canon EOS Rebel Xsi). An IDAS LPS clip-in filter was used to help isolate this glowing emission nebulae in Sagittarius from rural sky. The image was captured through an Explore Scientific ED80 refractor on a warm June night in 2013.

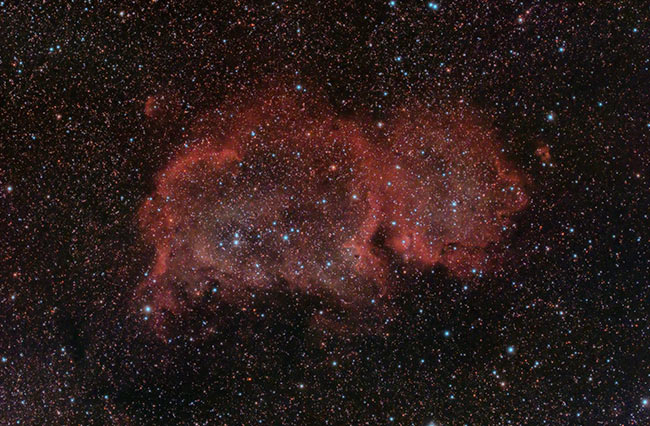
Download: The Soul Nebula in RGB
Total Exposure: 5 Hours
About the file:
This image was captured from my Bortle Scale Class 8 backyard using a modified DSLR camera (Canon EOS Rebel T3i). A SkyTech CLS-CCD filter was used to help isolate this emission nebulae from a washed out city sky. The image was captured through a Meade 70mm Quadruplet APO refractor over the course of a single, clear night in November 2017.

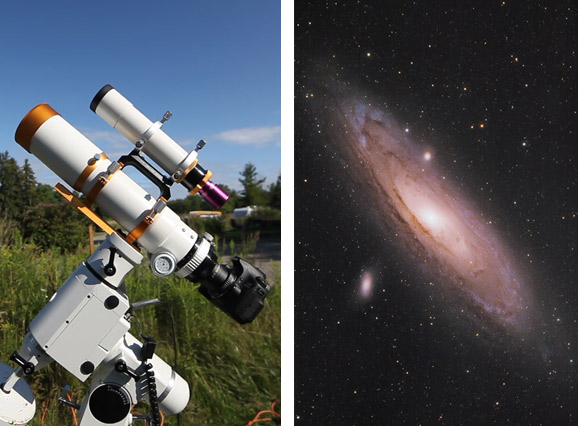
Download: The Andromeda Galaxy in RGB
Total Exposure: 2 Hours, 14 Minutes
About the file:
This image was captured from a dark sky site in Southern Ontario (Bortle Scale Class 4/5) using a Canon EOS 60Da DSLR camera, and a 74mm refractor telescope. The images were shot using only a UV/IR cut filter in front of the camera sensor, something I can not do from my light-polluted backyard in the city.
Astro Image Processing Software
I personally use DeepSkyStacker for the pre-processing stages of my image, and Adobe Photoshop CC for post-processing. There are many options to choose from when it comes to processing long exposure, deep sky astrophotography images.
Some popular image processing software choices include:
I will notify others when new data is available to process on the AstroBackyard Facebook Page or Twitter Feed. I will post my favorite images on this page for others to appreciate and learn from.
Wall of Fame
This is where I share some of the most impressive variations of the images processed using the data shared on this page.
IC 1396 by AstroEd
From the many variations of processing on this data, this photo stood out. Thomas uses a unique method to create breathtakingly smooth, dynamic images.
“I took the raw .tiff you supplied and stretched it once (my stretching technique is on my YT channel). Then I separated the channels using PS. Each channel I put through Starnet++.
Then I recombine in PS (I have a unique recombine technique, several actually that I have come up with and have not found on YouTube anywhere, or the internet for that matter, and they are somewhat tricky in theory (but simple) however hard to describe without an image-guided tutorial, (however this is the most important step to really making the most dynamic possible image).
After, I recombine I adjust shadows, highlights, and contrast to maximize color contrast. Any sharpening or noise reduction is done in camera raw, in iterations along the way.”

IC 1396 by Thomas Christian. AstroEd on Instagram.
The Soul Nebula by Andrew Klinger
I thought Andrew did an incredible job with this data on the Soul Nebula. The resulting image has “punch”, yet it is not overdone, and the star size was kept under control. It is very interesting to see how PixInsight differs from Photoshop in terms of the end result. Great work, Andrew! You can follow him on Instagram, under the username @ak_astro.
Andrew’s Processing Comments:
Here’s my go in PixInsight! DBE, BN, CC, TGV, and MMT noise reduction, ArcsinhStretch, HistogramTransformation for a bit more stretch, Exponential Transformation with a mask to push nebulosity, CurvesTransformation to increase saturation, LHE, MT on stars, final CurvesTransformation.
The Lagoon Nebula by Philipp Hayer
This image of the Lagoon Nebula was processed by Philipp Hayer. He noted that he followed one of my Photoshop processing tutorials throughout the edit. My workflow leaves a lot of room for creativity, and Philip used these moments to create an impressive portrait of M8.

Tutorials
If you are new to processing astrophotography images, you are not alone. If you would like a video reference to follow along with, have a look at the following image processing tutorial in Adobe Photoshop:
For more astrophotography tutorials, from image acquisition to image processing, have a look at the tutorials section of this website. I appreciate those who take the time to process my data and are brave enough to share their results with the world!