Astrophotography Tutorial: Image Stacking in Photoshop
If you have ever taken a long exposure astrophotography image of the night sky using a DSLR camera with a high ISO setting, you’ll know all about the negative effects of noise.
An image that looks great on the display screen of your camera may appear quite different when you view it up close on your computer screen.
Thankfully, there are proven ways to reduce noise in your low-light, long-exposure shots. The (not-so-secret) trick is to take several shots of the same area of the night sky and blend them together using a technique called stacking.
When you reduce the amount of noise in your images, you benefit from an improved signal-to-noise ratio. A stacked image will have a much “smoother” background and improved image quality overall.
It can really make your life easier when processing an astrophotography image because it allows you to perform aggressive curve and level adjustments without destroying or clipping the data.
It’s All About Integration
Stacking many hours’ worth of individual image exposures can have a massive impact on the quality of your final image. The overall integration is a key factor behind every great astrophoto.
This is exactly the way smart telescopes like the Seestar S50 and Dwarf 3 work. They capture several short exposures and combine them for a brighter, cleaner image (live stacking).
Take a look at the example below, which illustrates the difference in image data when the overall integration time has been doubled. Please click the image to view the full-size version and see the subtle differences.
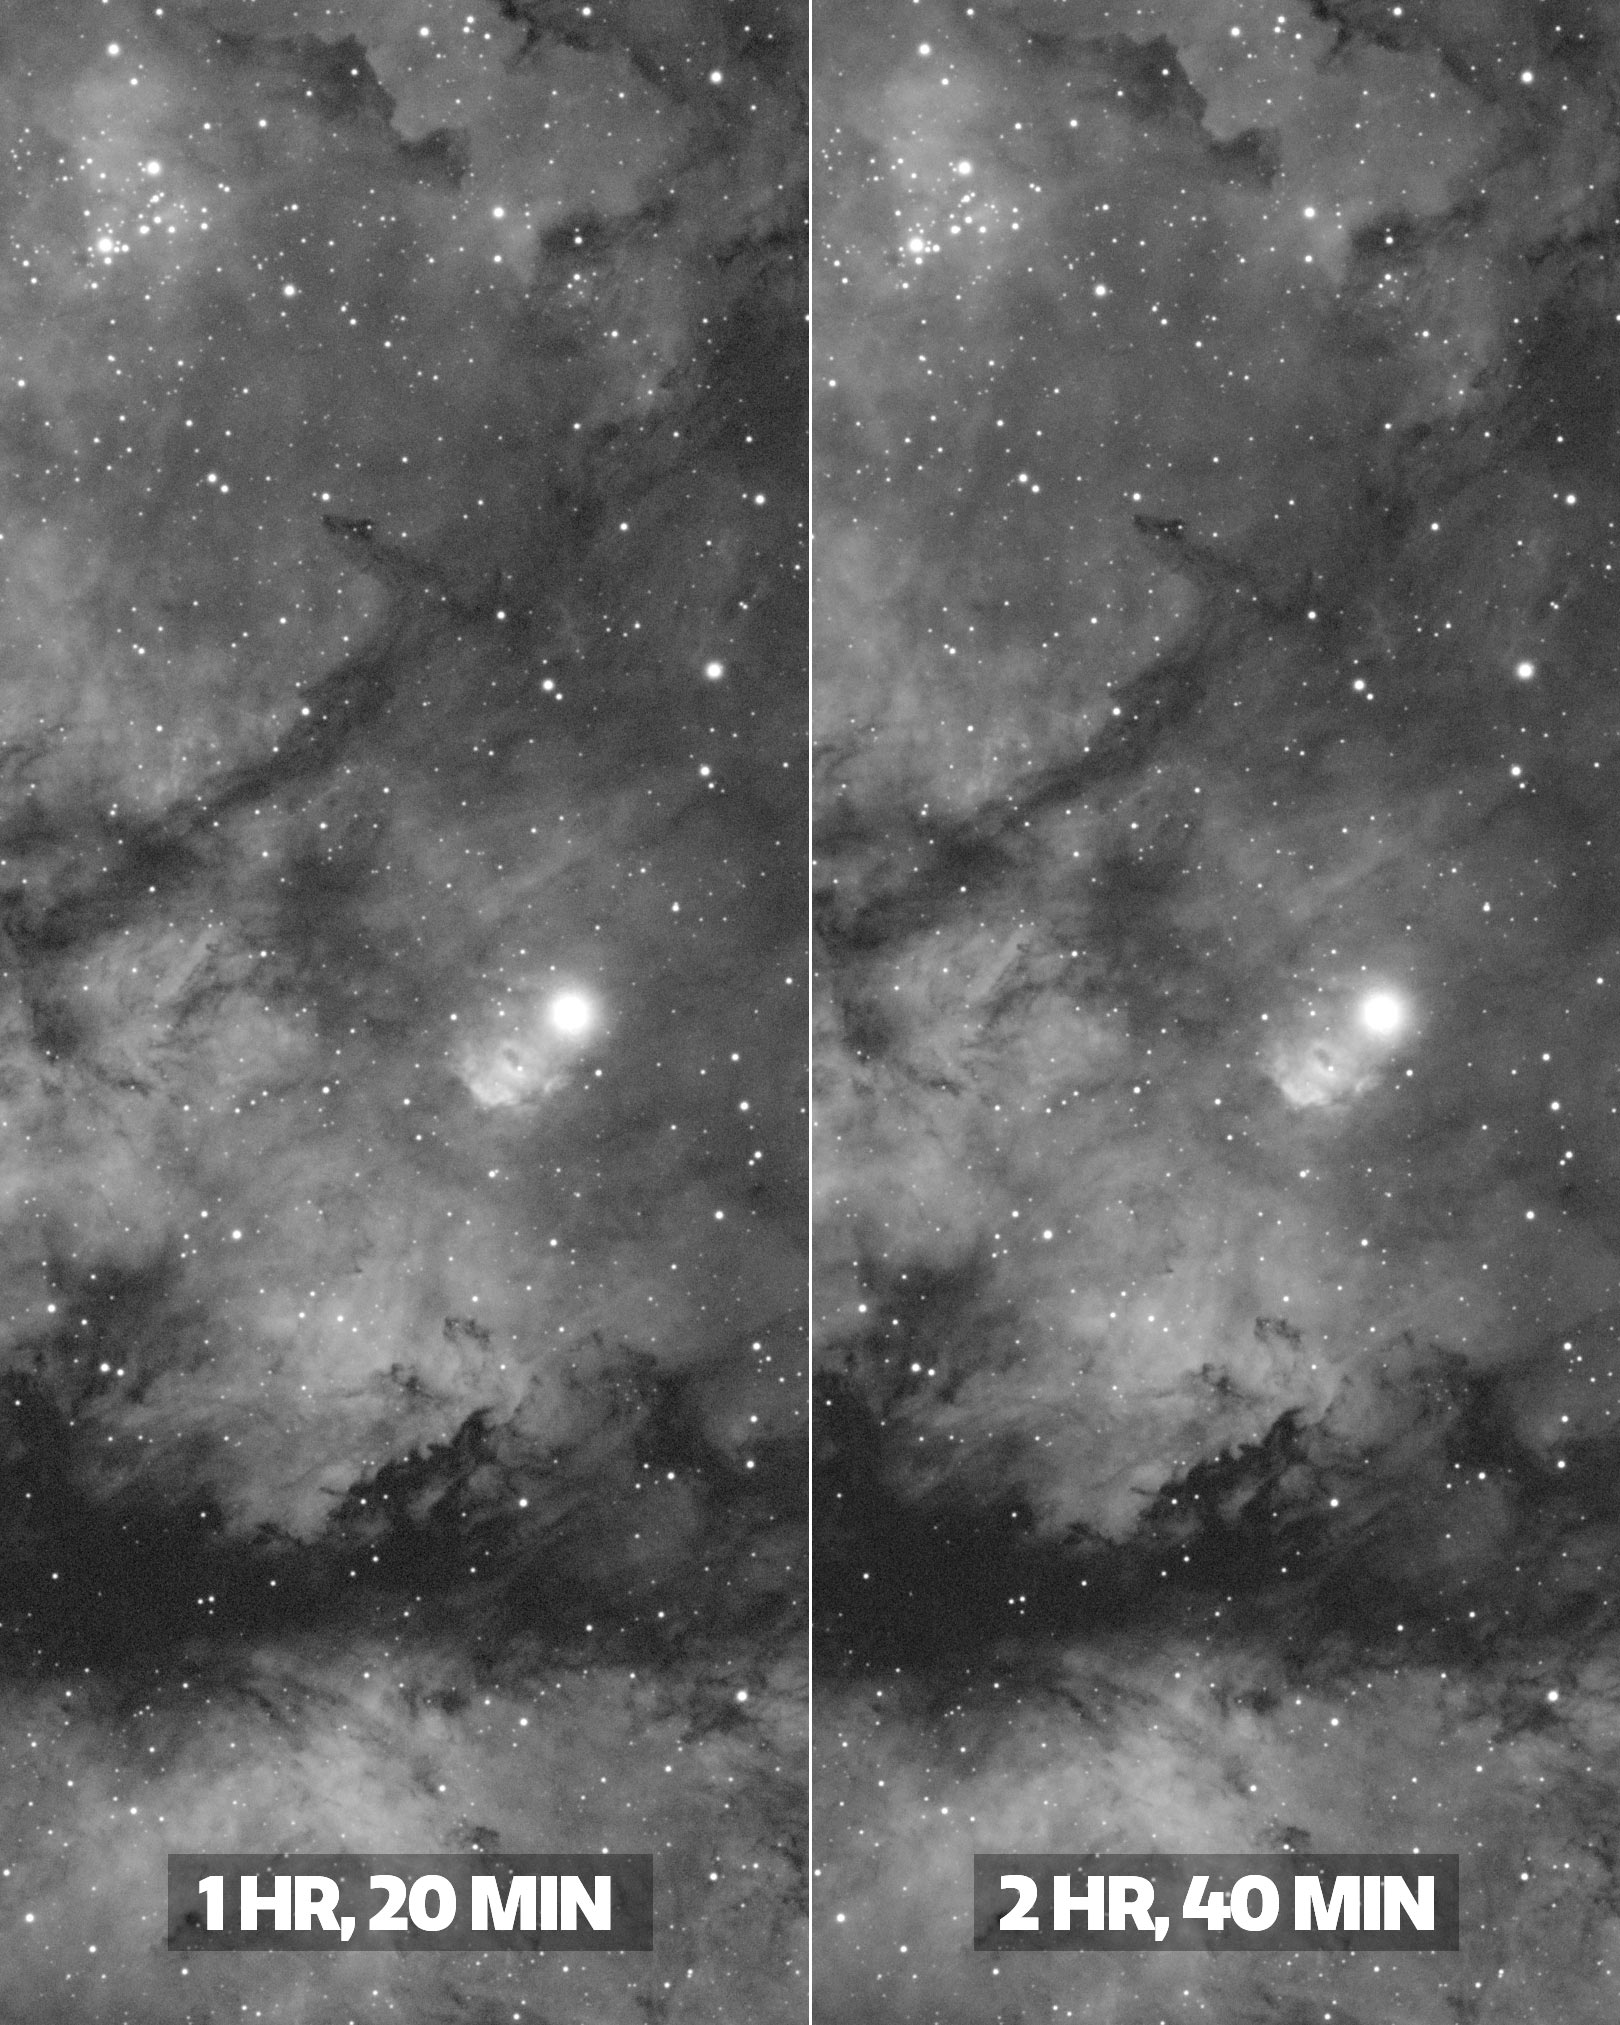
As you stack more overall integration time, your image quality improves.
In the example above, the data was collected using a cooled, dedicated astronomy camera and an H-alpha filter. However, the same benefits of image stacking can be achieved on your DSLR images in Adobe Photoshop.
There are several image-stacking tools that will automatically align and stack your images together, including my personal favorite, DeepSkyStacker.
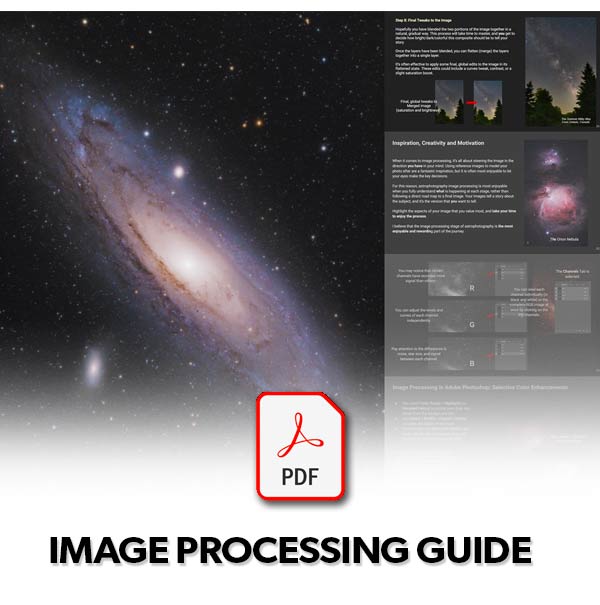
If you need help with your image stacking and processing skills, have a look at my astrophotography image processing guide. It includes over 100 pages of detailed instructions and expert tips, along with exclusive video tutorials.
Many amateur astrophotographers use specialized image stacking software to create their master file, but you can also perform this technique using Adobe Photoshop manually or with the built-in stacking script.
The noise reduction technique I will describe on this page involves the manual method, where you will align and place each exposure on top of each other in layers.
Although this method may take a little longer, it’s a great exercise in signal-to-noise ratio, and you have complete control at each step of the way.
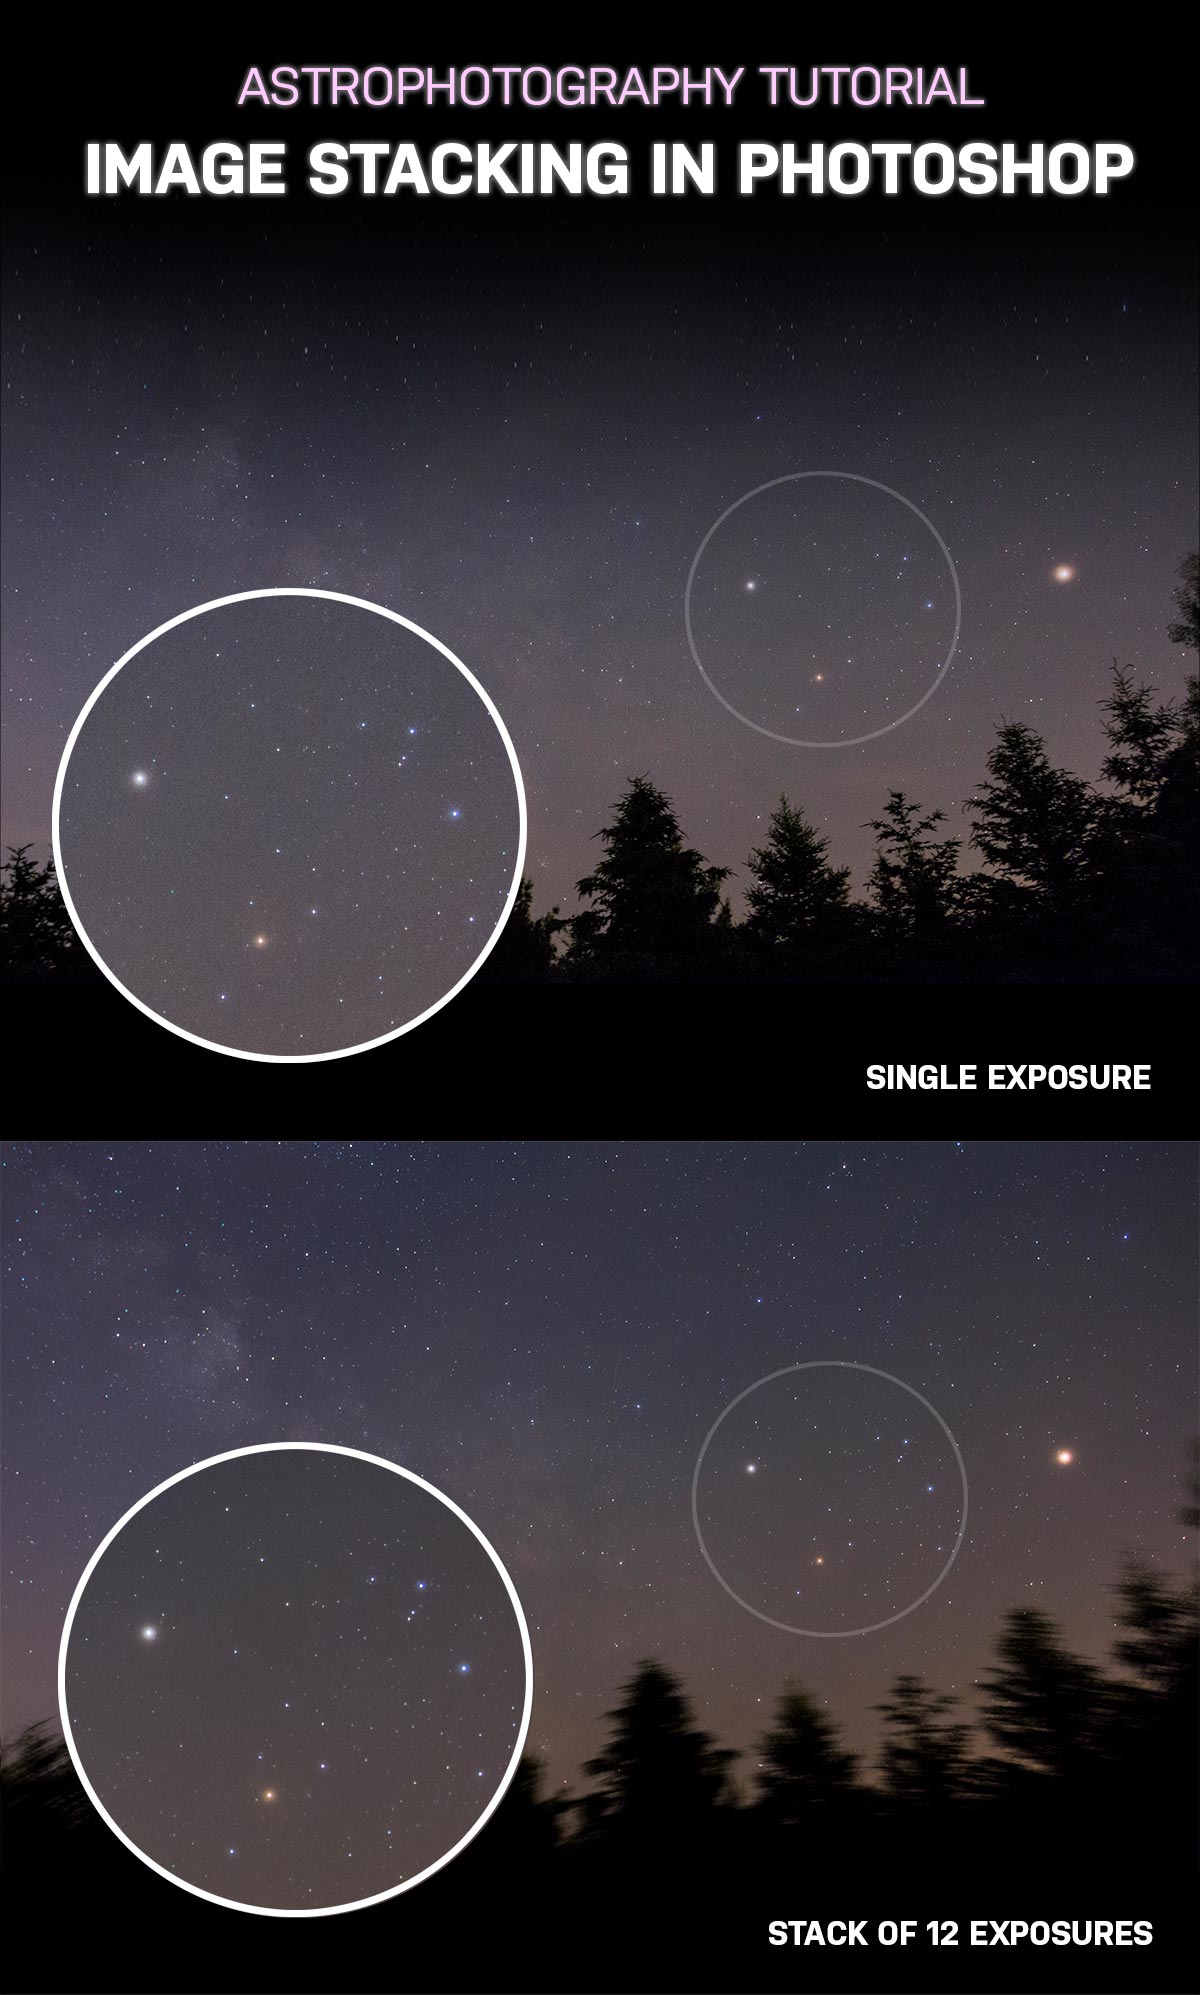
“Star Stacking” multiple exposures improve the quality of your final image.
How to Stack Astrophotography Images in Photoshop
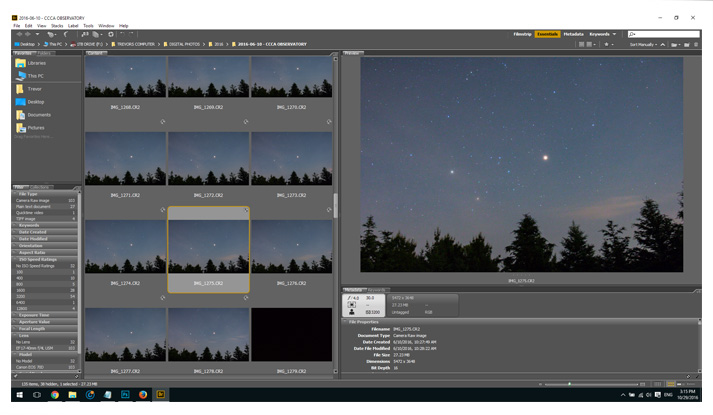
The first piece of software I will use in this tutorial is Adobe Bridge, which will be used for file organization and selection. For DSLR astrophotography images in RAW format, you’d be hard-pressed to find a better image explorer than Bridge.
Adobe Bridge allows me to review the core details of each shot, including all of the camera and lens settings used for the shot. It’s an enjoyable way to review a large collection of RAW images at a glance. (Adobe Lightroom is also excellent at this.)
Once I have reviewed and sorted the image exposures I would like to stack, I bring the images into Adobe Photoshop for further image processing.
In the video below, I’ll explain how to apply settings to your astrophotography images using Adobe Camera Raw. Certain adjustments can help your photo stand out in a crowd. The contrast, dehaze, and vibrance sliders have the biggest impact, in my opinion.
Continue reading below for a written description of the techniques used in the video.
Adobe Camera Raw
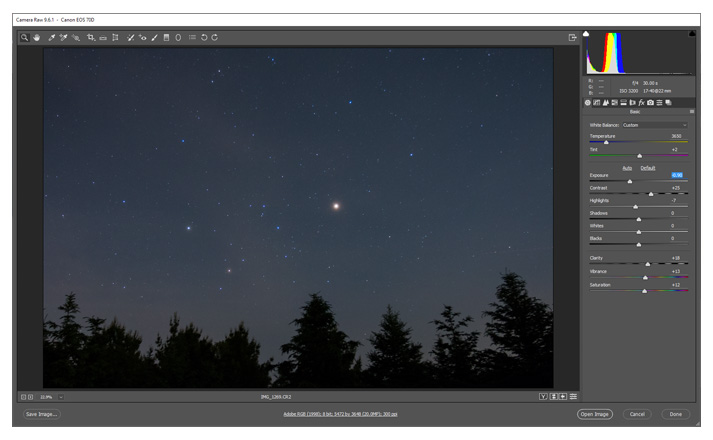
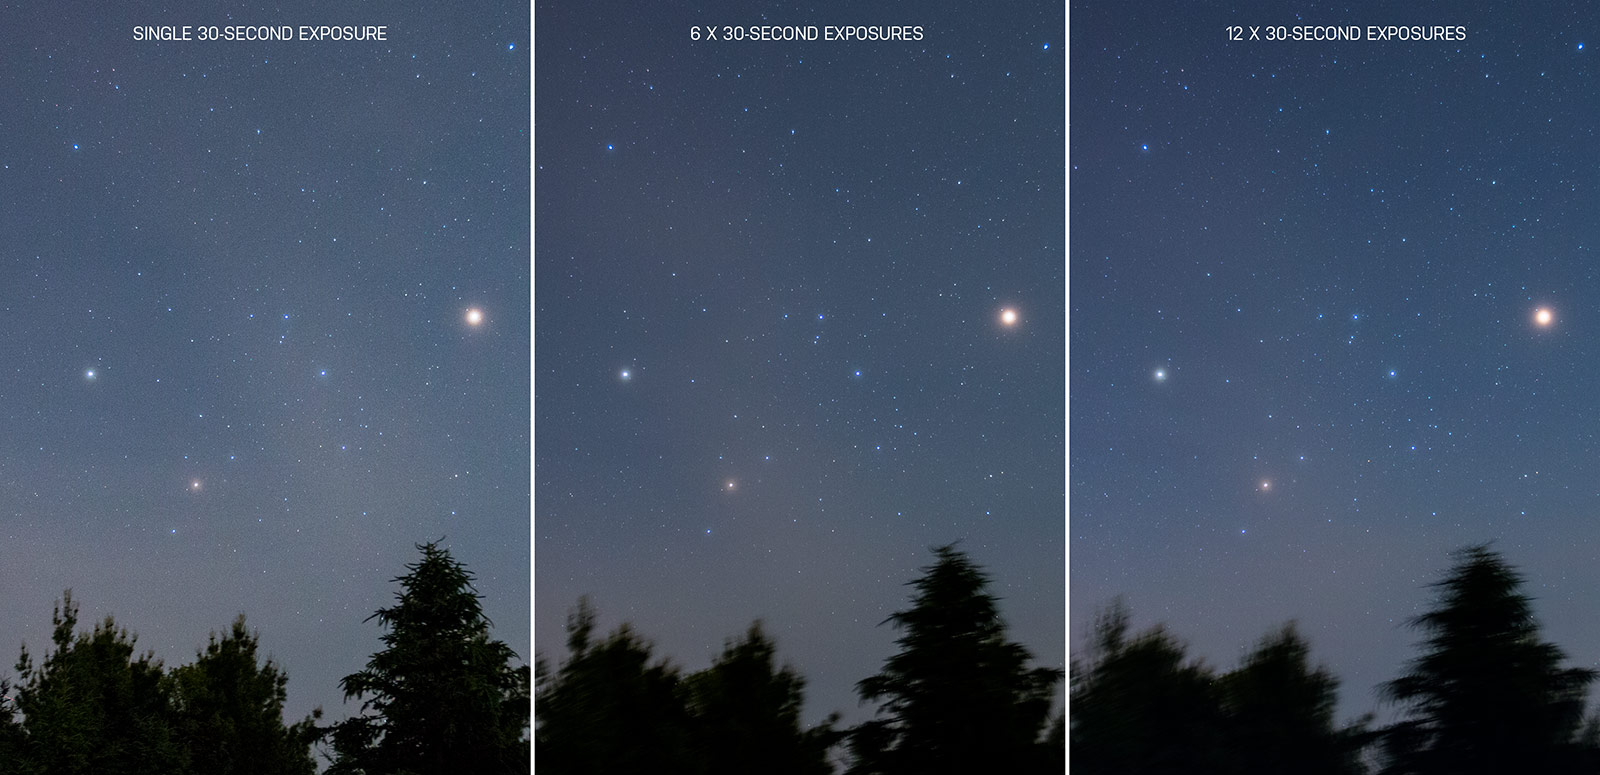
First, preview the images you plan on stacking in Adobe Bridge. For a successful processing session, I recommend stacking a minimum of 10 to 12 exposures. In this example, each individual exposure was shot at ISO 3200 and lasted 30 seconds.
This is a typical exposure length and ISO for any night photography image. The photos were captured using a Canon EOS 70D DSLR camera and a Canon 17-40mm F/4L Lens.
It is important that each image is taken with the same orientation.
Apply your desired settings to one of the images in your image set. (Don’t go crazy with the noise reduction – we’ll take care of that later) Once you are happy with the look of the single frame, you can copy the settings and apply it to all other frames in the set.
In Adobe Bridge, right-click on the processed image and select Develop Settings > Copy Settings.
Then right-click on each image in the set to which you would like to apply the settings. This will effectively give you a group of exposures with the exact same adjustments made. These are the files you will be aligning and stacking in Adobe Photoshop.
Your first image frame will be very noisy as we have not yet combined any images with it. You will increase the signal-to-noise ratio by layering the image with several others.
This means that the signal (the stars in the image) will remain bright, and the noise (the pixelated background sky) will become softer and less crunchy.
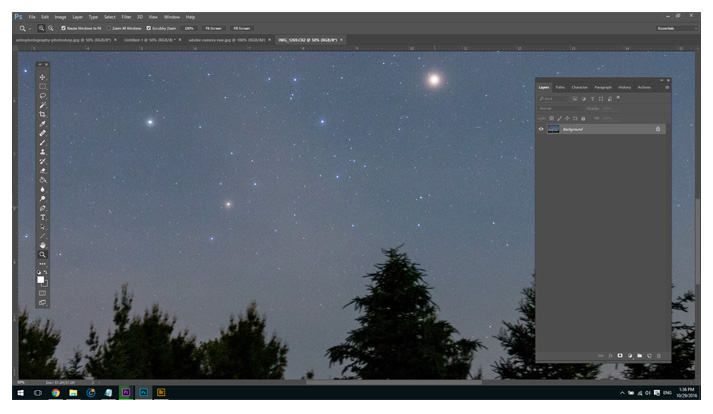
The next step is to open your second image file in the group in Photoshop. Then, select the entire canvas, copy it, and paste it on top of your first image. It may be helpful to name your original layer at the bottom.
Continue copying and pasting each image frame from the set onto a single-layered file.
Once you have combined all the image files as layers in a single file, you can begin adjusting the opacity of each layer. This is the key to a well-blended master file.
Recommended Layer Settings
- Layer 7 – Opacity 10%
- Layer 6 – Opacity 20%
- Layer 5 – Opacity 30%
- Layer 4 – Opacity 40%
- Layer 3 – Opacity 50%
- Layer 2 – Opacity 70%
- Layer 1 – Opacity 90%
- Background Layer
Of course, the number of image frames used will vary. The idea is to gradually fade the exposures out until you reach the top layer. This way, the light collected by the camera sensor has been retained, while the background noise has virtually canceled itself out.
Just look at the difference that stacking made:
Before: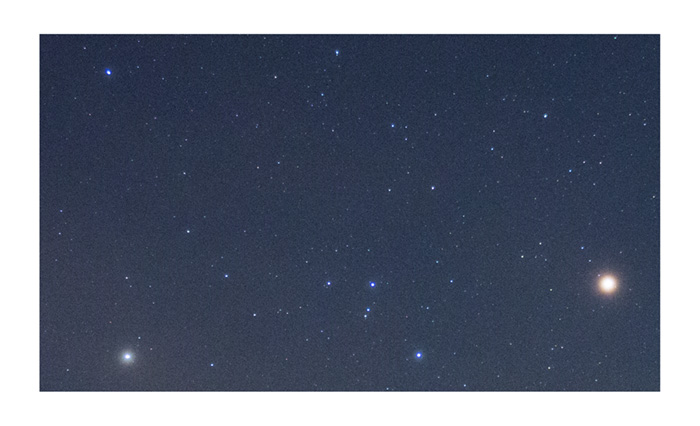
After: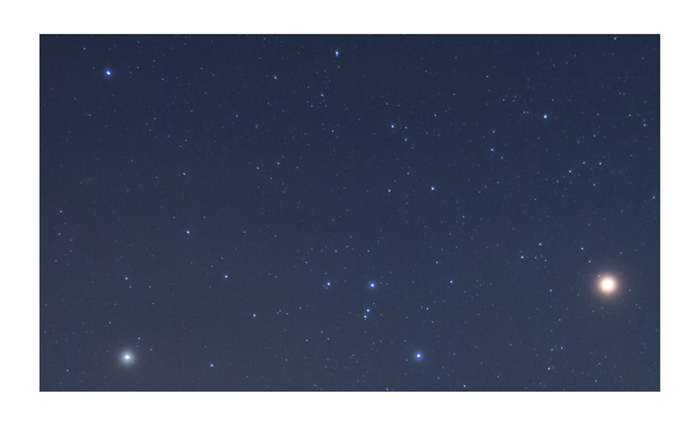
When the layer opacity adjustments have been made, you can flatten the image for further processing.
It is wise to save the Layered Photoshop file as well if you want to make any edits later. If you have avoided any landscape elements in your image (just the sky), your image should be nearing completion.
However, if your photo contains foreground objects such as mountains, trees, or roads – your landscape has shifted dramatically!
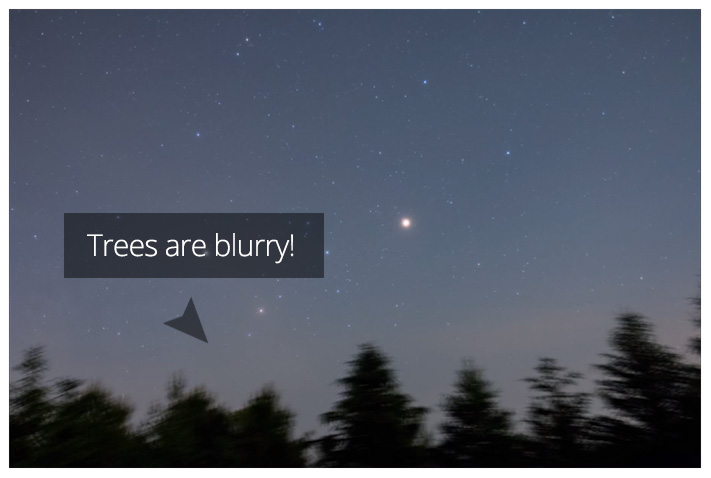
To fix this, you will need to separate the sky from the foreground. If the area between the sky and the Earth is too complex, you may want to leave it as is.
Many beautiful astrophotos have been left this way. In our example, removing the blurry trees is simple. We can then add a single layer for the treeline, one that is sharp and not blurry.
Choose a single frame from your image set and process it using Adobe Camera Raw. The goal is to create a black-and-white silhouette version of the tree line.
The more dynamic contrast between the trees and the sky, the easier it will be to blend into your image.
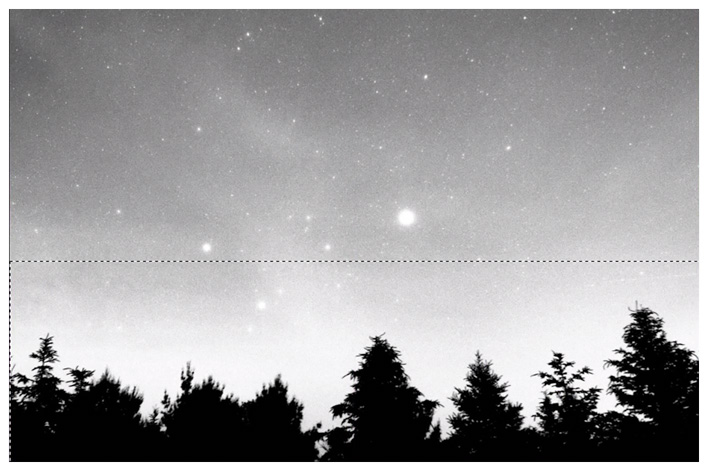
Cut this area of your black-and-white version and paste it on top of your layered master file. Turn this layer off for now, as we need to remove the existing blurry trees first.
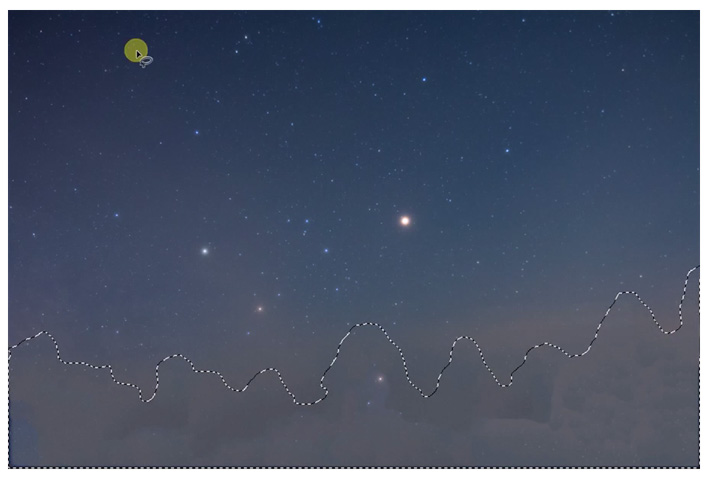
Draw around the trees or motion-blurred landscape in your image using the lasso tool. Use the content-aware fill or healing brush methods described in the video to remove the trees.
Content-Aware Fill Method
With content selected, choose Edit > Fill > OK (Assuming Content-Aware is your preset)
Healing Brush Method
Select the Healing Brush tool. Hand down the alt key, and click an area of the sky you wish to replicate. Without holding the alt key, click the healing brush tool in the area you wish to replace.
With the foreground area removed, we can then paste in the solid black tree silhouette image we created earlier. Make sure to cover up any strange areas created by the foreground removal process.
This concludes the tutorial on how to manually stack exposures in Adobe Photoshop. I hope that you have enjoyed this example, and now have a better understanding of the subject. Follow AstroBackyard on Facebook for the latest information and photos.
