Do You Really Need Five-Minute Exposures Anymore?

In this article, I’ll discuss why modern astrophotography cameras and processing have changed what the best astrophotography exposure time should be, and when a 5-minute exposure still makes sense.
My Quick Answer
No, you do not need five-minute exposures for most broadband projects with a modern CMOS camera. Use the shortest exposure that makes shot noise from the sky background comfortably larger than the camera’s read noise, without clipping too many stars. After that point, collecting more total integration time is usually more valuable than making each individual exposure longer.
My Recommended Starting Exposure Times
For years, a five-minute exposure felt like the standard goal for serious deep-sky astrophotography. If your mount could guide cleanly for 300 seconds and your stars stayed round, you were doing everything right.
But do we still need to expose each subframe for that long? In most situations, I don’t think we do. Modern CMOS astronomy cameras are highly sensitive, have very low read noise, and produce excellent results with much shorter exposures.
Better stacking and processing tools have also changed what we can recover from a large collection of relatively short subs. I used to capture most of my broadband images with 180-second exposures. That worked well, and it still does.
Lately, however, I have had excellent results using 60-second broadband exposures, especially with the ZWO ASI585MC Air. I am not suggesting that the best astrophotography exposure time is one minute, but the old assumption that longer is always better no longer holds up.
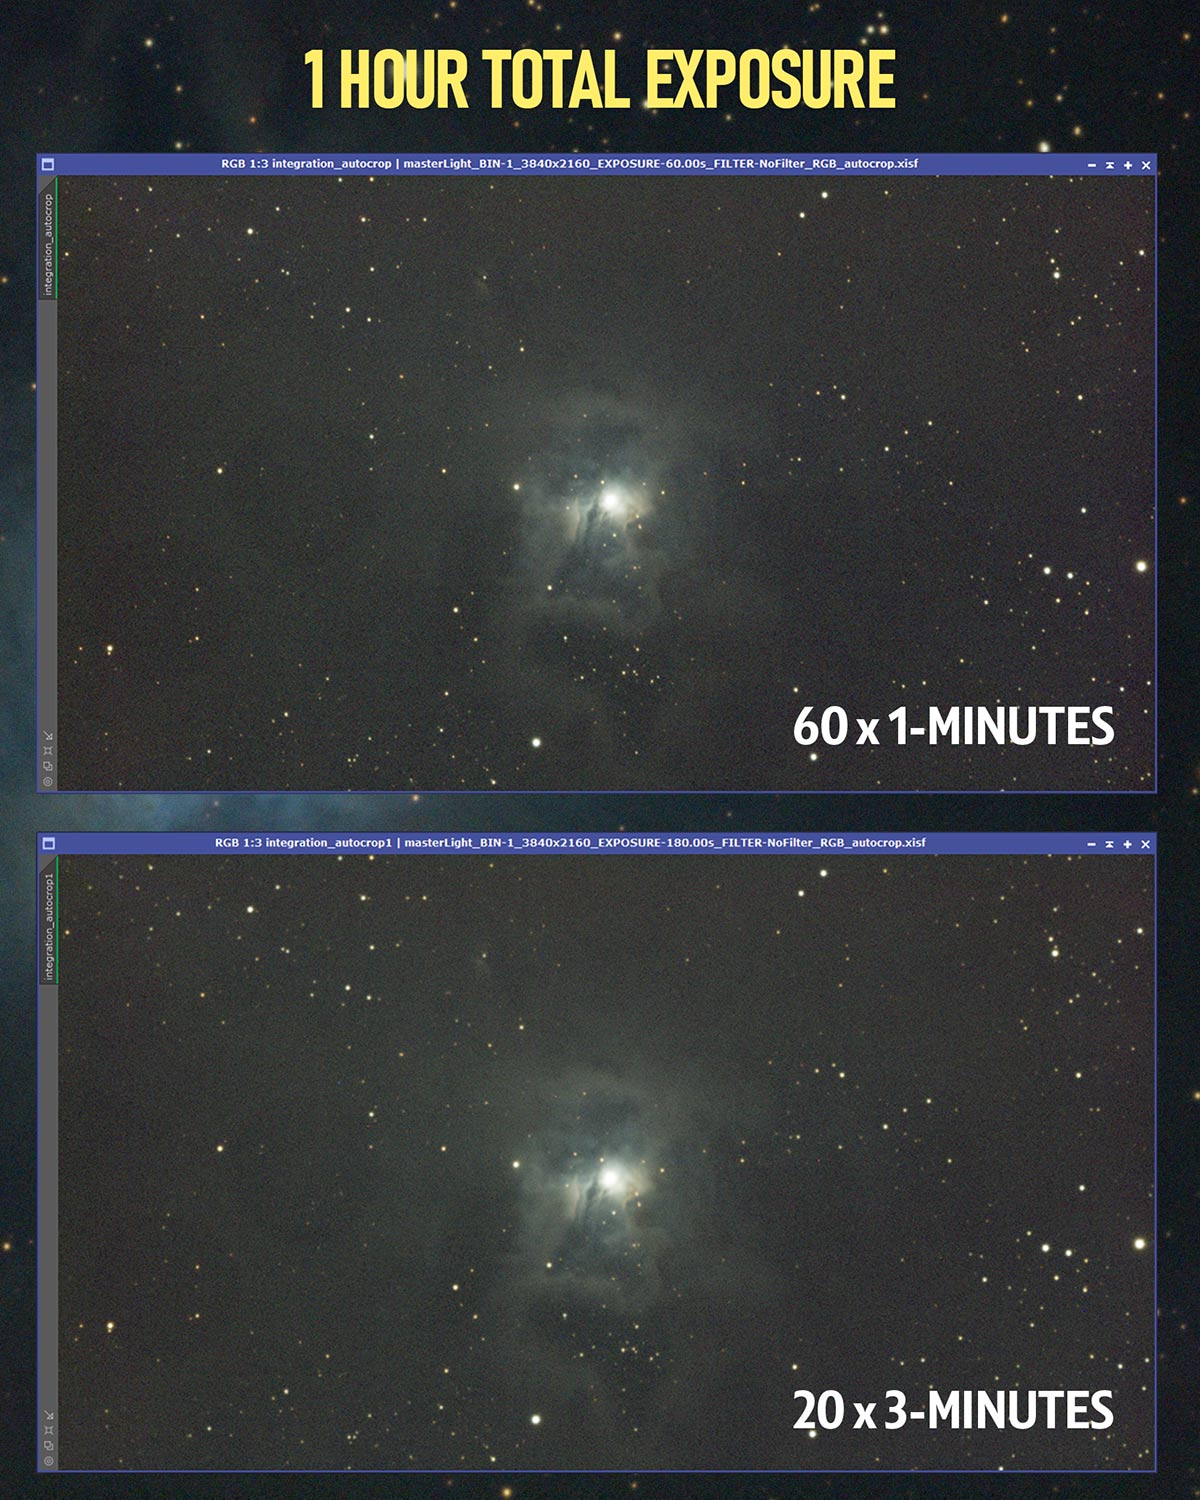
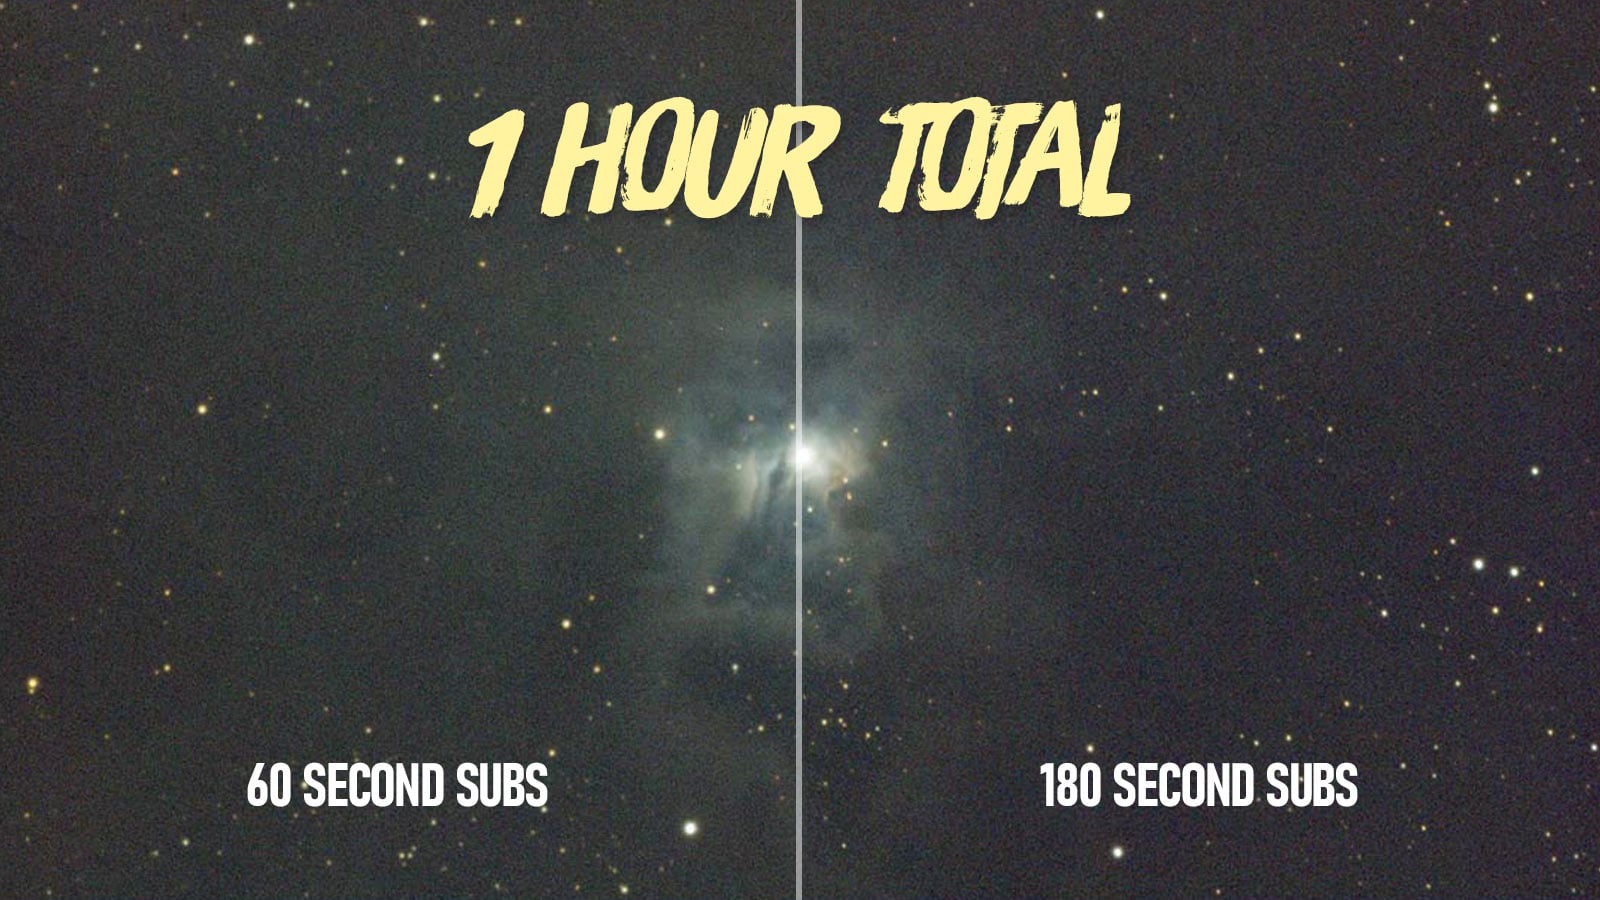
Comparing exposure times on the Iris Nebula (1 minute vs 3 minutes).
Both images contain one hour of total exposure time. That is the important part of this comparison. It is not 60 minutes versus 180 minutes; it is 60 x 1 minute versus 20 x 3 minutes. The number of camera readouts changed, but the total time spent collecting photons remained the same.
The finished stacks look remarkably similar. You may prefer the stars or background in one version when you examine them closely, but there is no dramatic leap in faint dust simply because the individual subs were three times longer.
This does not prove that 60 seconds is ideal for every setup. It shows why total integration time and subexposure length need to be treated as two separate decisions.
For a truly controlled test, both datasets should use the same equipment, gain, temperature, calibration, rejection settings, and processing.
Target altitude, transparency, sky brightness, and seeing can also change during the night. Facebook compression and two differently stretched images are not precise measuring tools, so I compare calibrated stacks with matched processing and inspect their statistics before drawing a conclusion.
The better question is not, “How long can my mount track?” It is, “How long does this particular sub need to be?”
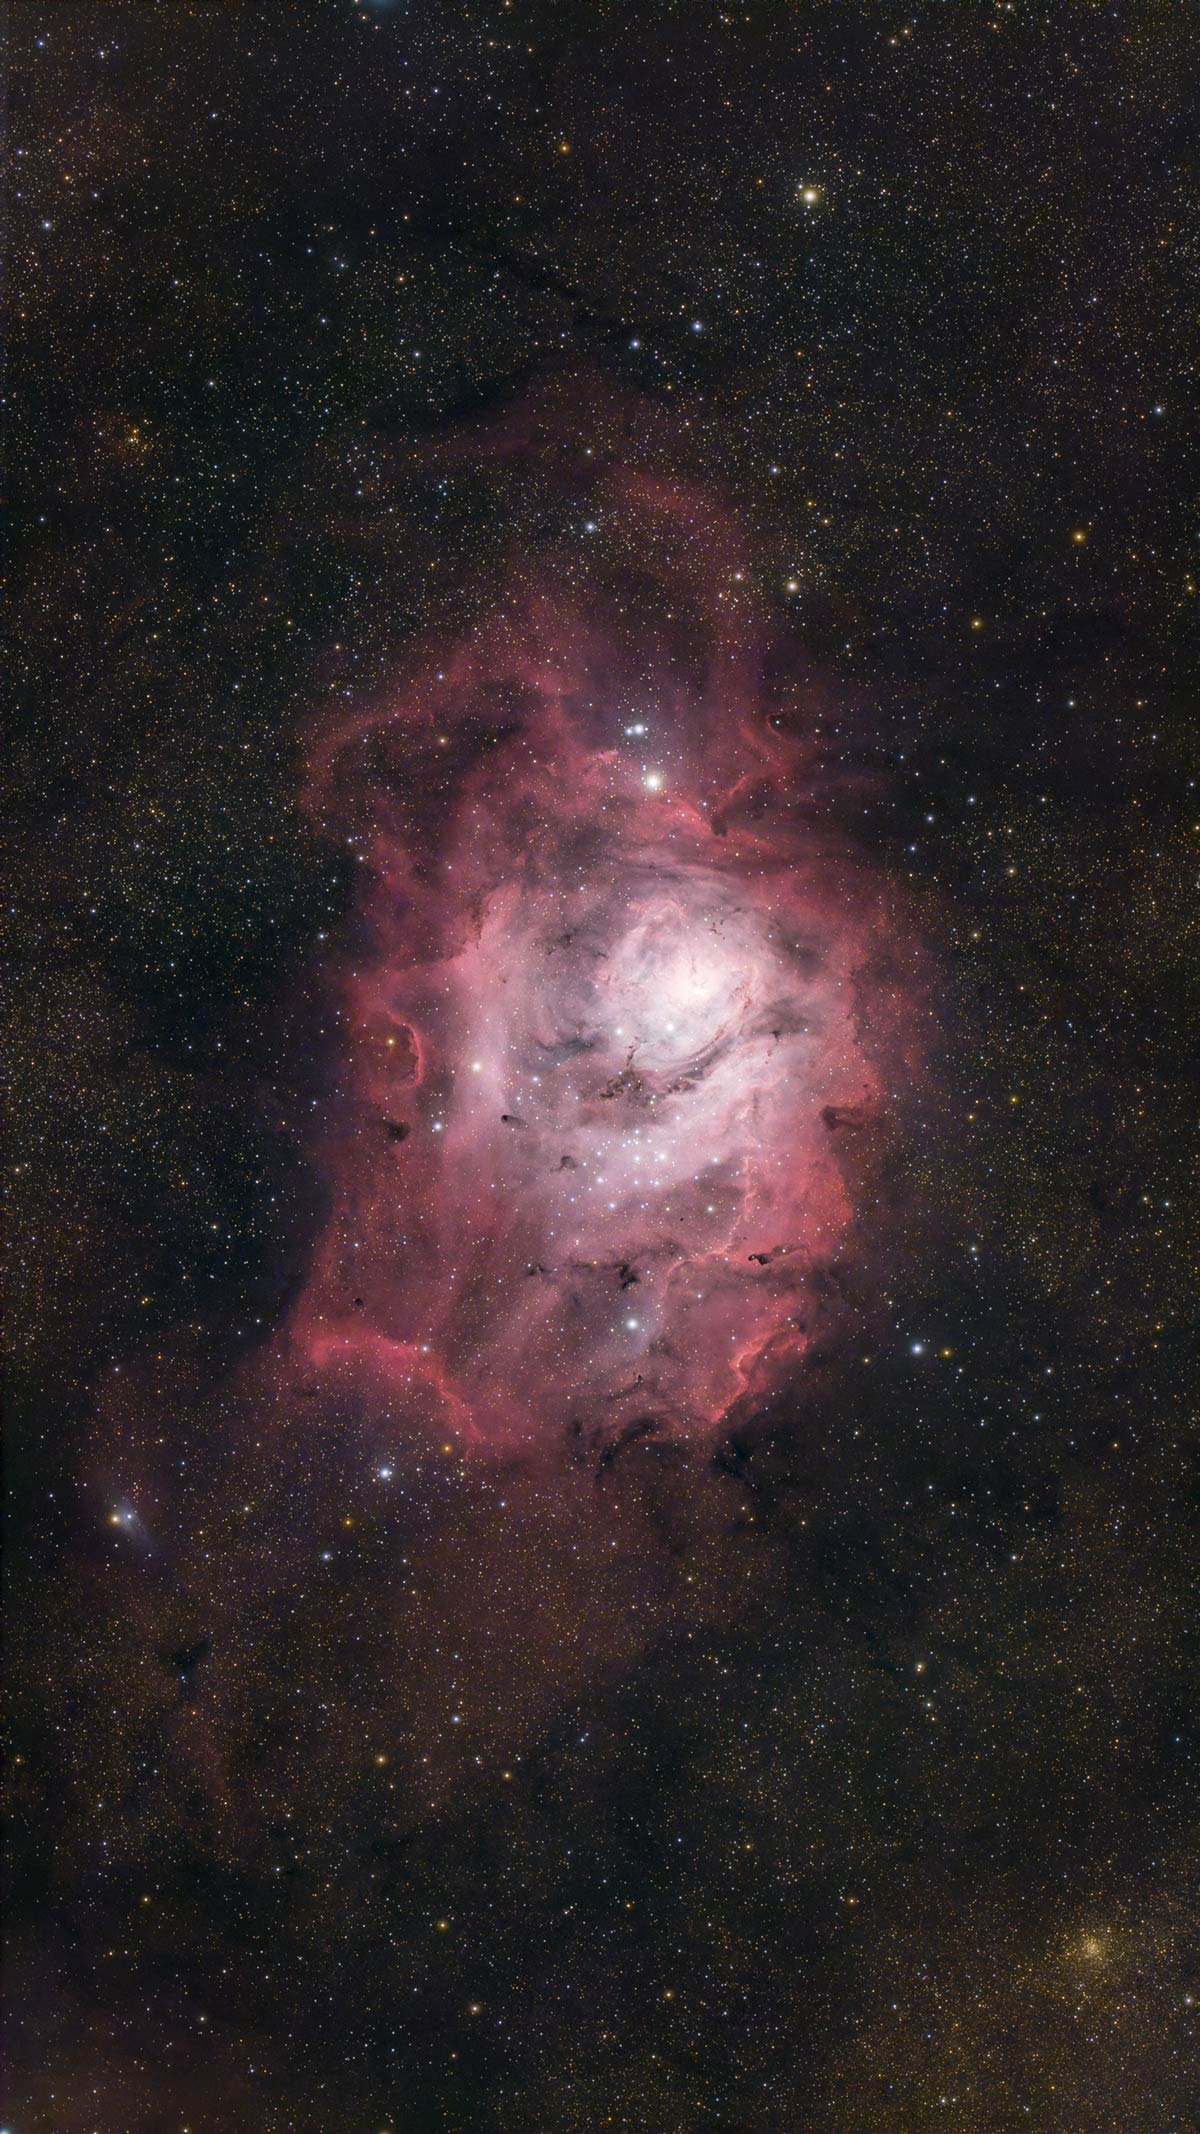
I captured this detailed image of the Lagoon Nebula using 60-second exposures with the ZWO ASI585MC Air (no filter).
The Real Goal of a Subexposure
A single subexposure does not need to look smooth, colorful, or finished. Its job is to collect useful signal without throwing away valuable highlight information.
Every exposure contains signal from your target, light pollution or natural skyglow, and several sources of noise. One of those is read noise, which the camera adds every time it reads the sensor.
If your subs are extremely short, you perform more readouts for the same total integration time, so read noise contributes more to the final stack.
This is why we cannot reduce subexposure length indefinitely. Ten hours of one-second exposures is not normally equivalent to ten hours of two-minute exposures for a faint nebula.
The one-second frames may contain so little target and sky signal that read noise remains significant, and calibrating, registering, and stacking 36,000 files would be impractical.
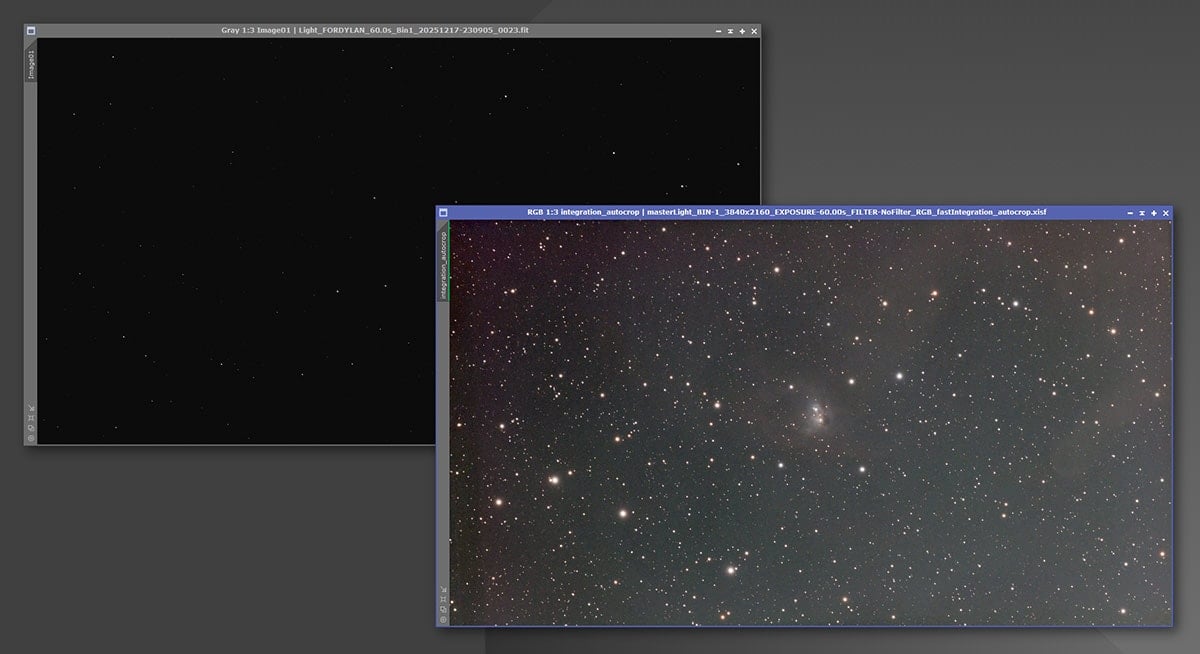
My linear stack of the Fox Face Nebula vs. the autostretched (STF) version in PixInsight.
Once an exposure is long enough for photon noise from the sky background to become much larger than the camera’s read noise, however, making it substantially longer offers diminishing returns.
Astrophotographers often describe this as becoming sky-noise limited. At that point, total integration time matters much more than whether the individual subs were 60, 120, or 300 seconds.
The SharpCap Smart Histogram is one way to estimate this using measured camera behavior and the actual sky background. Its goal is not to make a single sub look impressive.
It estimates the gain and exposure combination that should produce an efficient final stack.
In simplified terms, the signal-to-noise ratio of a stacked image improves roughly with the square root of the total collected exposure time.
Four hours is meaningfully better than one hour, regardless of whether those four hours were assembled from 60-second or five-minute subs, provided the shorter subs were long enough to keep the read-noise penalty small.
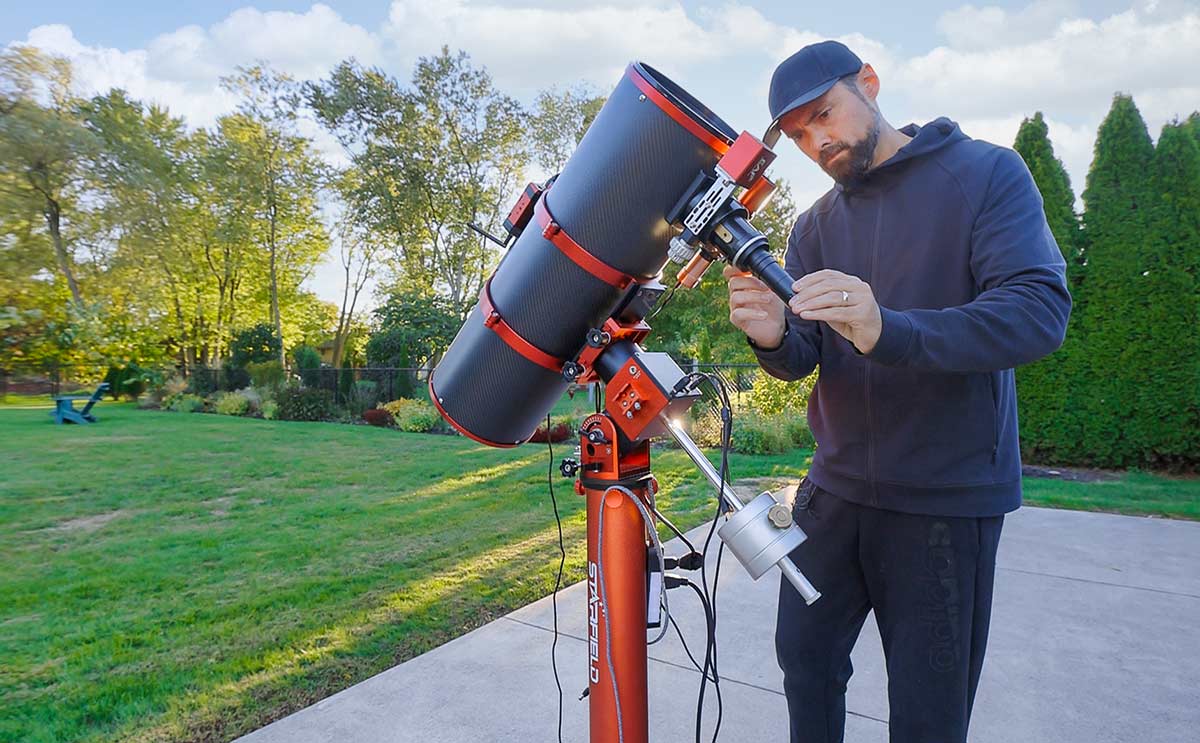
When using a fast (F/4) reflector telescope like the CarbonStar 200, I usually stick to 60-120-second exposures when capturing broadband images.
Do More Subframes Automatically Reduce More Noise?
This is one of the most common points of confusion. A stack of 60 frames gives the software more samples than a stack of 20, but that does not mean it receives a free signal-to-noise advantage when both stacks contain the same total exposure time.
The 60 one-minute frames include 60 camera readouts, while the 20 three-minute frames include only 20. Read noise does not simply become “three times worse,” because independent noise combines statistically rather than through simple addition. Still, the shorter-sub stack pays the read-noise cost more often.
At the same time, each three-minute frame contains three times as much target exposure as a one-minute frame. When the frames are normalized and combined, equal total integration produces a similar amount of target signal.
If the one-minute subs are already long enough for sky noise to dominate, the read-noise difference may be extremely small in the finished image.
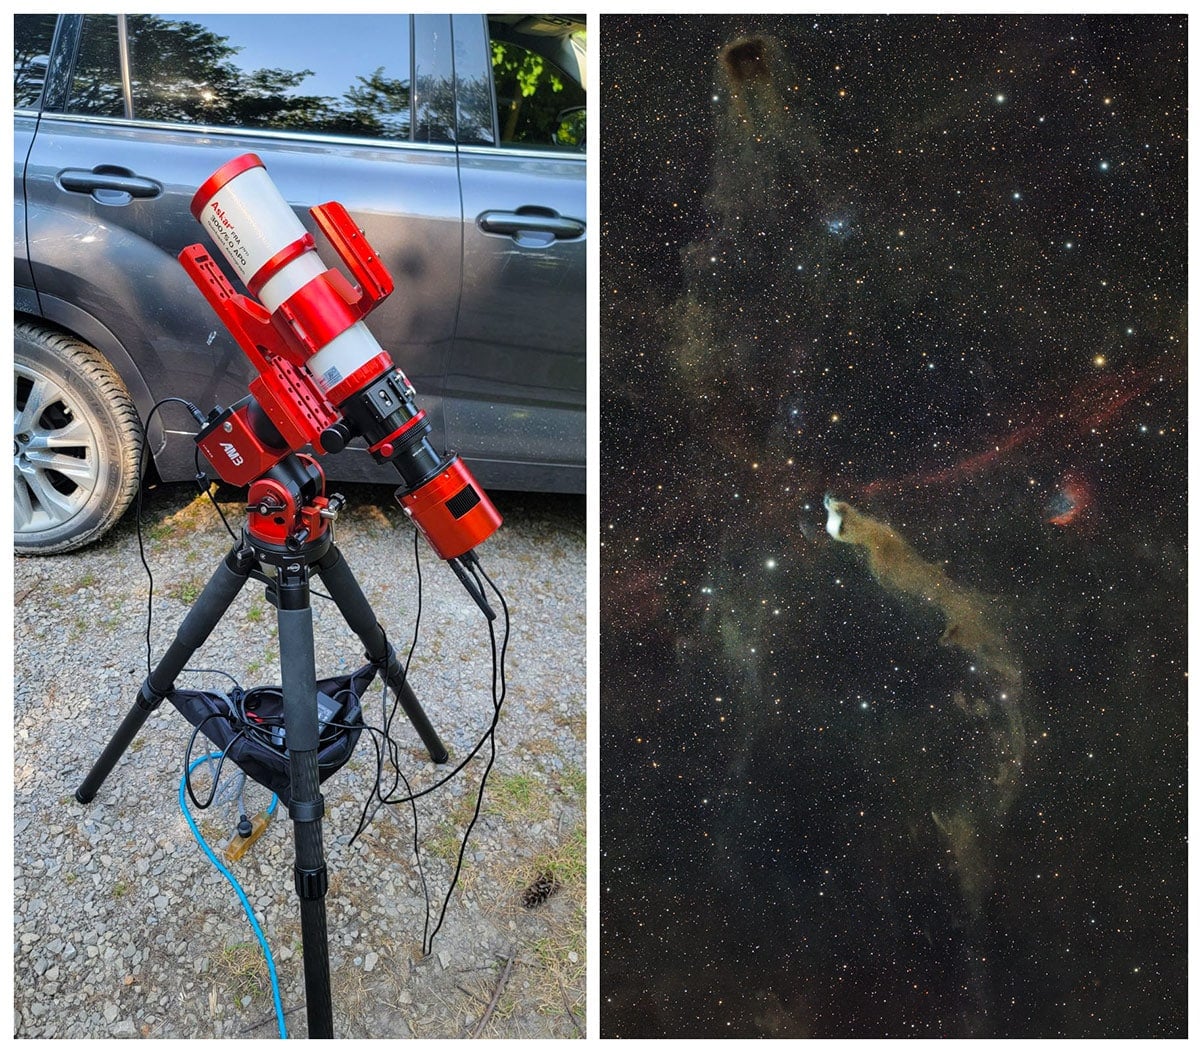
I recently captured the ‘Wolf’s Cave Nebula’ using 3-minute sub exposures (ZWO ASI2600MC Air).
More frames can help statistical rejection identify satellite trails, cosmic-ray hits, hot pixels, and other outliers. They also give weighting software more frames to evaluate.
Those are real practical advantages, but they are not the same as saying that more subs automatically “cancel more noise.” If total integration time is fixed, the incoming signal, sky brightness, read noise, and rejected data all need to be considered.
Twenty frames is generally enough to use many common rejection methods effectively, while 60 gives the algorithm a larger sample. With only a handful of long exposures, robust rejection becomes more difficult, and losing one frame removes a much larger percentage of the project.
Why Modern CMOS Cameras Changed the Equation
Long subexposures were more important with older CCD cameras and early digital cameras because their read noise was comparatively high. You wanted fewer readouts, so each frame needed to collect more light.
Modern back-illuminated CMOS sensors are different. Many combine high quantum efficiency with low read noise, low dark current, and generous full-well capacity. The ZWO ASI585MC Air is a good example.
Its Sony IMX585 sensor has 2.9-micron pixels and a resolution of 3840 × 2160. ZWO lists the ASI585MC Air’s peak quantum efficiency at 88%, while the monochrome ASI585MM Air reaches 91%.
The camera is also designed without amp glow. These characteristics make it highly effective for building an image from a large stack of shorter exposures.
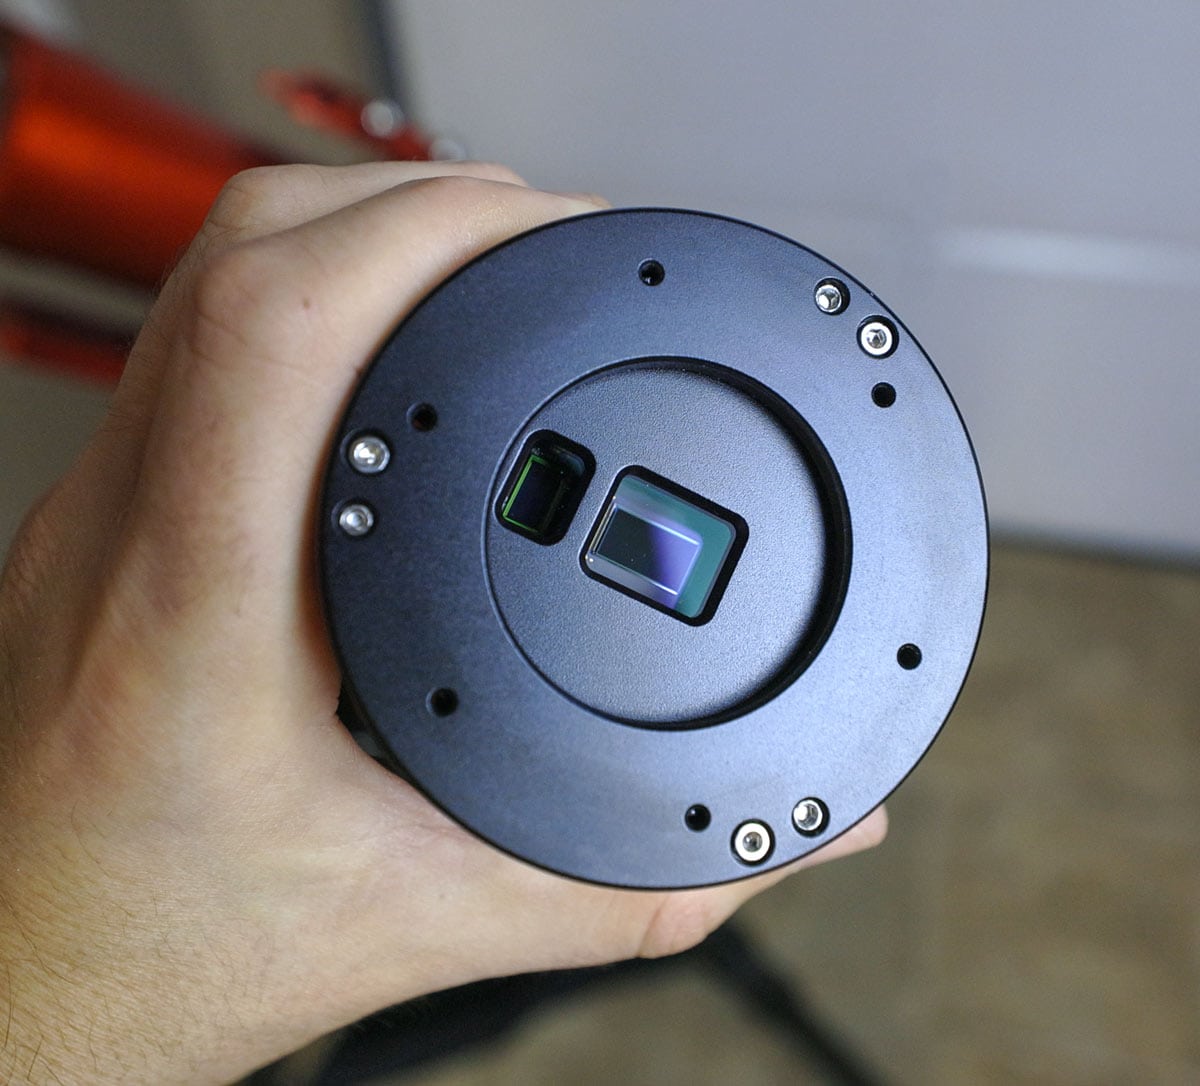
The ASI585MC Air uses a Sony IMX585 sensor.
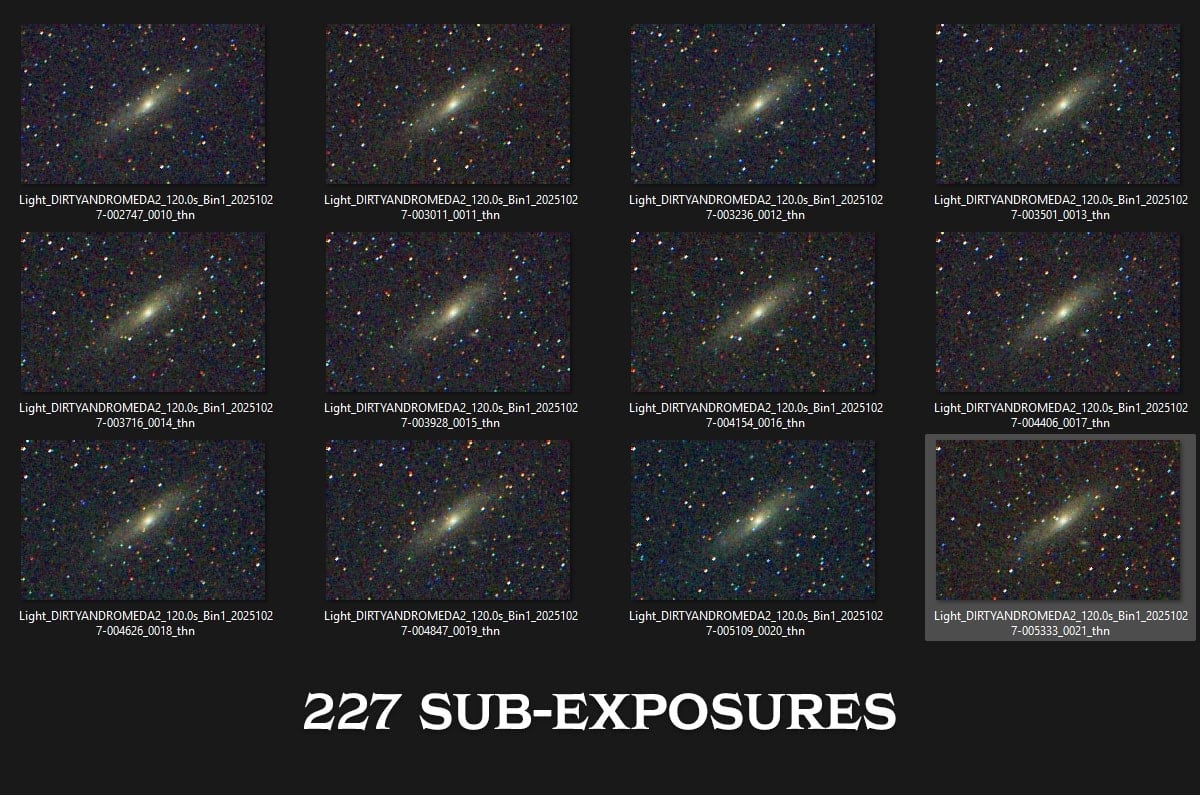
A 60-second sub from this camera may look noisy when stretched aggressively on its own. That does not mean it is a bad exposure. Once dozens or hundreds of calibrated frames are registered and integrated, the consistent target signal builds while random noise averages down.
Shorter subs can also preserve highlights. Bright stars and galaxy cores are less likely to saturate, which means better star color and fewer large, white stellar cores. This is particularly helpful when photographing areas such as the Orion Nebula, the Pleiades, or emission nebulae surrounded by bright stars.
There is a practical benefit, too. If wind, guiding, a neighbor’s light, or a passing cloud ruins one 60-second exposure, you have lost one minute. If it ruins a five-minute exposure, the loss is much more painful.
A satellite trail does not always require discarding a frame (good pixel rejection can often remove it when enough subs are available), but severe airplane trails, clouds, guiding jumps, and broad reflections may still make a sub unusable. Shorter exposures lower the amount of time at risk in every frame.
Related Article: The Best Image Stacking Software for Astrophotography.
Gain, Full-Well Capacity, and Dynamic Range
Gain and exposure length are connected, but “use longer exposures at lower gain” is not a universal rule. Increasing gain generally reduces read noise while also reducing the number of electrons represented before the recorded value clips.
Lower gain can preserve more per-frame highlight capacity, but it may come with higher read noise. Many modern cameras also have a high-conversion-gain mode where read noise drops sharply at a specific gain setting.
This is why I use a camera-specific gain rather than changing gain simply to force a preferred exposure length. The best setting depends on the sensor’s read-noise and full-well curves.
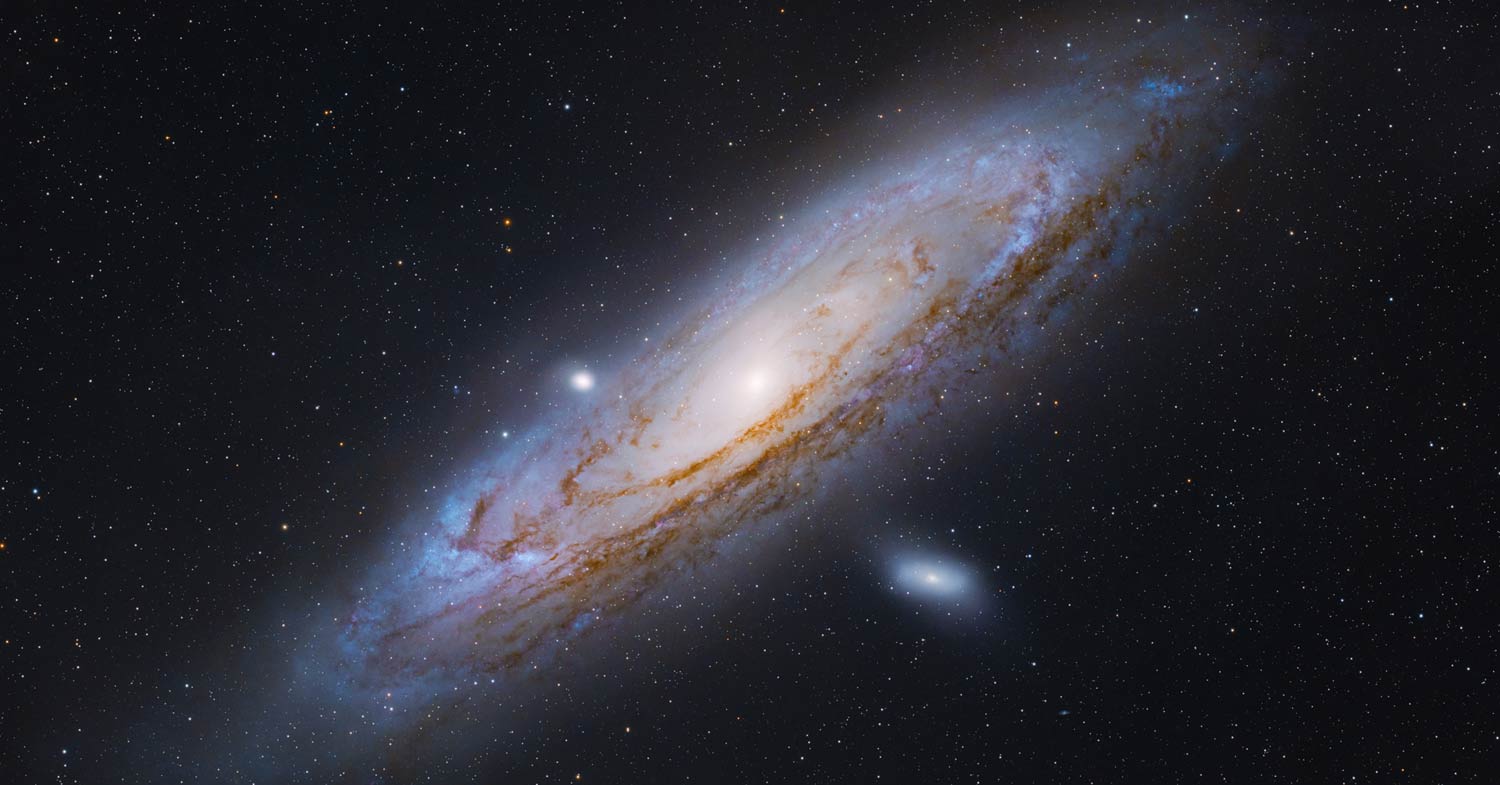
The Andromeda Galaxy captured using 180-second exposures at Gain 200 (ASI2600MC Air).
When testing 60 seconds against 180 seconds, I keep the gain fixed so I am actually measuring the effect of exposure time rather than changing two variables at once.
Do not judge dynamic range only from one subframe, either. A shorter exposure may hold fewer faint photons per frame, but it is also less likely to clip bright stars.
Stacking many properly calibrated short subs rebuilds depth while retaining those unsaturated highlights. For an extremely bright target such as M42, I may even combine short exposures for the core with longer exposures for the faint outer nebulosity.
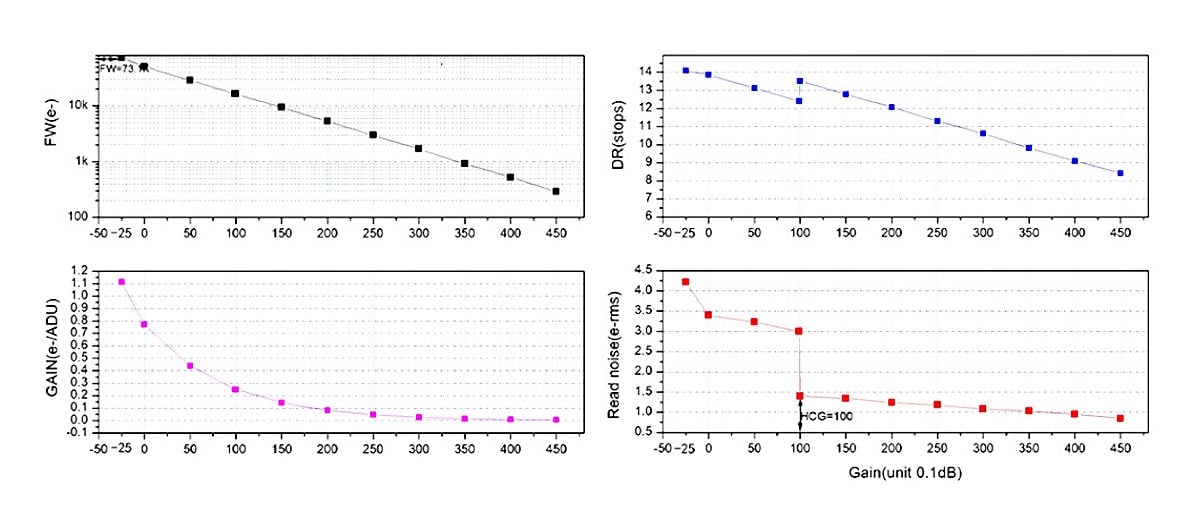
The listed camera specifications of the ZWO ASI2600MC Air.
Why 60 Seconds Works for My Broadband Images
Broadband imaging without a filter collects a lot of light, not only from the target, but also from the sky background. From my suburban backyard, that background rises quickly.
A five-minute unfiltered exposure can push the histogram farther than necessary and saturate a surprising number of stars.
This is where my move from 180-second to 60-second exposures makes sense. With the ASI585MC Air, one minute is often enough to record a healthy background signal while protecting the brighter parts of the image.
I can then concentrate on collecting more total time rather than making each individual frame longer.
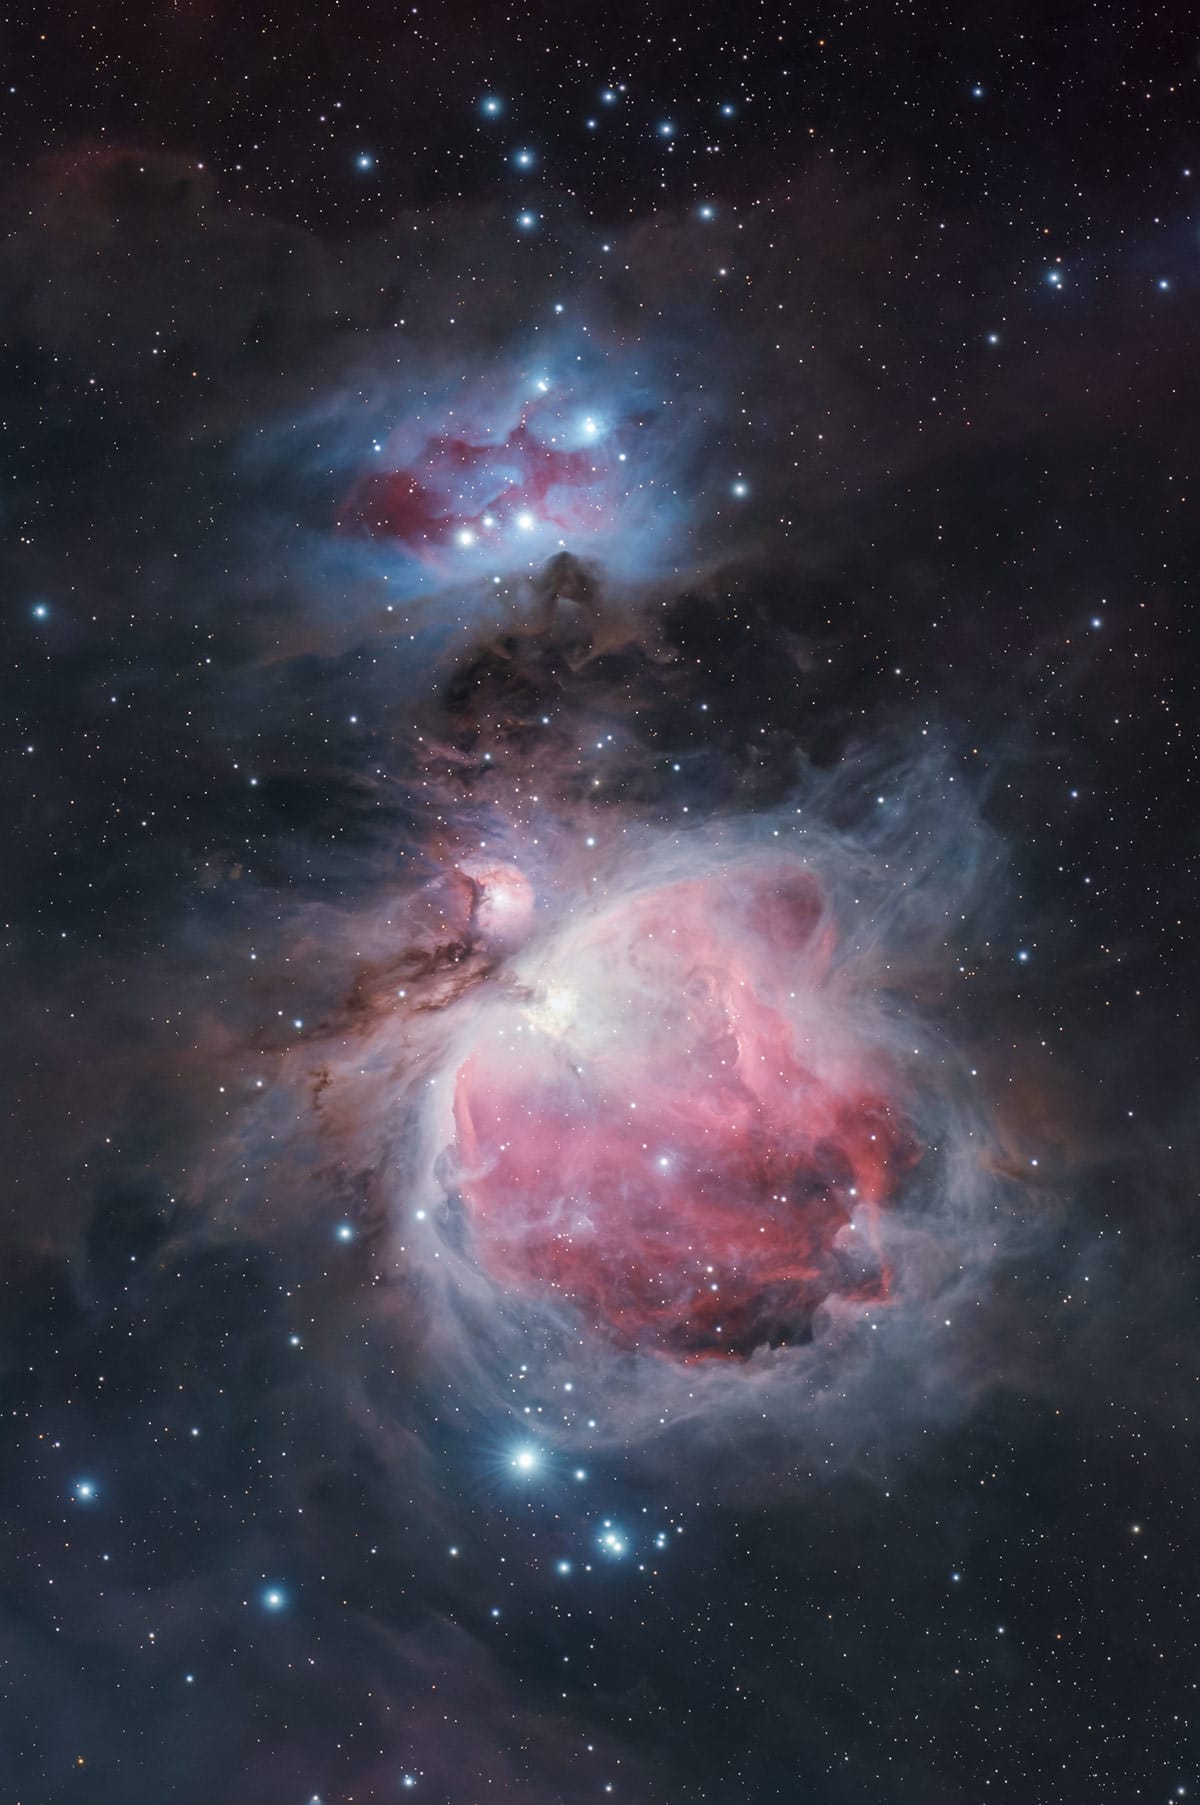
The Orion Nebula using only 60-second exposures (I made a video about this).
The exact threshold will change with camera gain, focal ratio, pixel size, sky brightness, target altitude, and filters. A fast f/3.8 telescope under Bortle 6 skies fills pixels much faster than an f/7 telescope at a dark-sky site.
A slower telescope is not automatically worse, but it generally needs more exposure time to deliver the same amount of light per pixel when the camera and sampling are otherwise comparable.
There is no universal exposure length that can be copied across every setup. Even at the same location, moonlight, haze, target altitude, and transparency can change the background enough to affect the answer.
Use the histogram and image statistics instead. The background should be clearly separated from the left edge, but not pushed so far that highlights are needlessly clipped.
Inspect the number of saturated pixels and the cores of bright stars. If the background is well recorded in 60 seconds and your stars are already beginning to saturate, five minutes will not reveal five times more usable detail.
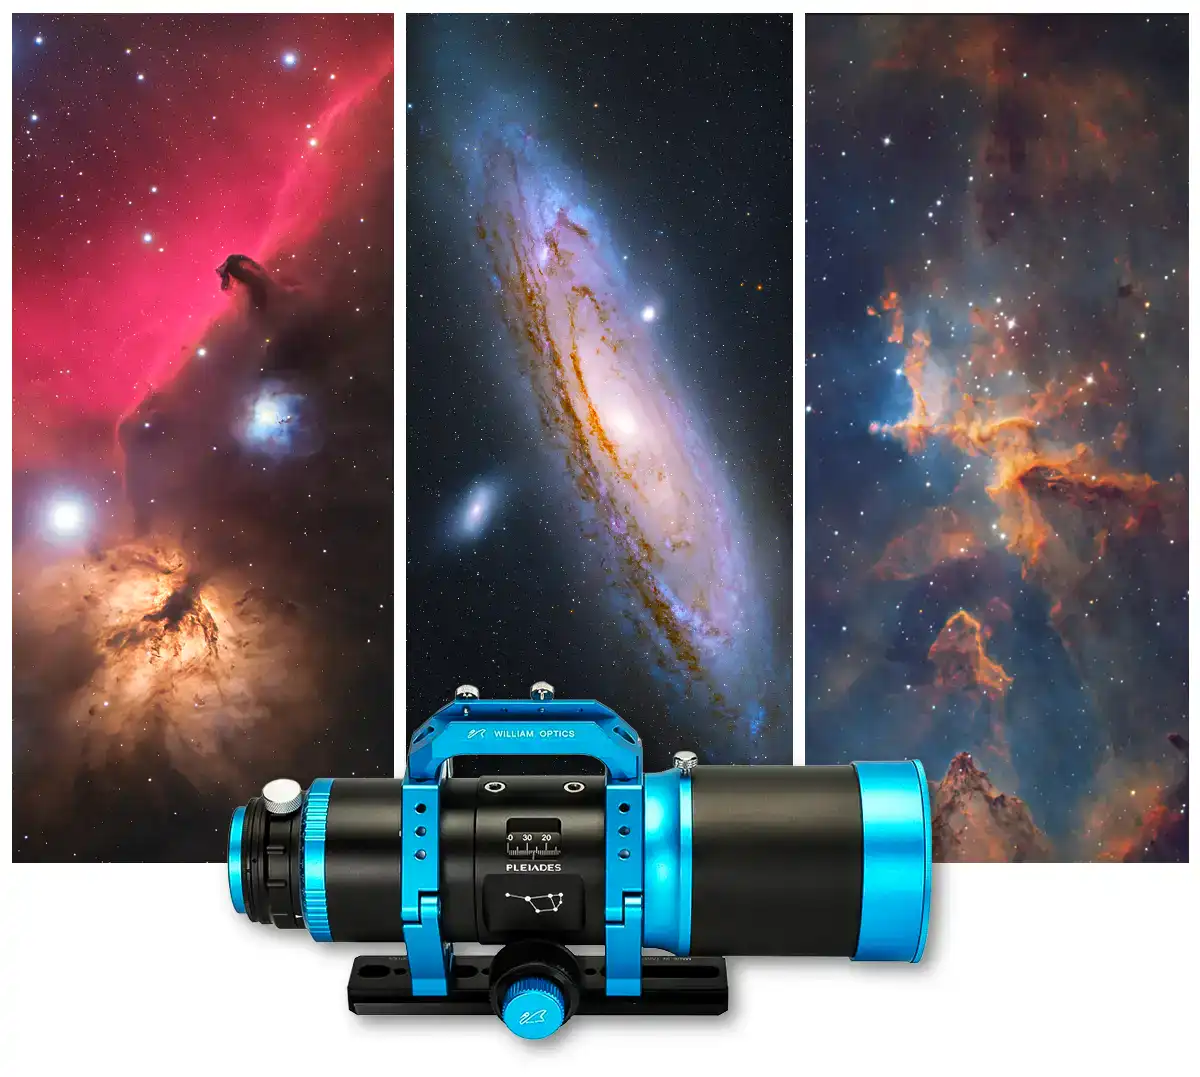
Related Article: The Best Telescopes for Astrophotography
Why Dark Skies Can Push the Exposure Longer
Several astrophotographers correctly point out that longer subs often become more useful under truly dark skies. The reason is not that a five-minute sub unlocks faint objects that shorter exposures can never record.
It is that the background signal rises more slowly when there is less light pollution, so a short sub may not get as far above the read-noise floor.
At my Bortle 6 backyard, skyglow can make a 60-second broadband exposure sky-noise limited quite quickly. At a Bortle 2 or Bortle 3 site, the same camera, telescope, gain, and exposure may record a much darker background.
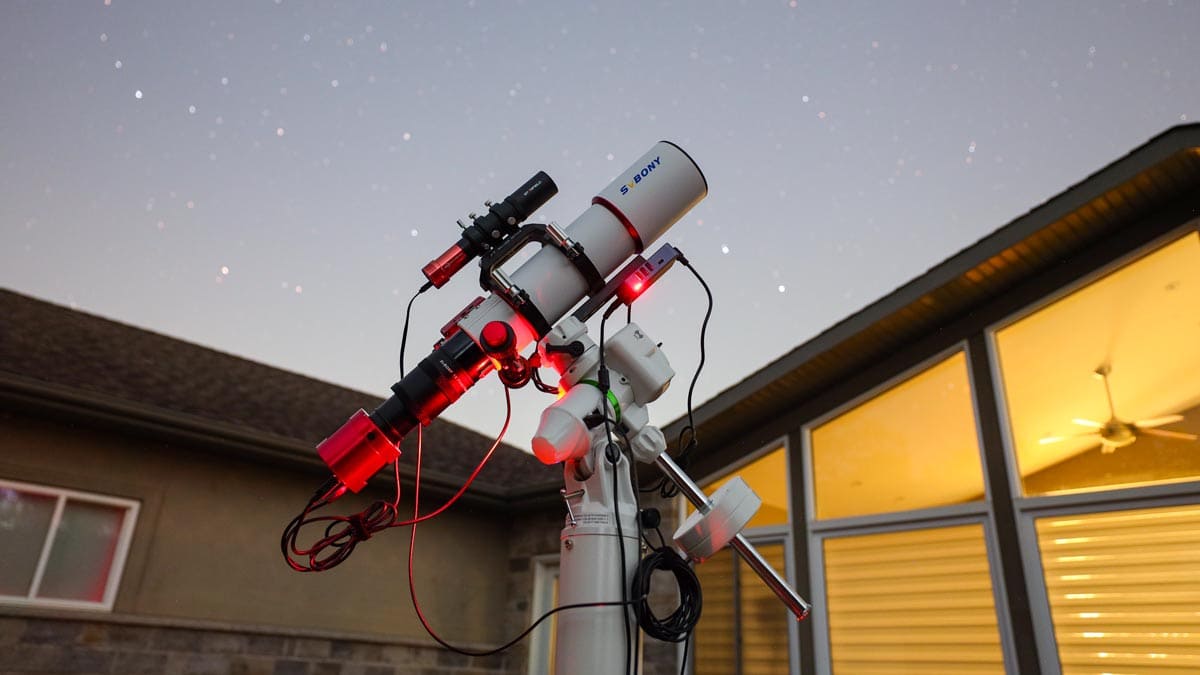
For my bright suburban backyard sky, 1-2-minute exposures make the most sense when shooting broadband.
Moving to 120, 180, or 300 seconds can reduce the read-noise penalty and keep the imaging run efficient. Dark skies improve both short and long exposures by reducing the unwanted sky background. The target signal itself does not become stronger, but it is recorded against substantially less skyglow.
If two dark-sky stacks have equal total time and the shorter subs are already long enough, however, the longer subs should not suddenly reveal vastly more faint detail. Their advantage is mainly avoiding unnecessary readouts and reducing the number of files.
This distinction matters for long projects. Extending the comparison from one hour to 20 hours does not, by itself, make three-minute subs pull dramatically farther ahead. Both stacks continue improving as total time increases.
The practical differences (read-noise efficiency, storage, overhead, calibration, rejection, and saturation) remain, but total integration does not change the underlying decision about whether a one-minute sub was long enough.
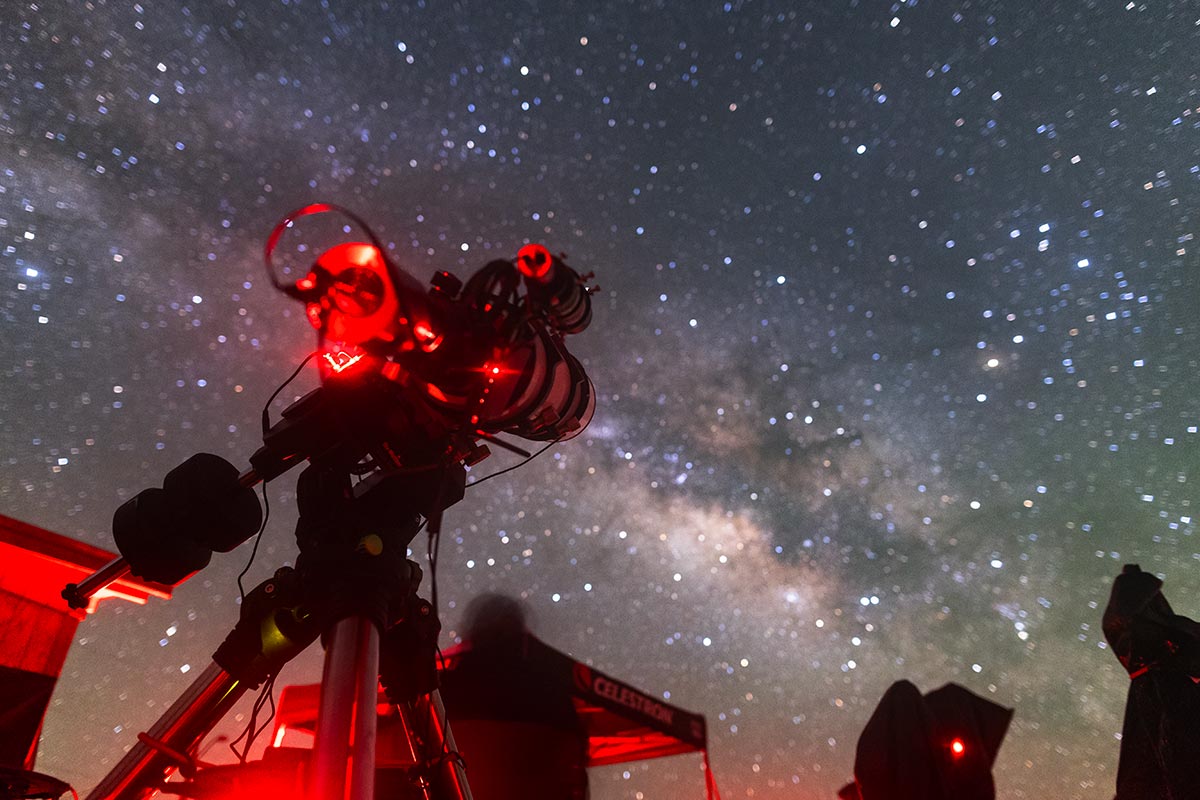
The incredible dark skies of the Texas Star Party (Bortle 1).
When Five-Minute Exposures Still Make Sense
I have not abandoned five-minute exposures. They remain useful when the incoming background and target signal are extremely weak.
A strong example is capturing OIII data through a 3nm narrowband filter through a monochrome camera. A 3nm filter rejects most broadband skyglow and moonlight outside its narrow passband, which is exactly why it works so well under light pollution and moonlight.
The trade-off is that very little background light reaches the sensor. OIII is also much weaker than hydrogen-alpha in many emission nebulae.
In that situation, a 60-second sub may not collect enough background and target signal to comfortably minimize the camera’s read-noise contribution. Moving to 300 seconds (or potentially longer) can be justified.
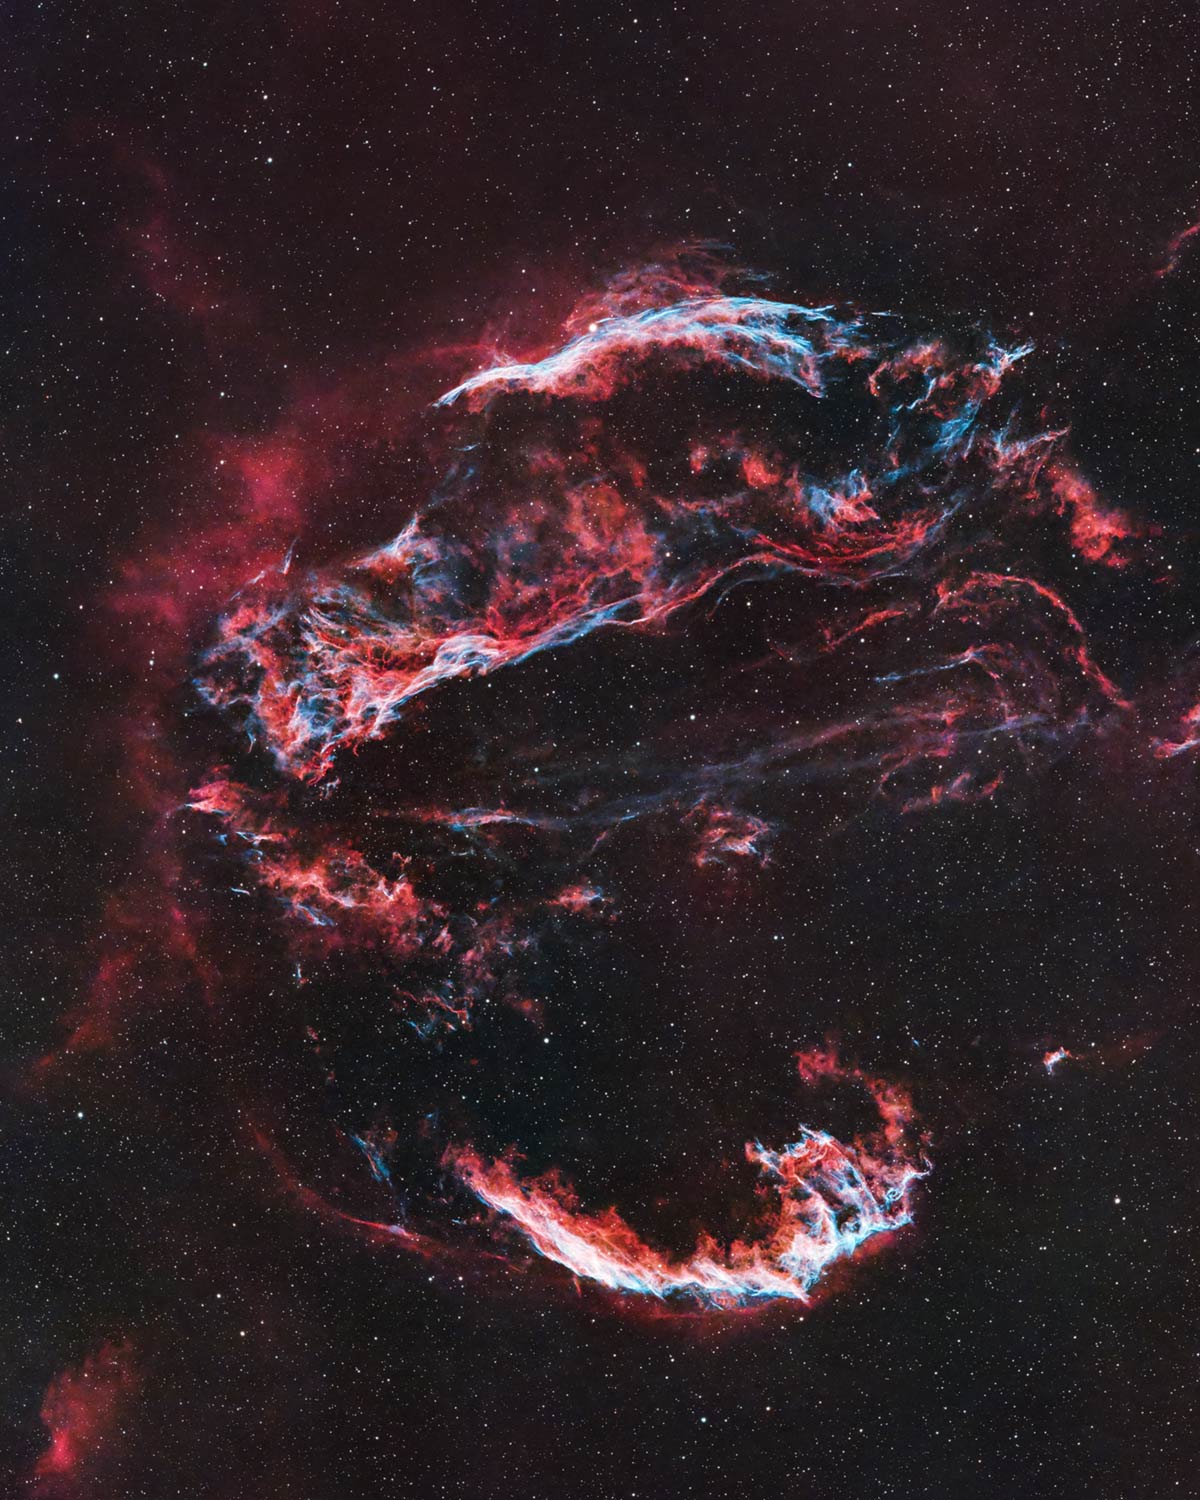
I used 5-minute exposures through my dual-band filter (Ha/OIII) to capture this image of the Veil Nebula Complex.
The same can be true for famously faint targets such as the Squid Nebula. Longer subs can make acquisition and registration easier when very little signal appears in each frame. They also reduce the file count for a project that may require many nights of data.
Longer subs can also make sense with slow optical systems, exceptionally dark skies, low-gain settings, older cameras with higher read noise, or faint narrowband targets.
If the background remains very close to the left side and image statistics show that read noise is still important, increasing the exposure length is technically useful, not merely traditional.
The key distinction is that a five-minute sub should solve a real signal or workflow problem. It should not be selected simply because your telescope mount is capable of tracking for five minutes.
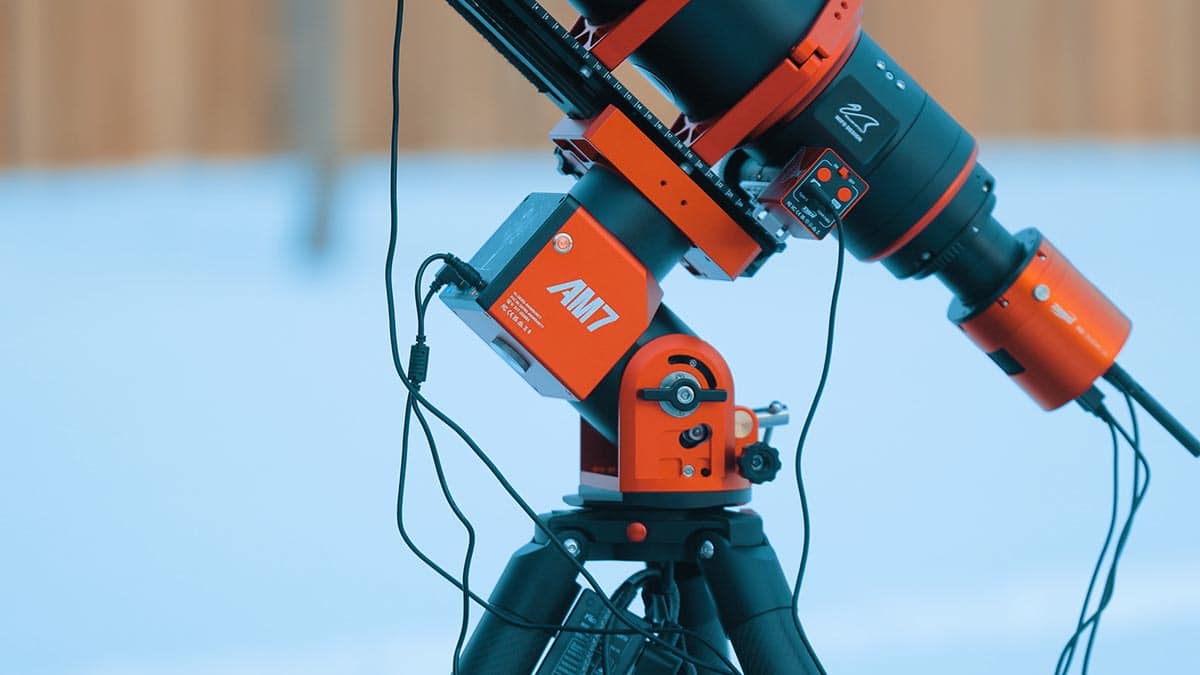
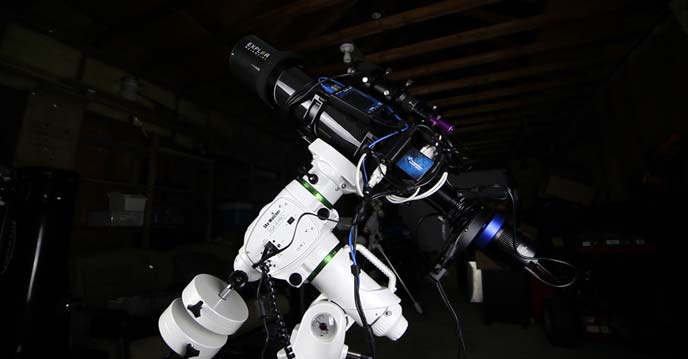
My ZWO AM7 mount is more than capable of 5-minute (or 10-minute) exposures, but it doesn’t always make sense to choose that exposure length.
Calibration and Fair Comparisons Matter
Short, low-signal subs leave less room for sloppy calibration. A dust shadow, gradient, or offset mismatch repeated across hundreds of frames will not disappear simply because the stack is large.
Hot pixels can often be removed through calibration, dithering and statistical rejection, but they should not be ignored during acquisition.
Use appropriate flats, darks or dark flats, and a consistent offset for the camera and acquisition mode. Flats are especially important for a dusty reflection nebula such as the Iris.
Real background dust, optical vignetting, and sensor dust shadows can overlap visually, and an aggressive stretch makes every calibration problem easier to see. Proper flats help ensure that the faint structures being compared actually belong in the sky.
Processing can also exaggerate small differences. One stack may respond better to an identical stretch simply because its background level is slightly different.
For a meaningful comparison, I first inspect the calibrated linear integrations, normalize their display, and then apply the same basic processing. After that, I may optimize each stack separately to see how good each dataset can look in practice.
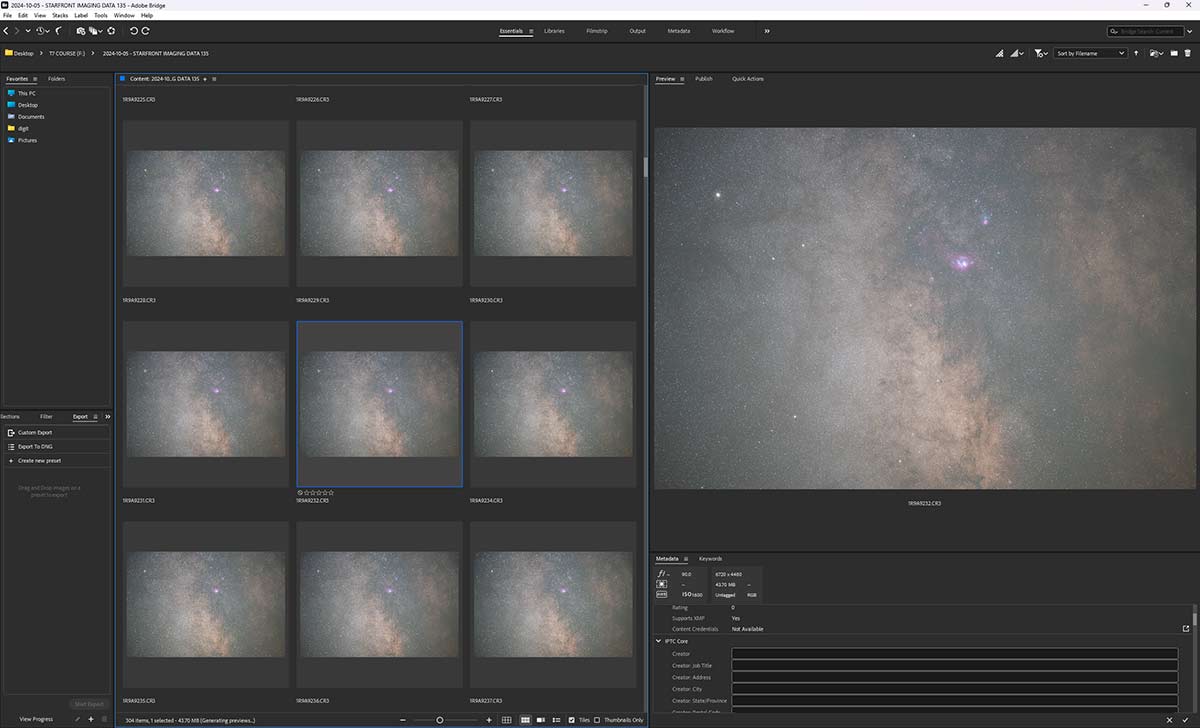
My sweet spot: 90 seconds. With my mirrorless camera and lens mounted on a star tracker, 90-second exposures provide an excellent balance under dark skies. It’s long enough to capture strong Milky Way detail, but short enough to keep tracking errors and lost frames under control.
What Modern Processing Tools Change (and What They Don’t)
Modern processing software has made shorter-sub workflows much more forgiving. It has not rewritten the physics, but it lets us use well-collected data more effectively.
BlurXTerminator can improve stellar profiles and recover detail lost to atmospheric and optical blur. I normally use it while the image is still linear, before stretching. Shorter exposures also give image-weighting and rejection tools smaller slices of the night to evaluate. A poor minute can be down-weighted or rejected without sacrificing the other four minutes that would have been bundled into one longer exposure.
This does not mean a 60-second deep-sky exposure “freezes” the seeing. Atmospheric seeing changes far faster than that. Shorter subs simply make it less likely that a brief gust, guiding jump, or period of poor conditions will affect a large block of integration time.
NoiseXTerminator is extremely effective at reducing the remaining noise in an integrated image. A stack of 60-second subs may look grainier than expected before noise reduction, especially when first stretched. NoiseXTerminator can clean up that background while preserving real structure. My usual order is BlurXTerminator first, followed by NoiseXTerminator, because deconvolution should work on linear data that has not already been noise-reduced.
Generalized Hyperbolic Stretch, or GHS, provides more control over how the linear image is brought into the visible range. Rather than applying one aggressive global stretch, I can protect the background and brighter stars while selectively increasing contrast in faint nebulosity. This is particularly helpful when the stack contains strong faint signal but does not look dramatic at first glance.
These tools do not manufacture photons. NoiseXTerminator cannot fully rescue data that never rose far enough above the combined noise, and BlurXTerminator cannot restore detail that was never sampled. GHS cannot reveal a faint OIII shell that was not recorded. They do, however, reduce the pressure to make every subframe look good by itself. The quality of the calibrated integration is what matters.

I use Generalized Hyperbolic Stretch (GHS) to fine-tune my stretching in PixInsight.
The Trade-Offs of Going Shorter
Short subs are not free of disadvantages. A four-hour project captured at 60 seconds creates 240 light frames. At five minutes, it creates only 48. More frames mean more storage, longer calibration and registration, and a heavier workload for WBPP.
Fortunately, the ASI585MC Air produces relatively compact 3840 x 2160 files (about 16 MB each in my workflow) so processing a few hundred exposures remains manageable.
Higher-resolution APS-C and full-frame cameras can turn the same strategy into hundreds of gigabytes surprisingly quickly. For a 20-hour or 100-hour project, file count may be a perfectly valid reason to use longer subs, provided they do not create other problems.
Download and dither time also reduce the amount of the night spent collecting light. If a camera needs three seconds to save each file, 240 short exposures create more total dead time than 48 long exposures.
This is rarely enough to justify badly saturated five-minute subs, but it belongs in the calculation.
Related Article: My Complete Image Processing Workflow in PixInsight and Photoshop
Dithering is an even larger source of overhead. If you dither after every 60-second frame and the sequence takes 15 seconds to settle, a substantial part of the night is spent waiting.
Dithering every three to five frames is often more efficient, depending on the camera, mount, and acquisition software. The goal is to maintain enough dither positions for calibration and rejection without interrupting every minute of imaging.
Longer exposures also demand more from the mount, polar alignment, guiding, cables, and wind protection. Excellent tracking does not make a sub technically better once it is already long enough, but poor tracking can certainly make a long sub worse.
A slightly shorter exposure that consistently produces round stars may deliver more usable integration by morning.
The Smart Telescope Approach
Smart telescopes take a different approach to exposure time. Rather than capturing a smaller number of long exposures, models like the ZWO Seestar S30 Pro typically collect hundreds of short sub-exposures—often around 10 seconds each—and automatically align and stack them into a finished image.
A single 10-second exposure may look noisy and reveal very little detail. However, as more frames are added, the random noise begins to average out while the consistent signal from the target becomes stronger. The improvement is gradual, but after 30 minutes, an hour, or longer, faint structures can become surprisingly clear.
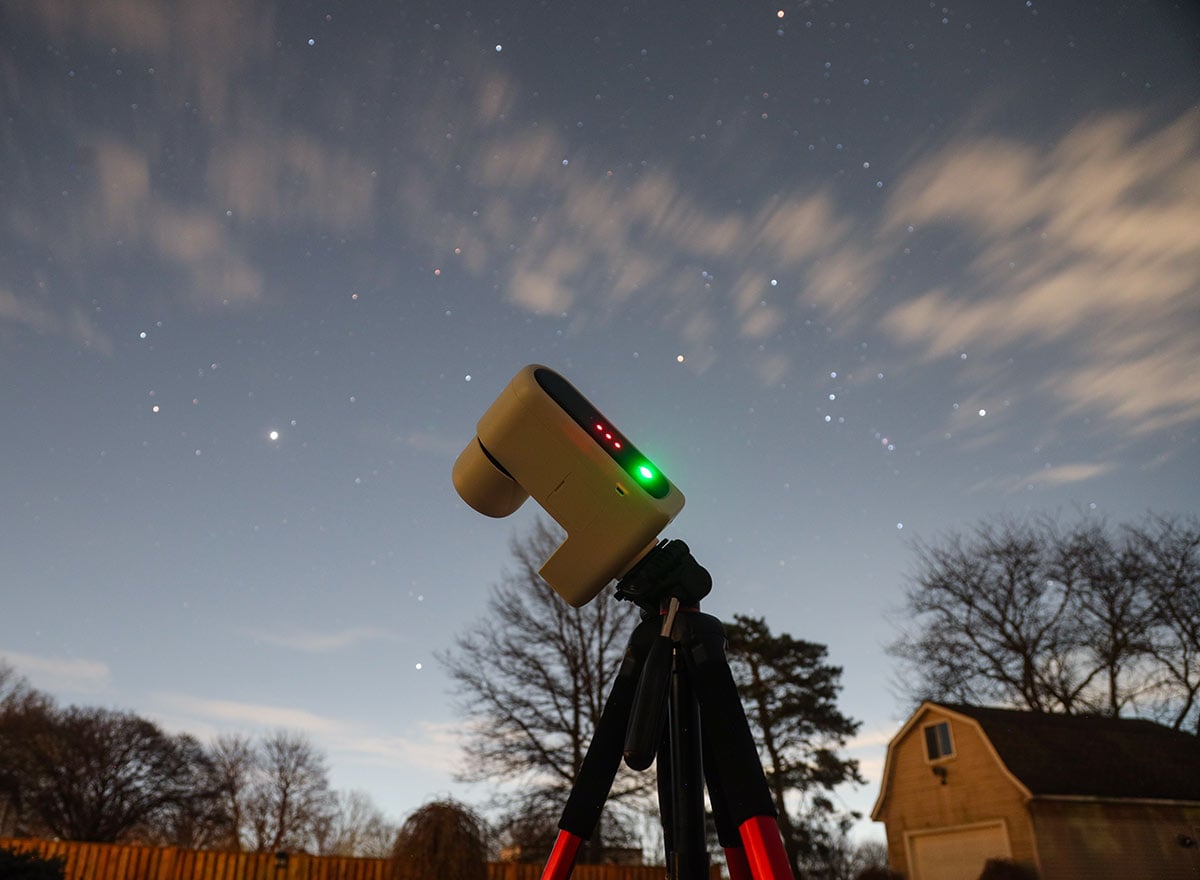
Capturing 30-second exposures in EQ mode using the Seestar S30 Pro.
These short exposures also suit the Alt-Az tracking design used by most smart telescopes. Because the mount follows the sky in altitude and azimuth rather than rotating around the celestial pole, the field of view slowly rotates during a long session.
Short subs help keep individual stars sharp, while the telescope’s software aligns each frame and compensates for the changing orientation. Some data around the edges will eventually be cropped as the field rotates.
This approach may not provide the same per-frame signal as a traditional equatorial astrophotography rig, but it makes deep-sky imaging remarkably accessible.
Smart telescopes demonstrate that one long exposure is not essential when software can intelligently combine a large number of shorter ones.
Starting Exposure Times I Would Test
These are practical starting points rather than fixed rules. I still inspect the histogram, image statistics, stars, and faint signal before committing to an entire night.
| Imaging Situation | Starting Range | What I Would Watch |
|---|---|---|
| Broadband from a light-polluted backyard | 30–90 seconds | Sky background and saturated stars |
| Broadband under dark skies | 120–300 seconds | Whether short subs remain read-noise limited |
| Dual-band filter with a color camera | 120–300 seconds | Target strength, filter bandwidth, and star clipping |
| 3nm narrowband with a mono camera | 300 seconds or longer | The weakest channel, often OIII or SII |
| Bright, high-dynamic-range target | 10–60 seconds, plus longer data if needed | Clipped cores and lost star color |
The ideal setting can fall outside these ranges. A fast telescope, bright Moon, high gain, or Bortle 9 sky may push it shorter. Slow optics, very dark skies, a weak narrowband channel, or a higher-read-noise camera may push it longer.
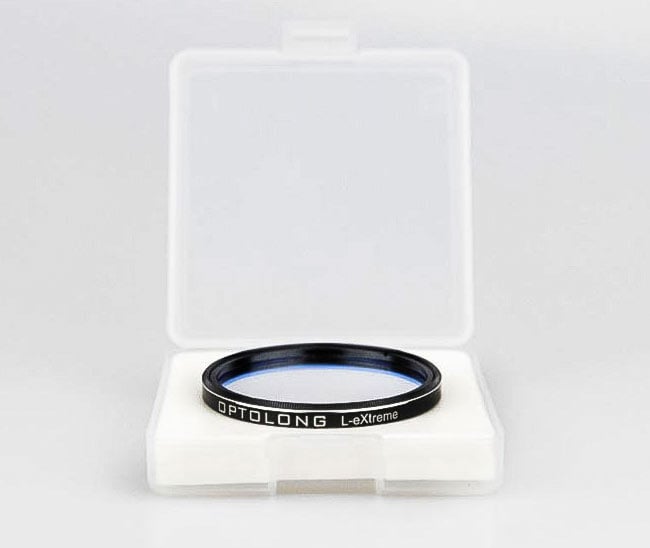
My favorite dual-band filter for capturing emission nebulae (using 300-second exposures) from home is the Optolong L-eXtreme.
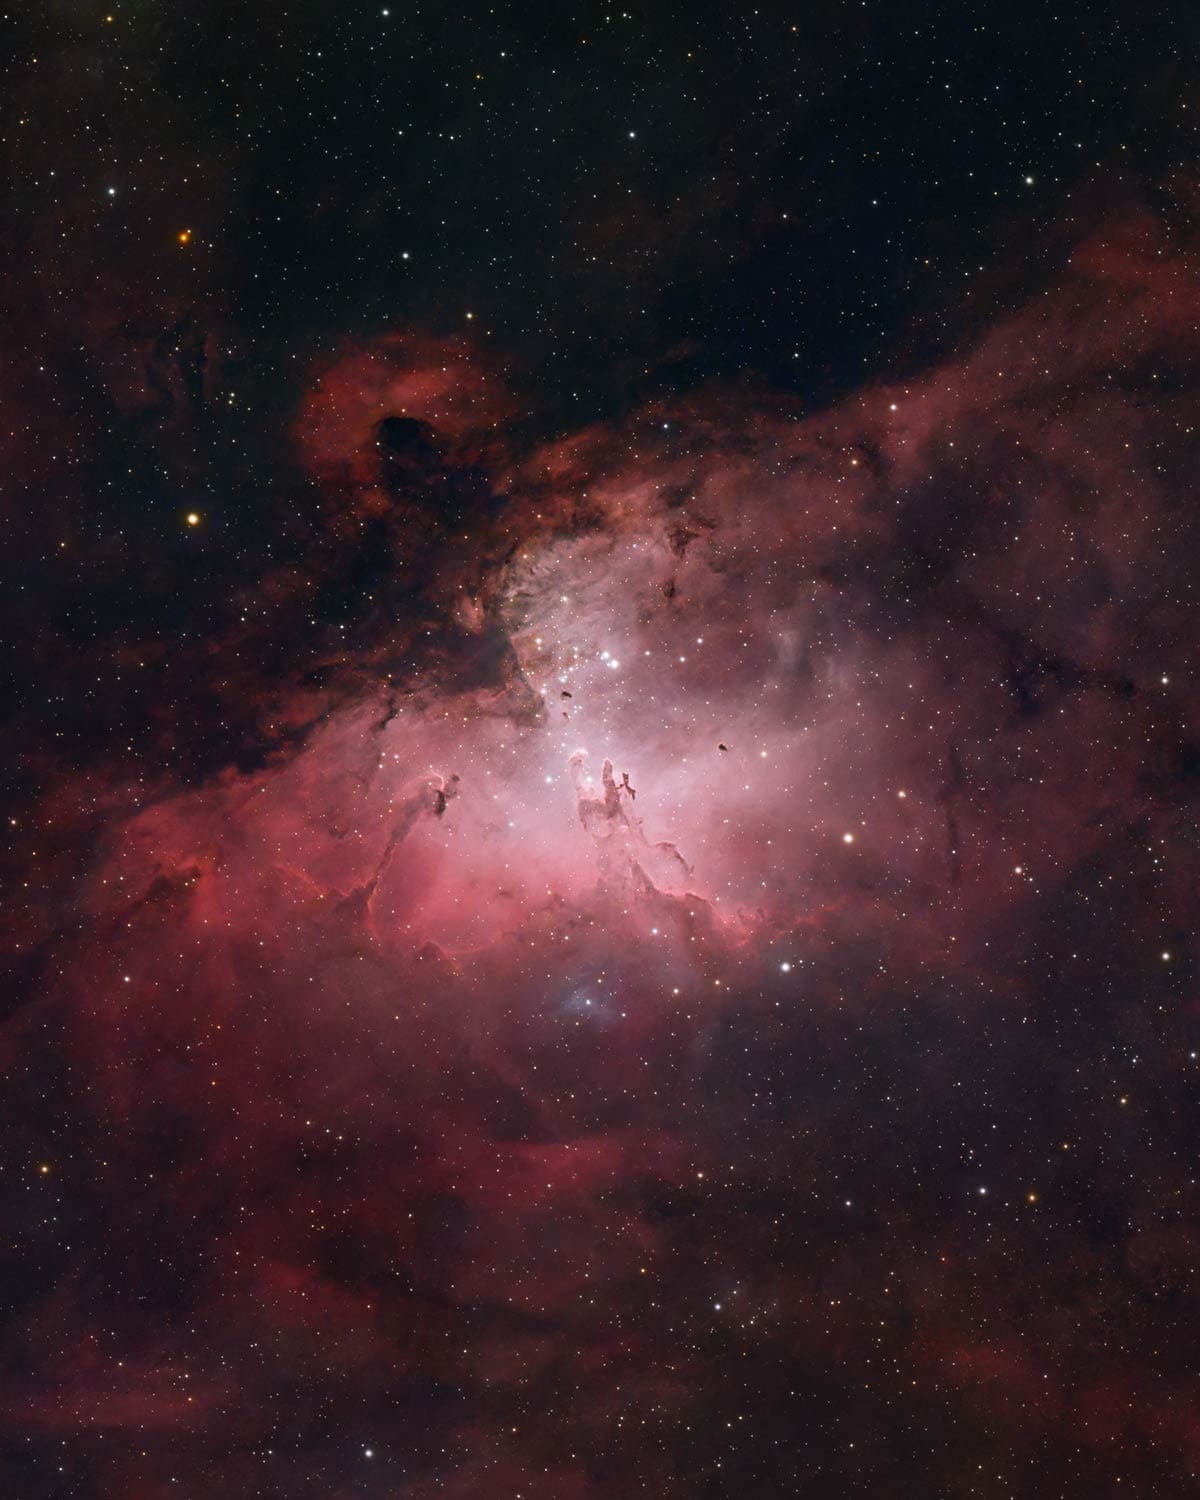
The Eagle Nebula in broadband using 180-second exposures.
How I Choose an Exposure Length Today
I now treat exposure length as a setting to test, not a badge of honor. I take a representative exposure at my intended gain and inspect five things:
- Is the background clearly recorded above the left edge?
- How many pixels and bright stars are saturated?
- Are the stars round and consistently sharp?
- Does faint target signal register reliably enough for calibration and stacking?
- Is the file count and sequence overhead practical for the full project?
For unfiltered broadband imaging with a modern cooled CMOS camera, I am increasingly comfortable starting at 60 seconds. Under darker skies or with a slower telescope, I may move to 120 or 180 seconds.
With a dual-band filter, two to five minutes may be appropriate. For faint OIII through a 3nm filter, five minutes remains a sensible starting point.
I also consider the mount, wind, target altitude, and how many files I want to process. The mathematically perfect exposure is not always the most practical exposure.
A slightly shorter setting that produces consistently sharp frames can outperform a longer setting with a higher rejection rate.
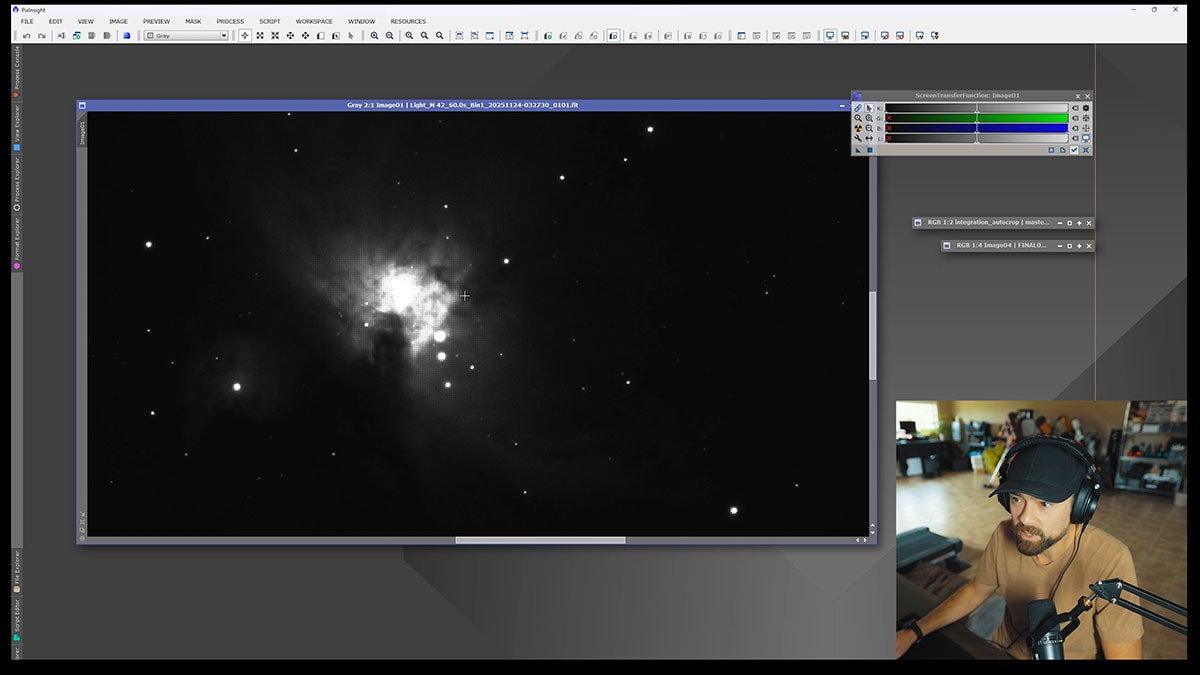
I challenged myself to create a high-dynamic-range image of the Orion Nebula using only 60-second exposures.
Total Integration Time Still Wins
The biggest mistake is obsessing over subexposure length while neglecting total integration time.
A single five-minute frame contains five times the exposure of a single one-minute frame, but five properly exposed one-minute frames contain the same total photon-collecting time. After stacking, the difference can be much smaller than many people expect.
So, do you really need five-minute exposures anymore? For most broadband projects with a modern CMOS camera, no. 1-3 minute subs can be more than enough, and 60 seconds has become a productive broadband setting for my ASI585MC Air.
But the answer is not that short subs always win. Narrow filters, weak OIII signal, slow optics, dark skies, camera gain, and higher read noise can all push the ideal exposure longer.

With clear nights being rare in the backyard, I am satisfied if I collect at least 10 hours of data on a project.
Storage, download time, and stacking workload matter, too. Five minutes is still a valuable tool; it is simply no longer the automatic goal. Choose the shortest exposure that keeps the read-noise contribution acceptably small without sacrificing too many highlights.
Then choose a setting your mount, computer, and imaging conditions can sustain efficiently. Once you have done that, stop worrying about making every frame five minutes long and spend that energy collecting more total time.
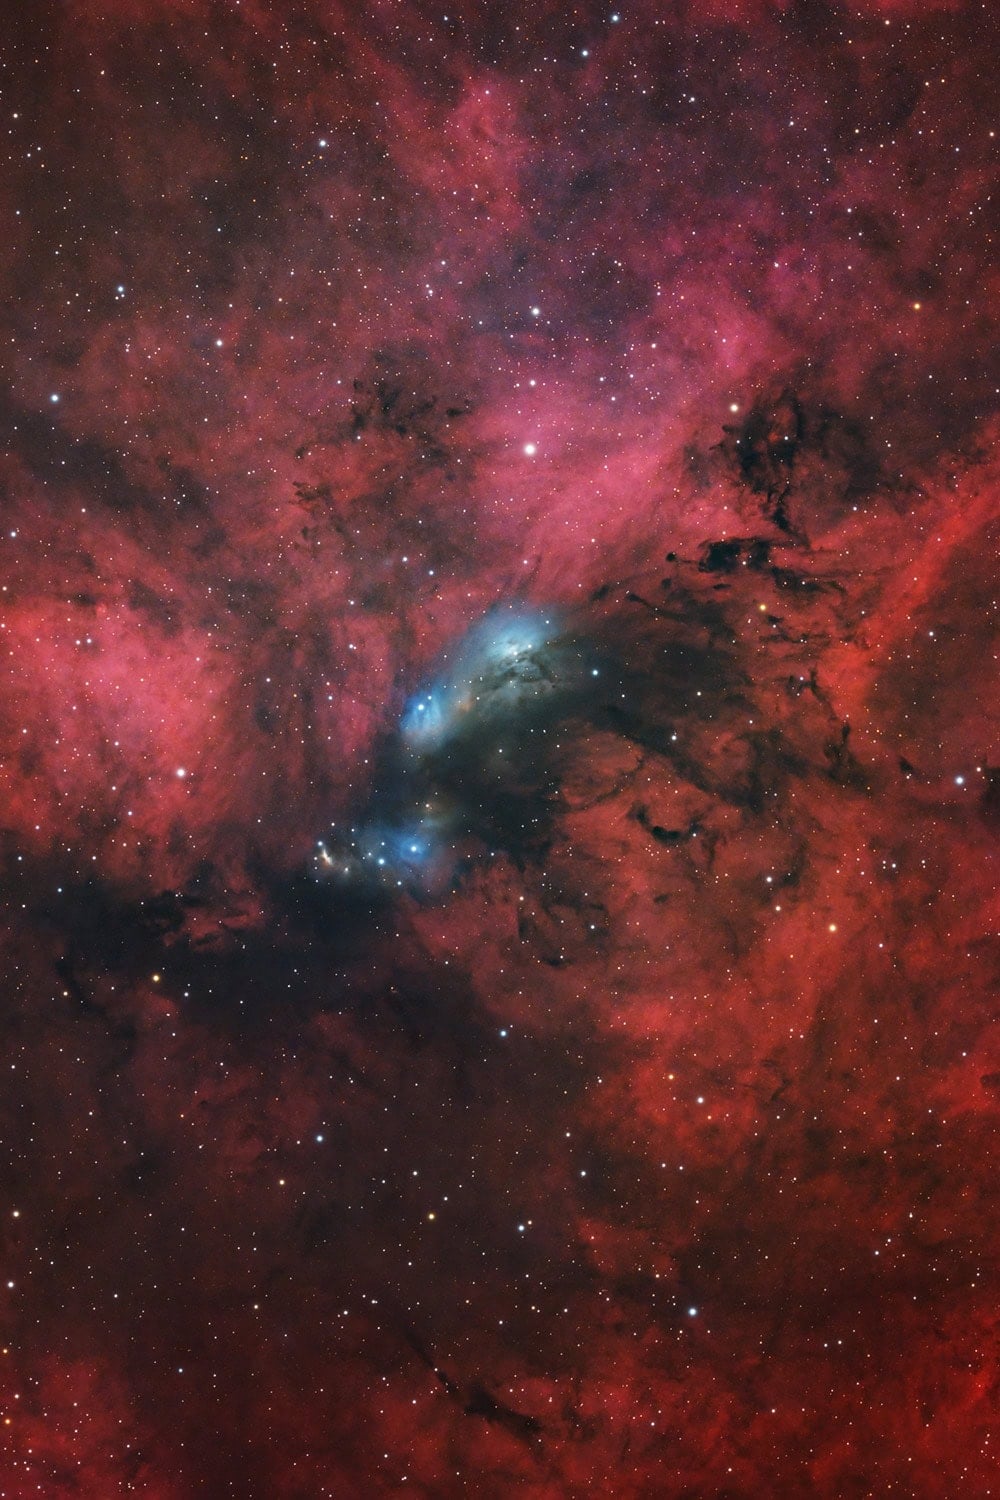
I captured almost 9 hours over 3 nights on NGC 6914.
Trevor Jones is an astrophotographer and a valued member of the RASC. His passion is inspiring others to start their astrophotography journey on YouTube so they can appreciate the night sky as much as he does. His images have been featured in astronomy books and online publications, including the NASA Astronomy Picture of the Day (APOD).
Related Content:
- The Best Astrophotography Telescopes Available in 2026 (With Picture Examples)
- Which Smart Telescope Should You Choose in 2026? (Full Comparison)
- Choosing an Image Stacking Software (The Best Options)