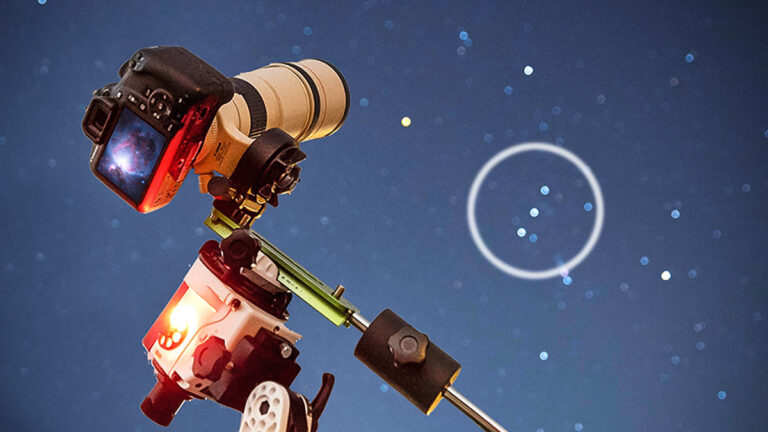
Astrophotography Noise (and How to Fix It)
The best way to reduce noise in astrophotography is to improve your signal-to-noise ratio by taking more pictures.
By taking multiple exposures and stacking your images to average out random noise, you can dramatically improve your astrophotography images.
You can further improve your final image data by taking calibration frames to remove sensor artifacts and by shooting in RAW image format for maximum processing capabilities.
For a better understanding of how you can reduce and correct astrophotography noise, read on!
Related Article: Understanding Astrophotography Terms: A Glossary
Astrophotography Noise (And How To Fix It)
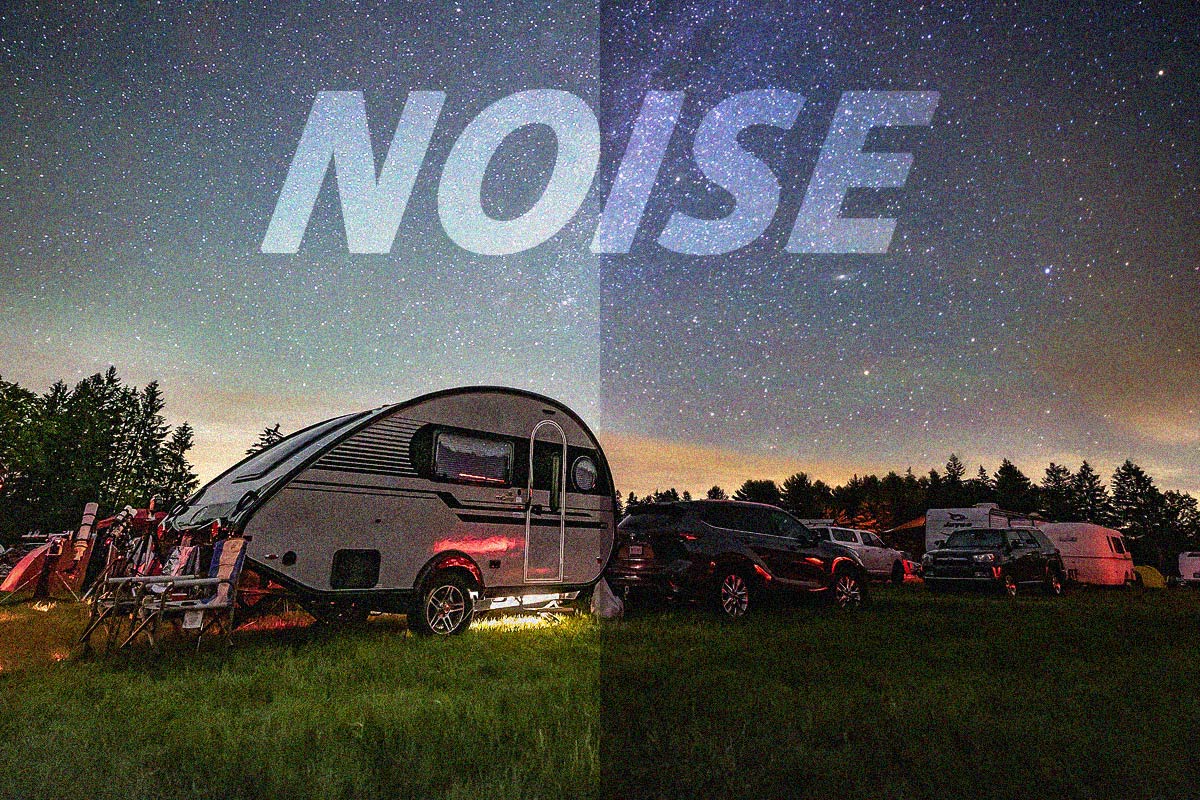
If you’ve just taken your first photo of the night sky and it looks grainy, speckled, or covered in colorful blotches, don’t worry, you’re not doing anything wrong.
That “snowy” look in your image is called noise, and it’s one of the most common challenges beginners face in astrophotography.
Noise is normal, and with the right techniques, you can dramatically reduce it and reveal the clean, detailed night sky image you were hoping for.
In this article, I’ll explain how to reduce noise in astrophotography by harnessing the power of the signal-to-noise ratio.
What Causes Noise in Astrophotography?
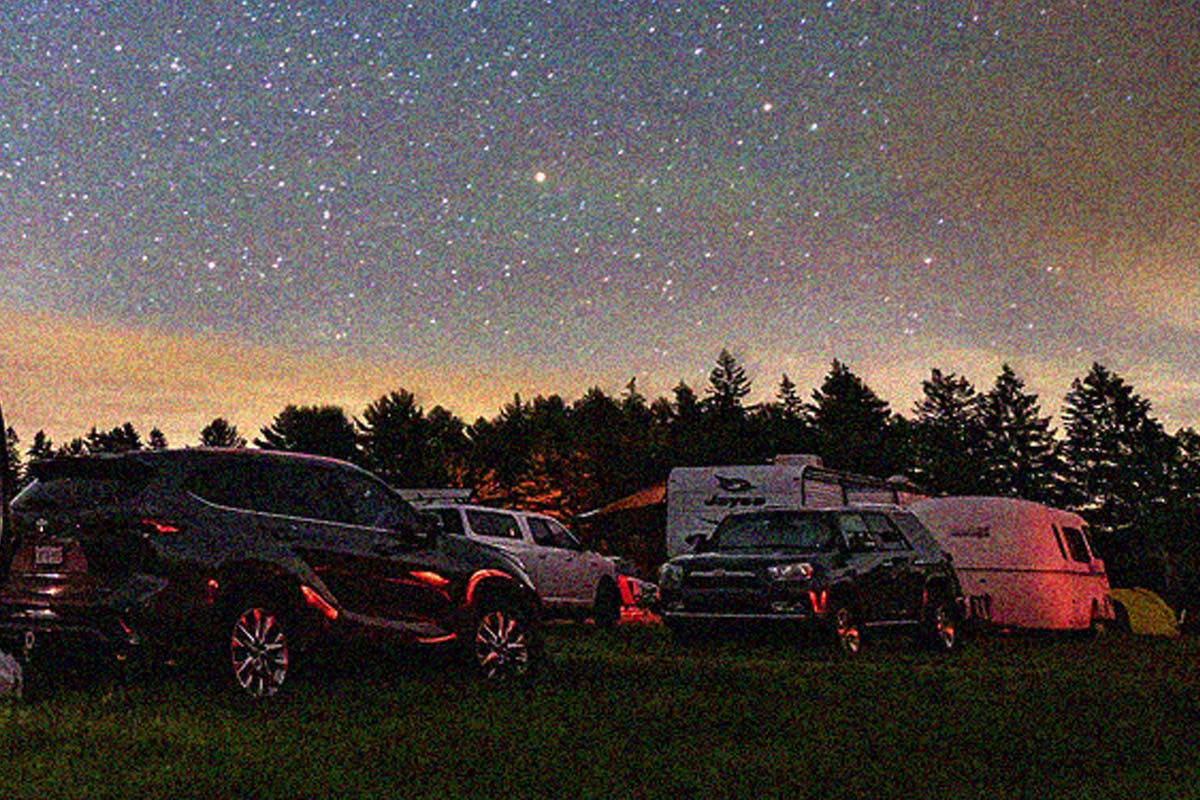
Astrophotography pushes a camera sensor to its limits. You’re pointing your lens or telescope at incredibly faint objects in near-total darkness, so the camera has to work overtime to collect enough signal.
If you have ever taken a long exposure image with your DSLR camera at night using a high ISO setting, you’ll know exactly what I am talking about.
Here are the main culprits of astrophotography noise:
-
- Low Signal-to-Noise Ratio (SNR): The faint light from stars and galaxies is barely brighter than the background, so random fluctuations in the sensor show up as noise.
- High ISO or Gain: Increasing the ISO setting makes the sensor more sensitive, but it also amplifies noise.
- Long Exposures + Heat: The warmer your camera sensor gets, the more thermal noise appears.
- Light Pollution: Extra skyglow brightens the background and exaggerates noise in stacked images.
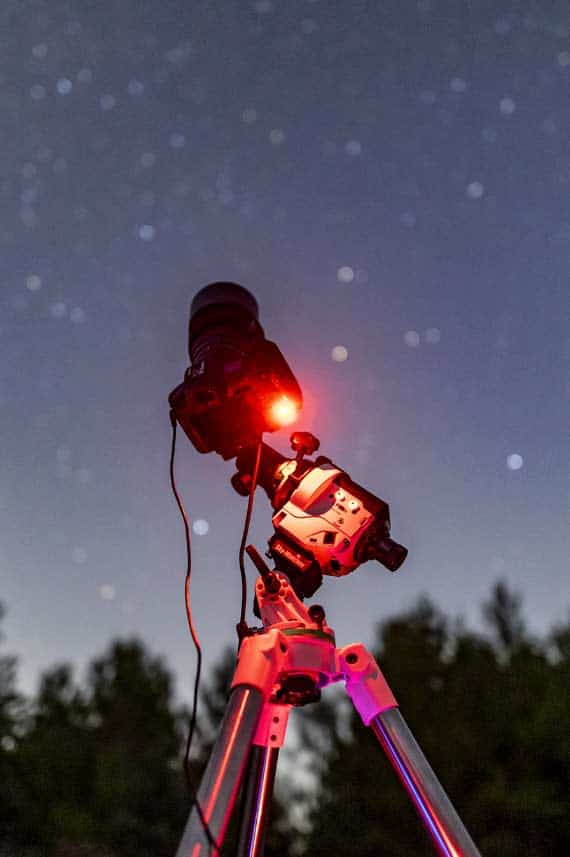
Thermal noise can be dramatically reduced by using a cooled dedicated astronomy camera. These types of CMOS sensor cameras use thermoelectric cooling (TEC) to bring the sensor temperature down as much as -20°C below the ambient temperature.

Quick Fixes You Can Try Tonight
The best way to combat noise is to provide your camera with more signal to work with. This is what image stacking software was designed for, and why you should always take multiple shots when doing astrophotography.
Here are some simple steps you can try right away:
- Take More Shots (Stacking): Instead of one long exposure, capture many shorter ones and combine them in software. This averages out random noise while keeping real detail.
- Lower ISO (Within Reason): Modern cameras perform better at moderate ISO values (e.g., ISO 800–1600) with longer exposures. Don’t crank it higher than needed.
- Use Calibration Frames: Dark frames reduce hot pixels, flats correct uneven lighting, and bias frames eliminate read noise. Together, they make a big difference.
- Cool Your Camera: A cooled astronomy camera can be extremely helpful, but even DSLR users can benefit from shooting in cooler nighttime temperatures or giving the camera breaks.
- Shoot in RAW: JPEG files discard fine details and lock in noise. RAW keeps everything for later cleanup.
Always Shoot in RAW
Shooting your astrophotography images in RAW format is one of the easiest ways to reduce noise. RAW files preserve all of the light data your camera captures, unlike JPEGs, which compress and discard valuable information. This provides more flexibility in stacking, calibration, and editing, which is crucial for reducing noise in astrophotography and revealing faint details in the night sky.


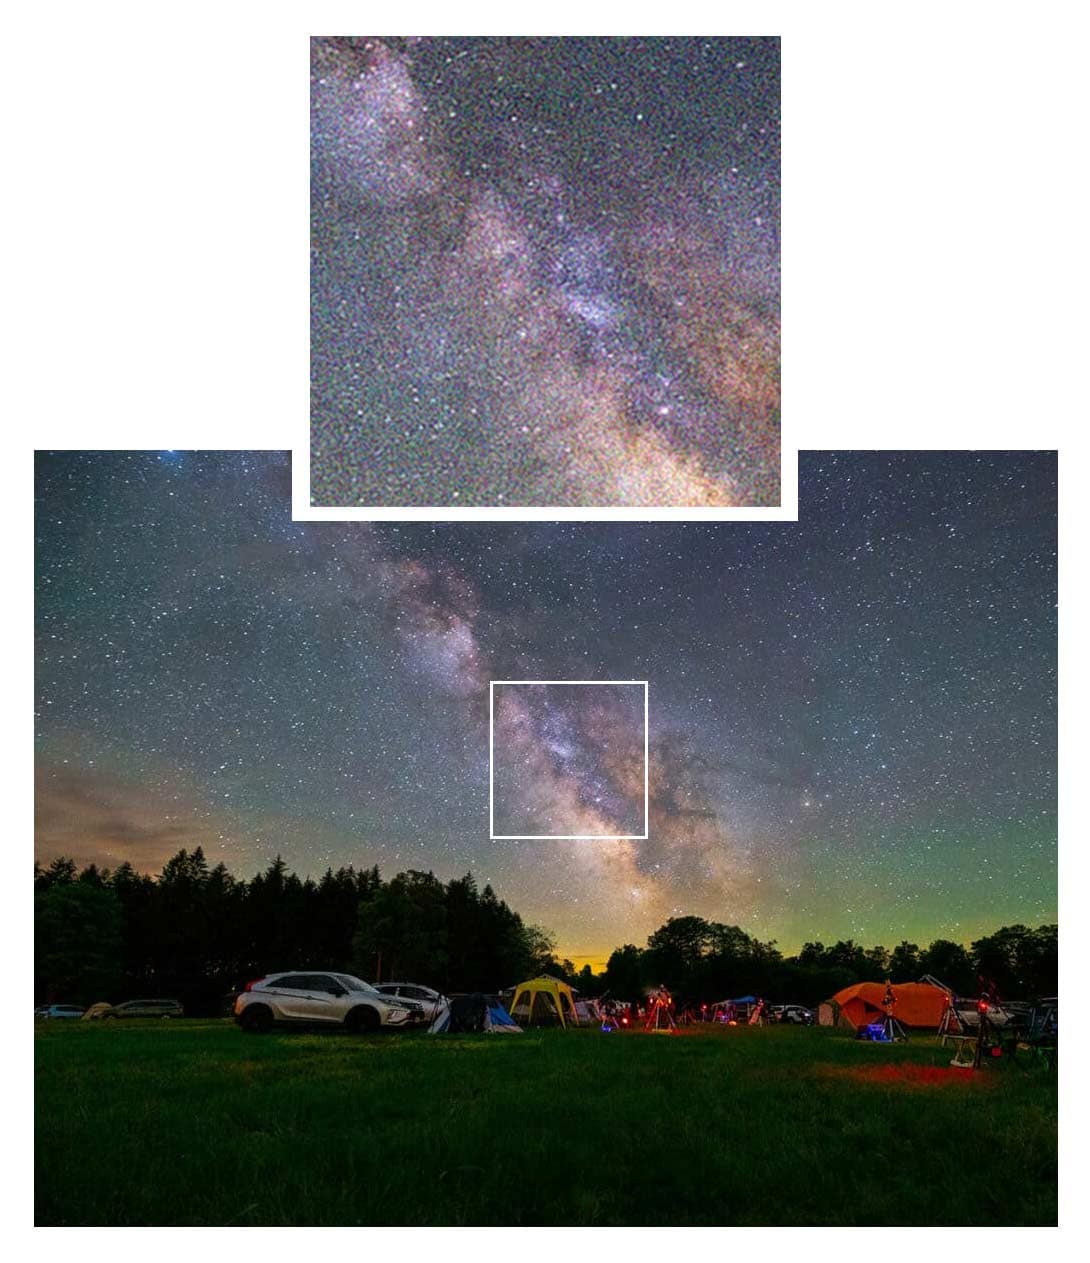
Dithering
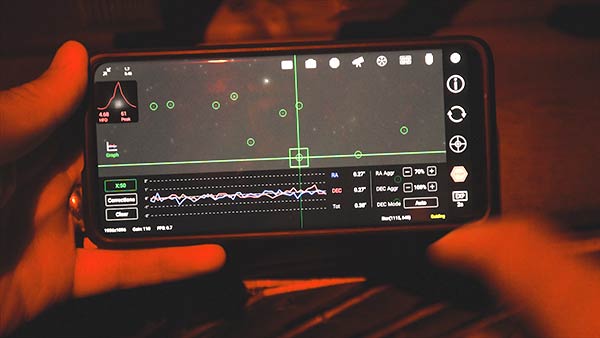
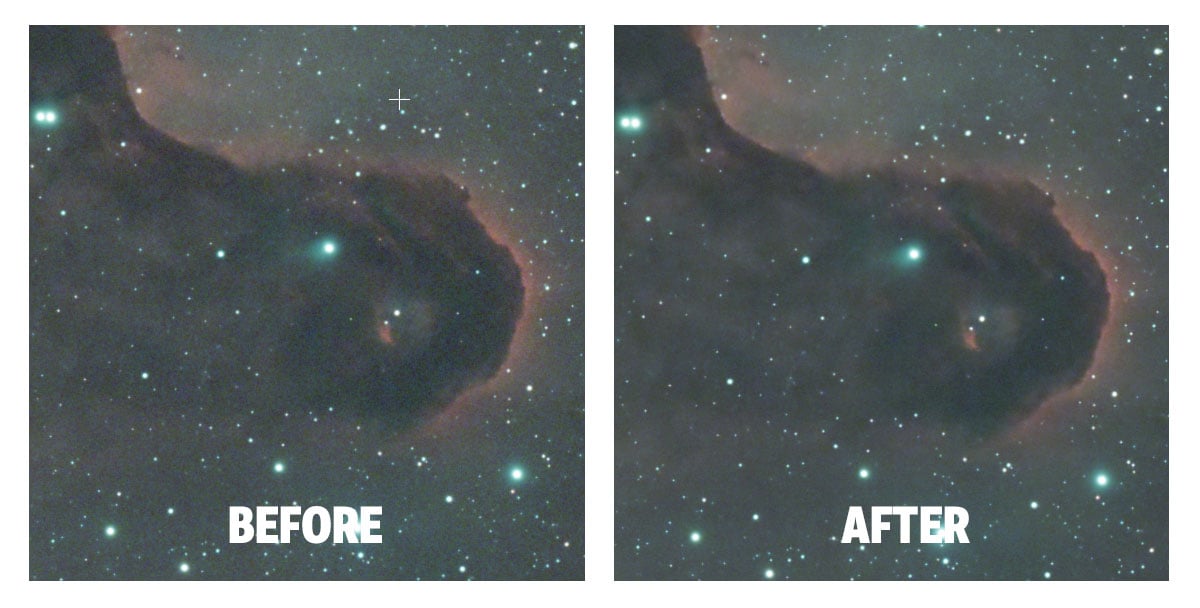
Dithering is a powerful technique used in astrophotography to reduce fixed-pattern noise and hot pixels in your final image.
It works by slightly shifting the telescope’s position between each exposure so that noise artifacts don’t line up during stacking, allowing them to average out.
When I run an imaging session with the ZWO ASIAIR, I enable dithering through the autoguiding feature, which automates the process and ensures every sub-exposure is slightly offset.
The result is a much cleaner stacked image with smoother background skies and improved detail.
Processing Tips to Reduce Noise
Even with the best data, your raw images will still need some processing. Fortunately, modern astrophotography software has powerful tools for cleaning things up:
- Stacking Software: Programs like DeepSkyStacker, Siril, or AstroPixelProcessor average your exposures to naturally reduce noise.
- Noise Reduction Tools: PixInsight (with Multiscale Linear Transform or NoiseXTerminator), Photoshop (Camera Raw Noise Reduction), or dedicated AI tools like Topaz Denoise can smooth the background while preserving stars.
- Balance is Key: Overdoing noise reduction can make your photo look soft and plastic. Aim to keep detail sharp while taming the grain.
My personal favorite tools for dealing with astrophotography noise are RC Astro’s NoiseXTerminator and the noise reduction filters within Adobe Camera Raw in Adobe Photoshop (shown below).

Learn My Noise Reduction Workflow
Want to see exactly how I reduce noise in my own astrophotography images? My Premium Image Processing Guide features exclusive, step-by-step videos that demonstrate how to smooth out noisy backgrounds while preserving fine details. It’s the complete workflow I use to process my deep-sky images.
Best Image Noise Reduction Software (for Astrophotography)
There are numerous excellent noise-reduction tools available, ranging from plugins to standalone apps. The “best” one is the one that fits your workflow and editing style.
If you denoise linear deep-sky stacks in the early stages of your workflow, astro-specific plugins within PixInsight or Photoshop are a great fit. This is where I most often run a denoising tool.
If you start with RAW images in Lightroom/ACR, a pre-conversion denoiser (like Adobe Lightroom’s Enhance > Denoise tool) keeps things simple.
Try a couple, pick the one that feels intuitive, and apply it subtly (with masks when possible) so you preserve star profiles and faint structure. Here are some of the top noise reduction software options available today:
| Software | Type | Best for | Works with |
|---|---|---|---|
| NoiseXTerminator (RC-Astro) | Plugin | Linear deep-sky data; superb detail retention | PixInsight, Photoshop (also Affinity via Ps plugin) |
| Topaz Photo AI | App + Plugin | One-click denoise + sharpen on broadband or nightscape raws | Standalone; Adobe Ps/Lr workflow |
| Adobe Lightroom / Camera Raw — Denoise | Built-in | RAW pre-denoise before editing; fast, integrated | Lightroom Classic/CC, Adobe Camera Raw |
| DxO PureRAW (DeepPRIME) | Pre-processor | Heavy high-ISO noise on single raws (nightscapes) | Standalone; sends DNGs to Ps/Lr/C1 |
| ON1 NoNoise AI | App + Plugin | Convenient batch denoise with manual control | Standalone; plugins for Ps/Lr, Capture One, Affinity |
| Affinity Photo 2 | Built-in | Astro stack persona + denoise in one app | Affinity Photo (desktop) |
| RawTherapee | Free, App | Granular chroma/luma noise control on raws | Standalone (exports to your editor) |
| Siril | Free, App | Stacking + linear denoise/wavelets for DSOs | Standalone (astro-focused) |
Quick tips for cleaner results
- When: Run denoise early on the linear image (before heavy stretching), ideally with a luminance/star mask.
- How much: Favor subtle passes—preserve star profiles and faint dust; you can always add a second, lighter pass later.
- Stack first: More total integration + proper calibration cuts noise at the source; denoise then becomes light finishing work.
When Is the Best Time to Run Noise Reduction?
One of the trickiest decisions in an astrophotography workflow is when to apply noise reduction. The short answer: run noise reduction on the data in its linear, unstretched state.
Running noise reduction here can prevent noise from amplifying during stretching and preserve faint structures. Avoid heavy noise reduction before deconvolution (sharpening and clarity) to prevent erasing fine, low-contrast details.
You can run a second pass of light noise reduction in the later stages of your editing process on the background only. Mask stars and high-signal features to avoid a “plastic” look.
Here is an example of the order in which I run noise reduction when processing my deep-sky images:
Light noise reduction early (linear) > Deconvolution/BlurXTerminator > Stretch > Optional Light Noise Reduction (background only).
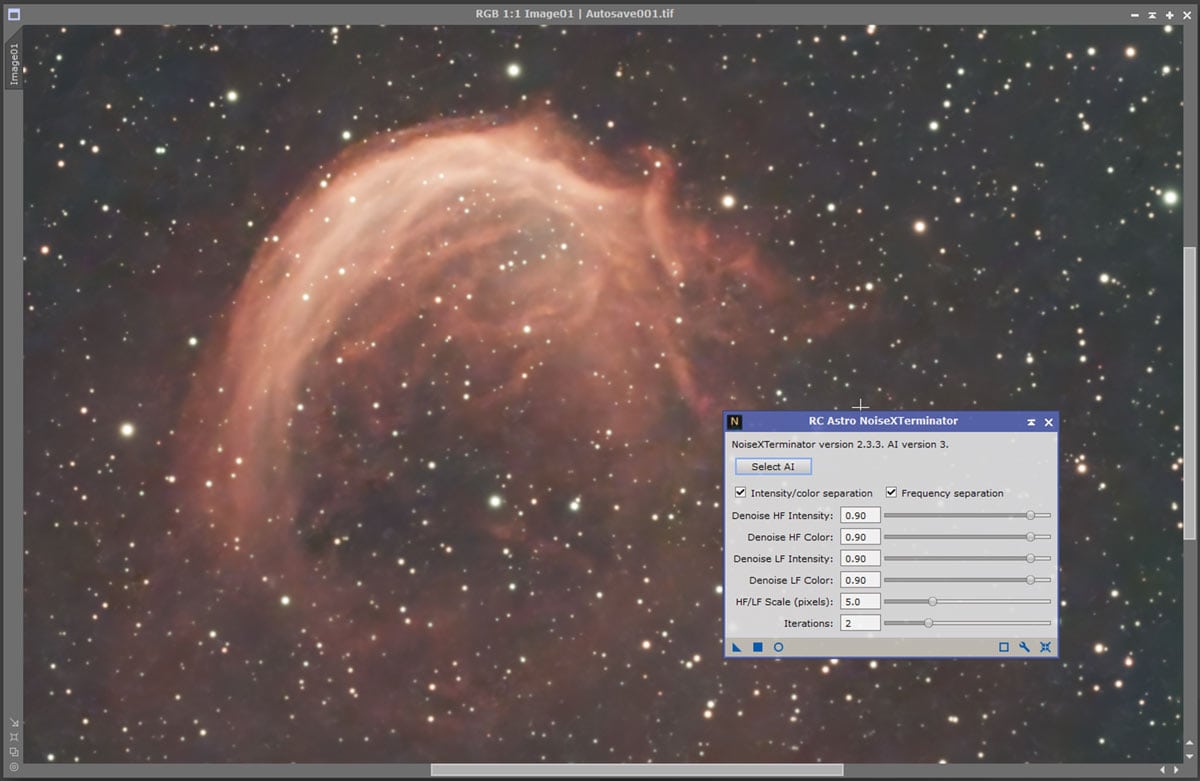
NoiseXTerminator includes several parameters to adjust, allowing you to dial in the level of noise reduction needed, depending on the type and intensity of the noise in your image.
Further Reading & References
- RC-Astro: Workflow guidance (when to use deconvolution and NR)
- Jon Rista: Effective Noise Reduction (linear vs. non-linear considerations)
- PixInsight Forum: Noise reduction in linear vs. non-linear stages
Setting Realistic Expectations
One of the biggest frustrations for beginners is expecting Hubble-quality results from the very first image. Noise is an inherent part of the process, and every astrophotographer, including myself, deals with it.
The reality is: the more total exposure time you collect, the cleaner your image will be. Thirty minutes of data is good. Two hours is better. Six hours is great. Patience really pays off in astrophotography.
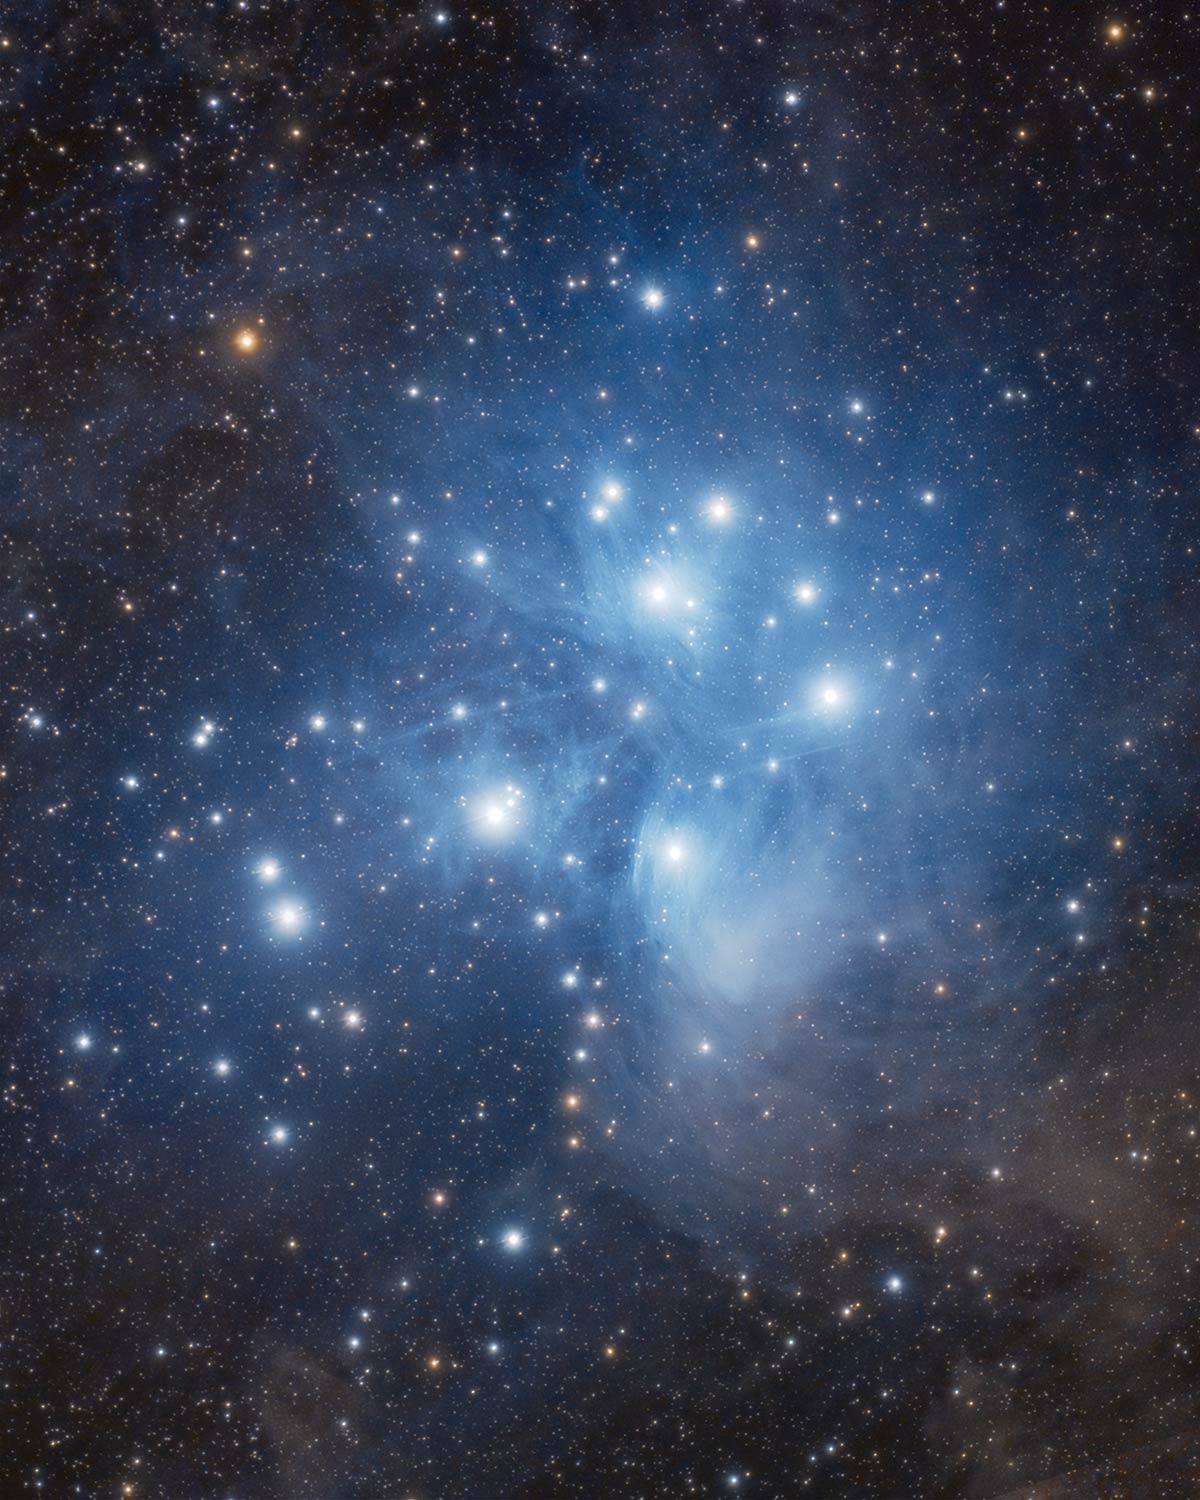
My longest total integration to date is 19 hours on the Garlic Head Nebula in the constellation Cassiopeia. Capturing a deep-sky object with a faint OIII signal really requires you to allocate a substantial amount of exposure time for a pleasing result.
The best images on AstroBin (Image of the Day winners) typically have 20–40 hours worth of overall exposure time. While this level of commitment to a single project may feel daunting, remember that the more images you take, the better!
Frequently Asked Questions
What is noise in astrophotography?
Noise is unwanted grain or artifacts in your image caused by heat, electronics, or random light variations during long exposures.
Why do my astrophotos look noisy?
High ISO, long exposures, warm temperatures, and light pollution can all increase visible noise.
How can I reduce noise in my images?
Stack multiple exposures, use calibration frames, and apply noise reduction in processing.
Do dark frames help with noise?
Yes. Dark frames remove hot pixels and thermal noise unique to your camera sensor.
What about bias frames?
Bias frames reduce fixed readout patterns in your images, improving the final stack.
Do flat frames reduce noise?
Indirectly. Flats correct uneven field illumination, which makes noise less noticeable.
Can software fix noisy photos?
Yes. Tools like NoiseXTerminator and Adobe Photoshop can clean up images after stacking.
Should I shoot in RAW or JPEG?
Always shoot RAW. It preserves full image data, making noise reduction more effective.
What camera settings reduce noise?
Use a moderate ISO/gain setting, avoid extremely long exposures, and cool the sensor when possible.
Is dithering worth it?
Absolutely. Dithering shifts each exposure slightly to reduce fixed-pattern noise when stacking.
Final Thoughts
If your first astrophotos look noisy, take it as a sign of progress. Astrophotography involves capturing dim light in extremely low-light situations; there is no way around it.
The good news is that even if your single exposures appear noisy due to pushing your camera settings, you can clean them up with stacking, calibration frames, and thoughtful processing.
If you have collected enough data for a healthy signal-to-noise ratio and applied careful noise reduction along the way, that noisy single shot can transform into a crisp, signal-rich image of the night sky you can be proud of.

Looking for the next step? Check out my beginner’s guide to manually stacking astrophotography images in Adobe Photoshop for a hands-on walkthrough.

Trevor Jones is an astrophotographer and a valued member of the RASC. His passion is inspiring others to start their astrophotography journey on YouTube so they can enjoy the night sky as much as he does. His images can be seen in astronomy books & online publications, including the NASA Astronomy Picture of the Day.