Understanding Astrophotography Terms: A Glossary
Let’s be honest, when you’re starting something new there is always loads of new terminology to learn. The hobby of astrophotography is no different and it can be especially difficult if you also happen to be new to photography.
To help you with this new territory and to accelerate your learning, we have put together a glossary of the most common (and somewhat confusing) astrophotography terms you will need to understand to take images of deep-sky objects.
The majority of this list comes from an Instagram poll of our followers to see which terms other beginners found most confusing.
Having all these terms in one place may seem overwhelming, but you can break it down as you learn more about the hobby or use it as a reference for later.
Terms are organized alphabetically into the following categories:
-
- Photography Terms
- Types of Cameras
- Image Acquisition
- Calibration Frames
- Image Processing
- Types of Equipment
- Types of Filters
- Equipment Function
- General Astronomy
If you are looking for a complete overview of the process of capturing a deep-sky astrophotography image using a camera and telescope, you can also watch the video below. In the video, I mention many of the astronomy terms and definitions mentioned in this article throughout the process.
Photography Terms
500 Rule: a reference point to find the correct exposure before experiencing star trails. Multiply the crop factor and focal length, and divide this number by 500 to get your exposure.
Aperture: the diameter of the objective lens of your telescope. The bigger the aperture, the larger the telescope and the more light that can be collected.
Exposure: the amount of light that reaches the camera sensor, which influences how bright or dark an image appears. It is controlled by a combination of aperture, shutter speed, and ISO.
Fast Telescope: a telescope with a low focal ratio and a wide aperture that provides brighter and wider views, allowing for shorter exposure times. Ratios below f/7 are considered fast.
Focal Length: expressed in millimeters, it’s the distance between the telescope’s primary lens (where the light enters) and the focuser (where the light exits).
F-ratio: a number determined by dividing the telescope’s focal length by the aperture.
Noise: is the unwanted variation in color and brightness produced by the camera sensor, giving images a grainy look.
Pixel Size: refers to the camera sensor of a dedicated astronomy camera and will determine the image scale with the telescope you are using (i.e. focal length of your scope and divide by 200, divide the pixel size).
Signal: light emitted from a celestial object. More signal results in a better image.
Signal-to-noise Ratio: the ratio of the signal (light from a celestial object) to the noise (random variations in the image). You want a higher signal-to-noise ratio, which is done through longer exposures, lower ISO settings, applying dark frames, and image stacking.

Types of Cameras
APS-C: stands for Advanced Photo System type-C and refers to the type of camera sensor, also known as a crop sensor.
CCD Camera: stands for Charged-Coupled Device, and is an outdated sensor type for dedicated astronomy cameras that were favored for their low noise and high sensitivity.
CMOS Camera: stands for Complementary Metal-Oxide-Semiconductor, they use a different sensor technology compared to CCDs but have gained significant traction in recent years thanks to their advancing technology and capabilities.
Dedicated Astronomy Camera: highly sensitive cameras specifically designed for low light conditions and long-exposure imaging. They vary in sensor size, resolution, cooling systems, and compatibility with different telescopes.
DSLR Camera: a user-friendly camera to help you understand the basics of night photography. While you can review your images on the camera to make adjustments on the fly, the image quality is not as good as a dedicated astronomy camera.
Full-frame Camera refers to the size of the camera sensor. A full-frame camera has an image sensor that is 35mm.
Modified Camera: a camera designed to be more sensitive to certain wavelengths of light by removing the stock IR cut filter. Removing this filter allows the hydrogen-alpha transmission line [656nm] from certain nebulae to be recorded.
Monochrome Camera: a camera that requires you to shoot through red, green, blue, and luminance filters to “build” a complete full-color image. Image quality is great, but requires more clear sky time to complete your image.
One-shot-color Camera: a type of camera that uses a Bayer filter mosaic pattern over the sensor to split the pixel data into channels (red, blue, and green) to build a full-color image.
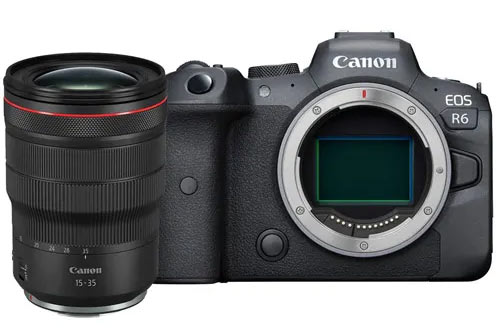
Image Acquisition Terms
Backspacing: refers to the distance between the camera’s image sensor and the rear connection to the telescope. All adaptors placed in between must equal the backspacing value provided by your camera manufacturer.
Binning: the process of combining nearby pixels into larger pixels to improve the signal-to-noise ratio, at the sacrifice of a lower image resolution.
Broadband Imaging: often referred to as ‘true-color’ imaging, collecting natural colors of objects and stars in the night sky using red, green, blue (RGB) filters used to separate the primary colors within the visual spectrum.
Dithering: a technique that shifts the stars to a slightly different place in each frame by moving the pointing direction of the telescope. It creates images with a better signal-to-noise ratio by ‘canceling out’ hot pixels and fixed pattern noise.
Drizzling: a technique that shifts sub-pixels and combines individual frames of multiple images using a mathematical algorithm to resample the data onto a finer grid to increase the overall resolution of the final image.
Hydrogen Alpha (Ha): a specific deep-red visible spectral line with a wavelength of 656nm. Many nebulae emit a strong signal of light in this wavelength, and a hydrogen-alpha filter helps to isolate and record this signal with your camera.
Hydrogen Alpha RGB (Ha RGB): the process of adding hydrogen alpha data to your existing RGB data to produce more vivid and detailed deep-sky photos.
Narrowband Imaging: refers to shooting your deep-sky object through different filters that only pick up certain wavelengths of light, and is typically done with a CCD or CMOS camera with an attached filter wheel. One of the main benefits is being able to capture images under heavy light pollution.
Slew: the movement of your telescope mount from the home position to your selected target, focus star etc.
Sub-Frames or ‘Subs’: describes the number of light frames (or sub-exposures) captured on your target. For example, ’60 x 5 minutes’ means 60 frames were captured at 5-minute exposures.
Full-Width Half Maximum (FWHM): represents either the width of a spectral line at half its maximum intensity with smaller values denoting narrower lines or better resolution. (smaller star size)

Calibration Frames
Bias Frames: additional photos taken with the lens cap on to reduce or isolate the fixed-pattern noise/signal in your images.
Calibration Frames: support frames to your image data, including dark frames, flat frames, and bias frames. By applying calibration frames to your image, you can improve the signal-to-noise ratio and overall image quality.
Dark Frames: images taken with the lens cap on using the same exposure length, temperature, and ISO as your light frames. They capture only the random electronic thermal noise from your camera sensor that can be removed from your image.
Flat Frames: additional image frames taken while pointed at a bright light source using the same ISO and focus as your light frames. They are used to calibrate out harsh gradients and remove dust spots on your camera sensor from your image.
Light Frames: the actual images you take of deep-sky objects. By combining light frames with calibration frames, you improve your image quality by removing gradients, dust spots, and noise.
Image Processing
FIT File: the file type captured by a dedicated astronomy camera.
Image Stacking, also known as stacking, involves combining multiple exposures of the same object in dedicated software to enhance the overall signal-to-noise ratio and reduce noise in the final image.
Deconvolution: a processing technique that sharpens your image by mathematically reversing the blurring caused by your telescope, atmosphere, or tracking, helping faint stars and fine details appear more defined.
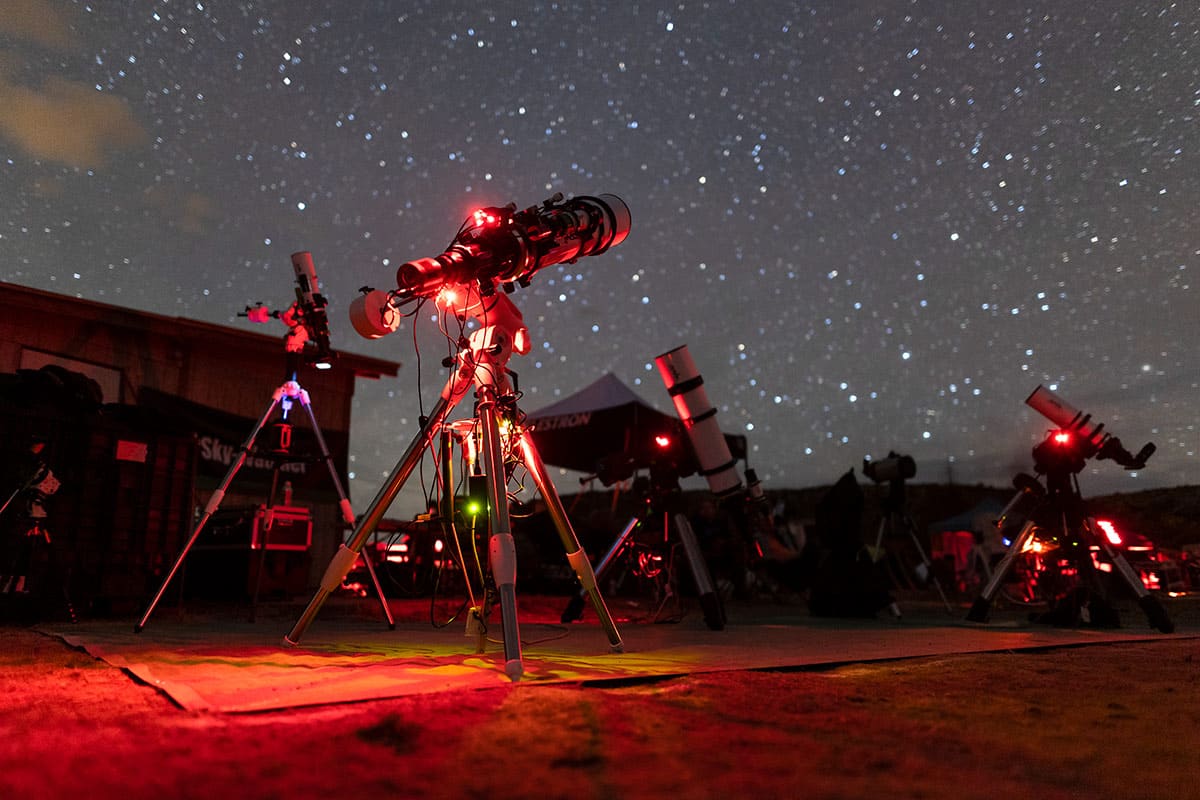
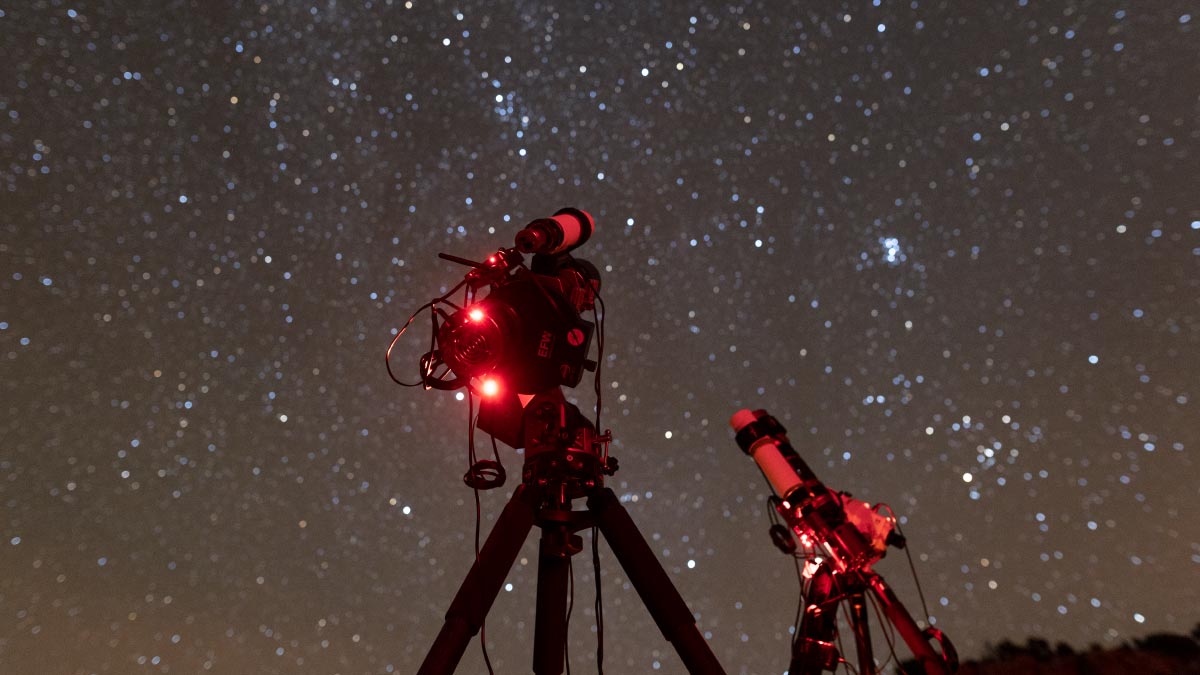
Types of Equipment
Equatorial (EQ) Mount: a computerized mount that tracks the apparent motion of the night sky so you can take longer exposures. It also supports the weight of all your other pieces of equipment.
Guide Camera: a small camera that communicates with your mount through autoguiding to make slight corrections to the tracking accuracy of your equatorial mount.
Guide Scope: a lens for your guide camera to view the sky to assist with tracking the accuracy of your equatorial mount.

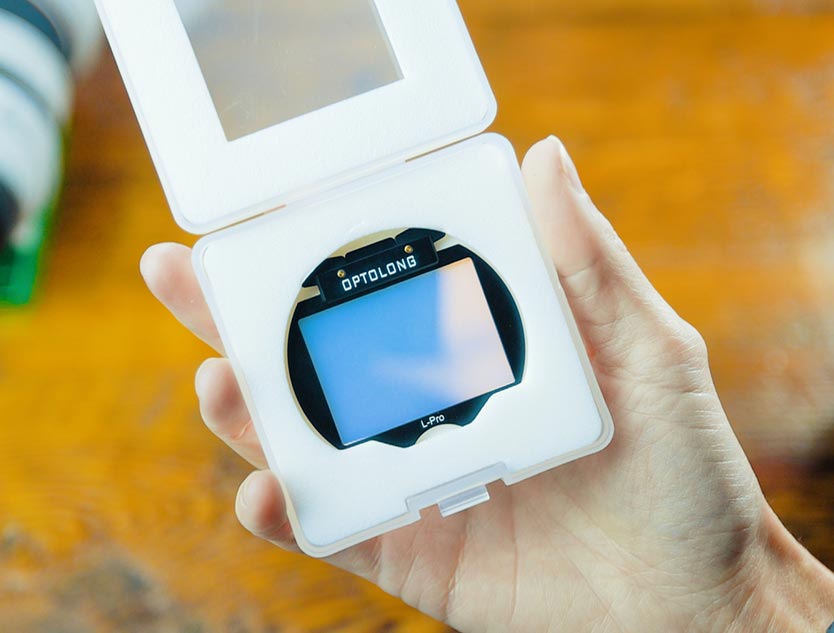
Types of Filters
Broadband Filters: cover a wider range of wavelengths and are beneficial for capturing specific targets like stars or galaxies.
Dual-band Filters: Capture light in two bandpassses of light (most commonly, Ha, and OIII). They can also reduce the interference from natural light sources from moonlight and artificial light pollution.
Multi-Band Filter: refers to any filter classified as a duo-band, tri-band, and quad-band filter.
Narrowband Filters: capture a small part (i.e. one bandpass) of the visual spectrum of wavelengths around specific emission lines (i.e. Ha, SII, OIII)
Quad-band Filter: a quad-band filter allows 4 specific emission lines to pass through the filter. The most common are Ha, OIII, SII, and H-Beta.
Tri-band filter: a tri-band filter allows 3 specific emission lines to pass through the filter.
Equipment Function
Arcminutes/Arcseconds: found in your autoguiding software, these values are used as a benchmark to measure your guiding accuracy. Polar alignment accuracy and seeing conditions will impact your guiding accuracy and therefore, will increase your errors.
Autoguiding: used to improve the tracking accuracy of your equatorial mount to capture longer exposure images with sharp, focused details using a guide camera and guide telescope.
Collimation: the process of aligning lenses or mirrors on telescopes to achieve optimal performance and focus. A properly collimated instrument will produce clear and sharp images at the eyepiece or camera sensor.
Meridian Flip: the repositioning of the equatorial mount when your celestial object has crossed the meridian, which is an imaginary line that runs north to south passing through the zenith.
Plate Solving: the method used to determine the right ascension and declination coordinates of your deep-sky target to improve the pointing accuracy of your telescope. It analyzes star patterns in the image and compares them to an existing catalog of star positions to get the coordinates.
Polar Alignment: the process of accurately aligning the polar axis of your equatorial mount with the north (or south) celestial pole to ensure your telescope mount is rotating on the exact same angle as the night sky. Adjustments are made using the azimuth and altitude adjustment knobs/bolts.
RMS Error: also known as ‘root mean square’ error, refers to the accuracy of your autoguiding, which is affected by your mount performance and seeing conditions. For example, good seeing (2″) averages around 0.3 arcseconds RMS in the guiding.
General Astronomy
Apparent Magnitude: a scale used to measure how bright an astronomical object is in the night sky (i.e. star, nebula, planet etc.). The brighter the object, the lower the magnitude value, with the brightest objects including negative values.
Azimuth: is an angular measurement used to calculate the angle between a reference point and a celestial object. It is measured clockwise from north, around the horizon.
Declination: known as celestial latitude, it represents how far an object is north (positive values) or south (negative values) of the celestial equator. It is measured in degrees, minutes, and seconds.
Right Ascension: known as celestial longitude, it measures eastward along the celestial equator from the point where the Sun crosses the celestial equator from south to north. Measured in hours, minutes, and seconds, the values range from 0 hours to 24 hours, with each hour representing 15 degrees of a full circle.
Seeing: describes the steadiness of that atmosphere, which varies by location in the night sky and over time. Ideal seeing conditions are when there is the least amount of atmospheric disturbances, resulting in sharp, steady views through your telescope.
Sidereal: in a visual astronomy and astrophotography context, this is the tracking rate that the telescope mount tracks the motion of the night sky to keep objects centered in the eyepiece or camera.
Occultation: refers to the event when one celestial body passes in front of another, blocking its view from an observer’s perspective.
 Ashley is an environmental educator, communication professional, and beginner astrophotographer from Ontario, Canada. She has extensive experience writing for diverse audiences to increase public awareness and engagement. Ashley is also an Advocate with DarkSky International, helping to protect the nighttime environment from the harmful effects of light pollution through advocacy and outreach.