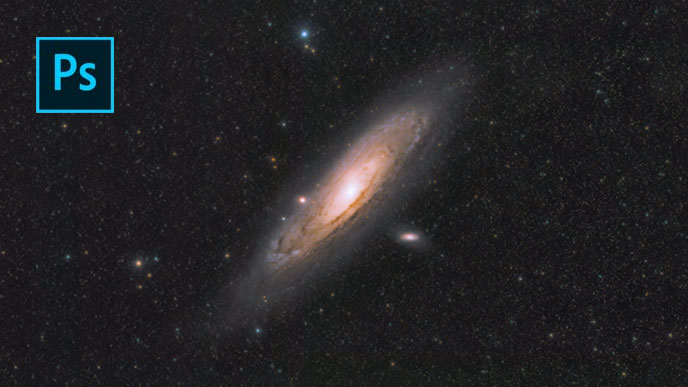
Manual Stacking in Photoshop for Reduced Noise
Even without a tracking mount, your astrophotography images can benefit from manual stacking in Photoshop. This method involves aligning exposures and combining them into a master composite. It can make a big impact on your astrophotos by reducing noise and improving the signal-to-noise ratio.
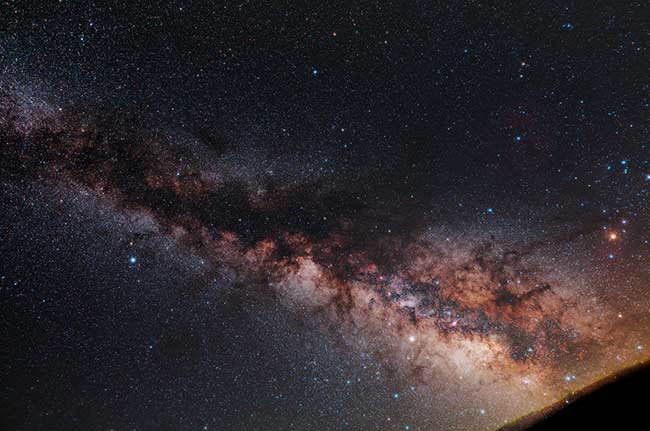
The images used in the example were captured using a camera lens in place of a telescope. A wide-angle lens can be a tremendous way to photograph a large area of the night sky at once, rather than zooming in on a deep sky object.
This technique requires no darks frames, no stacking software, and no tracking mount.
The 2 software applications used in this tutorial are Adobe Bridge and Adobe Photoshop. (Lightroom will also work) The main idea is to reduce noise by layering single exposures gradually, effectively canceling out much of the noise from a single frame. The key is to gradually reduce the opacity of each layer until you reach the top of the image set.
Basic Astrophotography Camera Settings and Tips
Manual stacking is easy with Adobe Photoshop
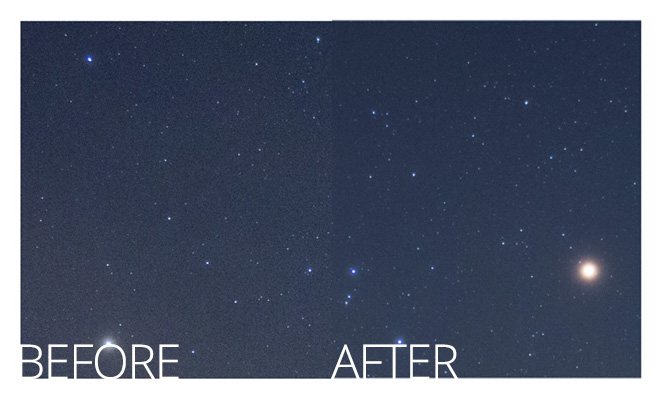
Let’s say you have taken a 30-second exposure of the starry night sky with your camera on a tripod. By taking 10-12 shots of the same scene, your final composite version will have much less noise, a smoother background, and more detail.
Watch the video tutorial below:
The reason this technique is referred to as “manual stacking” is that the user layers each exposure manually, rather than loading the frames into Deep Sky Stacker. The simplicity and effectiveness of this technique is something all astrophotography enthusiasts can benefit from.
If you are interested in the full explanation of this process, follow the link below.
Astrophotography Tutorial – Align and stack exposures in Photoshop
Capture longer exposures
What’s New?
My deep-sky imaging has been put on hold as it has been cloudy for nearly 3 weeks straight. This weather is sure to get any backyard astrophotographer down. However, my passion for imaging couldn’t be stronger as I have recently added some new astrophotography equipment to my arsenal. This time, it was my primary imaging camera that needed replacement.
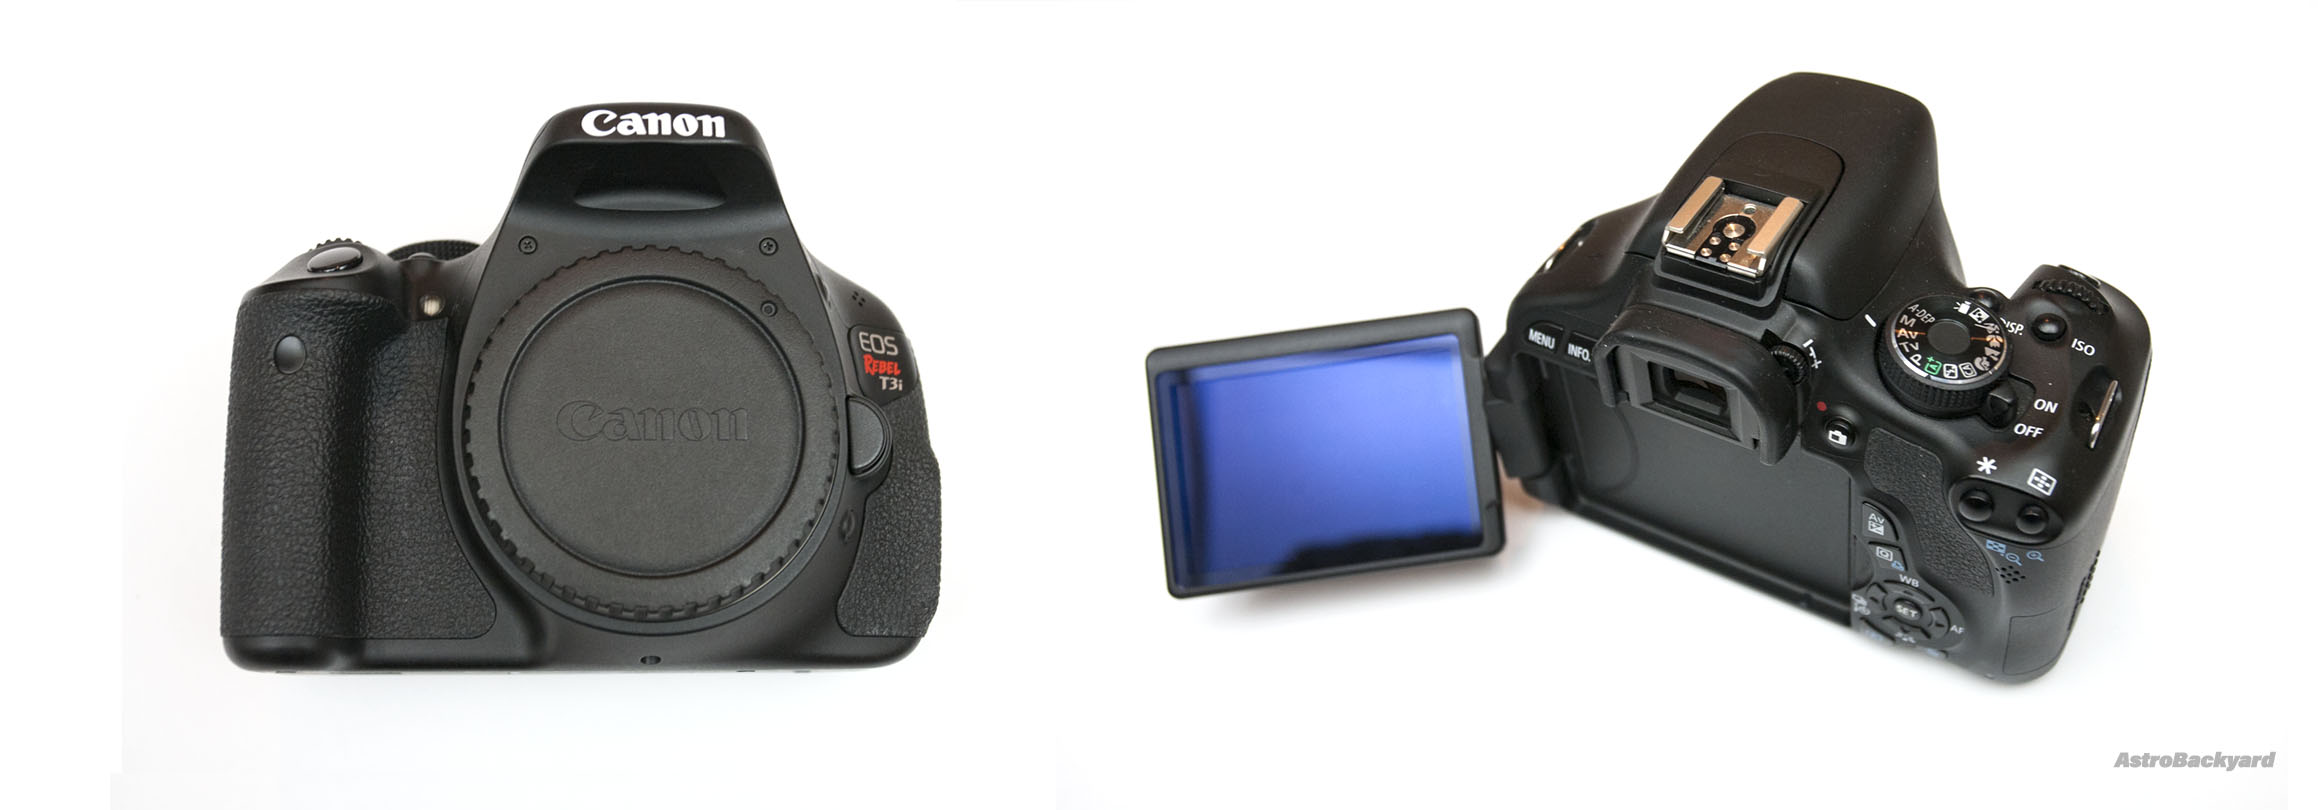
New Camera: Canon Rebel T3i (600D)
After much consideration, I have decided to finally upgrade my primary imaging camera to a Canon Rebel T3i. If you follow AstroBackyard on Facebook, you may have heard that this DSLR was professionally modified for astrophotography by removing the IR cut filter. The Canon 600D features an 18MP CMOS sensor capable of producing images 5184 x 3456 pixels in size. This is a huge leap from the 12MP 450D sensor I was using.
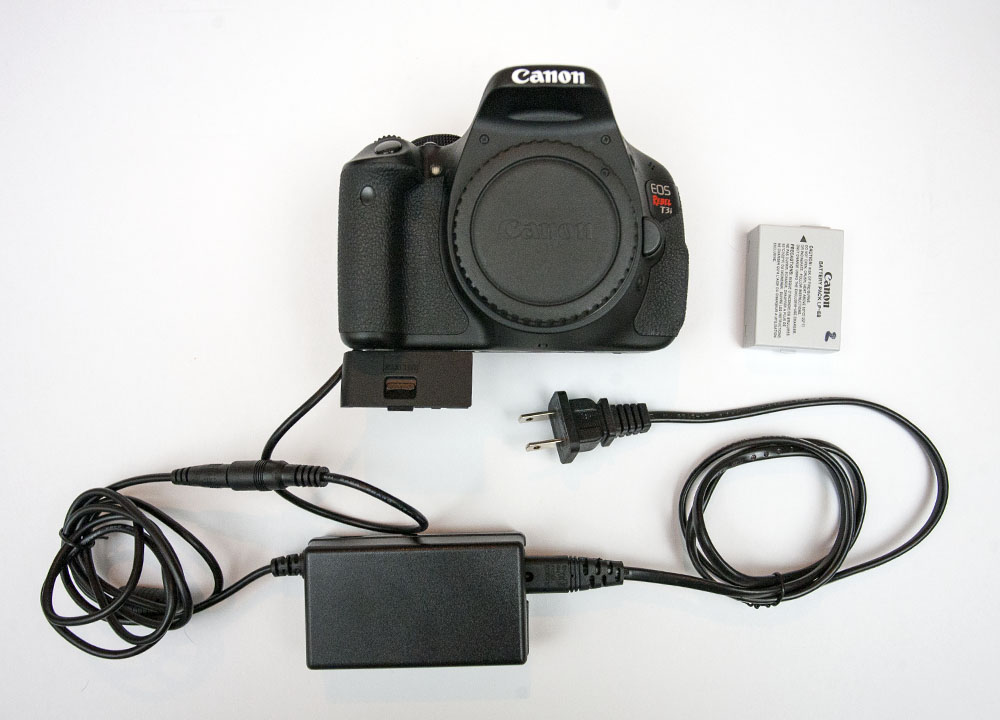
 Powering the camera for a full night of imaging requires more than a single battery charge. I purchased an AC adapter to plug the camera into an electrical outlet for unlimited power. I never had this function with my previous imaging camera, and fumbled around with batteries for far too long. I also sprung for a remote shutter release cable with a built-in intervalometer. The great news is that this model is compatible with my Canon Xsi as well.
The AC Adapter for the Canon T3i is available on Amazon
I am really excited to start using this camera for deep-sky imaging. Although tests show that the thermal noise level is comparable with the 450D, the Canon T3i’s increased resolution means larger astrophotos with enhanced detail. Also, the flip-out LCD screen will come in handy when focusing using live view. This camera was modified by Astro Mod Canada.
Drone Footage?
Did you notice the aerial footage in the latest AstroBackyard video on YouTube? That video was shot at a friend’s house using a DJI Phantom 4 in his backyard. I absolutely love drone footage and hope to get one of my own in the near future. There are infrequent situations where that type of footage makes sense for an astrophotography video, but I’ll find a way to work them in!
I’ve also been working away trying to improve the resources on this website. The photo gallery, equipment, and tutorial sections have seen a number of changes this month. Thank you to everyone who has taken the time to comment on my blog posts, I really appreciate the kind words. For the latest information and photos, please follow AstroBackyard on Facebook.
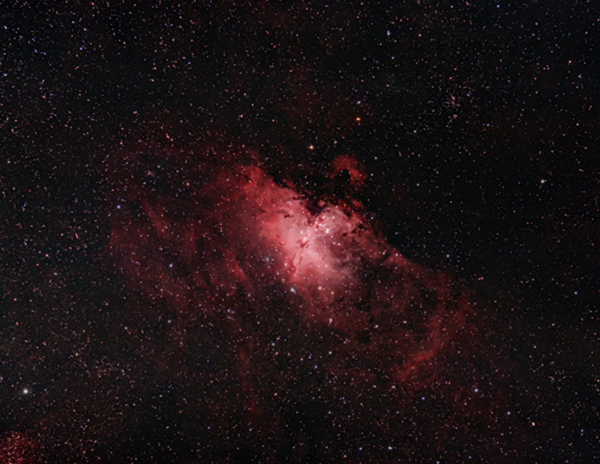
Latest Image Re-Process: The Eagle Nebula


Can a process like this be used to salvage photos that got bumped, or tracking on the telescope slipped? Is there any useful purpose to blurry, non-perfect photos?
I am taking an astro-photography course in college, but all outings were group collaboration . Needless to say, I have a lot of blurry, under exposed, and over exposed photos. I am watching as many tutorials on YouTube, and reading your blogs to learn.
Thank you,
Roi
Hi Roi. Unfortunately, this technique can not bring back out of focus shots. However, if you have a number of frames that are close, you may be able to salvage a better overall image by stacking the best frames. At least the noise will be reduced, and with further processing, you may be able to apply sharpening. You can also help an image by scaling it down. It may still present well on the web!
I’ve just acquired an old Starlight Xpress MX5 C one shot colour camera for my astrophotography through telescopes of varying size and focal lengths.
My beginning scope will be an older achromatic Megrez 80mm (400mm focal length) but I’m eventually hoping to advance using my 152mm (6″) 1200mm focal length Skywatcher achromatic refractor (amazingly has little to no chromatic aberration) and my 8″ GSO Newtonian reflector. These will be mounted on an appropriate GOTO mount (tracking) but until I master drift alignment I believe I’ll have difficulties with poor alignment (no pole star in the Southern hemisphere (Australia)).
My number one issue at the moment is with the older XP software for the camera (and serial ports but I have a laptop with that) I can’t obtain a real time image to properly check the focus (old age and failing eye sight doesn’t help much).
From your amazing images I’m assuming you’ve done this before (lucky guess) and was wondering if you may know of any alternatives which will give me a screen view?
I’ve done this before on planets using sharpcap and a modified Philips webcam and either Deepsky stacker and/or Registax (both free) but am interested in doing some manual stacking to compensate for my lousy technique.
I know this is outside the scope of your initial topic so let me finish with a BIG thank you for the time and effort you’ve put into these tutorials to give someone like me a little hope and a lot of knowledge.
Hi Leo. First of all, thank you for the kind words. It sounds like you have a few options as far as telescopes go when you do get up and running, so that’s great. At this point, I have had no experience using CCD cameras, other than as an autoguider camera.
Not having a live-view image with the MX5 will make focusing tough, but can’t you shoot short exposures and adjust focus based on the results? I have to do this sometimes when shooting H-alpha.
As for manual stacking, it may improve an out of focus image overall, but the real benefit is in the noise reduction.
I hope everything works out for you. Enjoy that beautiful Australian sky!