iOptron SkyTracker Pro Review
The iOptron SkyTracker Pro camera mount is a portable solution for astrophotography on the go. For many, this means the option of traveling (light) with this mount to a dark sky location. Night sky photographers using a DSLR camera and a wide-angle lens will benefit most from this compact tracking mount.
In this review, I’ll share some example images using the iOptron SkyTracker Pro in the backyard, and from a dark sky site. This lightweight star tracker stands out as a reliable and cost-effective option in an ever-growing market of ultra-portable astrophotography mounts. This is the iOptron SkyTracker Pro Review.
![]()
iOptron SkyTracker Pro Review
The iOptron SkyTracker Pro is a portable star tracker that allows you to capture long-exposure astrophotography images without star trails. It includes a built-in polar scope that makes aligning the rotational axis of the mount with the North Celestial Pole quick and easy.
A precise Polar alignment can be accomplished by using the adjustment bolts on the Alt-Az base to align the polar axis of the mount. Once this has been completed, your DSLR camera is then free to point towards your desired celestial target. I use the optional iOptron ball head for complete control over the position of my camera lens.
This mount includes two parts; the Alt-Az base that can attach to any tripod, and the tracker unit itself. I use a lightweight carbon fiber tripod to mount the SkyTracker, which makes the entire rig extremely lightweight and portable. I often leave the SkyTracker fastened to the tripod for an extended period of time, so that it’s always ready for a quick imaging session when the weather allows for it.
![]()
The SkyTracker Pro is a single axis equatorial mount for long-exposure astrophotography.
I use the 1x celestial tracking rate when capturing both wide-angle and deep sky astrophotos with the SkyTracker. There is a simple switch on the mount to power up the single axis servo motor. My little Canon DSLR camera and wide-angle lens fall well below the maximum payload of the iOptron SkyTracker Pro (2.6 lbs). For bigger loads that include a beefier camera lens, an optional counterweight is available from iOptron.
The iOptron SkyTracker Pro is certainly not the only option available for amateur photographers looking to capture deep-sky images. The Sky-Watcher Star Adventurer and Vixen Polarie are widely used competing models that aim to offer a similar experience to the iOptron.
![]()
The followers of this blog may remember that I previously reviewed an iOptron SkyGuider Pro mount, and fell in love with the idea of an ultra-portable astrophotography kit. This is the next step up from the SkyTracker, and includes a counterweight to handle a heavier payload like a 300mm telephoto lens.
With this added functionality comes additional weight, and an increased need for a stable platform, and a steeper price tag. For anyone looking to take wide-angle Milky Way photography, the 2.6-pound SkyTracker model is best.
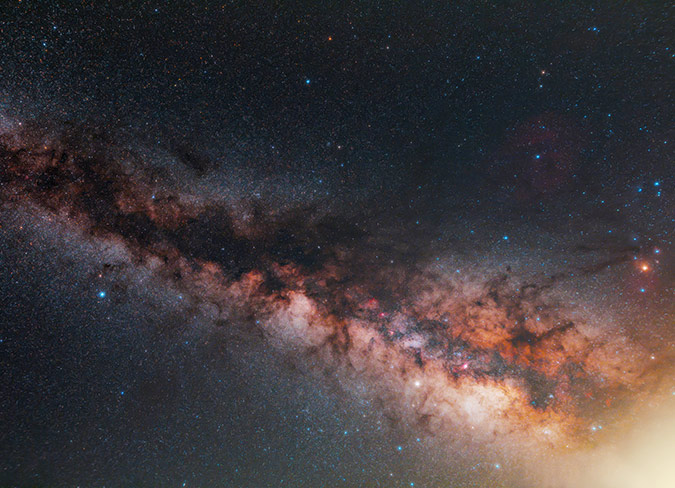
The Milky Way captured using the iOptron SkyTracker Pro.
Enter the World of Deep Sky Astrophotography
It’s no surprise that a small star tracker is often the first step into the world of deep-sky astrophotography for many photographers. A tracking mount like the SkyTracker opens the door to long exposure imaging without star trailing. Nebulae, galaxies, and faint star clusters are now possible thanks to an ability to move along with the apparent rotation of the night sky.
If you’ve never experienced a tracked star photo before, you’re in for a real treat. Bright deep sky objects will now begin to take form as you collect images of 2-3 minutes or more with pin-point stars. The Milky Way becomes populated with several regions of active star formation and nebulosity.
If capturing astrophotography images means traveling to a dark sky location, the iOptron SkyTracker Pro is a great solution. It’s small size and reliable performance are perfect for wide-angle nightscape photography. The photo below was captured using a Canon EOS Rebel T3i DSLR camera, with a Rokinon 14mm F/2.8 lens attached.
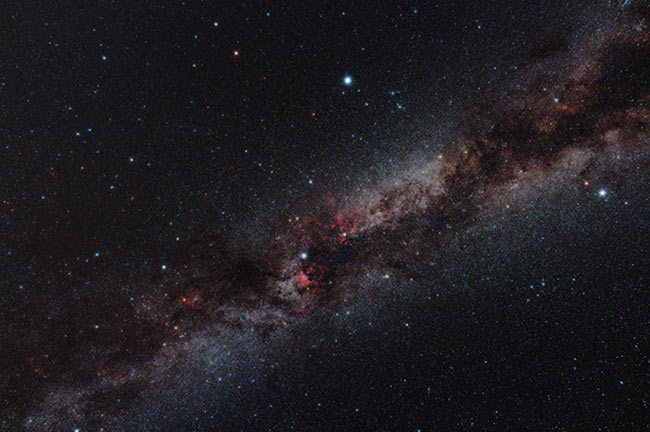
The Cygnus region of the Milky Way using the iOptron SkyTracker Pro with a wide-angle lens
Those that like to travel and capture landscape photography images will now have the option of capturing beautiful long exposure images of the night sky. The SkyTracker takes up very little space in your camera bag and is quick to assemble.
I think this camera mounts biggest selling feature is its portable and small size. Keeping the overall weight of your camera gear down when traveling is important, and the SkyTracker weighs less than a carbon fiber tripod. This mount comes with me for every dark sky trip and is one of the most important pieces of gear.
Setting up the iOptron SkyTracker Pro EQ Camera Mount
First, you need to charge the internal battery of the mount using a mini-USB cable that is common with many smartphones. Expect to charge the SkyTracker for about 8 hours to ensure it is fully topped up for a night of imaging.
A fully-charged battery will last up to 24-hours at the 4 tracking speeds in the SkyTracker Pro. I always keep the SkyTracker Pro charged during the daytime to avoid running out of juice in the middle of the night, but it should be fine for 2-3 day trip.
Once charged, you can attach the SkyTracker wedge base on a sturdy photography tripod using the 1/4″ thread on the base. You can use your existing tripod to mount the SkyTracker Pro, but it will need to be extremely secure and solid for a night of astrophotography.
In the past, I have used an equatorial mount-grade tripod (with 2″ steel legs) to mount the SkyTracker, and the added stability is noticeable. You may want to consider the iOptron Tripod for the SkyTracker for added stability.
![]()
Once the iOptron alt-azimuth wedge base is securely fastened to the tripod, you can slide the iOptron SkyTracker Pro camera mount unit onto the base. Then, you’ll want to fix a ball-head to the tracking plate for flexibility when pointing your camera at targets in the night sky.
The alt-azimuth base makes it easy to align the mount with the celestial pole. You can use the bubble level in the base to make sure that your tripod is nice and level before starting.
The built-in polar scope is easy to use and includes an illuminated reticle to help aid in the polar alignment process. Here is an overview of the polar alignment process for telescope mounts, which can be applied to tracking camera mounts as well.
I use the Polar Finder app on my Smartphone to view the Polaris’ current position for my location. Here are some more astronomy apps I use for observing and astrophotography.
Discussions about astrophotography equipment tend to create a mix of opinions, especially when you call it a review. The comments I have received about the iOptron SkyTracker Pro have mostly been positive, with a few negative opinions mixed into the bunch.
One of the direct competitors of the SkyTracker is the Sky-Watcher Star Adventurer, and there are plenty of reviews from owners on the product page of High Point Scientific. There are many similarities between these two mounts, with the Star Adventurer being a little more full-featured (and costly). The Star Adventurer is more in line with the SkyGuider Pro.
The iOptron SkyTracker Pro is an attractive option for amateur astronomers looking to quickly get set up and capture an astronomical event such as a Meteor shower. I like to set up the SkyTracker on nights when my imaging tie is limited due to weather.
It wouldn’t make sense to assemble my complete deep-sky rig for a 2-hour imaging session, but the SkyTracker is a different story.
A grab-and-go astrophotography mount
For example, in late October 2017, I noticed the sky had cleared shortly after 4 am when I looked out my bedroom window (my family is quite used to this type of behavior these days). Rather than setting up my complete deep-sky imaging rig, I opted for a much faster and lightweight option.
Much less motivation is required to set up a little rig like this on a moment’s notice. On nights when your time under the stars is limited, this is a brilliant way to get your astrophotography fix. I can have the camera polar aligned and tracking in less than 5 minutes, and that is a beautiful thing.
![]()
Ready for astrophotography in less than 5 minutes
Not wanting to waste a single minute of precious clear skies, I quickly set up this portable astrophotography rig in the backyard to capture a brief imaging session on the Orion constellation before the sun was up.
Talk about a bonus session! As usual, I used a simple remote shutter release cable to automate the imaging session, firing off shots while I went back into the house to get ready for work. I feel like I am on to something here. Perhaps the best way to get more astrophotography in during the winter will be to get up early and shoot.
The Orion Constellation from the City
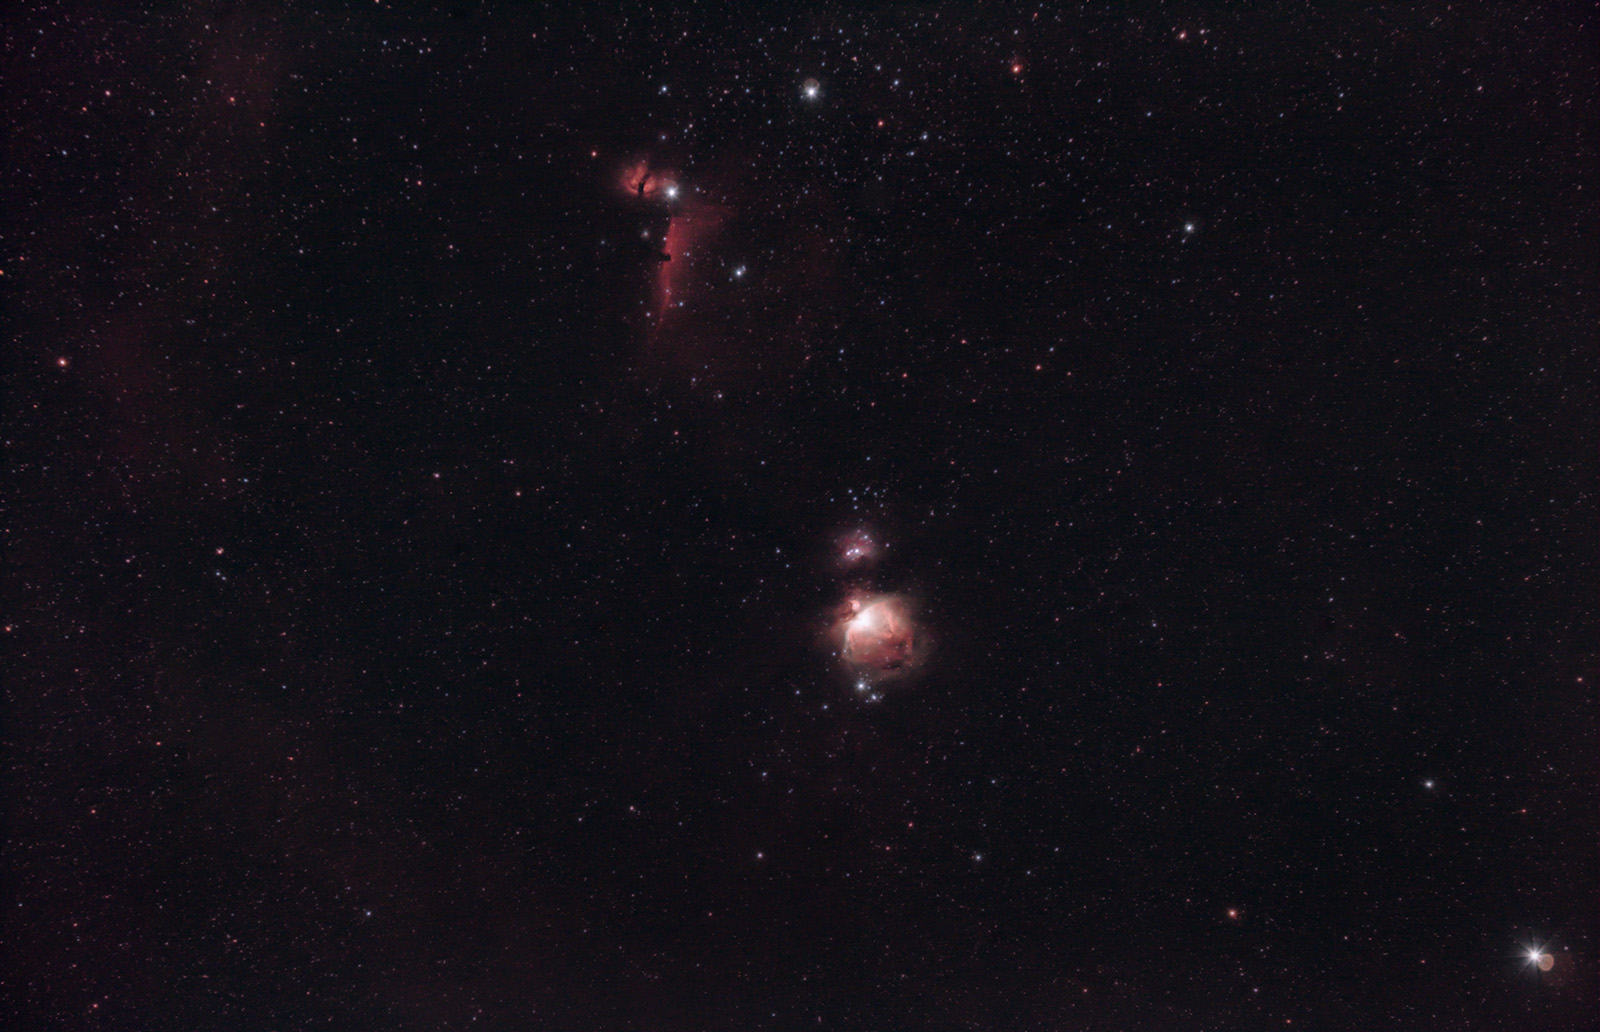
The following image was captured using a modified Canon EOS Rebel T3i (600D) DSLR, with an IDAS LPS filter fitted to the camera body. Each image frame was 90 seconds each, and I used 14 of the 30+ images I shot at ISO 1600.
The framing is a bit odd, but I wanted to keep a wide area of sky in the image from Sirius to the Pleiades (Upper right). Due to passing clouds, the total integrated exposure time was 21 minutes. You may find my image to be a little on the cool side, but that’s just the way I prefer to process the night sky.
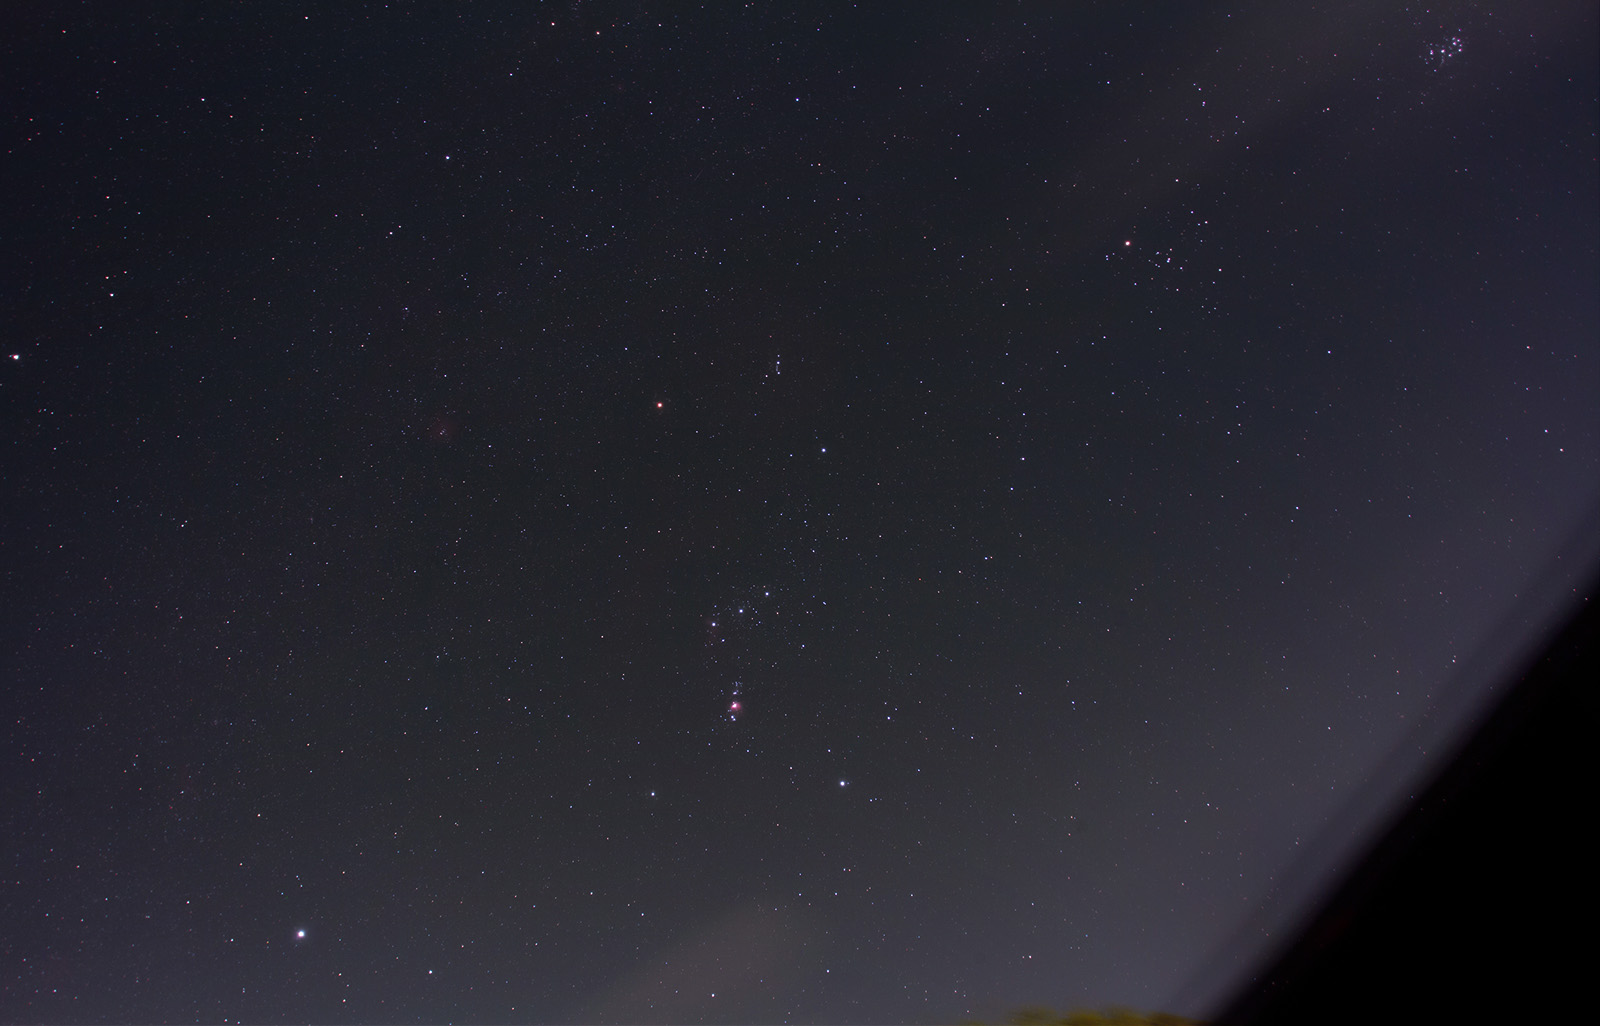
The Orion Constellation – 14 x 90-seconds @ ISO 1600
What’s really cool, is the fact that you can start making out some interesting deep sky objects in the image. (Other than the Orion Nebula) There are hints of the Horsehead Nebula, Flame Nebula, Rosette Nebula, and even a hint of Barnard’s Loop! I have become quite used to processing my images with a lot of city light pollution. I feel that shots like this mimic the look of our night sky from a much darker site.
Using a Wide Angle Camera Lens
The camera lens used for the photo above has quite a wide field of view, so it can take in a lot of sky. A full-frame camera such as the Canon EOS 6D would be even wider, which is one of many reasons I plan to invest in a modern full-frame DSLR soon. My wide-angle lens is a Canon EF 17-40mm F/4L. For a Canon L-Series lens, it’s actually quite affordable.
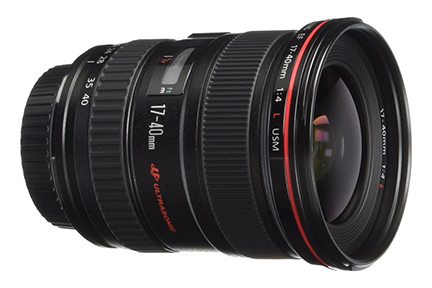
The Camera Lens used for the Photo Above (Canon EF 17-40mm F/4L)
The single frames were quite bright due to the light pollution here in the city, but I was able to improve the balance of the images during processing. The maximum exposure from my backyard (@ ISO 1600) is about 2-minutes at this focal length and aperture. (17mm – F/5.6)
Another lens I have used with the SkyTracker is the affordable Canon 50mm F/1.8 (Nifty Fifty). Have a look at my results using this camera lens:
Results using a budget astrophotography lens
Longer Lens = Deeper View
I’ve now used this mount in a number of configurations, including a heavier camera lens. Even at an increased focal length of 105mm, the stars in my images remained sharp in 2-minute exposures. The image below shows my results using the Canon EF 24-105mm F/4L Lens in the backyard.
This was taken using the iOptron SkyTracker Pro with a 105mm Camera Lens:
Orion’s Belt – 30 x 2 Minutes @ ISO 800
With an increased focal length and more integrated exposure time, I could pull out more details from the deep sky objects in Orion. The photography opportunities that become available when you start tracking the night sky are endless.
The iOptron SkyTracker Pro Camera Mount
The setup shown below is one of my favorite configurations to use with the SkyTracker Pro. It includes a 50mm camera lens to shoot ultra-wide (about 30 degrees) field images of the night sky to capture multiple deep sky objects in a single frame.
Not only does a setup like this keep the overall weight down, but it’s also very forgiving in terms of tracking. At this magnification, even if the polar alignment of the mount is slightly off, a 2-minute exposure will look pretty sharp.
![]()
The SkyTracker Pro with a DSLR and 50mm lens attached.
Travel Astrophotography with the SkyTracker
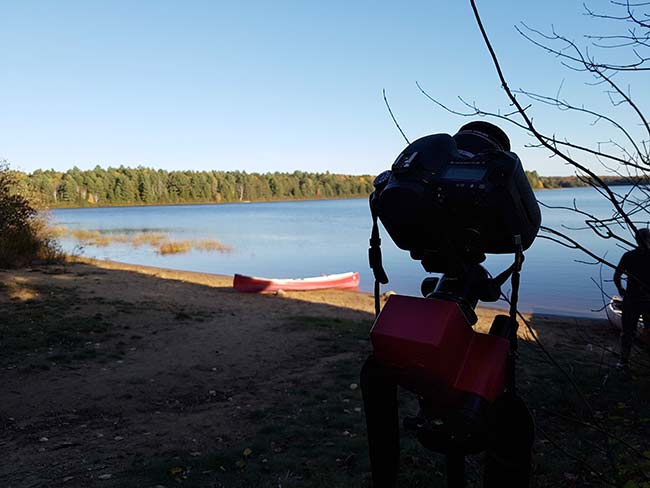
Over the weekend, I traveled to a dark sky site that required a 1-hour canoe ride. Needless to say, I was packing light. But since it was New Moon, and the Orionid Meteor Shower was peaking – I couldn’t leave home without at least a camera and a small star tracker.
The SkyTracker is so small that I was able to stuff it into my duffle bag underneath a mix of warm clothes. Because this mount is battery powered, no additional power sources were needed at my campsite. This time around, I had a stock Canon EOS 7D on hand – with no remote shutter release cable.
The photo below is a stack of 10 x 30-second exposures at ISO 3200.
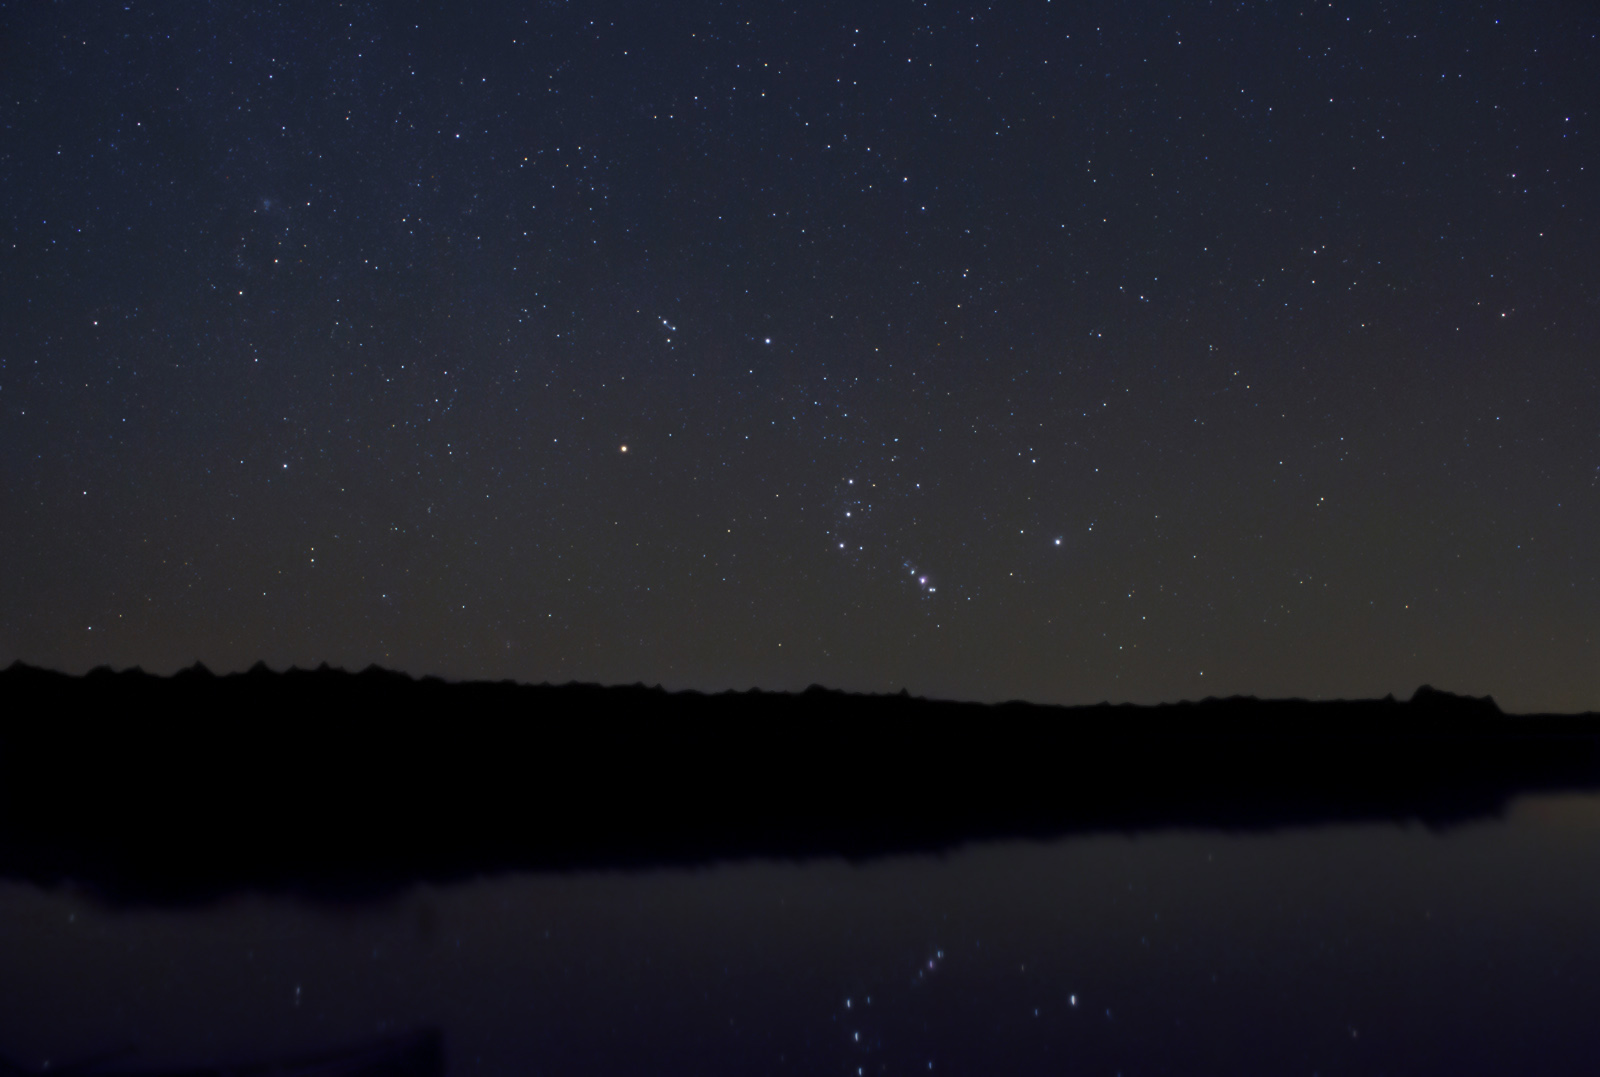
10 x 30-Seconds with a Stock DSLR Camera (Canon EOS 7D)
30-second exposures do not require a star tracker for a photo at this focal length, but it does help create sharper stars. The real power of the SkyTracker Pro mount is experienced when shooting longer subs of 60-seconds or more.
Overall I am happy with the image, as it captures the remoteness of our campsite and the beautiful stars of Autumn over Bottle Lake. Unfortunately, I did not capture any streaking Orionid Meteors, although my friends and I did witness a number of them visually!
Key Technical Specifications
By now, you have seen the iOptron SkyTracker Pro in action and should have a better idea of what to expect. For a complete overview of this product, you can refer to the SkyTracker Pro Instruction Manual. Below, you will find some of the key specifications of the mount including payload and tracking speeds.

- Mount Type: single-axis equatorial
- Max Payload: 6.6 lbs (3kg)
- Mount Weight: 685 gm with battery
- Tracking: R.A. automatic
- Tracking Speeds: 1X, 1/2X, Solar, Lunar
- Polar Scope: Illuminated Reticle
- Power: Internal Rechargeable Li-Poly
- Charging: Micro USB
- Body Dimensions: 115 x 115 x 95mm
Final Thoughts
If you use the iOptron SkyTracker the way it was meant to be used, you’ll be very happy with it. It charges easily via a USB cable and the internal battery power keeps you completely portable. It’s very light and easily packs up into a small camera bag. I wouldn’t put anything heavier than the recommended 3 lb payload on it, which means it’s best used with a DSLR camera and small to medium-sized lens.
It’s an affordable way to partake in more frequent imaging sessions with some serious long exposure capabilities. I’ll certainly be getting a lot of use out of my SkyTracker, both in the backyard and on future adventures.