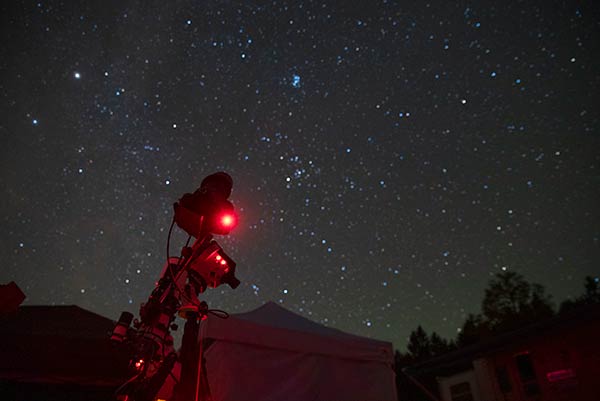
Portable Deep-Sky Astrophotography Kit
A portable deep sky astrophotography kit is essential for those who must travel to dark skies to capture images. A portable astrophotography setup should be lightweight, simple and reliable.
The following setup uses a tracking mount, telescope and DSLR camera to collect images of deep-sky objects such as galaxies and nebulae. Everything is battery powered, meaning no connection to an electrical source is needed.
Aside from those looking to build a travel rig, the following kit would also make an excellent first primary imaging rig for astrophotography. If you are interested in learning more about my primary (and much less portable) deep-sky imaging equipment that usually stays at home, you can view my complete setup here.
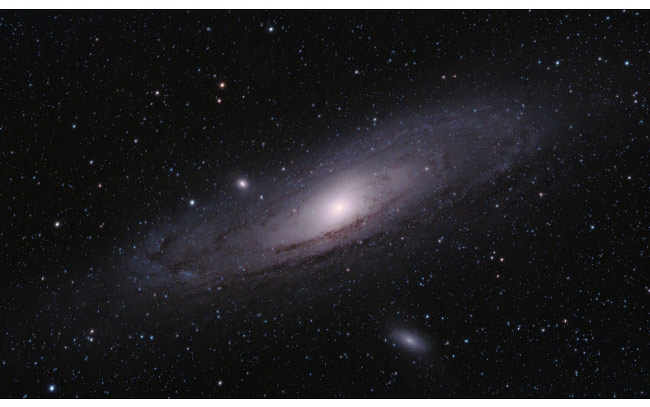
The ultra-portable travel kit on this page is actually quite affordable considering how expensive this hobby can be. Here is a photo that was taken using the kit above:
The Andromeda Galaxy captured using a portable astrophotography kit.
No autoguiding system or camera control software was used to produce this image. The entire rig was set up in minutes, to maximize my time spent under a dark sky.
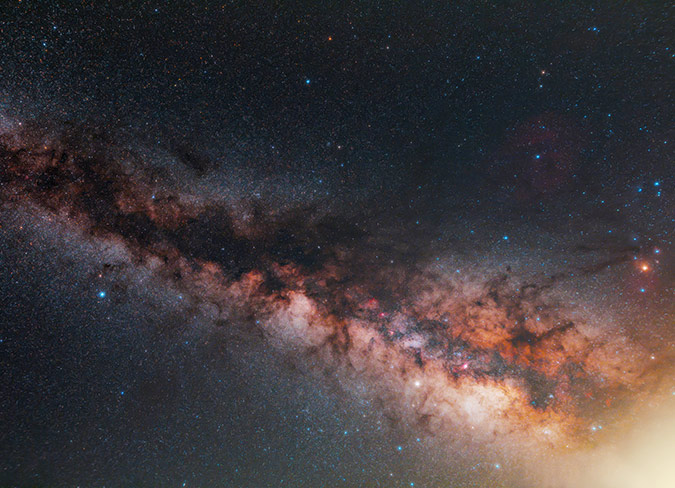
A small setup like this is also a great choice for Milky Way Photography, with a wide-angle camera lens in place of the telescope. The star tracker is the most important piece of the setup, and there are a number of great options available to amateur astrophotographers today.
The Milky Way captured with a DSLR camera and lens on the iOptron SkyGuider Pro.
As you can see, a portable astrophotography kit allows you to get creative. You can take shots from amazing locations that are just not possible to achieve from home.
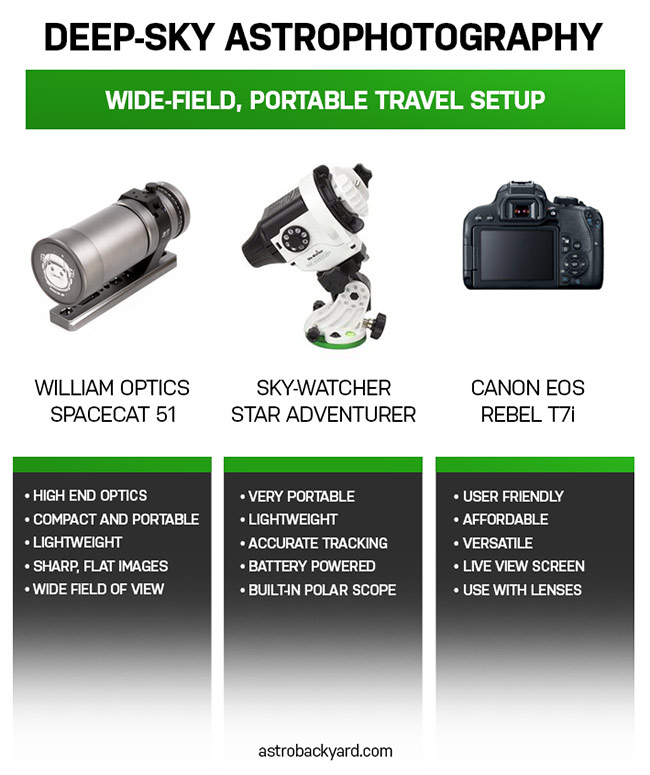
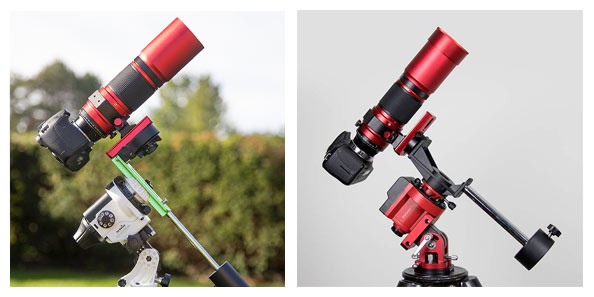
Here is another promising astrophotography kit for you to consider, that replaces the tracking mount with a Sky-Watcher Star Adventurer. This option has the convenience of using AA-batteries to run the mount so you’ll never get stuck with a dead mount (as long as you keep extra batteries on-hand).
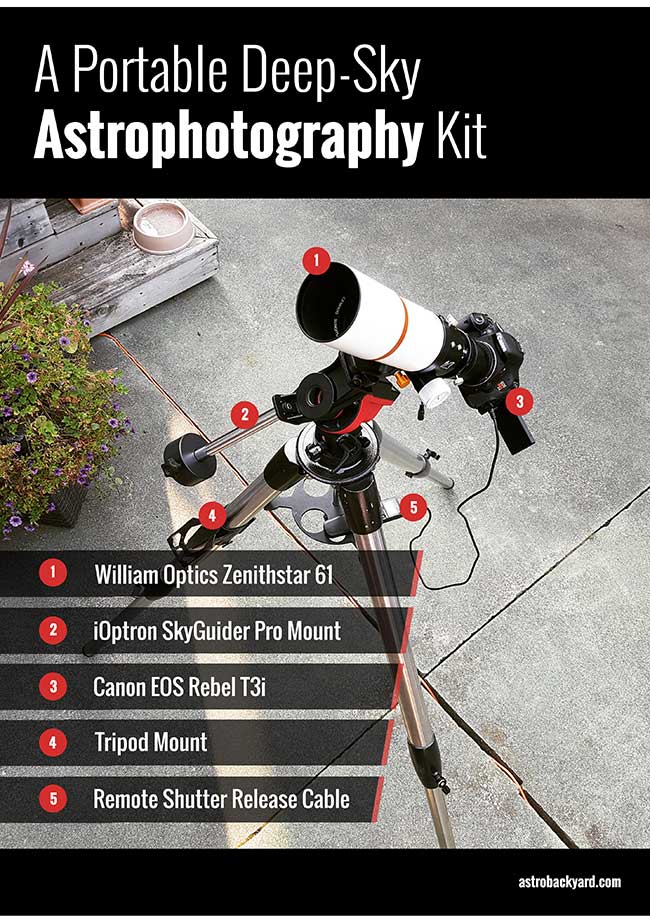
You can learn more about this system in the following post: Building a Deep-Sky Astrophotography Kit. The rest of this article will describe each piece of the portable astrophotography kit shown at the very top of this page in detail.
A Portable Deep-Sky Astrophotography Kit
What I especially love about this setup is the simplicity of it, without sacrificing some serious deep-sky imaging capabilities. Yes, you could take longer exposures by using an autoguiding system, but that also means adding a computer and another small telescope to the mix.
The telescope is arguably the most important component to the kit, after the tracking mount. For the best results at this level, I recommend using a small refractor telescope in the 50-60mm range.
This will allow you to take images of large deep-sky objects in the night sky at a healthy focal length. Compact telescopes with a focal length of 250-400mm won’t put too much of a demand on the mounts tracking accuracy.
The truth is, you don’t need 1000mm+ to take amazing astronomy images. Many of the most exciting objects in the night sky (especially nebulae) are very large and benefit from a wide-field instrument.
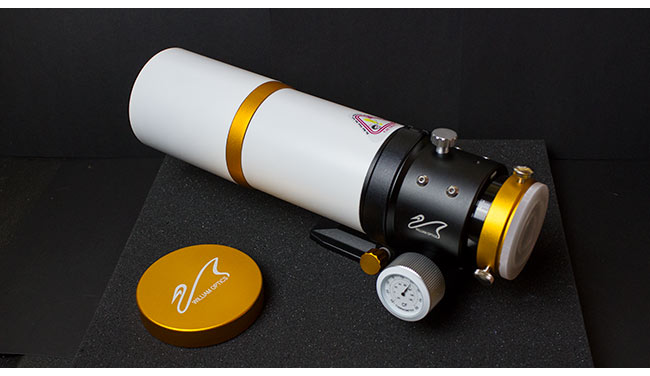
The telescope shown below weighs a mere 3.2 pounds, and can easily fit into a camera bag or small backpack.
William Optics Zenithstar 61 APO
The William Optics Zenithstar 61.
The William Optics Zenithstar 61 APO is a wide field doublet apochromatic refractor telescope. The Synthetic Flourite glass used in the objective lens produces deep sky images with wonderful color correction.
At a focal length of 360mm at F/5.9, this little doublet frames up numerous nebulae in a formidable fashion. For example, large targets like the Heart and Soul Nebulae will fit within a single field of view with a full-frame camera sensor.
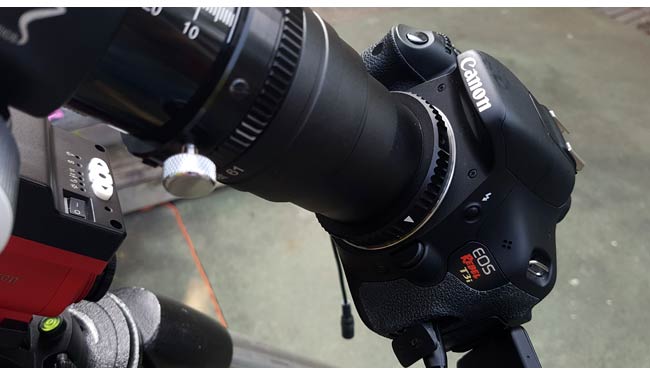
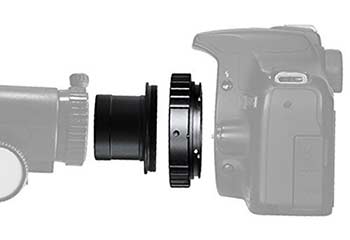
I recommend purchasing the Flat61 field flattener and T-mount for your DSLR camera. The T-Mount ring is required to connect your camera to the telescope. The Flat61 evens out the image field, meaning that stars will be sharp to the edge of the field.
You can read more about the Z61 here: William Optics Zenithstar 61 APO Review.
If you are looking for an alternative to the Zenithstar 61 (which can be difficult to find), consider a small Doublet like the Apertura 60mm APO.
iOptron SkyGuider Pro Camera Mount
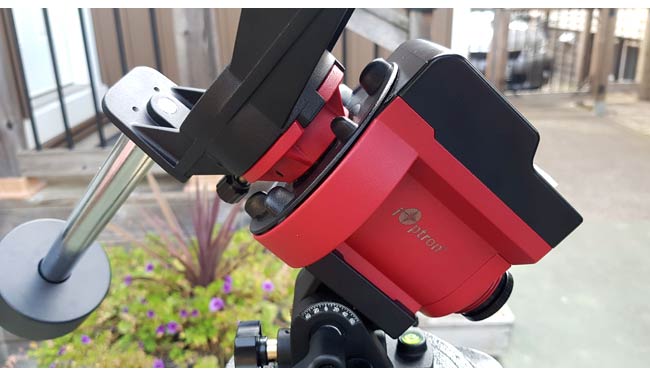
The iOptron SkyGuider Pro is an ultra-portable equatorial camera mount. In this case, a telescope is being used in place of a camera lens. The SkyGuider Pro includes a counterweight system, to help balance the weight of the Z61 telescope.
I have used this star tracker in a wide variety of configurations, from a wide-angle lens (Rokinon 14mm F/2.8) to a Canon EF 300mm F/4L lens. It’s a fantastic little mount with an impressive payload capacity considering its size (11 lbs).
The iOptron SkyGuider Pro needs to be polar aligned in order to accurately move with the motion of the night sky. This can be done quite quickly thanks to the built-in polar finder scope that illuminates to aid this process in the dark.
The act of polar aligning an equatorial telescope mount or small star tracker will become much easier over time. I use an astronomy app on my phone to help aid in the process (PolarAlign).
For more information, see my iOptron SkyGuider Pro Review
Canon Rebel T3i/600D
The Canon Rebel T3i/600D is an APS-C sized sensor DSLR that can easily be mounted to a telescope for astrophotography. This camera has been modified for astrophotography (full spectrum mod), which can be done by yourself or a professional.
Depending on where you are at in your astrophotography progress, you may already own a Canon or Nikon DSLR camera. It is not necessary to modify your camera to enjoy astrophotography, but it will help record more color and detail in certain nebulae.
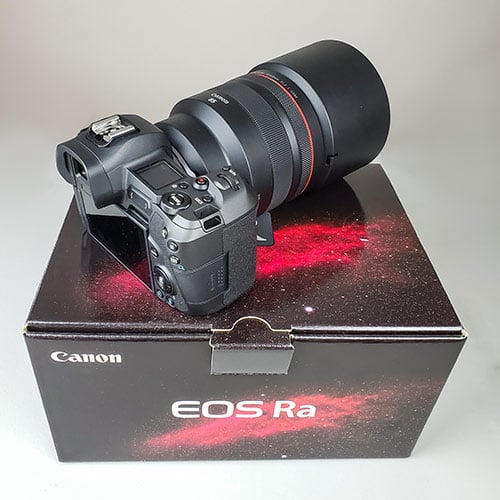
You can also consider a DSLR or mirrorless camera that was designed for astrophotography, such as the Canon EOS 60Da, or mirrorless Canon EOS Ra (shown below).
The Canon EOS Ra astrophotography camera.
The Canon Rebel T3i was introduced in 2011 and has since been replaced with newer models such as the T6i. Despite its age, older Canon DSLR bodies like the 600D do an incredible job at producing high-quality deep-sky astrophotography images.
If you are brand new to prime-focus astrophotography through a telescope, you may need a T-Mount adapter like the one below:
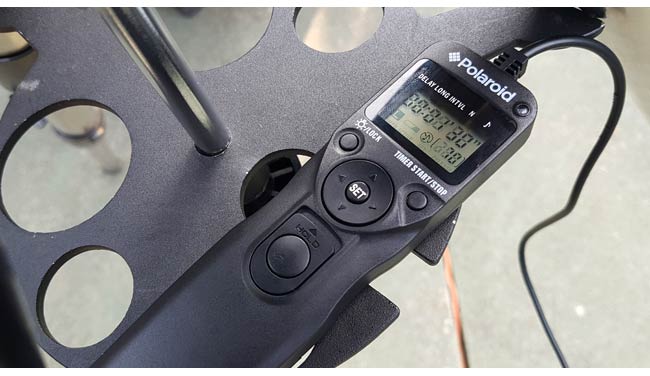
Polaroid Remote Shutter Release Cable
Without this simple device, you have no way to easily run a series of long exposure images without touching the camera. Some newer camera models have built-in intervalometer modes, but most don’t.
You should always try to capture as many images of your target as possible to help produce the best image you can. As more images are stacked, the signal-to-noise ratio will improve.
I usually stack my light frames (pictures) in DeepSkyStacker, but you can also perform this task in Adobe Photoshop.
Remote Shutter Release Cable for Canon EOS cameras.
Many variations of this shutter release cable exist on the market. They have different brand names labeled on them but are essentially the same device.
This controls the imaging session from start to finish by telling the camera to fire off a series of long exposures. A typical deep-sky imaging session will include 50-100 images of 2-minutes in length or more.
Sample Sequence Plan
- Mode: Manual (Bulb)
- Exposure Length: 120-Seconds
- Number of Shots: 70
- ISO: 800
- White Balance: Auto
Tripod for Camera Mount
This is where your version of the kit above will likely change. I currently use an old 2″ steel legged tripod that was a part of the Celestron CG-5 mount.
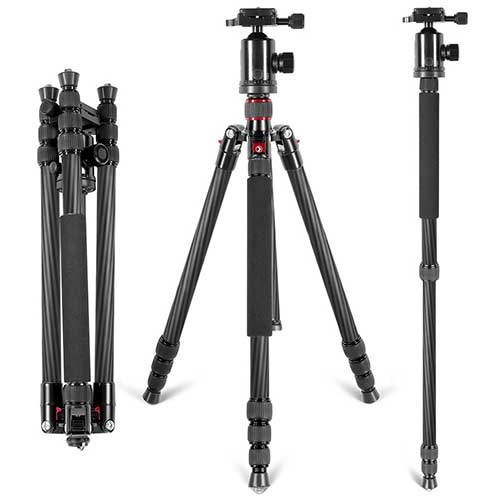
Your tripod does not need to be so substantial, and in fact, you could save a lot of weight by using a carbon fiber model. When using a star tracker like the Sky-Watcher Star Adventurer, I have found an inexpensive aluminum tripod to work fine.
Neewer Lightweight Carbon Fiber Camera Tripod
Final Thoughts and Extras
Why not spend more time enjoying your surroundings, and less time setting up? The iOptron SkyGuider Pro can be polar aligned and be tracking the night sky within a matter of minutes.
A compact, wide-field refractor telescope gives you just enough “reach” to pull in larger galaxies and nebulae in the night sky. You can also use camera lenses like the Rokinon 135mm F/2 (shown below) for even wider projects.
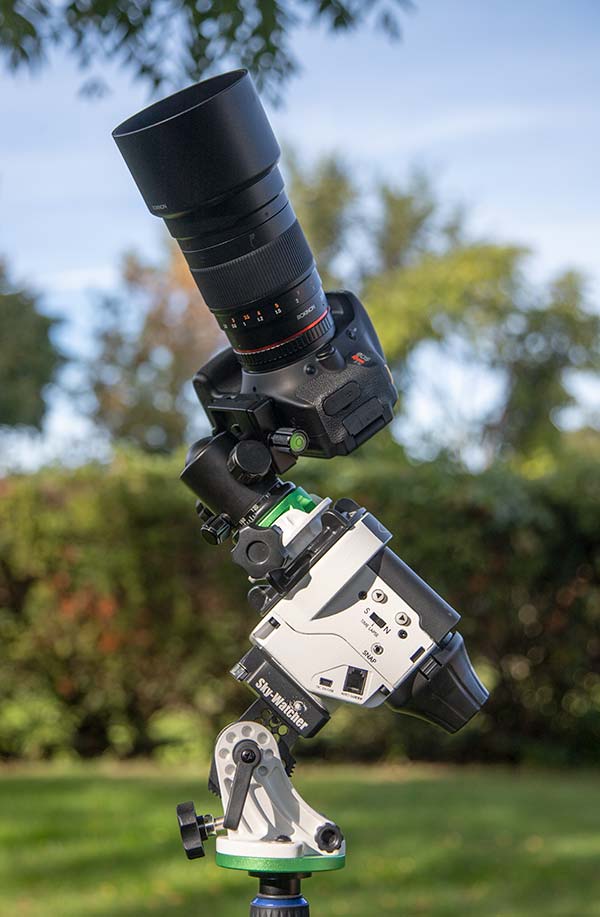
Even if you already own a larger imaging rig, it may be wise to invest in a portable astrophotography kit for travel. I highly recommend looking into the iOptron SKyGuider Pro, or Sky-Watcher Star Adventurer to start building your portable astrophotography kit.
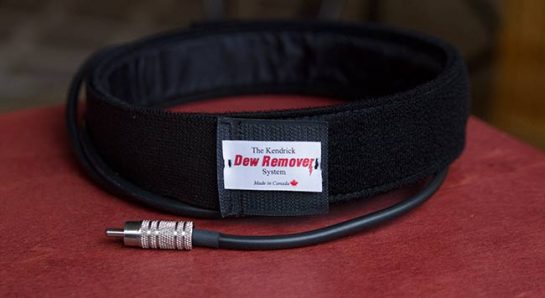
Using Dew Heaters to prevent condensation on the optics
To control condensation on the telescope or camera lens, a dew heater band and controller is an excellent way to keep the optics dry. However, this adds a portable power station to the ensemble, and power consumption will need to be monitored.
The built-in-dew shield on the Z61 will delay the collection of moisture on the lens, but only for so long.
I use a small DewBuster Dew controller with Kendrick bands wrapped around the base of the dew shield to keep the lens dry. The cigarette lighter plug on the dew controller is plugged into my camping battery pack.
Happy shooting!
