Askar N160 First Look

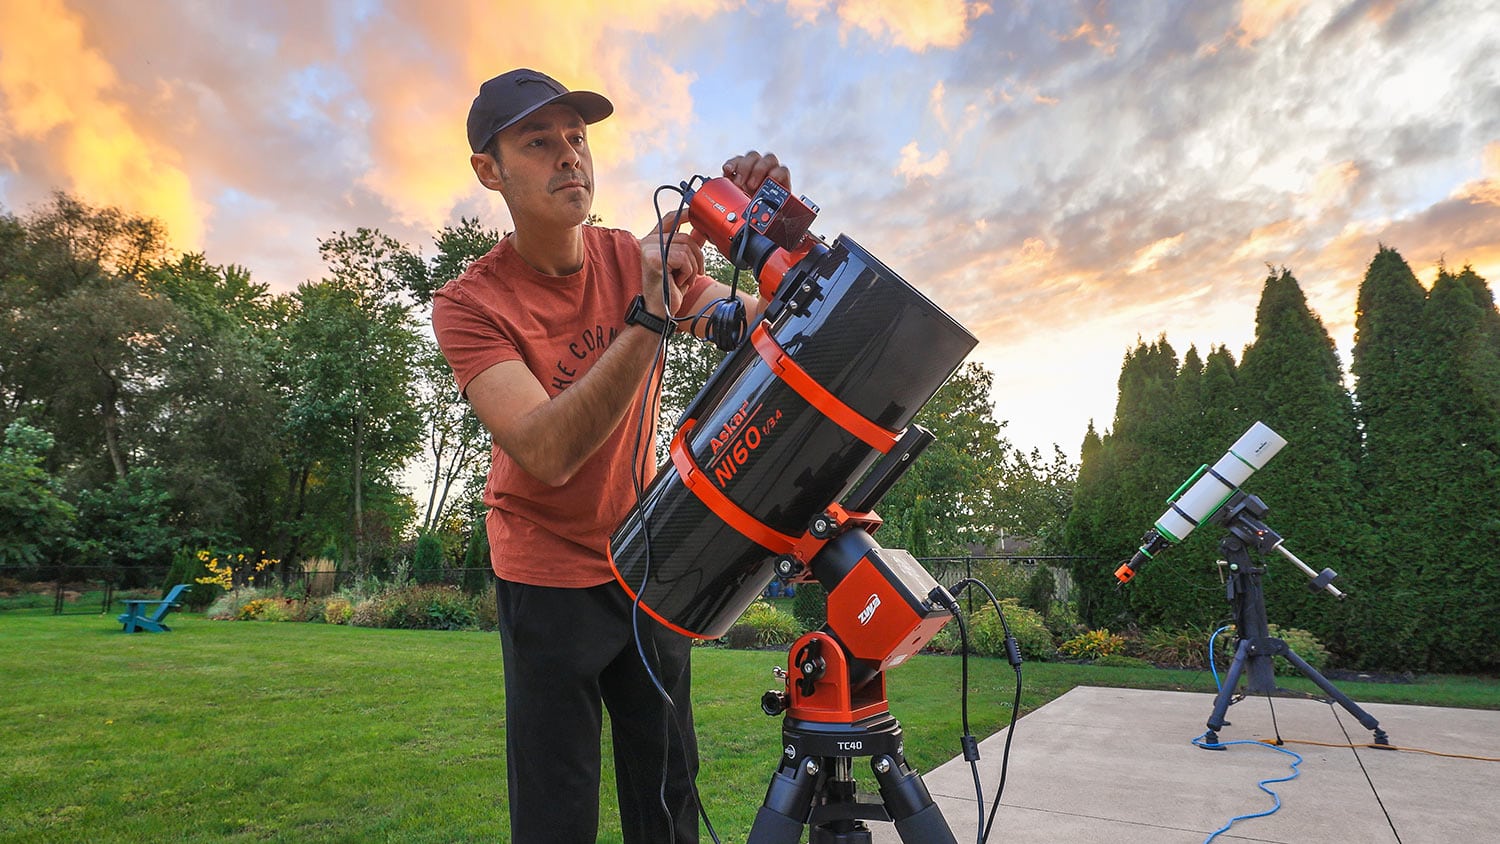
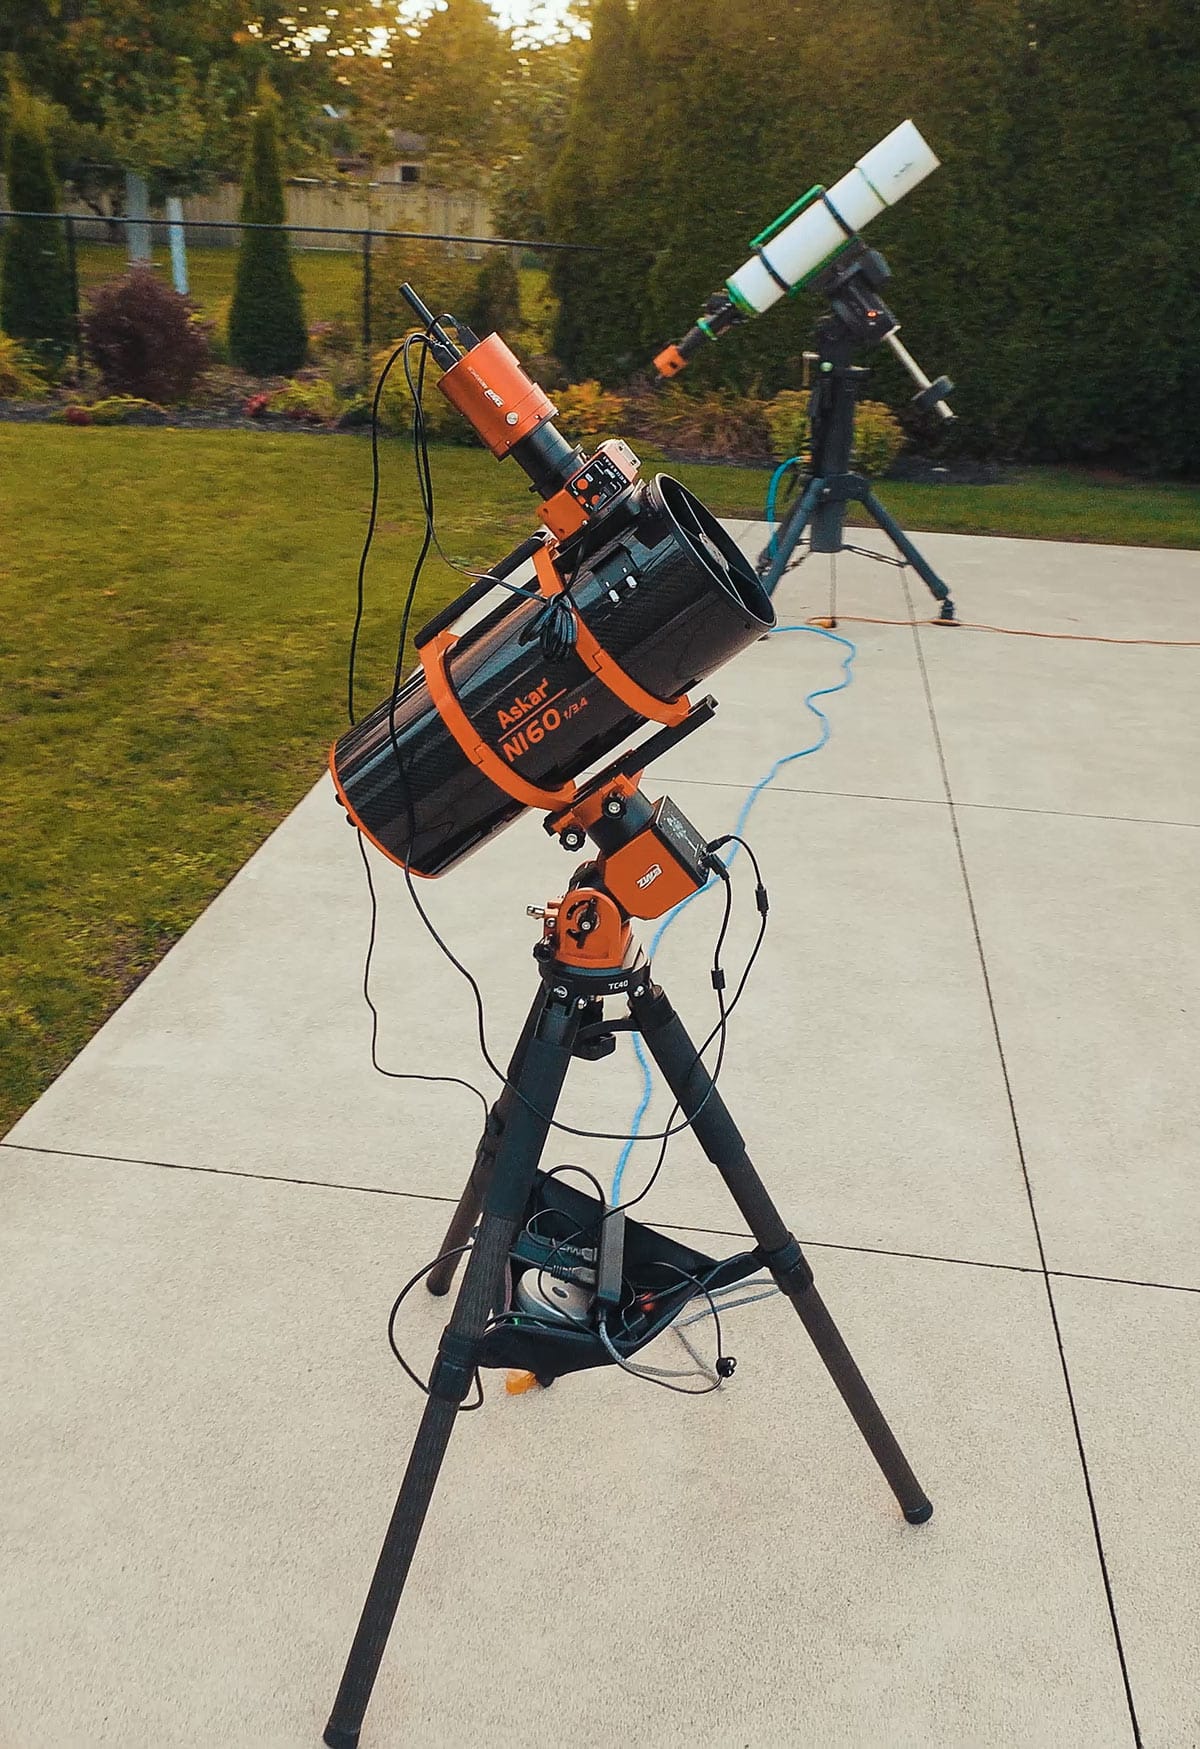
The Askar N160 is an ultra-fast Newtonian reflector telescope designed for deep-sky astrophotography.
I spent about two months using this telescope in the backyard before sharing my first impressions, and there was a lot I wanted to talk about.
I paired it with the ZWO ASI585MC Air and used it a little differently than I usually do for capturing nebulae and galaxies. Instead of spending every clear night collecting hours of long exposures, I spent a lot of time live stacking deep-sky objects.
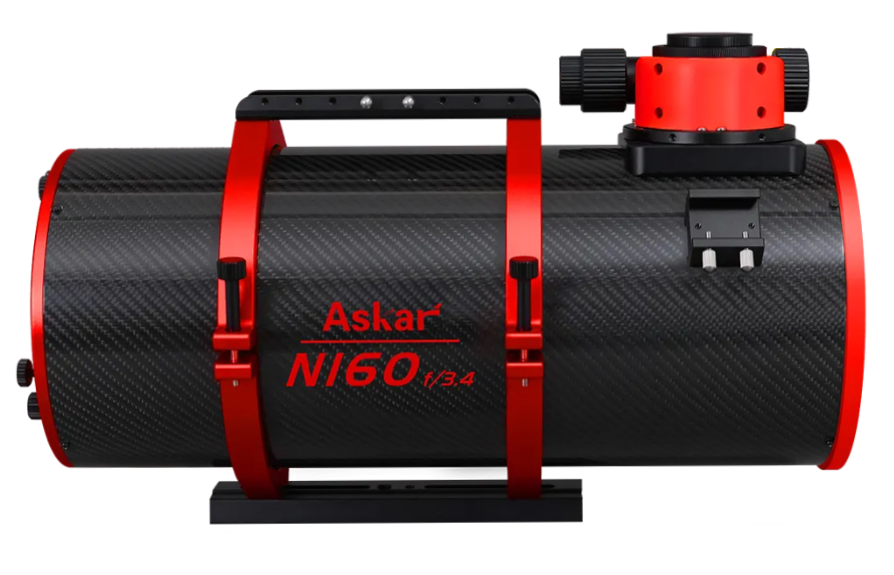
The Askar N160 Reflector Telescope is available at High Point Scientific.
The N160 has a 160mm aperture, a little over six inches, and operates at f/3.4 with the included coma corrector.
For comparison, the giant Sky-Watcher Esprit 150 refractor I use has a similar aperture, but operates at f/7. Clearly, these are apples to oranges, but it’s interesting to consider those numbers.
There’s a lot to like about the N160. But there are also a few things you need to understand before jumping into a fast Newtonian telescope like this.
Askar N160 Specifications
The Askar N160 is a 160mm Newtonian reflector with a compact carbon-fiber optical tube. It has a native focal length of 576mm at f/3.6, reduced to 544mm at f/3.4 when using the included 0.95x coma corrector.
- Telescope Type: Newtonian reflector
- Aperture: 160mm (6.3″)
- Native Focal Length: 576mm
- Focal Length with Corrector: 544mm
- Native Focal Ratio: f/3.6
- Focal Ratio with Corrector: f/3.4
- Primary Mirror: Parabolic
- Coma Corrector: Included 0.95x triplet
- Supported Image Format: APS-C (28mm image circle)
- Backspacing: 55mm from corrector’s M48 thread
- Optical Tube Material: Carbon fiber
- Optical Tube Length: 467mm (18.4″)
- Optical Tube Diameter: 193mm (7.6″)
- Optical Tube Weight: 3.97kg (8.8 lbs)
- Total Weight (Mounting Accessories/Corrector): 5.2kg (11.5 lbs)
What’s Included with the Telescope?
The N160 comes with a dedicated 0.95x coma corrector, tube rings, a 230mm dovetail plate, and a multifunctional carrying handle.
Askar also includes an M58-to-M48 adapter and several thin adjustment shims for fine-tuning your camera spacing.
Having the coma corrector included is important because it is an essential part of achieving the telescope’s advertised f/3.4 focal ratio and corrected imaging field.
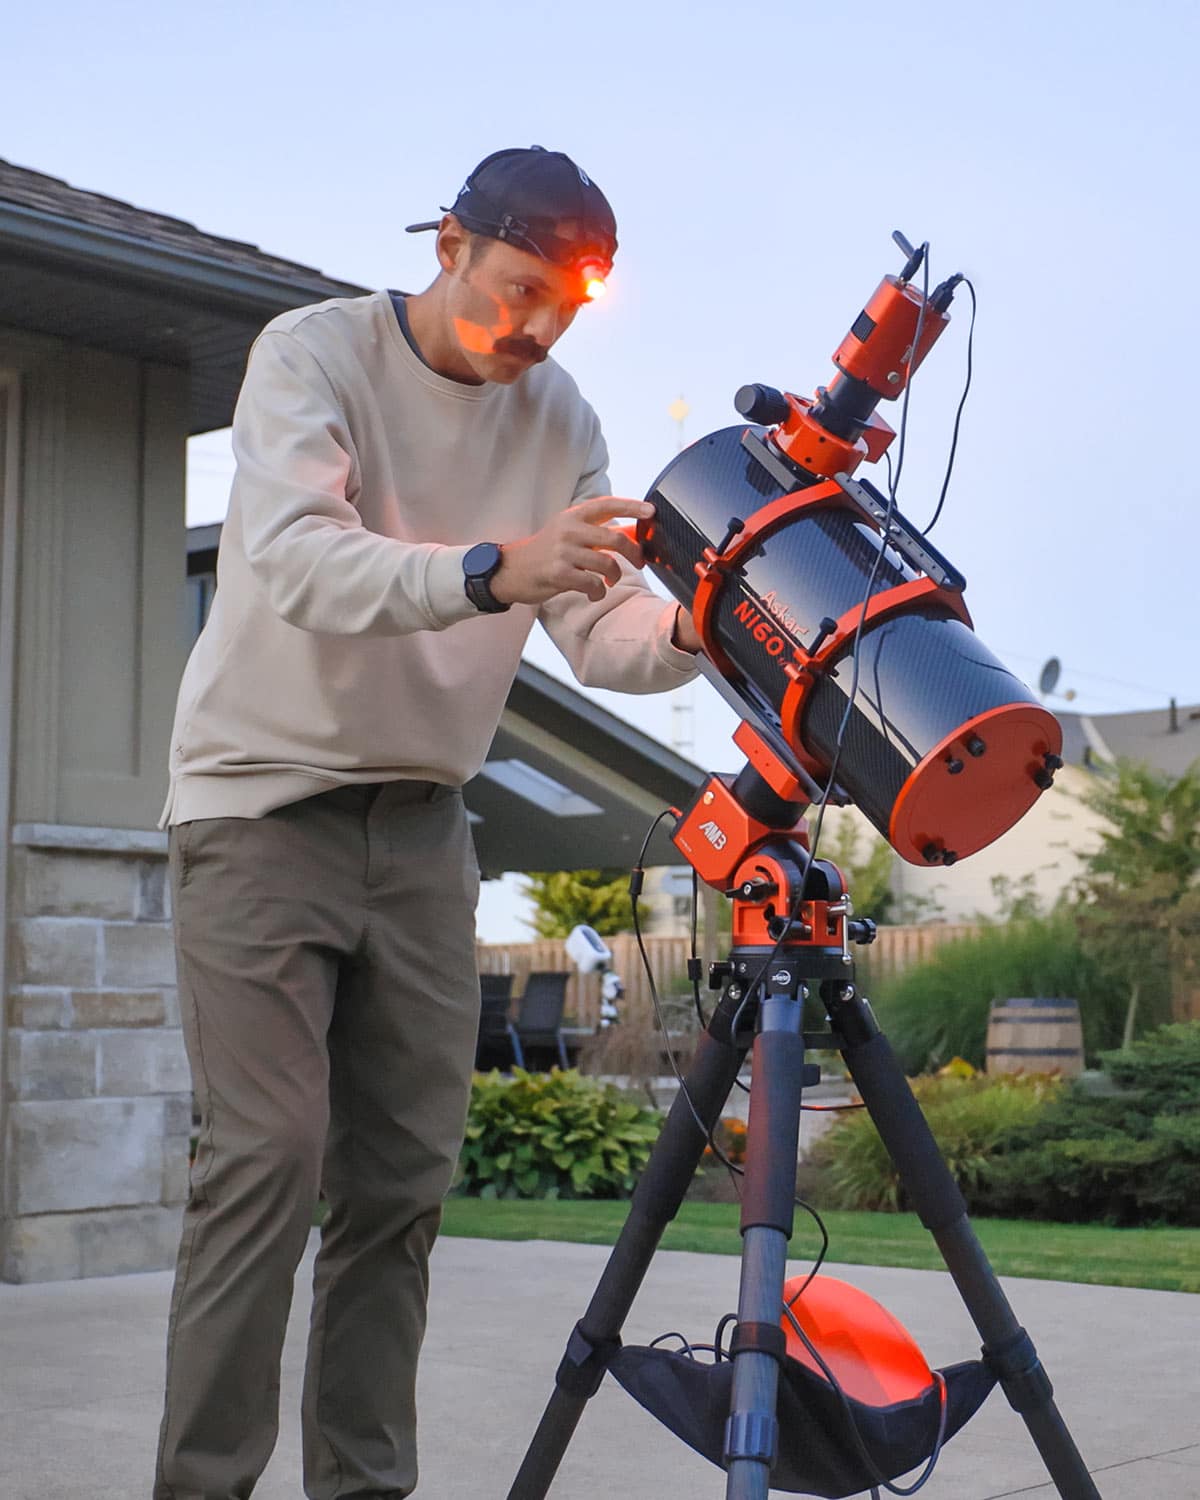
My Askar N160 Astrophotography Setup
One of the things I liked most about the N160 was how much light-gathering power it offered in a relatively compact package.
The telescope itself is just over 10 pounds with the mounting hardware, which isn’t much more than a refractor like the RedCat 61.
A compact mount like the ZWO AM3 handles it with ease, and that’s a huge selling feature for me.
You could even consider putting this telescope on a more modest equatorial mount like the Sky-Watcher EQ-AL55i, provided your complete imaging setup is within the mount’s practical imaging capacity.
ZWO ASI585MC Air Camera
To keep the lightweight, compact theme, I paired the N160 with the ZWO ASI585MC Air.
This camera combines the main imaging sensor, a guiding sensor, and ASIAIR control into one unit.
That meant I didn’t need a separate guide scope and guide camera hanging off the telescope, and I had fewer cables to deal with.
I still needed the mount and power supply, of course. But this combination kept everything tidy without adding much extra equipment or weight.
The ASI585MC Air also has a relatively small 1/1.2-inch sensor, which worked in my favor with a telescope with such a fast focal ratio.
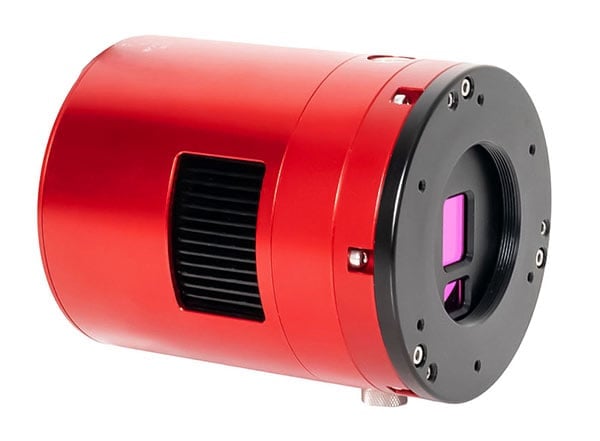
The ZWO ASI585MC Air is a great match for the Askar N160 (forgiving sensor size, reduces cables).
ZWO EAF Autofocuser
As you can imagine, with a focal ratio of f/3.4, getting precise focus can be a little tricky. Tiny shifts in focus can make a big difference in the quality of your stars.
To help fine-tune my focusing routine and automate the system, I added a ZWO EAF electronic autofocuser to the rig. I had to borrow it from another setup.
While an electronic autofocuser isn’t an essential upgrade, I highly recommend one on a setup like this if you want to ensure your stars are as tight as possible.
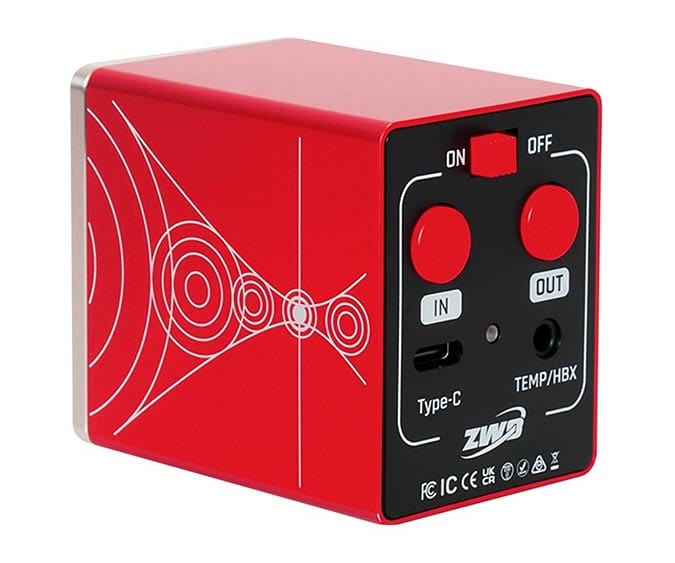
The ZWO EAF Pro is a handy upgrade for the N160, as focusing at F/3.4 can be tricky.
Collimation, Backspacing, and Other Considerations
While there is a lot to like about the N160’s compact design and fast optics, there are a few things worth understanding before buying one.
These are not necessarily deal breakers, but they can make the telescope more demanding to use than some of the refractors I’ve tested.
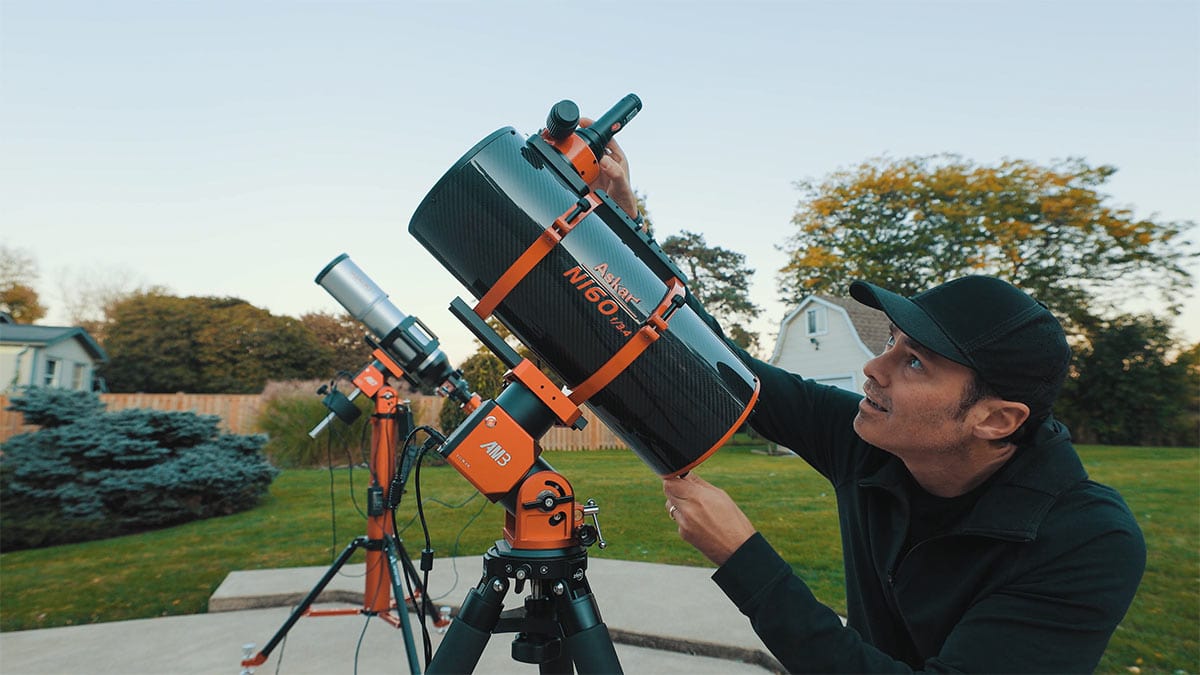
I use an inexpensive laser collimator tool to ensure that the N160 optics are dialed in. (It takes about 2 minutes)
Collimating the Askar N160
The N160 is a Newtonian reflector, and you know what that means: collimation!
Collimation is the process of aligning the telescope’s primary and secondary mirrors to ensure the optical system is performing as intended.
According to the manual, the N160 comes collimated from the factory, but you’ll want to double-check it every so often. I use a simple laser collimator I bought on Amazon to make subtle adjustments to the secondary and primary mirrors to line everything up.

The SVBONY laser collimator tool I use on my reflector telescopes.
Getting the Correct Backspacing
One of the most important quirks of this telescope is camera spacing.
You need to achieve 55mm of backspacing between your camera sensor and the dedicated coma corrector, measured from the corrector’s M48 reference surface, for the best star quality across the sensor.
Askar even includes paper-thin adjustment shims to help fine-tune this distance. That’s handy, but not necessarily a fun experience when you’re trying to nail down the correct spacing.
To make things easier on myself, I used the ASI585MC Air, which has a relatively small imaging sensor. A smaller sensor makes edge performance much more forgiving because you’re only using the central portion of the telescope’s available imaging field.
According to Askar, the N160 has enough coverage to illuminate an APS-C-sized sensor. However, I hadn’t tested it with an APS-C camera during my initial review, so I can’t speak to the edge-to-edge star quality on a larger sensor just yet.
Using Filters with a Fast Telescope
Another thing to consider is filter compatibility.
The N160’s ultra-fast focal ratio means you’ll need to check whether your existing astrophotography filters are designed to work with a telescope this fast. For example, my Optolong L-eXtreme filter isn’t recommended for telescopes faster than f/4.
Although the data looked fine in my initial tests, at least to my eyes, that doesn’t necessarily mean the filter was performing at its best. This is something worth checking before planning a narrowband imaging setup around the N160.
Using the Askar N160 for Astrophotography
After setting everything up, I spent several nights using the N160 in the backyard to capture deep-sky objects.
Now, I’m not sure what happened. Maybe it was all the smart telescope testing, or maybe I’m just getting old, but I’ve become REALLY interested in live stacking.
Super simple, shorter exposures, and just watching that image get better and better throughout the night.
While the N160 is more than capable of taking on deep-sky imaging projects with three- to five-minute exposures, I used this setup to live stack some incredible deep-sky objects right on my tablet screen.
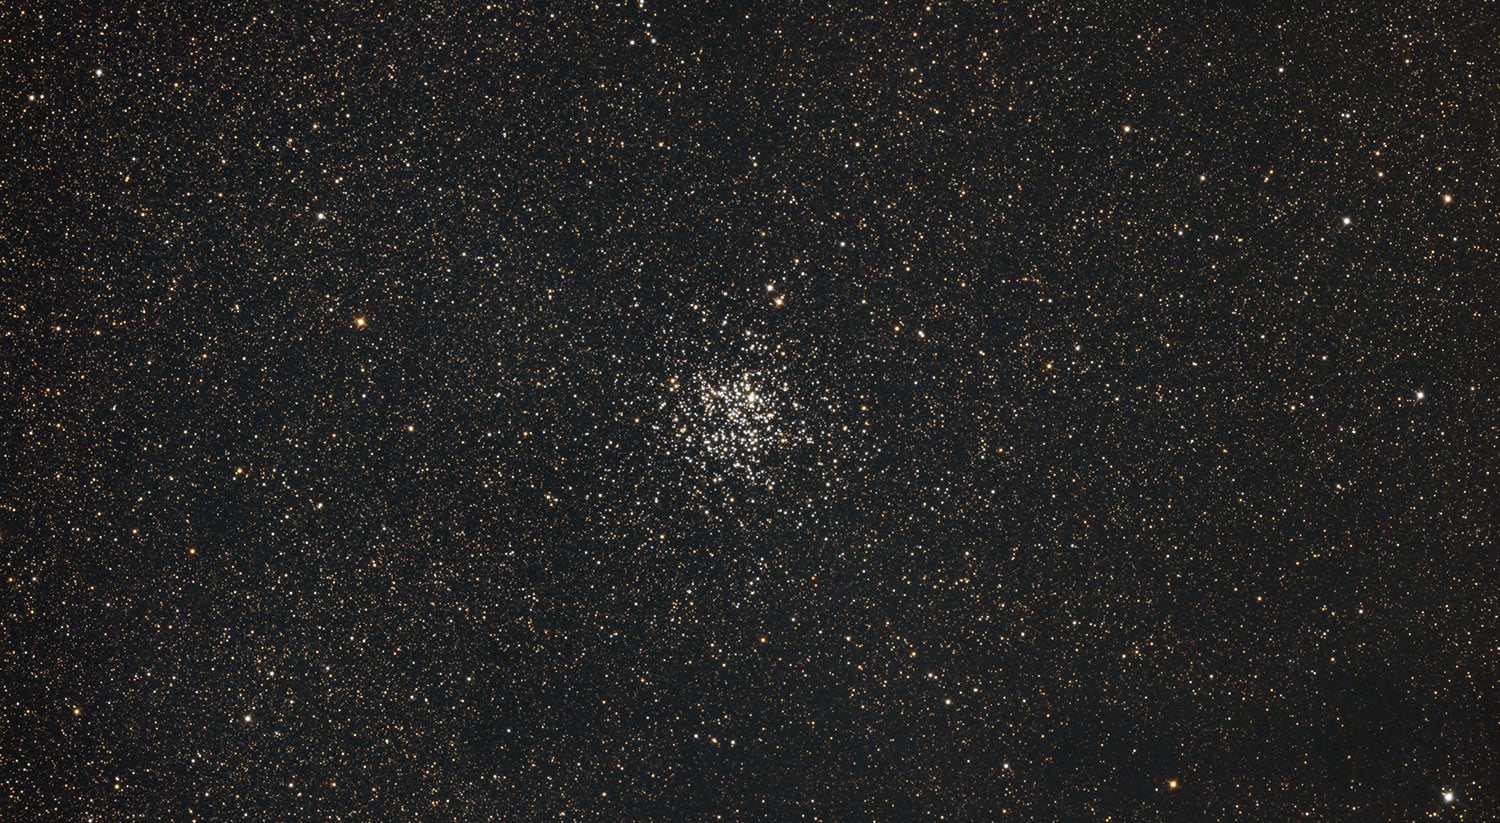
Messier 11 (The Wild Duck Cluster). 120 x 30 seconds using the ASI585MC Air and Askar N160.
Photographing NGC 891 with the Askar N160
One of my favorite projects with this telescope was NGC 891, a dim, edge-on spiral galaxy in the constellation Andromeda.
This galaxy is approximately 30 million light-years away, and I decided to photograph it on a night with a nearly full Moon. Not exactly ideal conditions for capturing a faint galaxy.
I used 60-second exposures to slowly reveal this edge-on spiral galaxy in detail. The first exposure, and the first 30 exposures to be honest, were pretty underwhelming. Just a slight smudge to at least signify I was on target.
But over time, the galaxy grew as I collected more and more distant light from this galaxy millions of light-years away. With a six-inch aperture at f/3.4, each 60-second exposure gathered a ton of light.
Watching the galaxy gradually appear on my tablet screen was one of the most enjoyable parts of using this telescope. The best part about this technique is that I was saving the raw frames anyway.
I could still stack and process the data later, just like I normally would, but there was something especially exciting about watching the image gradually improve throughout the night.
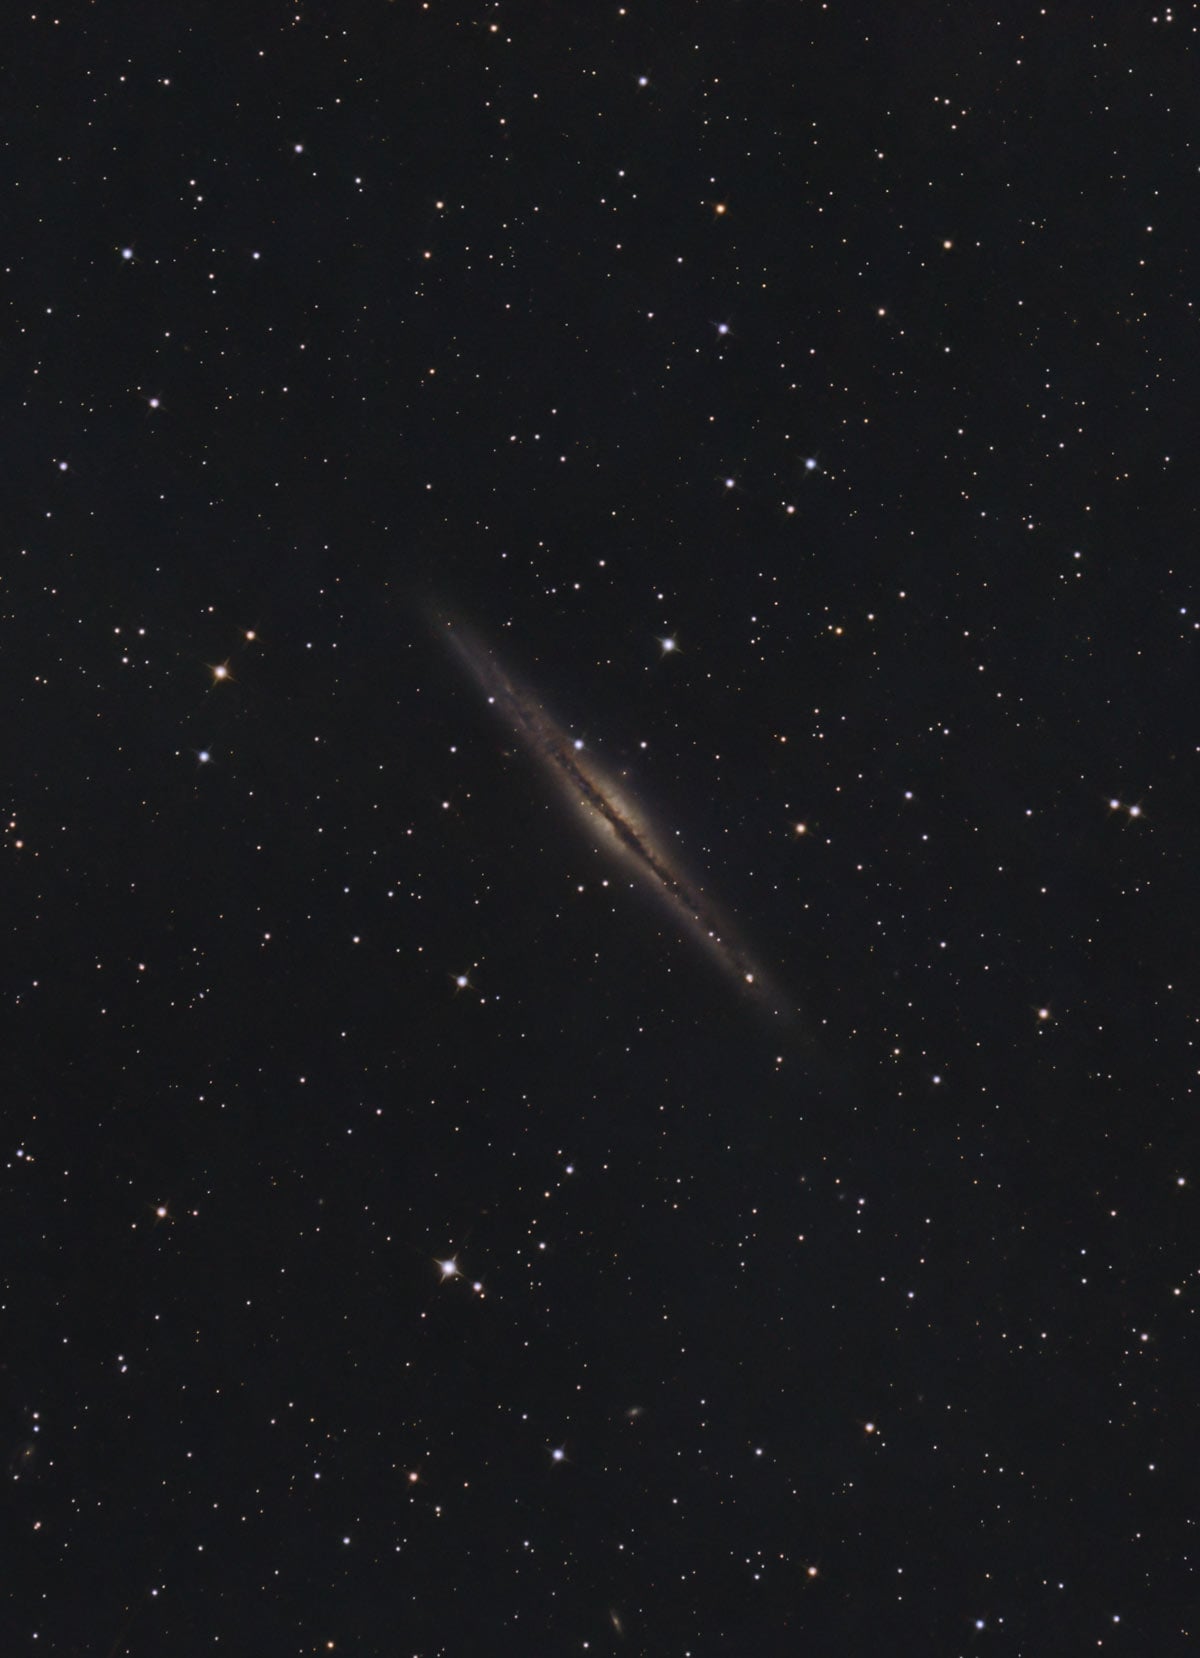
The Silver Sliver Galaxy in Andromeda (284 x 60 seconds) in Live Mode.
Live Stacking with the ASIAIR
If you’re like me and enjoy watching a game or playing Xbox at night, having a tablet next to you with a deep-space object slowly coming into detail is pretty incredible.
Of course, I’ll still play with the data when it’s all said and done. But the live-stacking experience itself has become a big part of the enjoyment for me.
If you’re using an ASIAIR camera like the ASI585MC Air, you can access this feature directly in the ASIAIR app. Simply enter Live mode, choose your exposure time, and set how long you want the session to run.
For my N160 setup, I used 60-second exposures, which gathered plenty of light with the telescope’s six-inch aperture and f/3.4 focal ratio.
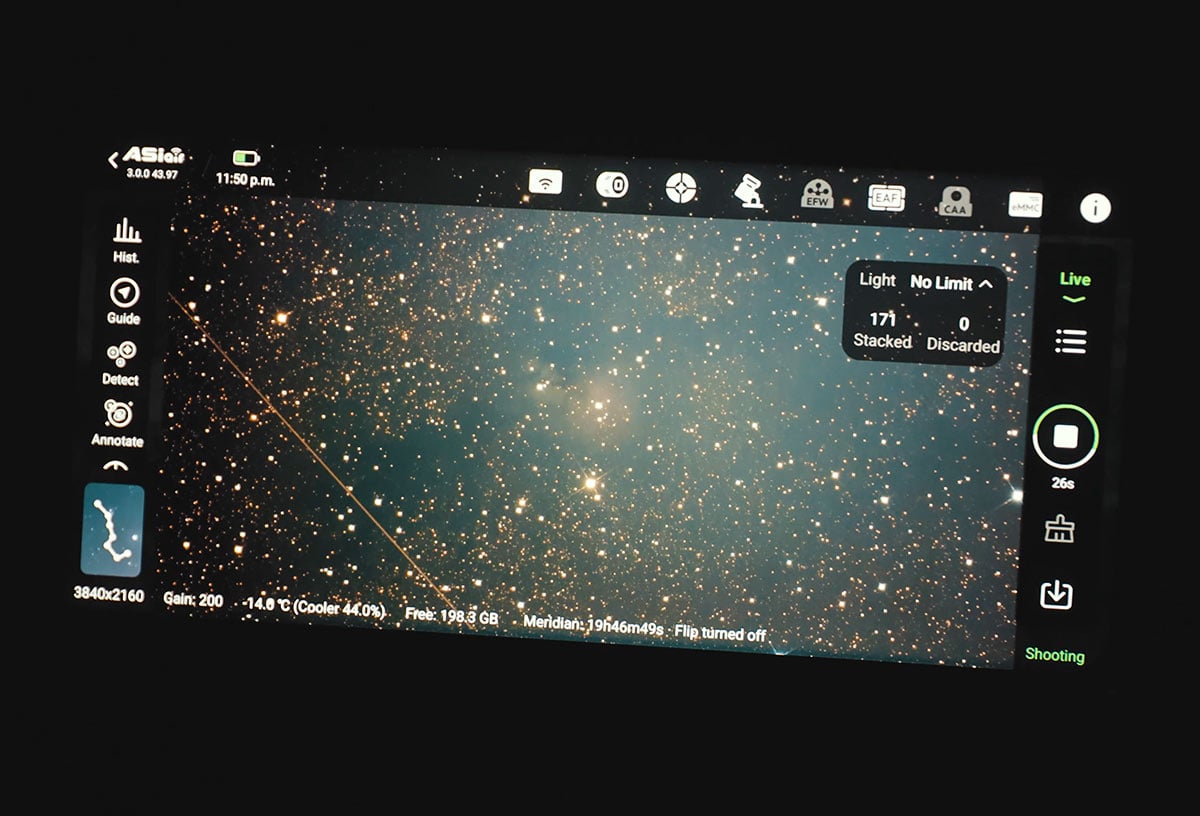
One important setting to remember is Save Each Frame. Make sure that option is checked so you can keep all of the individual raw exposures for traditional stacking and processing later. You can also save the current live-stacked image at any point during the session.
It’s an enjoyable way to capture deep-sky objects without giving up the option of processing your images later.
Image Quality and Star Performance
One of the most important things to examine when testing a fast Newtonian telescope is star quality, particularly toward the edges of the image.
With an optical system operating at f/3.4 – accurate focus, mirror collimation, and camera spacing all play a role in achieving tight, round stars.
I used PixInsight to examine the images captured with the N160, paying particular attention to the center of the field and the stars closer to the edges.
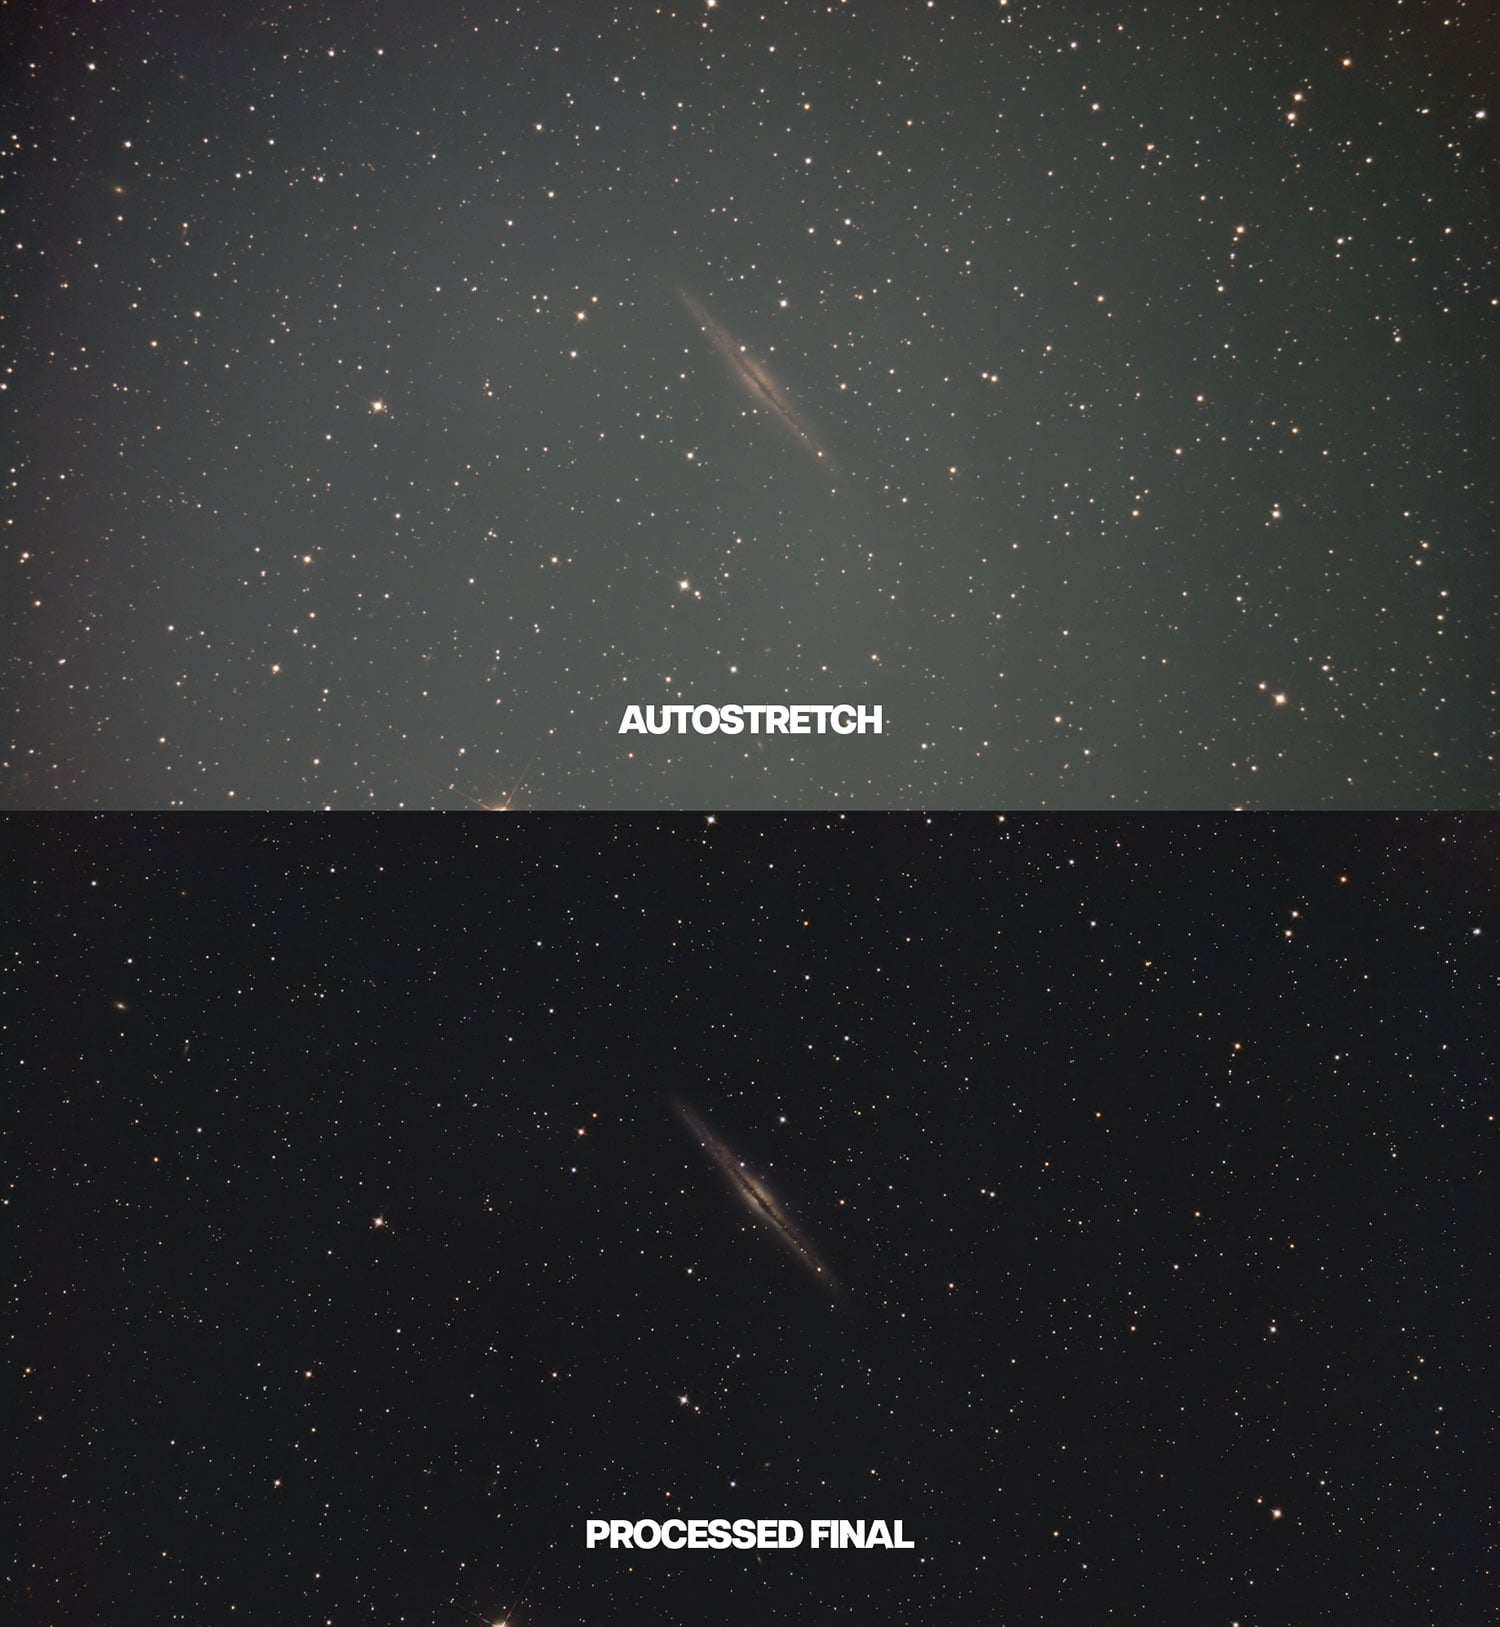
An image comparison between the stretched stack and the final processed image of NGC 891 using the Askar N160.
It’s also worth remembering that these initial images were captured using the telescope’s factory collimation and a relatively small camera sensor.
For that reason, I wouldn’t use these results alone to draw conclusions about how the N160 performs across a larger APS-C imaging sensor. That’s something I’d like to explore further.
My First Impressions of the Askar N160
After spending about two months with the Askar N160, I came away really enjoying this not-so-little imaging system. It’s a powerful imaging combination, with some quirks that could be deal breakers for certain astrophotographers.
The ultra-fast nature of the telescope’s design means focus, spacing, and edge-to-edge camera sensor performance can be tricky to nail down. But I think it’s possible with a little extra effort.
For me, the ideal scenario for this telescope is actually pretty close to the way I used it during my initial testing: a smaller-sensor smart camera, broadband imaging without a filter, and live stacking. Just like my NGC 891 project.
The compact design also makes it a great match for a smaller equatorial mount, which is something I really appreciate. You get a six-inch aperture and an incredibly fast focal ratio without needing a massive telescope mount to support it.
There are still a few things I’d like to explore, particularly how the N160 performs with an APS-C camera and what I can capture with it under darker skies.
For now, I’ve really enjoyed using this telescope from the backyard and watching faint deep-sky objects gradually appear on my tablet screen.
It’s a different way to enjoy astrophotography, and one I plan to keep doing.
Clear skies!

Trevor Jones is an astrophotographer and a valued member of the RASC. His passion is inspiring others to start their astrophotography journey on YouTube so they can appreciate the night sky as much as he does. His images have been featured in astronomy books and online publications, including the NASA Astronomy Picture of the Day (APOD).