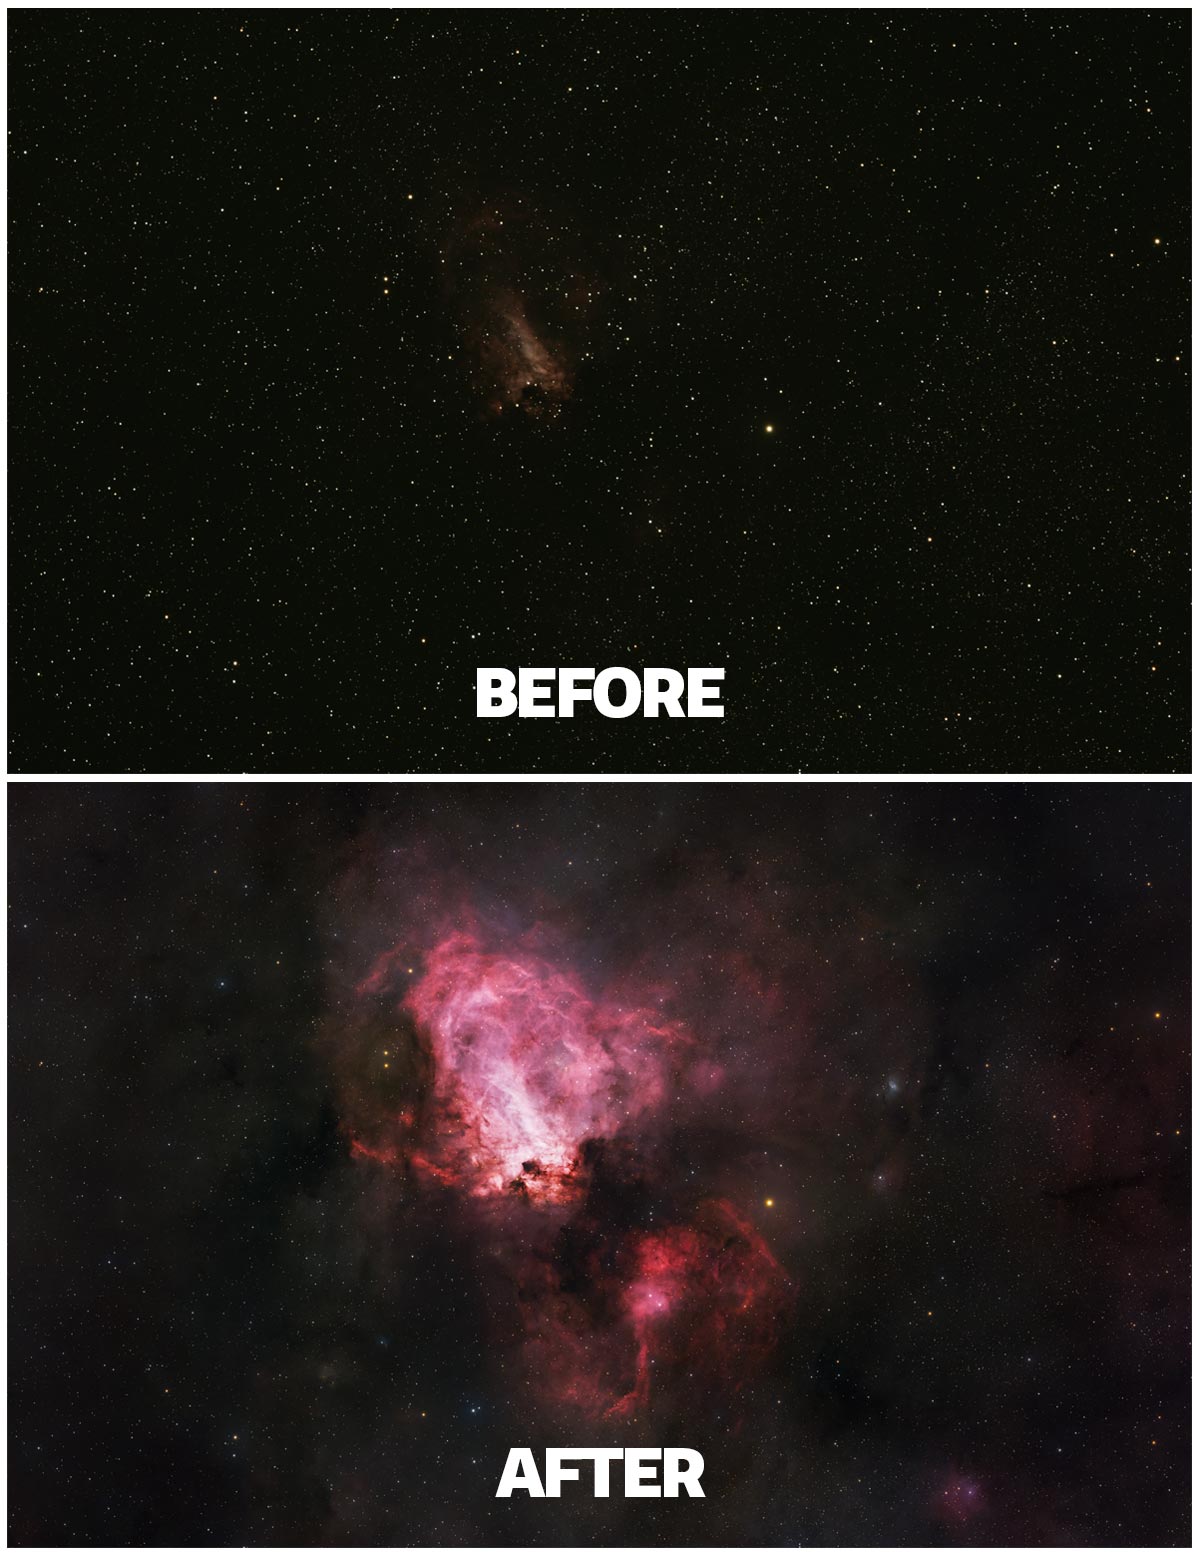
PixInsight: Price, Features & My Workflow

PixInsight is astrophotography processing software for calibrating, stacking, and editing astronomical images. It gives you control over everything from background gradients and star color to noise reduction and the final stretch that reveals a faint nebula or galaxy.
I use PixInsight to process each and every one of my astrophotos. It has become an essential part of how I turn hours of exposures into a finished image, even though I still use Photoshop for many of my final adjustments.
That does not mean everyone needs to buy it. PixInsight takes time to learn, and free alternatives have become incredibly capable. Here is what it does, what it costs, and how I would decide whether it belongs in your workflow.
Last updated: October 5, 2026.
Is PixInsight worth it? For me, absolutely. Its combination of precise processing tools, repeatable workflows, and support for specialized plugins makes it valuable on every project. If you are just starting out, try Siril or the PixInsight trial before committing. Better software helps you work with your data, but it cannot replace good focus, tracking, and exposure time.
What Is PixInsight?
PixInsight is an image-processing platform developed by Pleiades Astrophoto. Its tools address the challenges of astronomical imaging: weak signals, noisy exposures, uneven backgrounds, and stars that can quickly overwhelm a faint subject.
For deep-sky astrophotography, you can use it from the initial calibration of individual exposures to the finished image. It handles both one-shot-color data and separate monochrome channels used for LRGB or narrowband imaging.
PixInsight software runs on supported versions of Windows, macOS, and Linux. It is a desktop processing application; it does not replace the equipment-control software that runs your imaging session.
If you are still assembling your toolkit, my astrophotography resources page connects the processing side with the other software and tools I use.
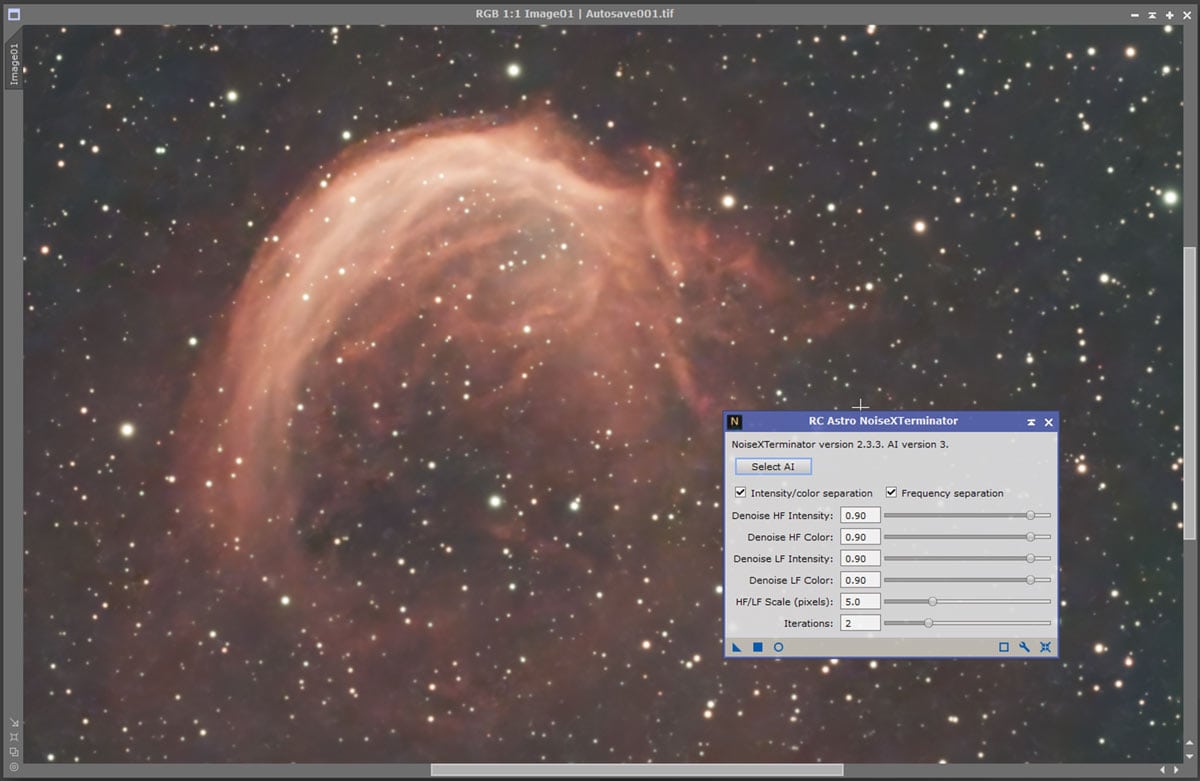
I use plugins like NoiseXTerminator in PixInsight to produce better images taken from my backyard.
Who Is PixInsight Best For?
PixInsight makes the most sense for someone who enjoys deep-sky imaging and wants more control over the result. You do not need an observatory or an expensive monochrome camera to benefit.
- Regular deep-sky imagers: You photograph nebulae, galaxies, or star clusters and want a consistent processing routine.
- Color-camera and DSLR users: You want to improve the calibration, background, and color of your images.
- Monochrome imagers: You need to align and combine filters while controlling individual channels.
- Curious beginners: You are willing to follow a structured tutorial and learn a few tools at a time.
If your goal is an occasional quick edit of a finished smart-telescope image, the investment may be harder to justify. You can produce beautiful astrophotos with other programs, and familiarity with your software matters enormously.
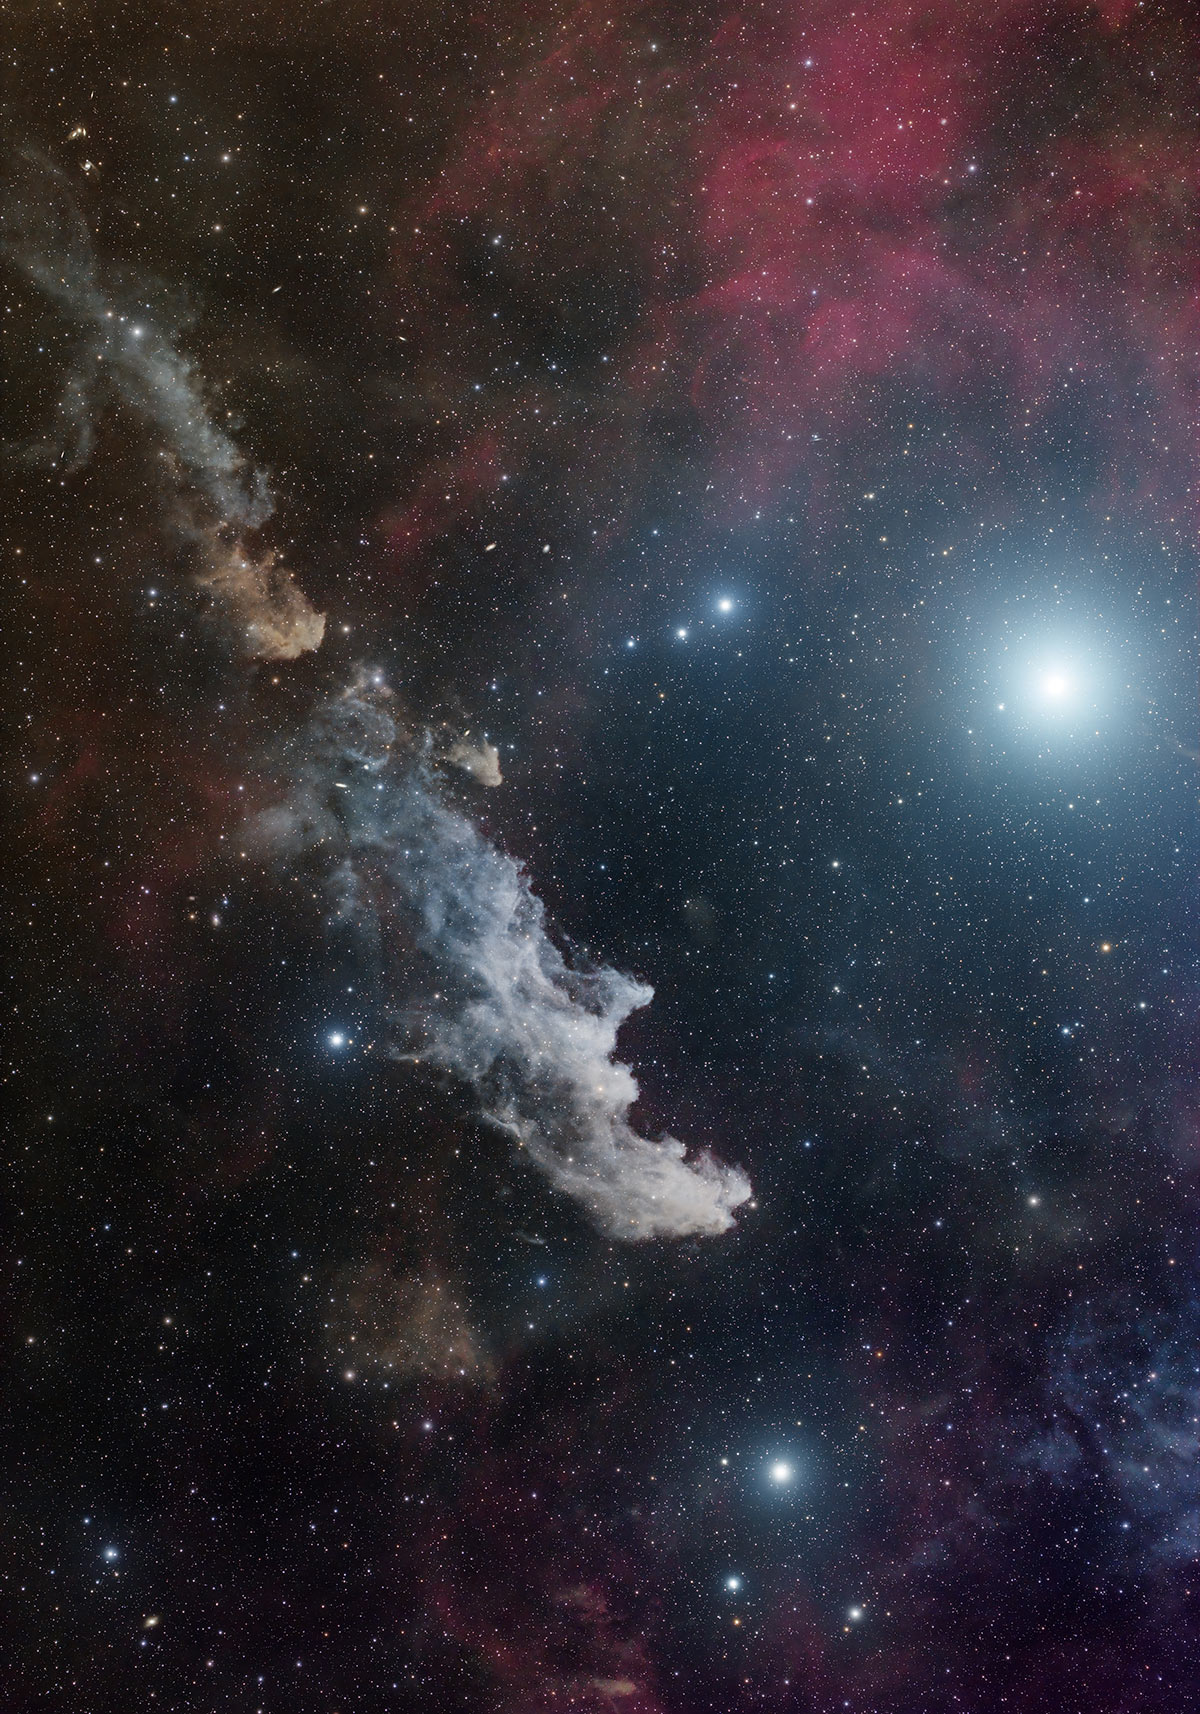
The advanced stretching and star-composition tools in PixInsight were instrumental in my process for the Witch Head Nebula.
Why I Use PixInsight for Every Astrophoto
After spending a clear night collecting light, I want to get as much out of that data as possible. PixInsight gives me the control to tackle individual problems instead of hoping that a general adjustment improves everything at once.
In my backyard images, an uneven background can hide faint nebulosity. A bright star field can compete with the main subject. Noise becomes more obvious as I stretch the image. Each of these needs a different approach.
I particularly value being able to work on the technical foundation before making the final creative decisions. Color calibration, careful noise reduction, and controlled sharpening help give me an image I can confidently take further.
My familiar combination is PixInsight plus Photoshop. PixInsight handles much of the astronomical processing, while Photoshop gives me a comfortable environment for layers, masks, curves, and finishing touches. PixInsight can finish an image on its own; using both is my preference.
The biggest benefit is consistency. I can return to a familiar set of tools, compare changes, and build on what worked in previous images.
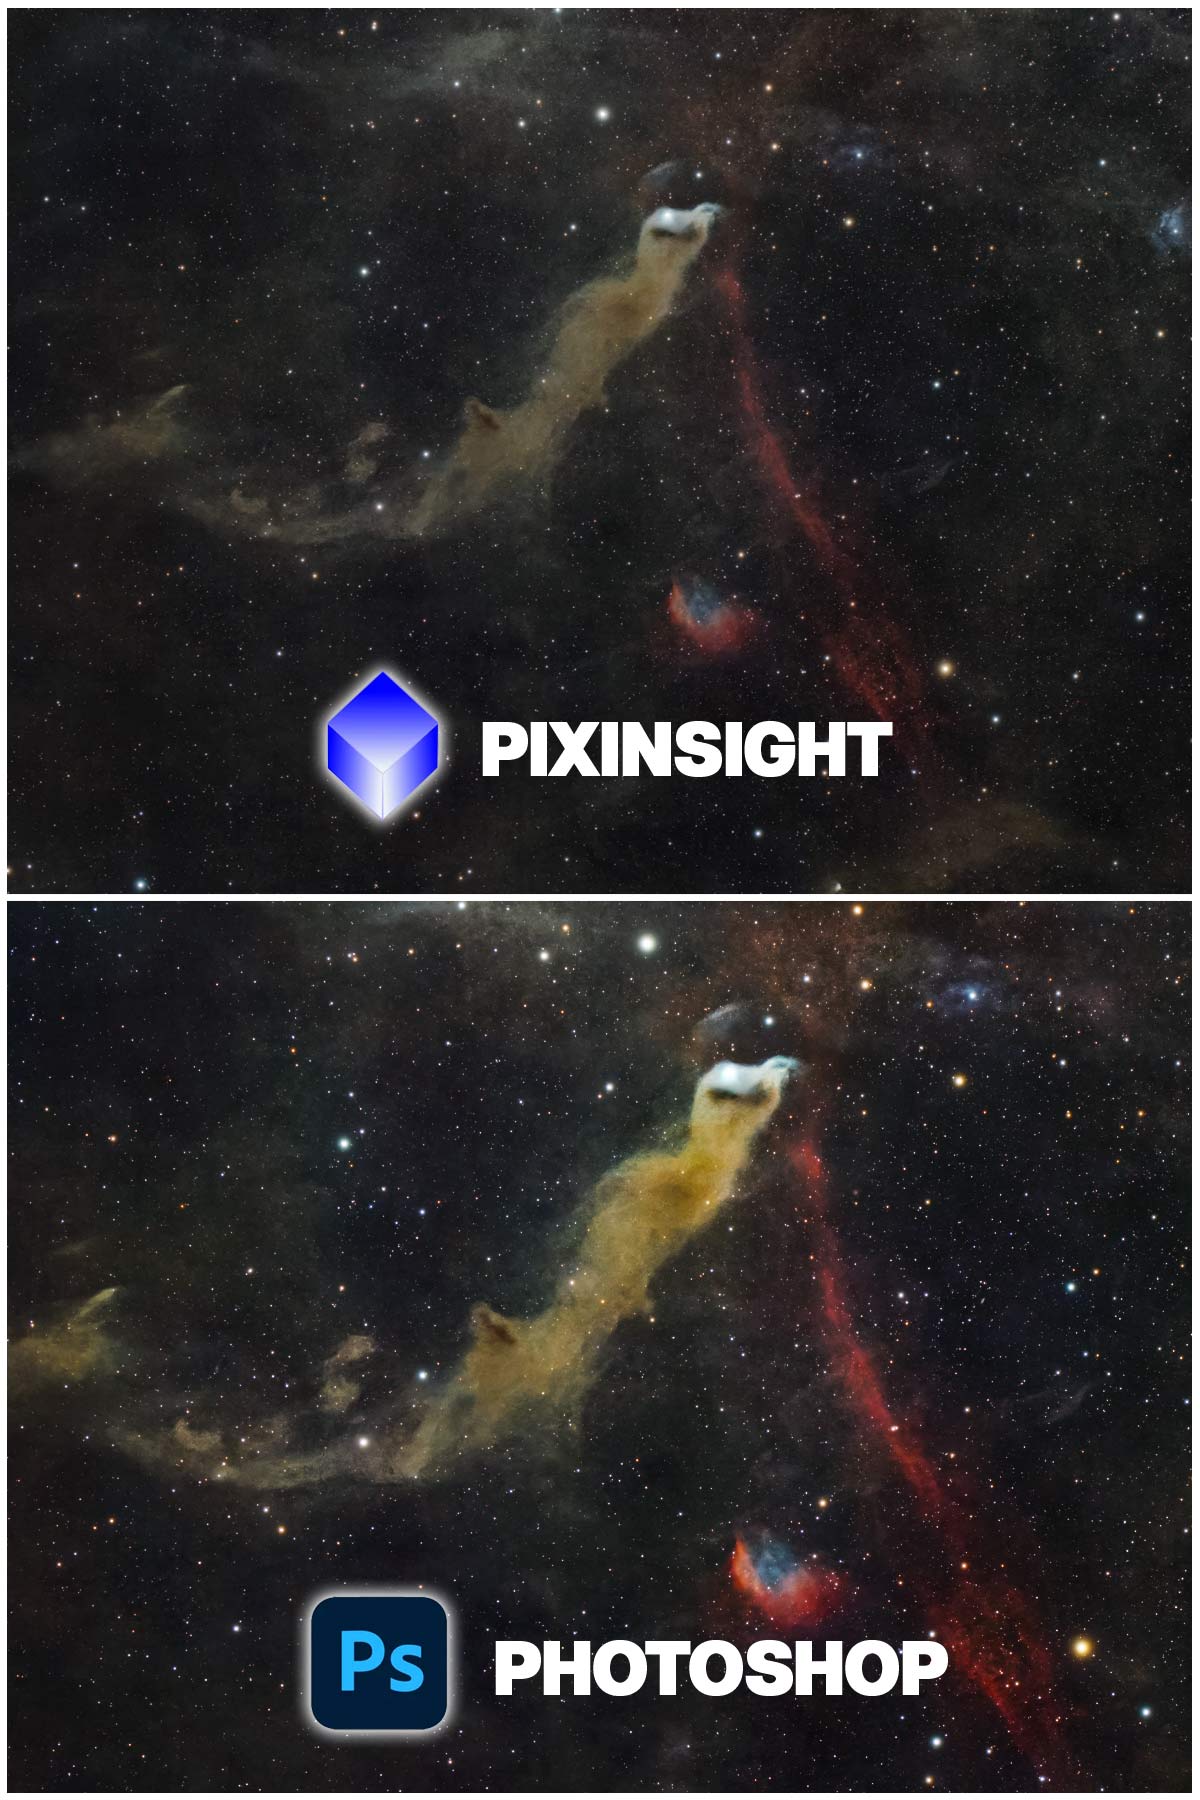
Deep-Sky Images vs. Nightscapes: Which Software?
PixInsight is my go-to tool for processing deep-sky images of nebulae, galaxies, and star clusters. However, Photoshop is my preferred editor for nightscapes, Milky Way photography, and wide-field constellation images. Its layers, masks, and Camera Raw adjustments give me the flexibility to refine colors, balance the sky and foreground, and create a natural-looking final image.

For my approach to capturing and editing wide-angle night-sky images, see my Milky Way Photography guide.
PixInsight Price: How Much Does It Cost?
The official PixInsight FAQ lists a commercial license at €300 for customers outside the European Union. EU customers pay the applicable VAT in addition. Check the official purchase page for the final amount and current terms.
PixInsight uses a purchased commercial license rather than a monthly subscription. Its published terms include updates and support, and allow the licensed user to install it on their own computers across supported platforms. It is not a shared multi-user license.
For readers in Canada or the United States, the amount charged in your local currency depends on the exchange rate and any payment-provider fees.
Budget for optional extras: BlurXTerminator, NoiseXTerminator, and StarXTerminator are separate paid products from RC Astro. They are not included in the PixInsight price. Paid courses and other commercial add-ons are separate too.
How to Download PixInsight and Try It Free
The official PixInsight free trial gives you 45 days with the full application. It is not a permanently free edition, and the trial period starts when the license is approved.
- Request a trial license or purchase a license through the official licensing page.
- Follow the supplied instructions to access the PixInsight download area.
- Install the appropriate version for your supported operating system.
- Activate the license, install available updates, and follow one beginner workflow.
The trial requires an internet connection when you launch PixInsight. My advice is to have a dataset and tutorial ready before requesting it. Working through one complete image will tell you more than opening menus for a few evenings.

Key PixInsight Tools and My Processing Workflow
You do not need to understand every process to get started. These are some of the names you will encounter most often.
WBPP: Calibration and Image Stacking
Weighted Batch Preprocessing (WBPP) organizes calibration, alignment, and integration into a manageable workflow. You supply your light frames and appropriate calibration frames, check the grouping and settings, and produce a master image for further processing.
Stacking improves the signal-to-noise ratio; calibration addresses problems such as uneven illumination and sensor artifacts. They serve different purposes. My image stacking software guide explains the available options.
Linear Images, STF, and Stretching
A freshly stacked, linear image often looks almost black. The faint signal is there, but it needs a different brightness mapping to become visible.
ScreenTransferFunction (STF) provides a screen preview without permanently changing pixel values. Applying an actual stretch with a tool such as HistogramTransformation changes the image. Understanding that distinction prevents a lot of early confusion.
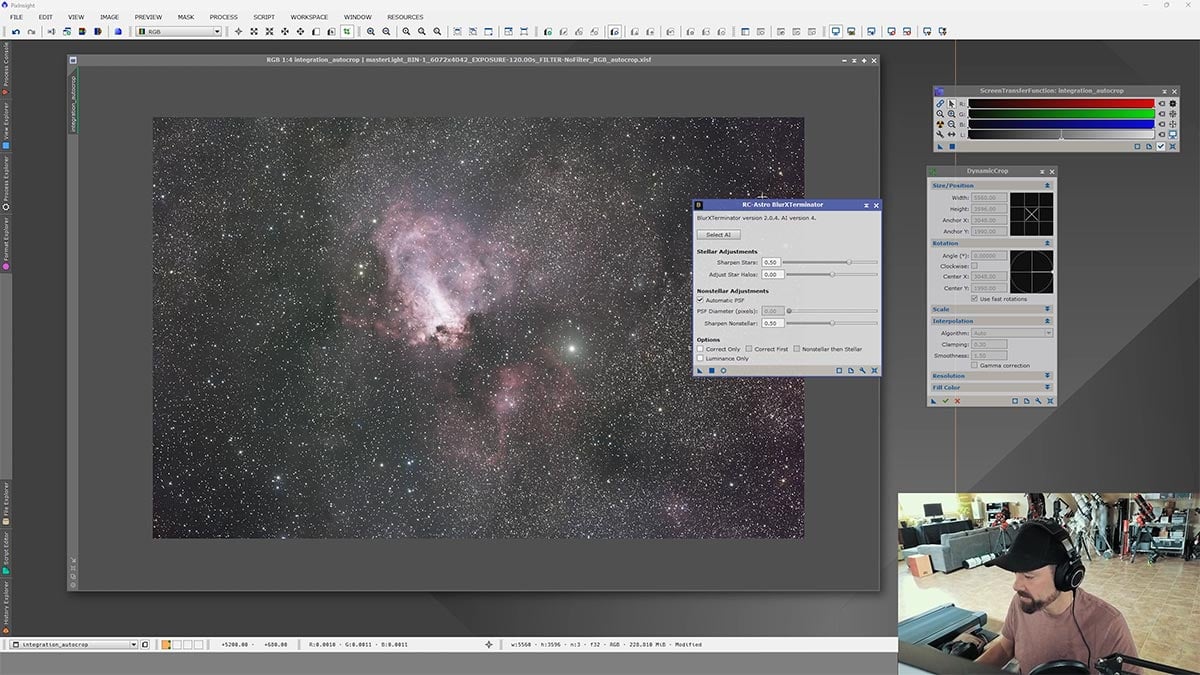
The Screen Transfer Function is a powerful tool because it lets you make key adjustments to linear image data.
Background Extraction and Color Calibration
DynamicBackgroundExtraction (DBE) and AutomaticBackgroundExtraction (ABE) help model unwanted background gradients. Care is needed around extended nebulosity: real dust and faint emission should not be treated as empty background.
SpectrophotometricColorCalibration (SPCC) uses stellar reference data and information about the imaging system to calibrate color. It needs an astrometric solution and the appropriate catalog data. Broadband color calibration and an artistic SHO narrowband palette are different tasks.
Noise Reduction, Deconvolution, and Star Separation
I use RC Astro’s processing tools extensively: NoiseXTerminator for noise reduction, BlurXTerminator for deconvolution, and StarXTerminator to separate the stars from the surrounding nebulosity.
Separating stars lets me develop faint structures without making every star larger and brighter. I still inspect the results closely; aggressive processing can create artifacts or erase subtle detail.
For the actual sequence, example images, and settings, follow my PixInsight and Photoshop processing workflow. The best order can depend on the data and tools involved, so treat a workflow as something to understand, not simply memorize.
PixInsight Alternatives: Feature Comparison
The best PixInsight alternative depends on whether you need a complete deep-sky workflow, a guided stacking application, or a familiar editor for finishing. This compact table compares those roles.
| Software | Features and Best Fit |
|---|---|
| PixInsight | Cost: Paid license. Stacking: Calibration, alignment, integration. Editing: Gradients, color calibration, stretching, masks, advanced processes and plugins. Best fit: Detailed control throughout a deep-sky project. |
| Siril | Cost: Free, open source. Stacking: Calibration, alignment, integration. Editing: Background extraction, SPCC, stretching, scripts and additional integrations. Best fit: A capable deep-sky workflow without a core software purchase. |
| Astro Pixel Processor | Cost: Paid; renter and owner licenses. Stacking: Calibration, alignment, integration and mosaics. Editing: Gradient correction, color tools and stretching. Best fit: A staged workflow, including multi-panel projects. |
| Photoshop | Cost: Subscription. Stacking: Layer-based options; use a dedicated application for routine deep-sky calibration and integration. Editing: Layers, masks, curves, selective color and plugins. Best fit: Creative finishing and general photography. |
PixInsight, Siril, and Astro Pixel Processor support Windows, macOS, and Linux, subject to version requirements. Photoshop’s desktop application supports Windows and macOS. For more choices, visit my astrophotography image processing software comparison.
PixInsight vs. Siril: Which Should You Choose?
Siril is the free alternative I would put on your shortlist first. It supports serious deep-sky processing, including calibration, stacking, background extraction, and stretching. Siril 1.4 also introduced SPCC, Python scripting, and additional mosaic capabilities.
I would choose Siril if the software budget is limited or you want to learn processing before buying anything. Its capabilities extend well beyond beginner use.
I choose PixInsight because its tools, process-based environment, and familiar workflow suit the way I work. The value comes from having the control I use regularly, along with an extensive teaching community.
One comparison point has changed: RC Astro now offers standalone tools that can work through applications including Siril. Access to these tools is no longer exclusive to a PixInsight workflow. Separate licensing and installation still apply.
Try processing the same dataset in both programs. Compare the result, the time involved, and how well you understand the decisions you made.
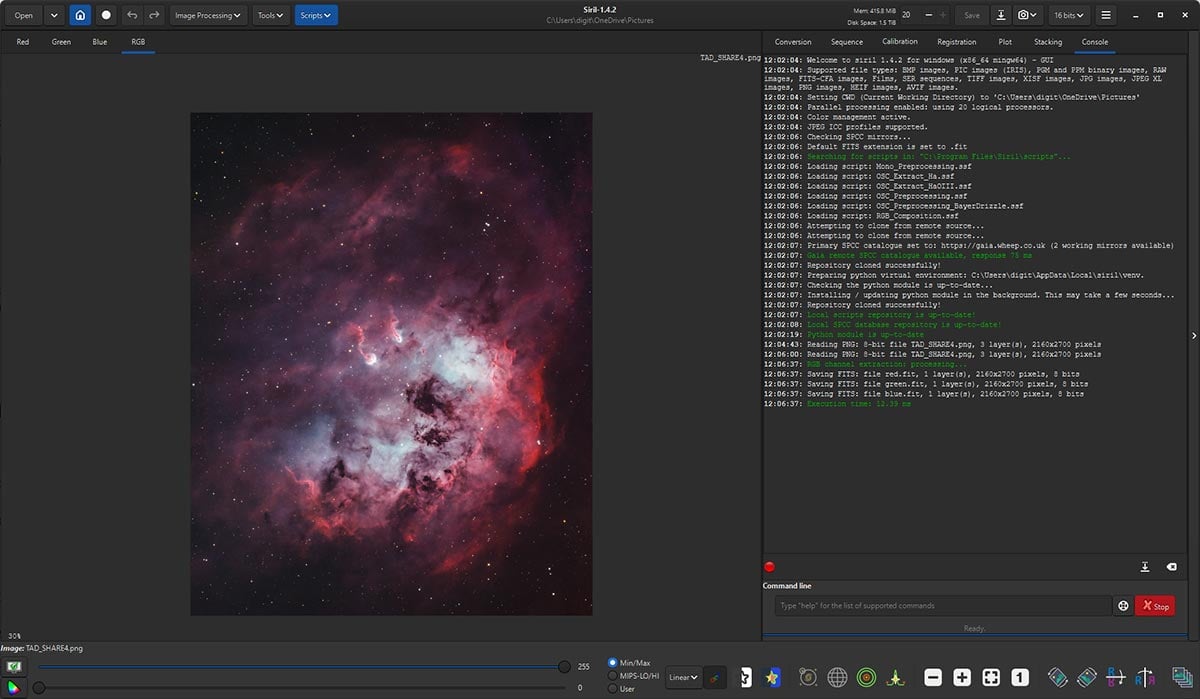
Siril is a legitimate competitor to PixInsight. While I use PixInsight more often, it is simply because I am more comfortable with it after years of use.
What Computer Do You Need for PixInsight?
Check the current PixInsight system requirements before downloading or buying hardware. Supported operating-system versions change, and PixInsight offers a native Apple Silicon application.
The published guidance currently recommends at least 64 GiB of RAM for production work, with 128 GiB advisable for larger workloads. That is production guidance, not a claim that every beginner dataset needs that much memory.
A capable processor, adequate memory, and fast SSD storage all matter. Large stacks, high-resolution cameras, and drizzle integration increase demands. Leave room for intermediate files as well as your original exposures.
Test your own data during the trial before replacing a computer. My guide to choosing a computer for image processing explains how to approach the hardware decision.
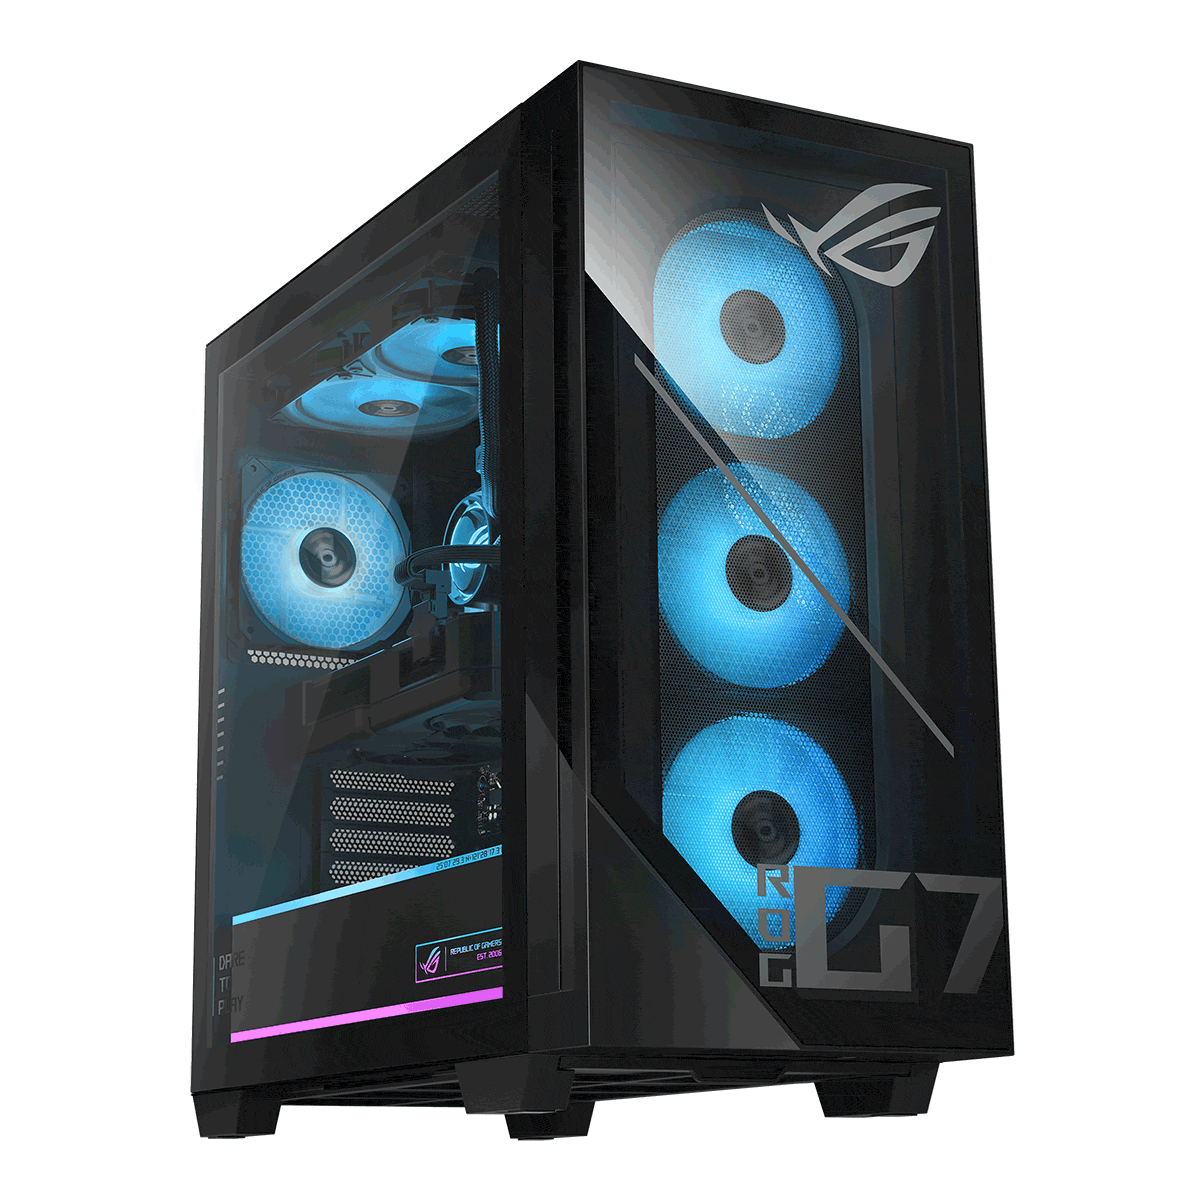
I use an ASUS ROG G700 (2025) G700 Gaming Desktop for my astrophotography image processing.
Learning PixInsight: Tutorials and Masters of PixInsight
Start with one complete beginner tutorial and its practice data. Learn how to open an image, use STF, apply a process, make a preview, and save your work before collecting dozens of scripts.
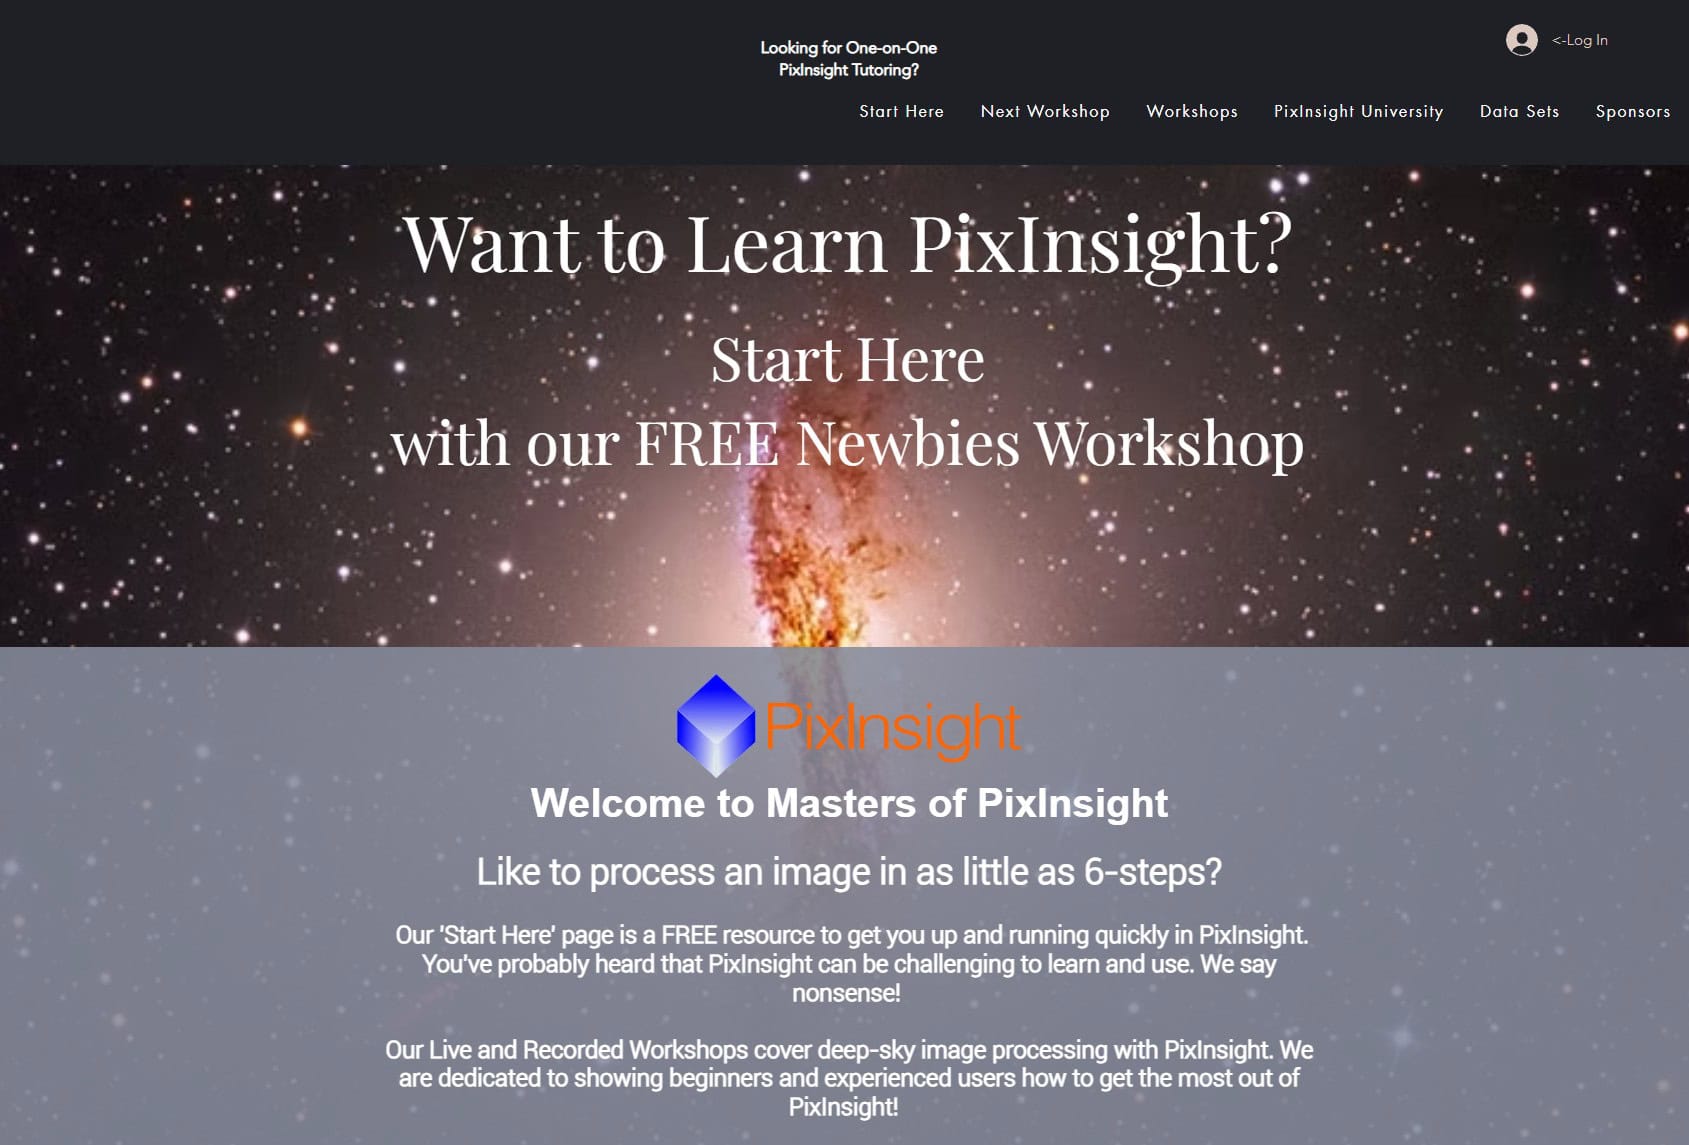
Masters of PixInsight is a teaching group featuring Warren Keller, Dr. Ron Brecher, and Pete Proulx. They offer introductory material, live and recorded workshops, and more advanced instruction. Their free starting resources are a useful place to become familiar with the interface.
The official PixInsight Forum is also useful for technical questions and troubleshooting. Include your software version, the process involved, and the actual error message when asking for help.
Frequently Asked Questions
Is PixInsight difficult to learn?
The unfamiliar interface and terminology take practice. Start with a small set of tools and repeat one workflow. You can finish an image long before you understand every process.
Can I process smart-telescope images in PixInsight?
Yes, if your telescope exports compatible image files. An unstretched FITS stack gives you more flexibility than a finished JPEG. Check whether the exported data has already been calibrated, stacked, or stretched before applying further processing.
Do I need Photoshop as well?
No. PixInsight can produce a finished image. I use Photoshop because I enjoy its approach to final adjustments, but a second paid editor is optional.
Can I use GraXpert with PixInsight?
Yes. GraXpert is a separate application that can complement a PixInsight workflow, particularly for background correction. Preserve a high-precision master when moving between programs; avoid a JPEG as your intermediate working file.
Ready to process an image? Follow my complete astrophotography processing workflow to see how I put these tools together. Working on actual data is where the individual processes begin to make sense.