Collimating a Newtonian Telescope
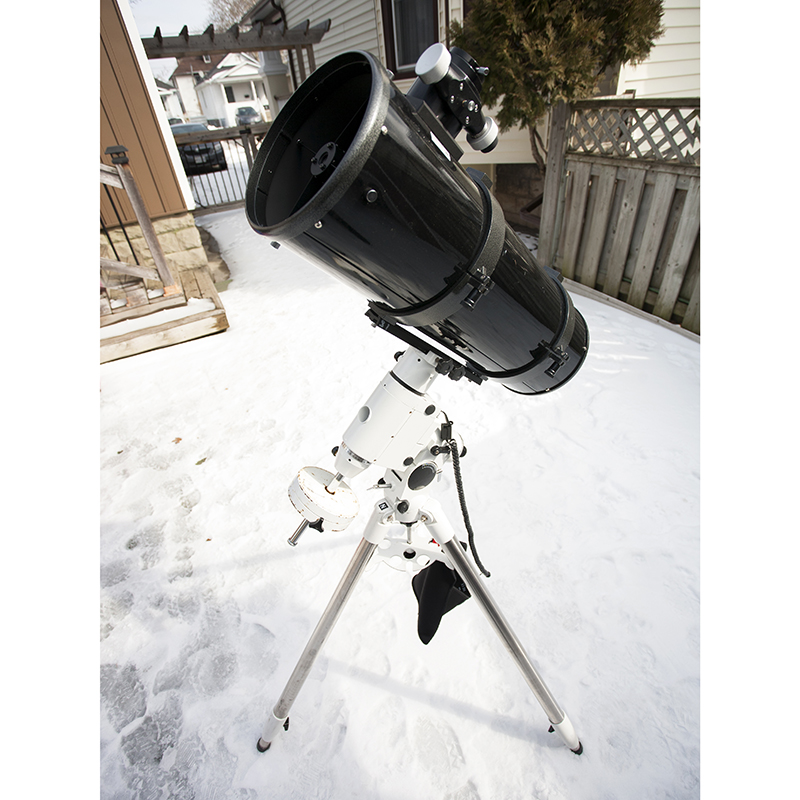
Collimating a Newtonian telescope is something every backyard astronomer should experience.
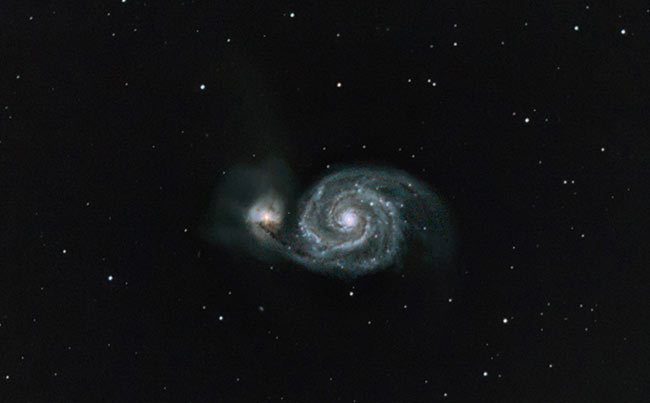
In this post, I align my 8″ Orion Astrograph Newtonian for a night of astrophotography in the backyard. My deep-sky target is M101 – The Pinwheel Galaxy – in the constellation Ura Major.
With a proper alignment of the mirrors in this reflector, I should be able to capture a new portrait of the galaxy with my DSLR camera.
Spoiler – things do not go well.
My Newtonian Reflector is Ready for Spring
The clouds finally broke (to a certain degree) last Saturday night, and being the die-hard night-sky photographer that I am, I skipped out on all of the fun social activities taking place that night in exchange for a lonely time by myself under the stars.
Don’t get me wrong, there is nowhere I would rather be, but when things go horribly wrong, you begin to question your decision to stay home. On a positive note, I learned a little more about my equipment, and how to deal with the challenging and sometimes frustrating scenarios that come with deep-sky astrophotography.
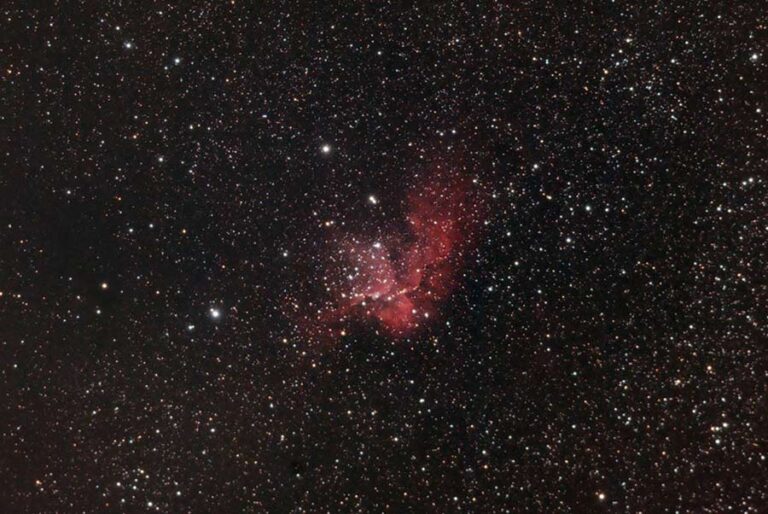
Example photo using my Newtonian Reflector for Astrophotography:
Collimating a Newtonian Reflector
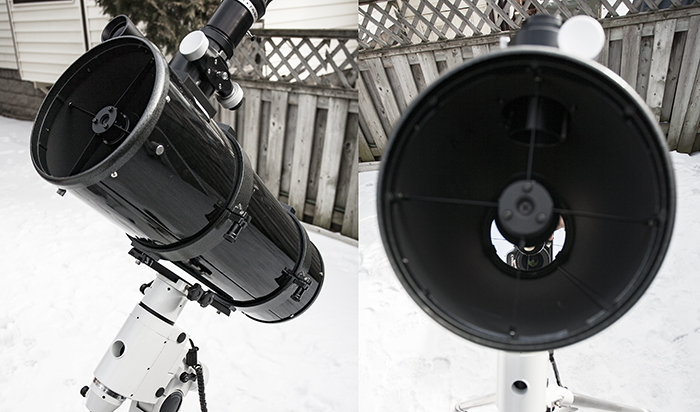
Orion 8″ f/4 Astrograph Reflector
While the sun was still up, I carefully collimated my Orion Astrograph to the best of my abilities. The process of constantly collimating a Newtonian reflector is a big reason I generally prefer to use my apochromatic refractor.
That being said, once tuned in, the light-soaking power of that fast 8″ mirror is hard to ignore. Not to mention that this telescope has a focal length of 800mm compared to the wider 480mm in my Explore Scientific ED80.
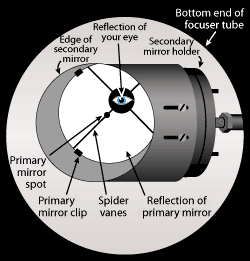
The process of collimation is actually quite a simple process, once you know what you’re doing. The hardest part is learning exactly what you are looking at when you position your eye over that open focuser tube.
Thankfully Sky and Telescope have an extremely helpful tutorial on their website, with the necessary diagrams for my brain to fully comprehend the ordeal. (I am a visual learner – go figure!) The diagram below was an integral part of my collimation success:
The 3 Step Process outlined by Sky and Telescope‘s Nils Olof Carlin really helped simplify the process. Like I mentioned earlier, these steps are a lot easier to take once you understand each part of the telescope from the diagram above.
Step 1: Center the secondary mirror on the axis of the focuser drawtube
Step 2: Aim the eyepiece at the center of the primary mirror
Step 3: Center your primary mirror’s sweet spot in the eyepiece’s field of view.
It’s Galaxy Season!
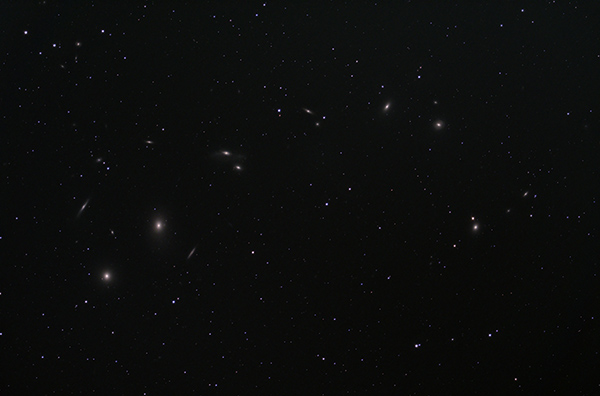
Thanks to some suggestions on my Facebook page, I narrowed down my imaging choice to Bode’s Galaxy and the Cigar Galaxy in Ursa Major (M81, M82). The reason for this choice is that they are in a great position in the Northern sky from my latitude right now.
The lack of interesting nebulae and galaxies in the Southeast also swayed my decision. I have imaged these two galaxies before with the Newtonian, but that was before modifying my Canon Xsi that can now pick up more of the pink nebulosity.
Top 8 Deep-Sky Targets for Galaxy Season
Where it all went wrong
A thick cloud cover put a lid on my imaging until about midnight on Saturday. I studied the weather forecast and satellite animations carefully, and sure enough, the early spring constellations began to appear.
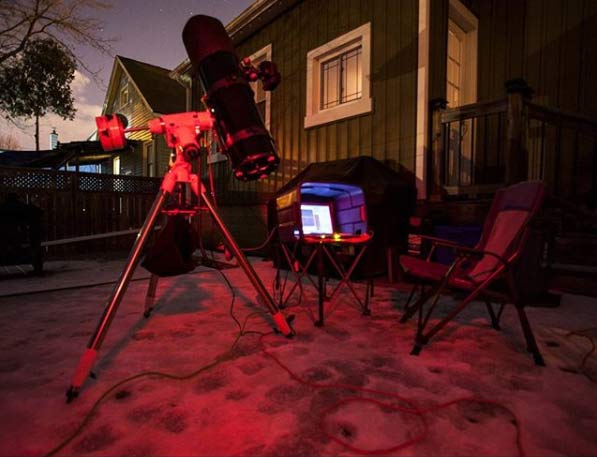
I napped for two hours beforehand, to make sure I had enough energy to image late into the night. While carrying out the alignment process of my Sky-watcher mount, I noticed that the guide stars appeared sharp and crisp.
They even had the reassuring, round donut shape when unfocused. Clearly, my collimation session earlier had paid off!
Once I was polar and star-aligned, I directed the tracking mount towards M81 – Bode’s Galaxy in Ursa Major. There it was in the eyepiece, along with its close companion M82. A rewarding view, even in the heart of the city.
I so rarely view these objects visually, I spent almost 5 minutes allowing my eyes to adjust and get a deeper view.
Okay, so far so good.
Time to get focused, and start imaging.
I framed the objects perfectly within my field of view and achieved sharp focus by using the handy frame and focus tab within BackyardEOS. The last piece of the puzzle was to get PHD calibrated and guiding on my object.
Follow AstroBackyard in Instagram
PHD Guiding Issues When Imaging Near Polaris
“Star Did Not Move Enough” Error
I have heard from fellow astrophotographers about PHD guiding not calibrating when imaging close to the North Star, Polaris. I have experienced this first hand a number of times myself, including on Saturday night. The West calibration step continued to fail, displaying the “Star Did Not Move Enough” error message.
I fiddled with multiple settings within the PHD Guiding “Brain” button, including the much-debated calibration-steps parameter.
I also closed down PHD, and unplugged the autoguiding connection cable, to rule that out. I have lost countless hours under moonless, clear skies to this scenario over the last 4 years.
I desperately need to come up with a permanent solution for this problem. I had no choice but to switch targets, and hope that PHD would began doing what it was designed to do.
Autoguiding. Luckily, I moved to a target in the same region of the sky that would also lend itself well to my current configuration.
I desperately need to come up with a permanent solution for this problem. I had no choice but to switch targets, and hope that PHD would began doing what it was designed to do. Autoguiding. Luckily, I moved to a target in the same region of the sky that would also lend itself well to my current configuration.
M101 – The Pinwheel Galaxy
Sure enough, PHD calibrated itself, and began guiding on my subject. It was now 2:00am, and I took my first 3 minute sub at 2:09am.
That’s 2 hours of frustration and wasted clear skies! Patience and a positive attitude is certainly needed for this hobby, but taking action to not repeat past mistakes is even more important.
I will have to research alternatives to PHD guiding, or at least narrow down exactly what is going wrong when trying to calibrate PHD close to Polaris. Once the graph looked steady, I set BackyardEOS to take 30, 210-second exposures on M101 and went to bed.
I will have to research alternatives to PHD guiding, or at least narrow down exactly what is going wrong when trying to calibrate PHD close to Polaris. Once the graph looked steady, I set BackyardEOS to take 30, 210-second exposures on M101 and went to bed.

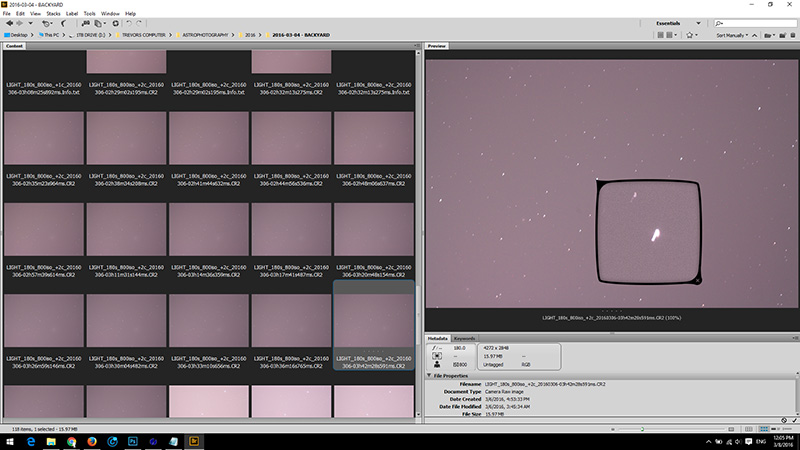
Here’s the kicker. Something wasn’t right with my guiding on M101 either. I am not sure if it was because of the settings I had changed when trying to calibrate earlier, a conflict with the dithering I enabled within BackyardEOS, or a third unknown factor. Either way, I captured 30 jerky frames of M101 while I slept.
I didn’t inspect the frames until I woke up again at 4:00am to review my results. It was at this point that I realized that this blog post would not be a success story.
Conclusion – I had a Rough Night!
I came up empty-handed, even after having such a well-planned out night with all my bases covered. However, I went through the process of collimating a Newtonian telescope again, and now feel comfortable using this telescope more often for astrophotography.
I also came to the conclusion that I need to seriously address the ongoing issues I have been having with PHD guiding to avoid more wasted nights in the future. Thank you for your continued support of my astrophotography journey, and if you have any solutions for me, I would love to hear them!
Update: I now use PHD2 Guiding – and My Issues have been sorted
I’ve had this grief with PHD also. I own a EQ6. I found an issue and also had to change the calibration settings. The USB connector on my guide camera was damaged, and was therefore unreliable – but only occasionally. Once the camera was replaced with a new Orion SSAG, I found that my mount needed quite aggressive settings to calibrate near the pole. I cranked up the pulse length to over 2000ms. Guiding was smooth after it completed. I also highly recommend going to PHD2 and using “pulse guiding” via EQMOD. While there is no real difference compared to ST4 guiding – once calibrated, the mount can point at anywhere in the sky and not require a new calibration since it now knows the declination via the ASCOM driver. It’s a big time saver!
Darren, thank you for the great advice about pulse guiding via EQMOD and the ASCOM driver. That would save loads of time. I will look into that. The cable connected to my meade dsi guide camera is pretty wobbly and easy to knock loose, so I may replace that soon too. All the best!