Seestar S30 Plus Review: The Entry-Level Smart Telescope

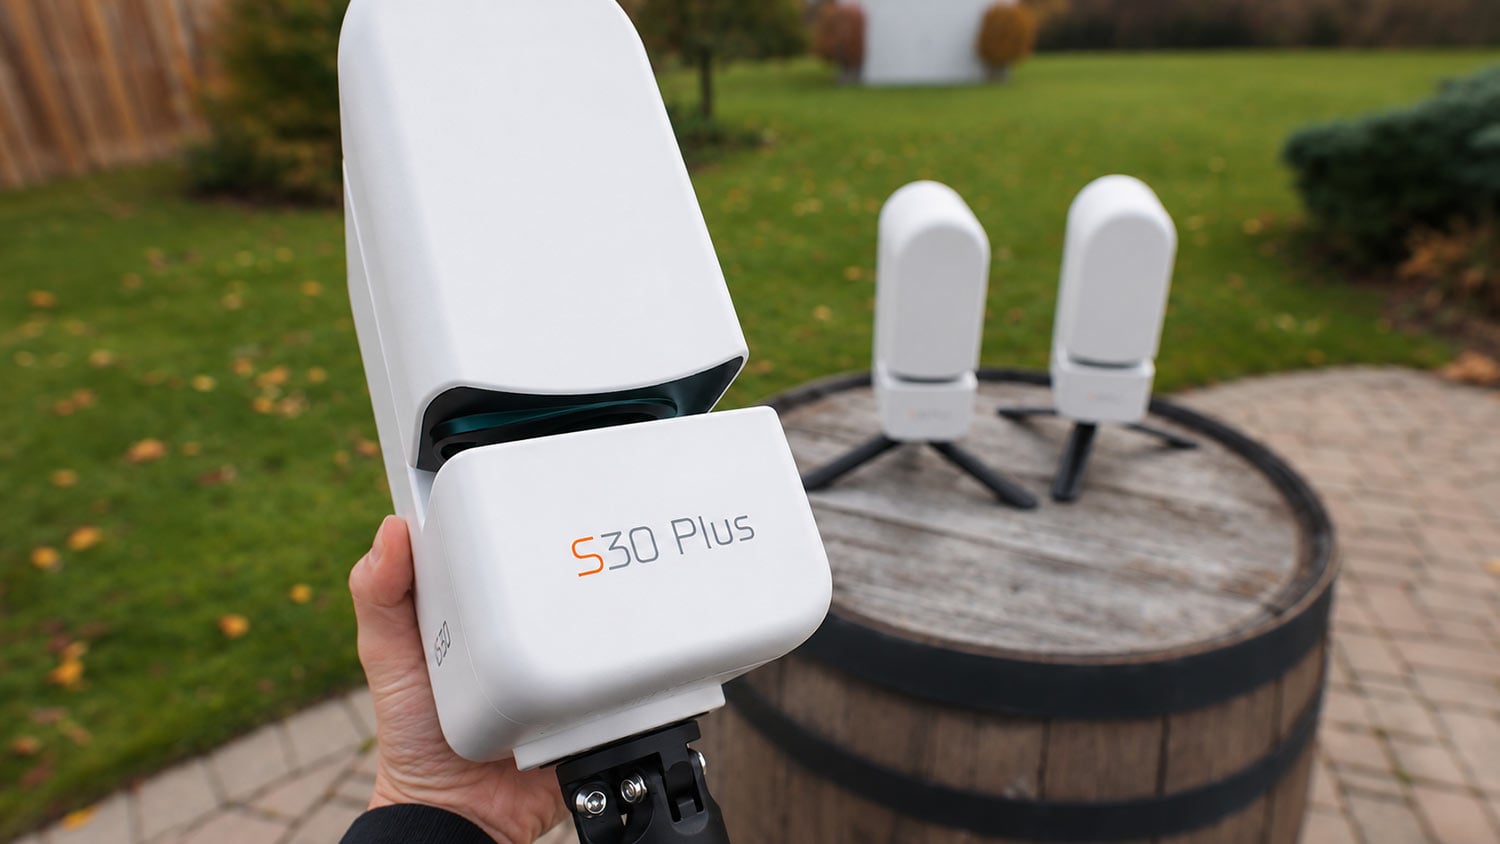
The Seestar S30 Plus is a compact, app-controlled smart telescope with a 30mm aperture, four-element apochromatic optics, and 2K imaging through both its deep-sky and wide-angle cameras. At $499 USD, it sits between the original Seestar S30 and S30 Pro, offering beginners another affordable way to start photographing space.
My imaging sessions with the S30 Plus have been encouraging. The deep-sky images look fantastic on my phone, setup was quick, and watching the Andromeda Galaxy build in the live stack reminded me why I enjoy these little telescopes so much. This review covers my experience, the confirmed specifications, and where the Plus fits into the Seestar lineup.
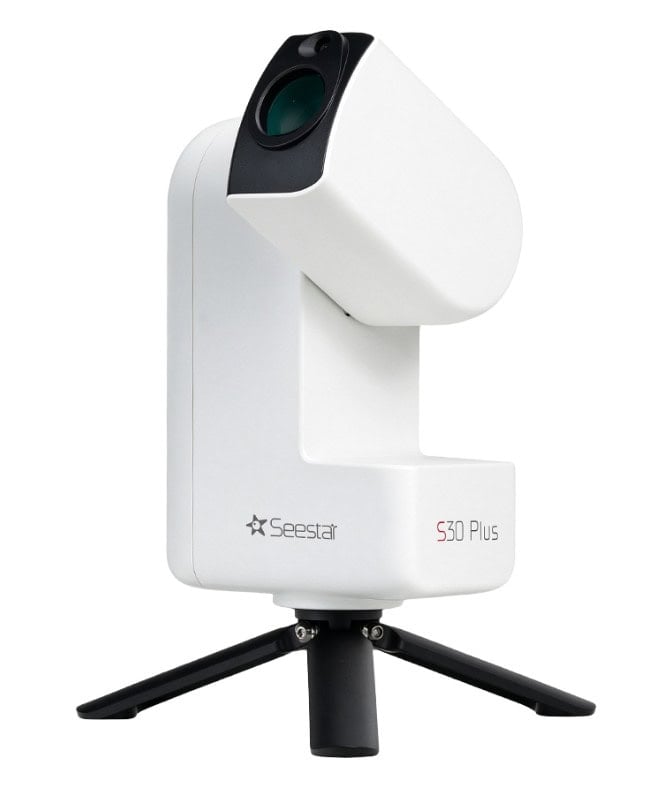
The Seestar S30 Plus is available at High Point Scientific.
As always, I was not compensated in any way for a positive review, nor does the company (ZWO ) get to review/approve what I say about the telescope. They provided a demo unit to review, and it is ‘on loan’ until an arrangement has been made to send it back.
My overall take: The S30 Plus looks promising for beginners who want more capability than the original S30 while keeping their budget below S30 Pro territory. All in all, it over-delivers for a smart telescope at this price point.
Seestar S30 Plus Specifications
The Plus combines the telescope, cameras, motorized tracking, and image-stacking workflow in one unit. Like all of the previously released Seestar models, everything is controlled on the dedicated mobile app.
| Feature | Specification |
|---|---|
| Price | $499 USD |
| Main telescope | 30mm aperture; 160mm focal length; f/5.3 |
| Optics | Four-element apochromatic design with ED glass |
| Main camera output | 1440 × 2560 pixels; approximately 3.68MP; 3° field of view |
| Wide-angle output | 1440 × 2560 pixels, cropped; 43.5° cropped field of view |
| Tracking | Alt-azimuth; EQ mode supported |
| Built-in filters | UV/IR cut, dual-band LP (OIII 30nm / H-alpha 20nm), dark filter |
| Storage / image formats | 64GB nominal; approximately 45GB available; JPEG and FITS |
| Battery / power input | 6000mAh; USB-C, 5V / 3A maximum |
| Size / weight | 210 × 140 × 80mm; 4 lbs without tripod |
| Connectivity | 2.4/5GHz Wi-Fi, Bluetooth, USB-C; NFC pairing supported |
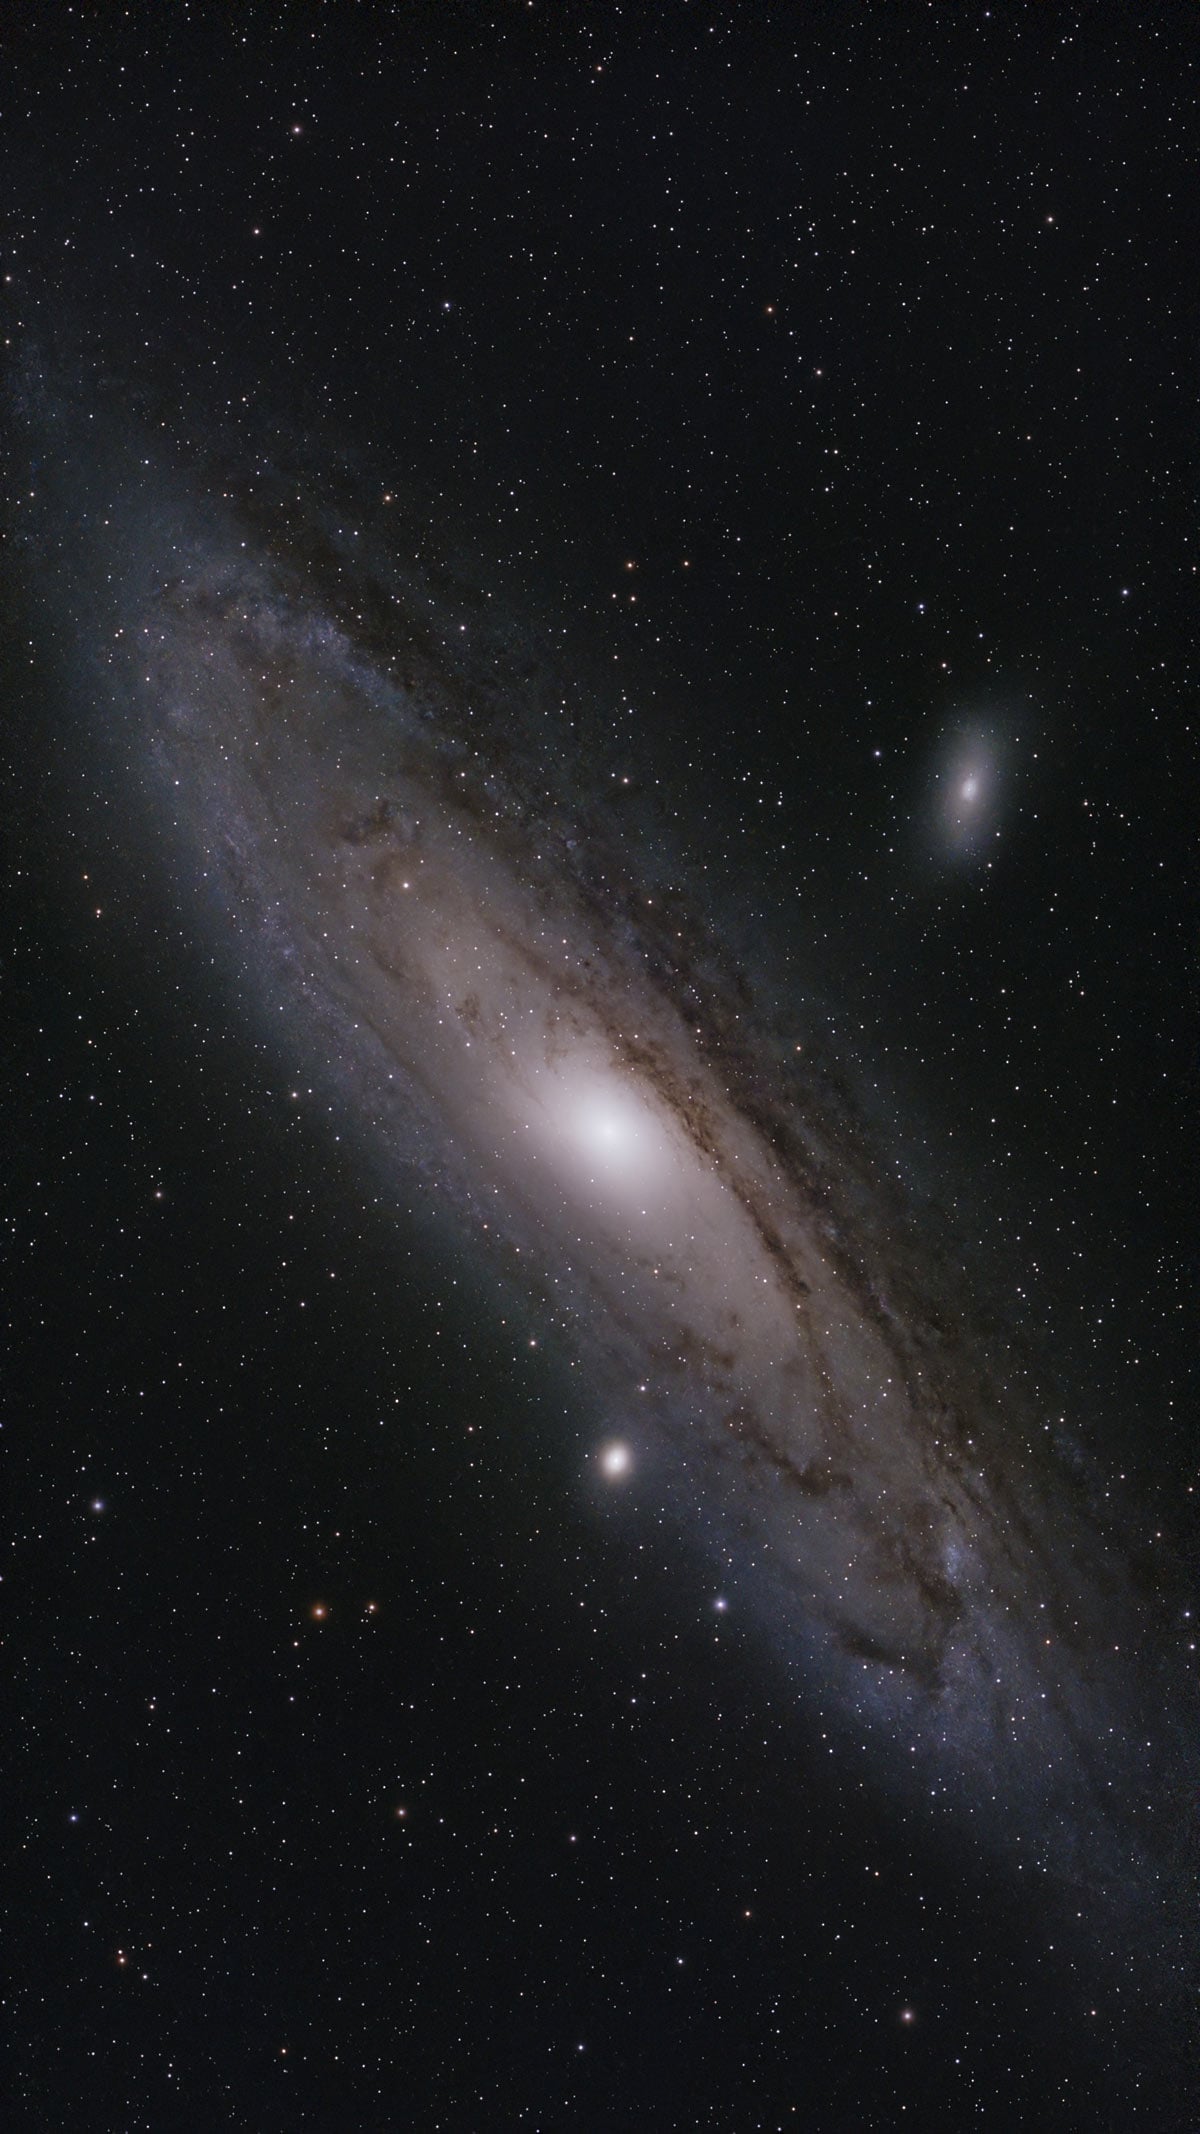
I captured this image of the Andromeda Galaxy using the S30 Plus. Just over 2 hours of total integration using the UV/IR cut filter.
ZWO describes both cameras as “2K.” The actual output dimensions above are more useful when comparing models: the Plus produces roughly 3.68-megapixel images, while the Pro models provide about 8.3 megapixels. More pixels mean larger files, but they don’t automatically guarantee a better-looking image under different skies or with different exposure totals.
The four-element optical design includes ED glass to help control color fringing. The optics’ star-quality performance was adequate in my tests. I captured several deep-sky objects with very bright, unforgiving stars in the field (such as Alnitak in Orion’s Belt). Overall, the optics on the S30 Plus are impressive for an entry-level smart telescope.
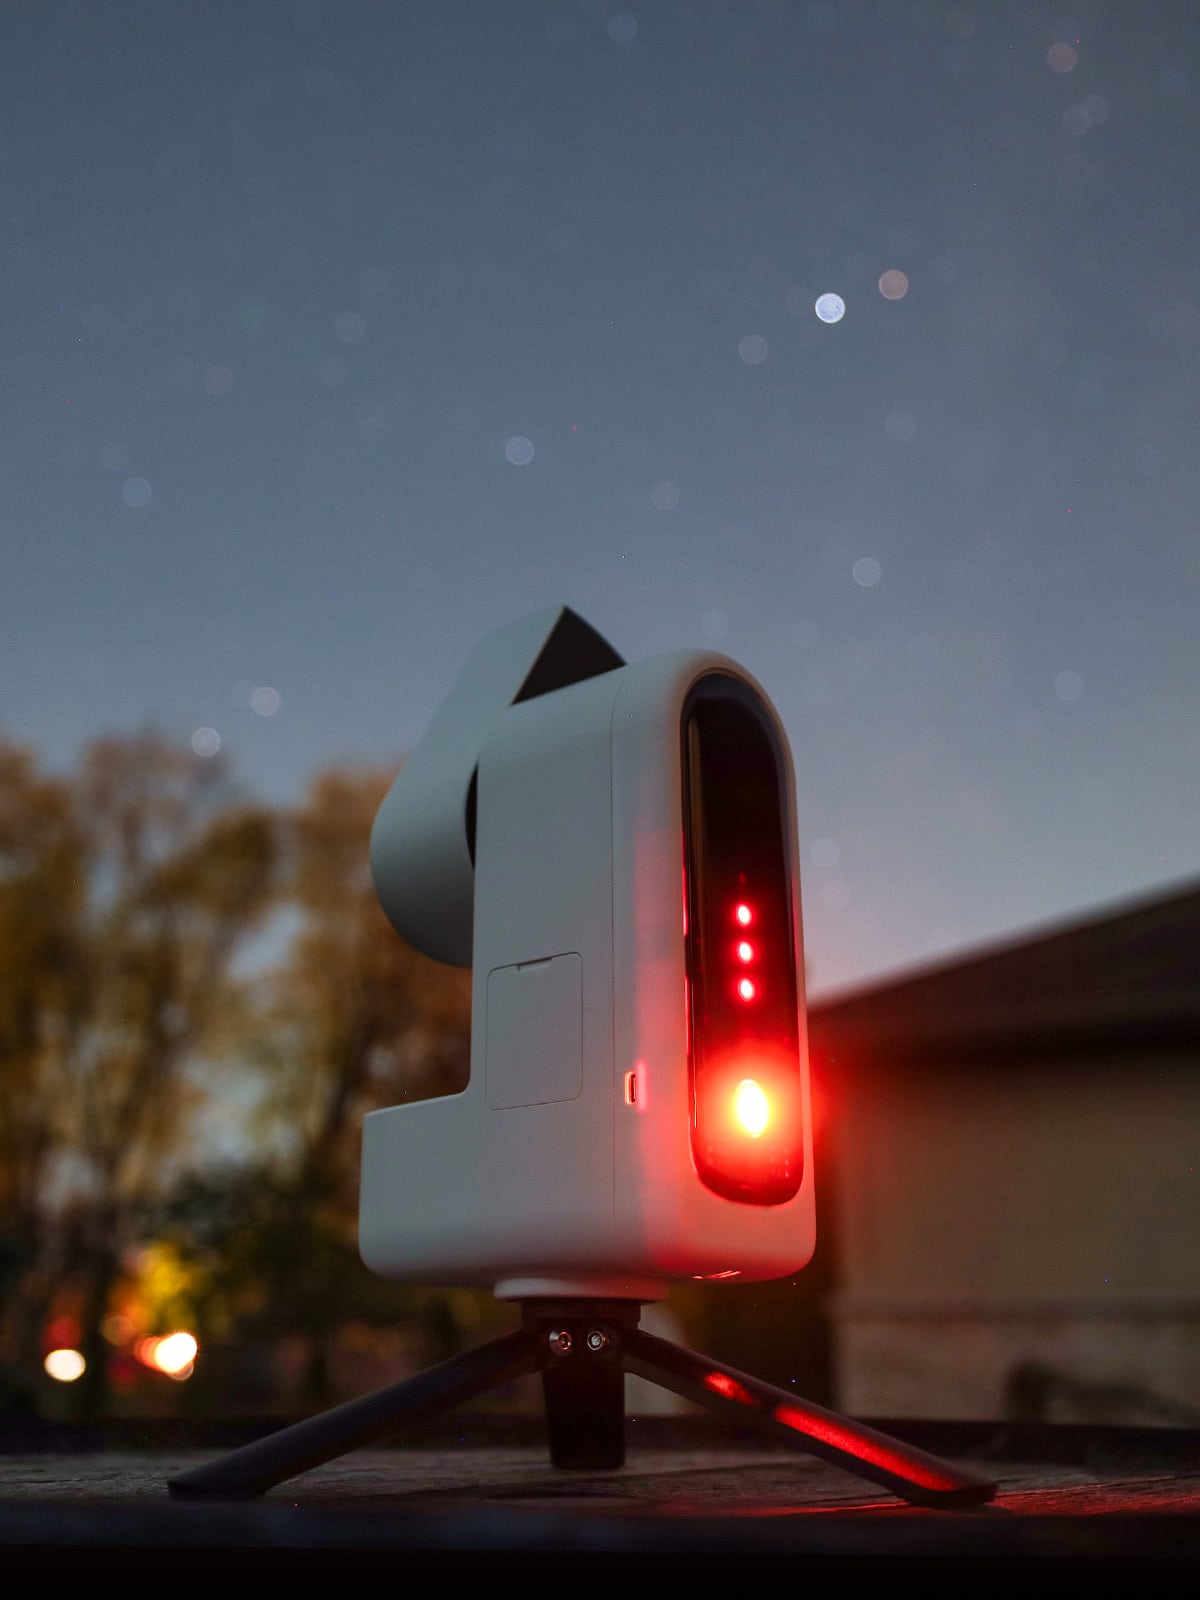
I tested the S30 Plus in both Alt-Az and EQ Modes. Stick to 10-second exposures when using standard Alt-Az mode.
Setup, Portability, and the Mobile App
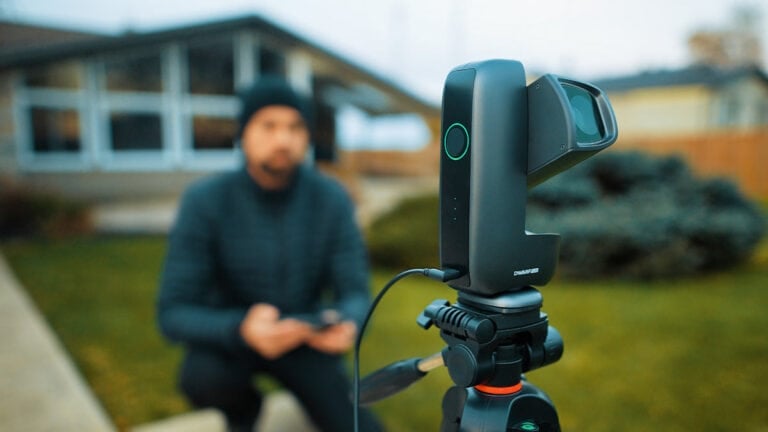
Physically, the S30 Plus appears and feels identical to the S30 Pro in size and weight. It is ultra-compact and light enough that taking it outside feels like a small commitment. That matters when the forecast only offers a short gap in the clouds.
The complete package includes a padded carry case, a small (very well-engineered) tripod, a solar filter, and a USB-C charging cable. Itihas everything you need to start enjoying the smart telescope right out of the box.
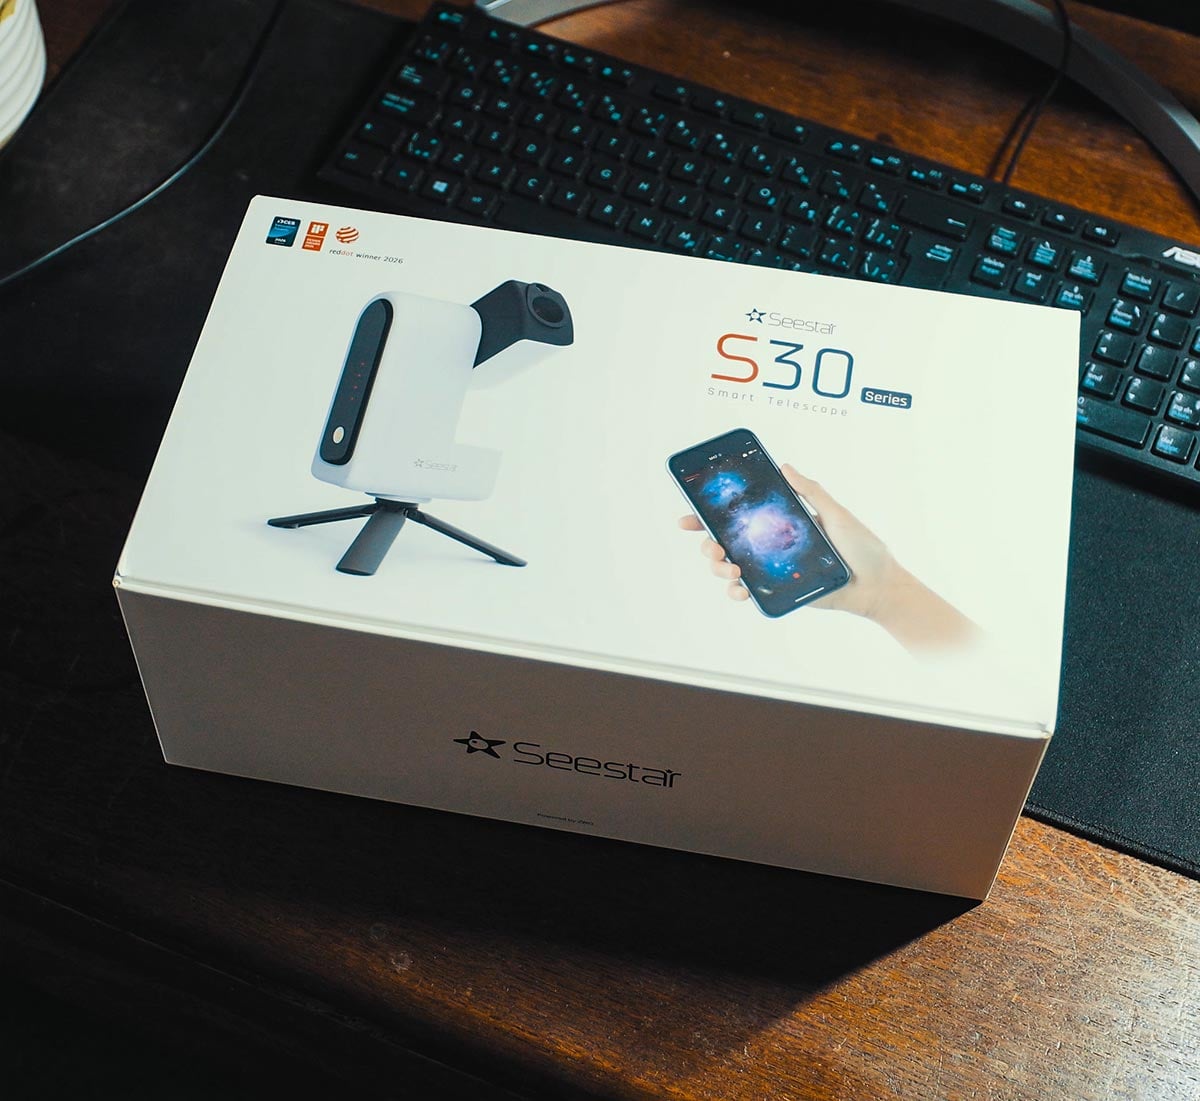
I am already comfortable with the Seestar app, so getting started was quick and easy. If you’re new to the Seestar experience, download the Seestar app and make sure the firmware is up to date.
I enabled Station Mode right away, connecting the telescope to my home Wi-Fi so I could control it from the basement. The telescope stays outside under the stars while I watch the stack indoors. Your home network needs to reach its observing position; walls and distance affect connectivity.
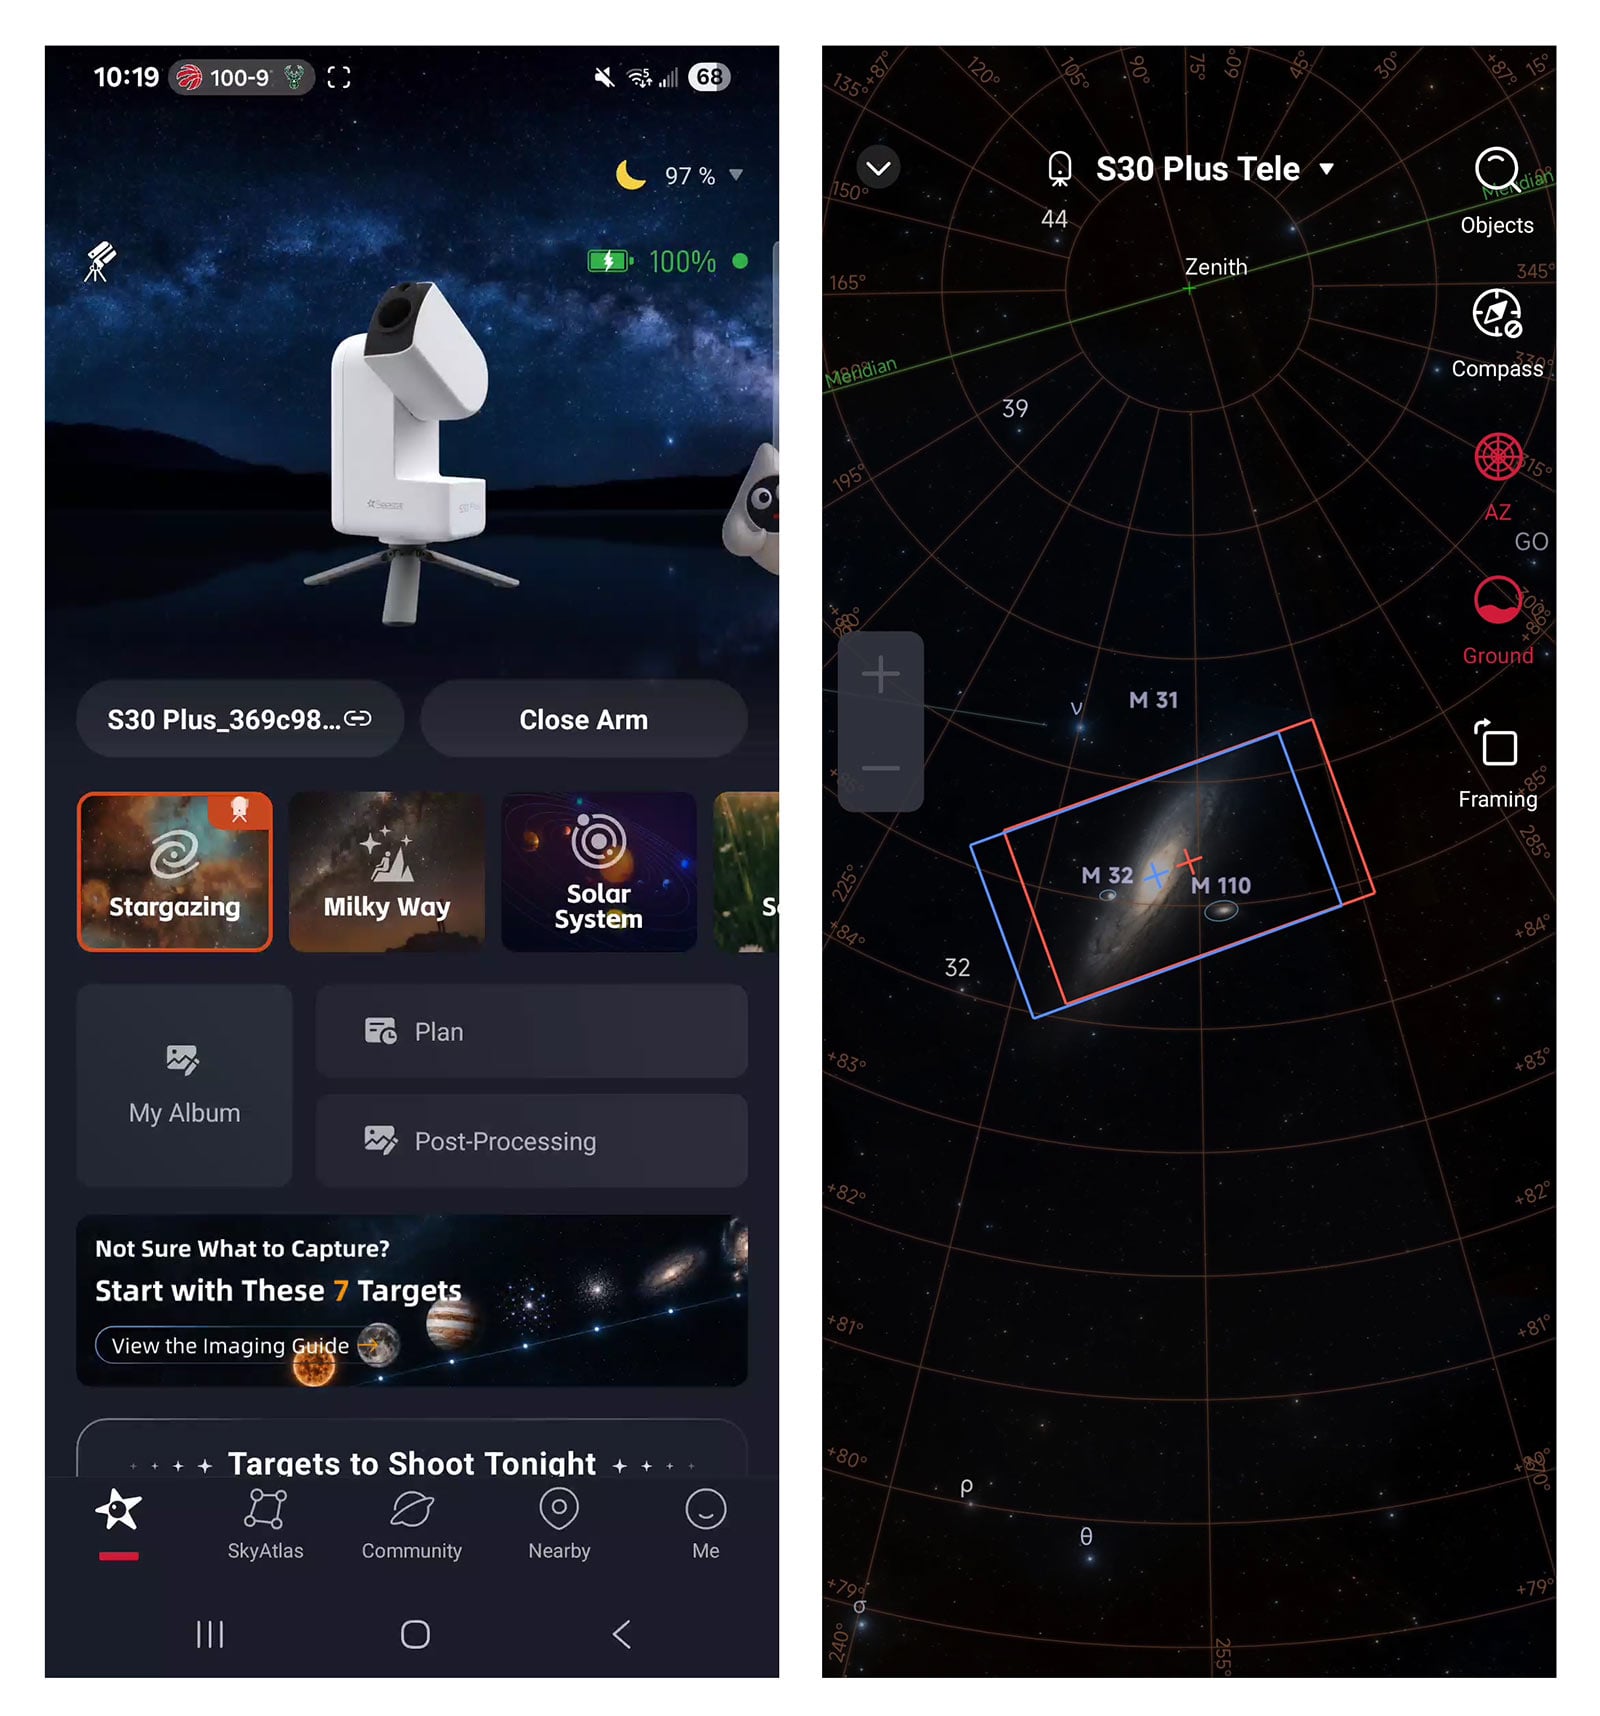
The Seestar app is one of its biggest selling points. You can do everything from choosing your desired exposure time on a project to browsing the ‘tonight’s best’ list of deep-sky objects available from your location.
It also includes post-processing tools to enhance and save your stacked image, right in the Seestar app. The Sky Atlas feature is similar to the one I enjoy using with the ASIAIR wifi controller.
My First Deep-Sky Images
On my first night out with the S30 Plus, I was lucky to get a few hours of clear sky between the clouds, without moonlight. That gave me a useful first chance to see what the S30 Plus could do.
The images in deep-sky mode have looked fantastic. While capturing and viewing them on my phone, I have not noticed an obvious image-quality difference compared with the S30 Pro experience I am used to.
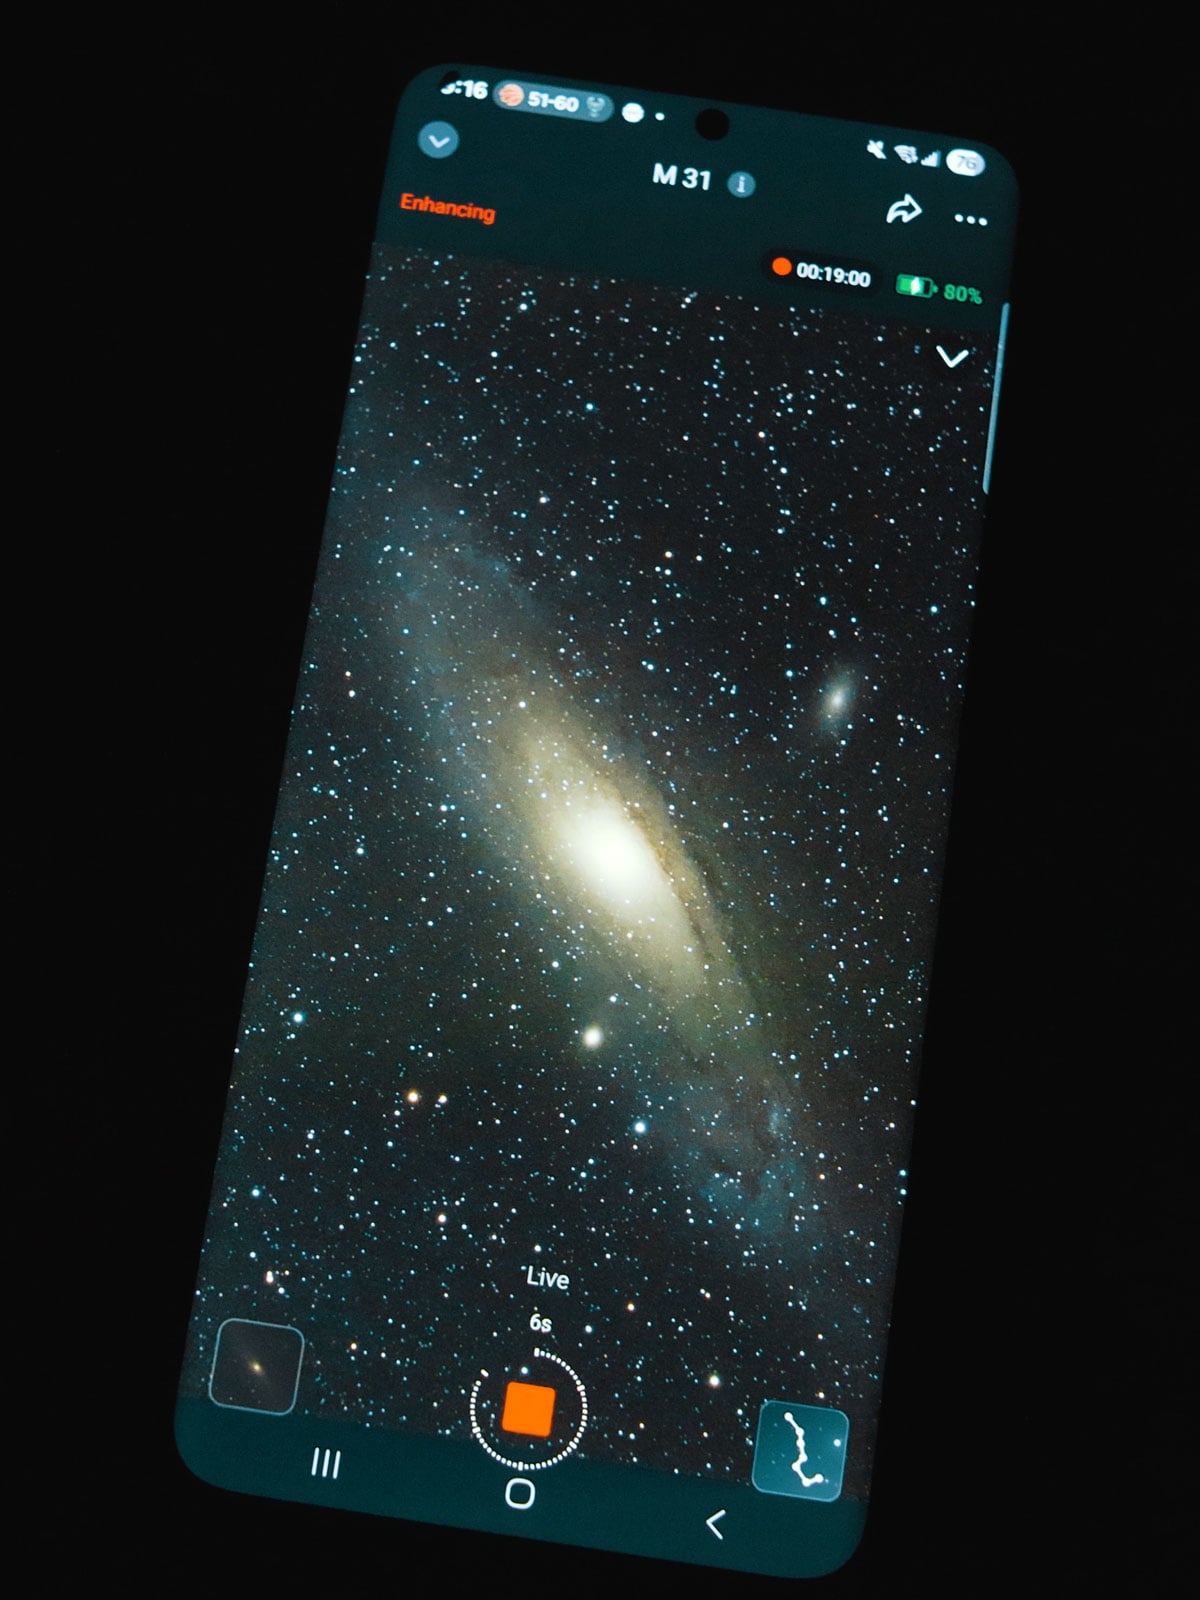
This is what the Andromeda Galaxy looked like after just 19 minutes of capture time on the S30 Plus.
The Andromeda Galaxy looked sensational in the live-view auto stack. Seeing a galaxy appear on your phone while a tiny telescope works away outside remains one of the most enjoyable parts of using a Seestar.
Because I have also photographed the Andromeda Galaxy with the Seestar S30 Pro, I was able to review a head-to-head comparison of the images. While the overall image size and resolution differed, the image quality was comparable between the two versions.
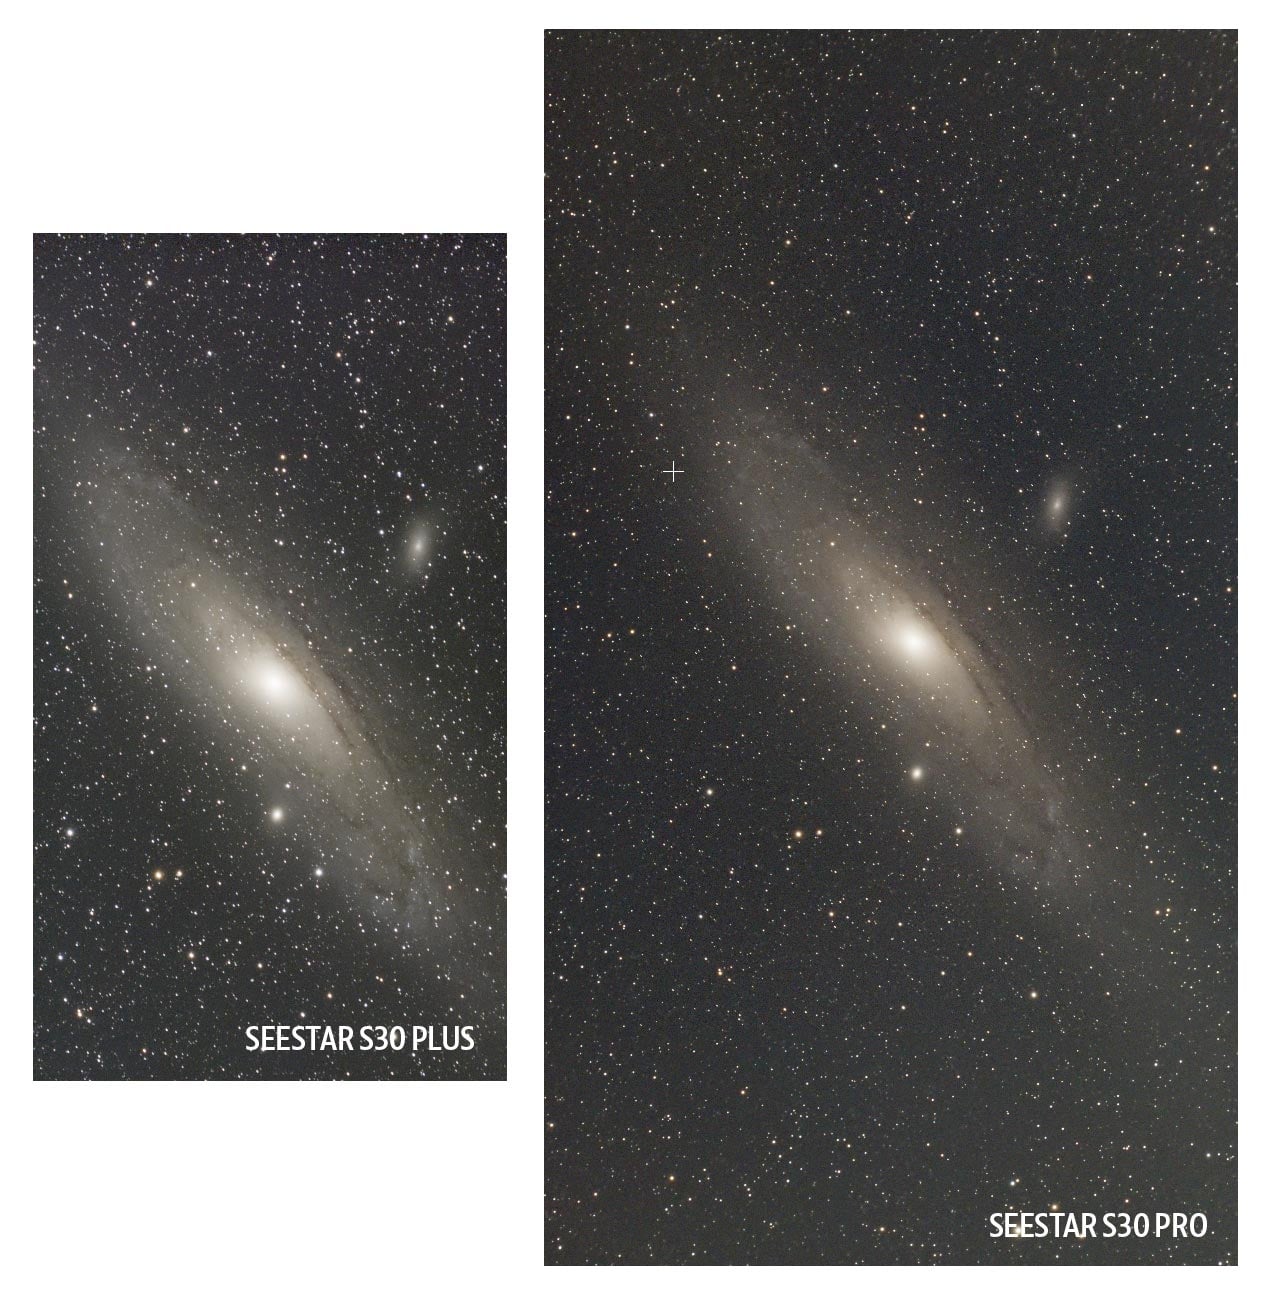
While matching imaging conditions is nearly impossible from the backyard (moon phase and weather are always changing), this comparison above is a good representation of what you can expect from both Seestar models.
Alt-Az vs. EQ Mode
I used the S30 Plus in both regular alt-azimuth mode and equatorial mode. In alt-az mode, I chose 10-second exposures, and the stars in my individual subframes looked sharp.
For beginners, alt-az is the straightforward starting point. The telescope tracks using altitude and azimuth movements, and the app aligns and stacks the exposures. Over a longer session, field rotation can reduce the usable area around the stack’s edges.
EQ mode uses a compatible wedge or adjustable mounting arrangement to align the tracking axis with the celestial pole. This addresses field rotation but adds setup and polar alignment. I would start with Alt-Az, then explore EQ mode once the basic workflow feels comfortable.
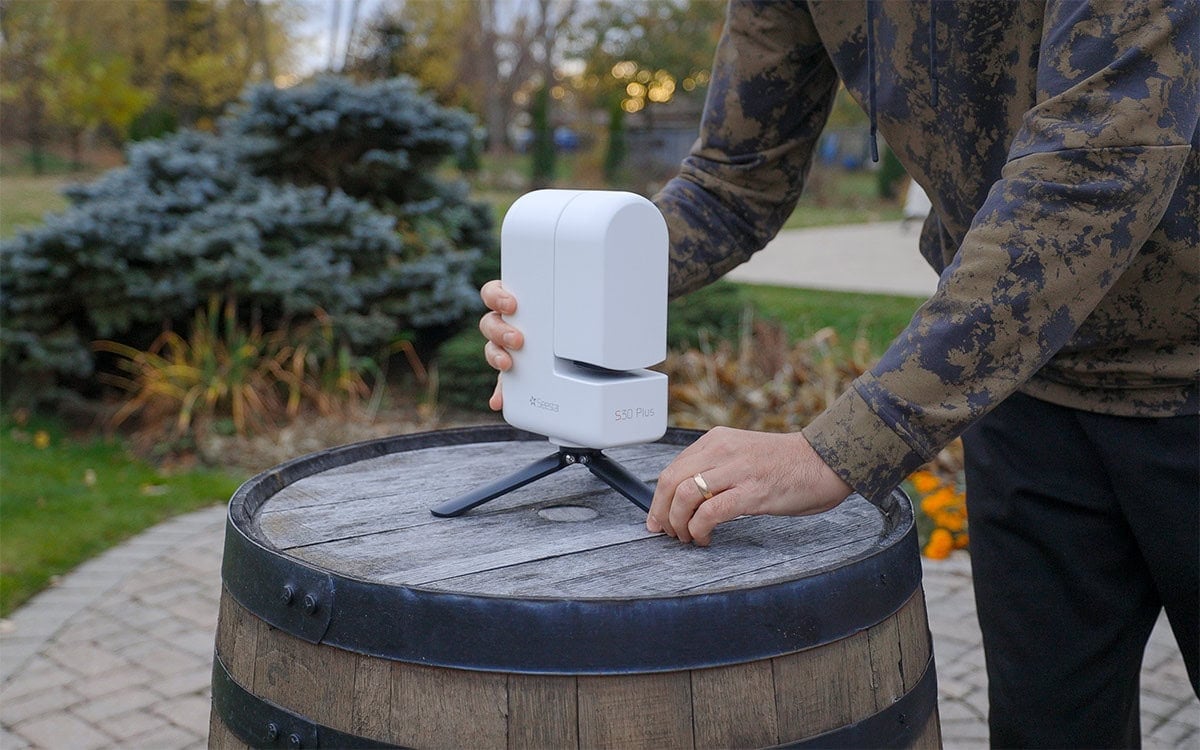
The S30 Plus comes with a small tripod to use the smart telescope in Alt-Az mode.
Using the Built-In Filters
I used both the LP filter and UV/IR cut filter during testing. They serve different purposes, so selecting the right one matters more than simply switching on a setting labeled “light pollution.”
The LP filter passes hydrogen-alpha and oxygen-III wavelengths, making it useful for emission nebulae. The UV/IR cut filter retains a broader range of visible light, making it the usual choice for galaxies, star clusters, and reflection nebulae. ZWO explains this distinction in its Seestar filter guide.
Astrophotography Tip: For a broadband image of Andromeda, choose UV/IR cut rather than the dual-band LP filter. Darker skies and less moonlight still help; a nebula filter cannot remove sky glow while preserving all of a galaxy’s light.
Seestar S30 Plus vs. S30 and S30 Pro
The Plus occupies a clear middle position. Here are the main differences using ZWO’s launch comparison. Prices are listed in USD before promotions, taxes, and shipping.
On a phone, swipe the table sideways to compare all four models.
| Feature | S30 | S30 Plus | S30 Pro | S50 Pro |
|---|---|---|---|---|
| Price | $399 | $499 | $699 | $999 |
| Aperture / focal length | 30 / 150mm | 30 / 160mm | 30 / 160mm | 50 / 260mm |
| Optical elements | 3 | 4 | 4 | 4 |
| Main image dimensions | 1080 × 1920 | 1440 × 2560 | 2160 × 3840 | 2160 × 3840 |
| Main field of view | 2.46° | 3° | 4.6° | 2.8° |
| Dedicated wide-field | No | Yes | Yes | Yes |
| Nominal storage | 64GB | 64GB | 128GB | 128GB |
Compared with the original S30, the Plus adds higher output resolution, four-element optics, and dedicated wide-field astrophotography. Compared with the S30 Pro, it saves $200 while giving up resolution, field of view, and storage.
The wide-angle camera supports subjects such as Milky Way scenes, star trails, and night-sky timelapses. While I didn’t find the wide-angle Milky Way mode particularly impressive from the city, under the right conditions I think it could be a lot of fun.
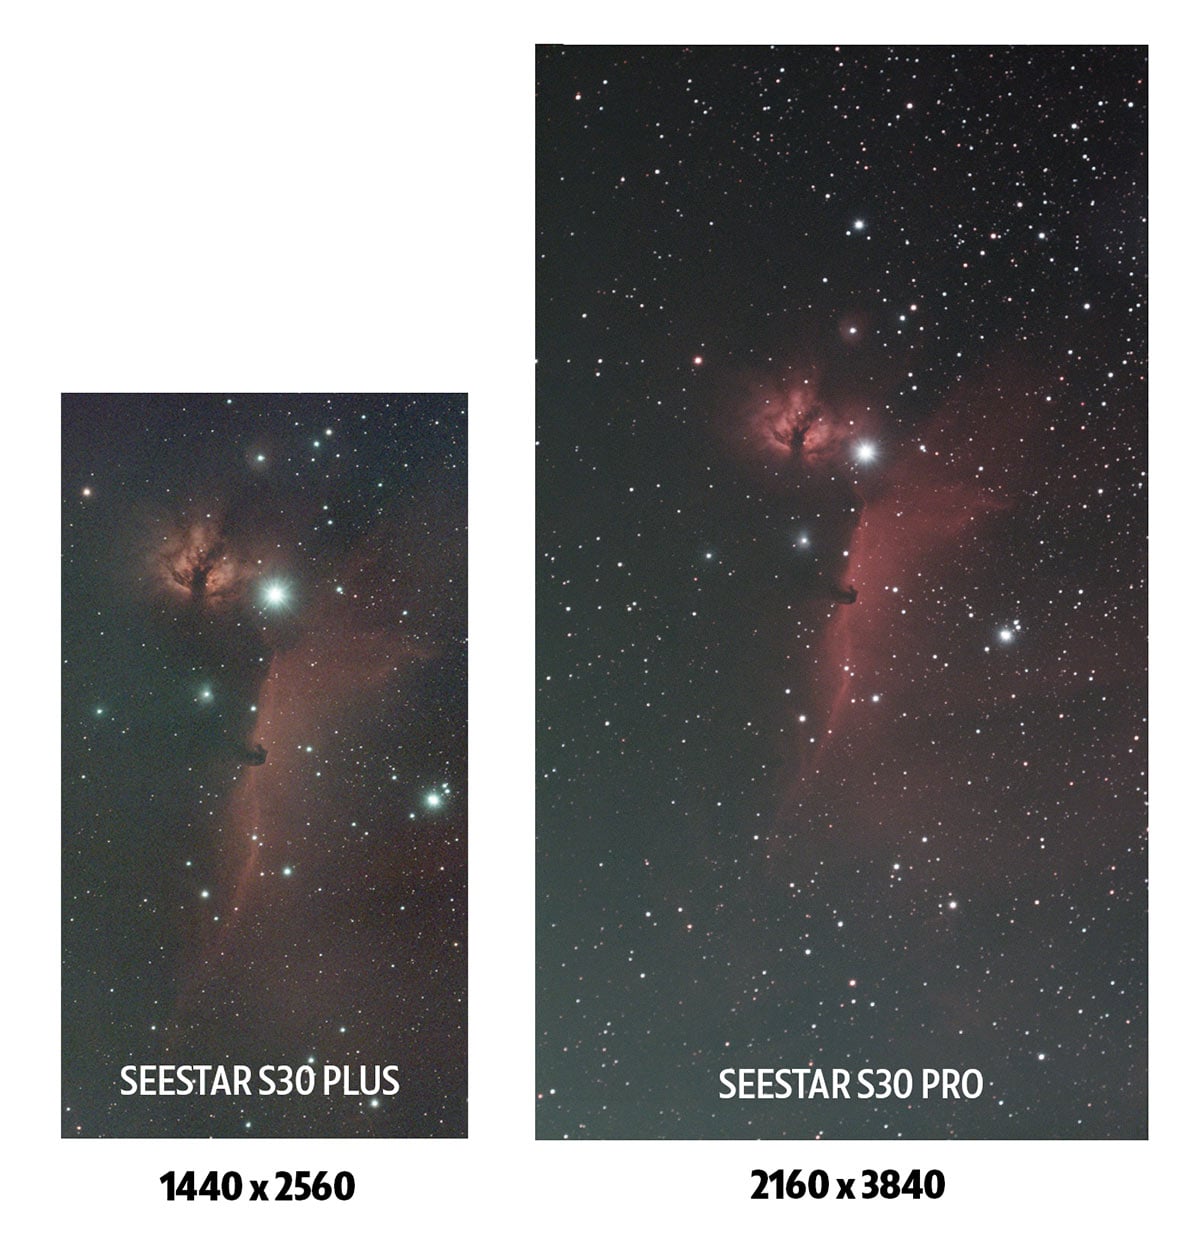
I took example photos of the Horsehead Nebula in Orion using both the Seestar S30 Plus and the Seestar S30 Pro. As you can see in the comparison graphic above, the S30 Pro takes much bigger pictures overall in terms of resolution.
Know the limitations: The S30 Plus does not support wide-field mosaics, one-tap Milky Way arch capture, simultaneous dual-camera capture, or the app’s comet-stacking feature. Its two cameras operate separately. Wide-field mosaic limitations refer specifically to the wide-angle camera.
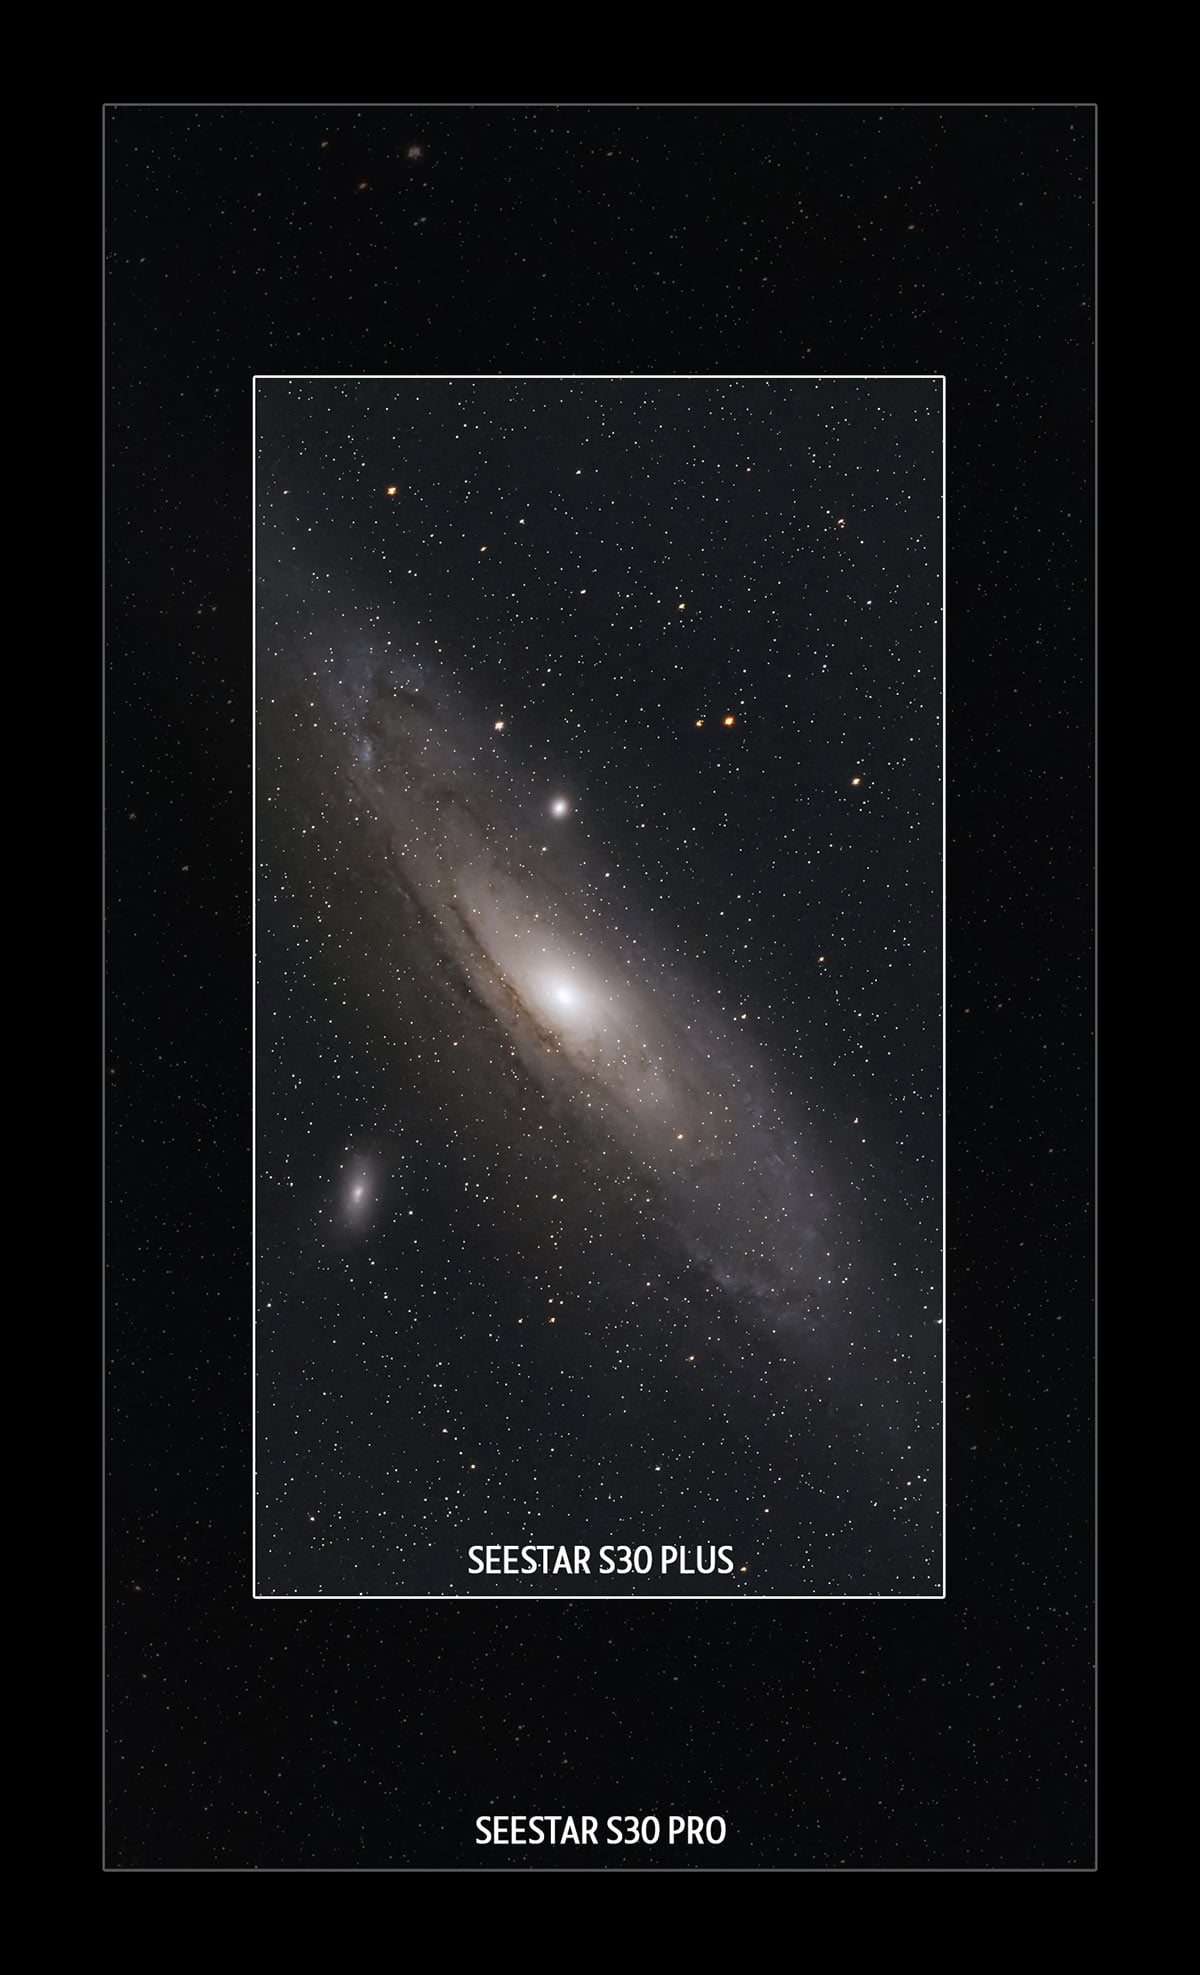
The biggest difference between the S30 Plus and S30 Pro is the field of view and the overall image resolution.
Battery Life and Dew Control
ZWO rates the 6000mAh battery for approximately six hours under laboratory conditions at 25°C, with tracking and image enhancement enabled and the dew heater off. In my personal experience in the backyard (in the fall), the battery seemed to drain much faster on a cold night with the dew heater on.
Because I have been running the S50 Pro a lot lately, I really noticed the difference in battery drain between the two models (the S50 Pro has a 10,000 mAh internal battery). To avoid ending my imaging sessions early, I use a portable battery to keep the smart telescope topped up.
I used a compact Bluetti portable power station to keep the battery topped up while running the dew heater. On a cold night in the fall or winter, I consider external power to be a must-have with the S30 Plus.
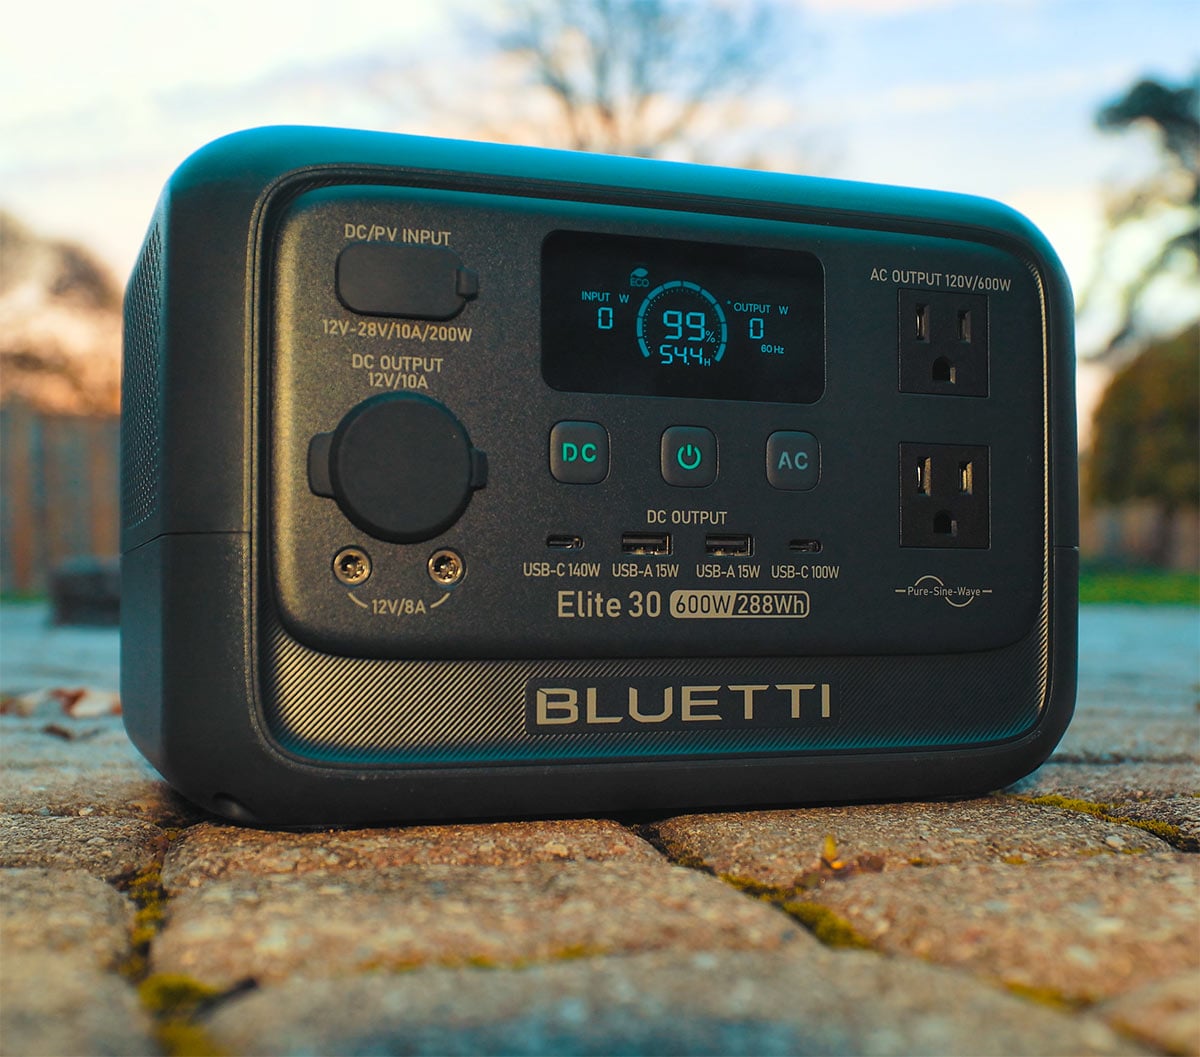
I use a BLUETTI Elite 30 Power Station to keep my Seestar smart telescopes topped up throughout the night.
Is the Seestar S30 Plus Worth It?
Price is a deciding factor for many people entering astrophotography. At $499 USD, the S30 Plus looks like a sensible option for someone who wants a compact first telescope with deep-sky and wide-field imaging, without stretching to the Pro.
If you already own an S30, I would wait for the image comparisons before upgrading purely for image quality. If you want wider framing and larger files for cropping, the Pro’s specifications give it clear advantages. My best smart telescopes guide covers the broader alternatives.
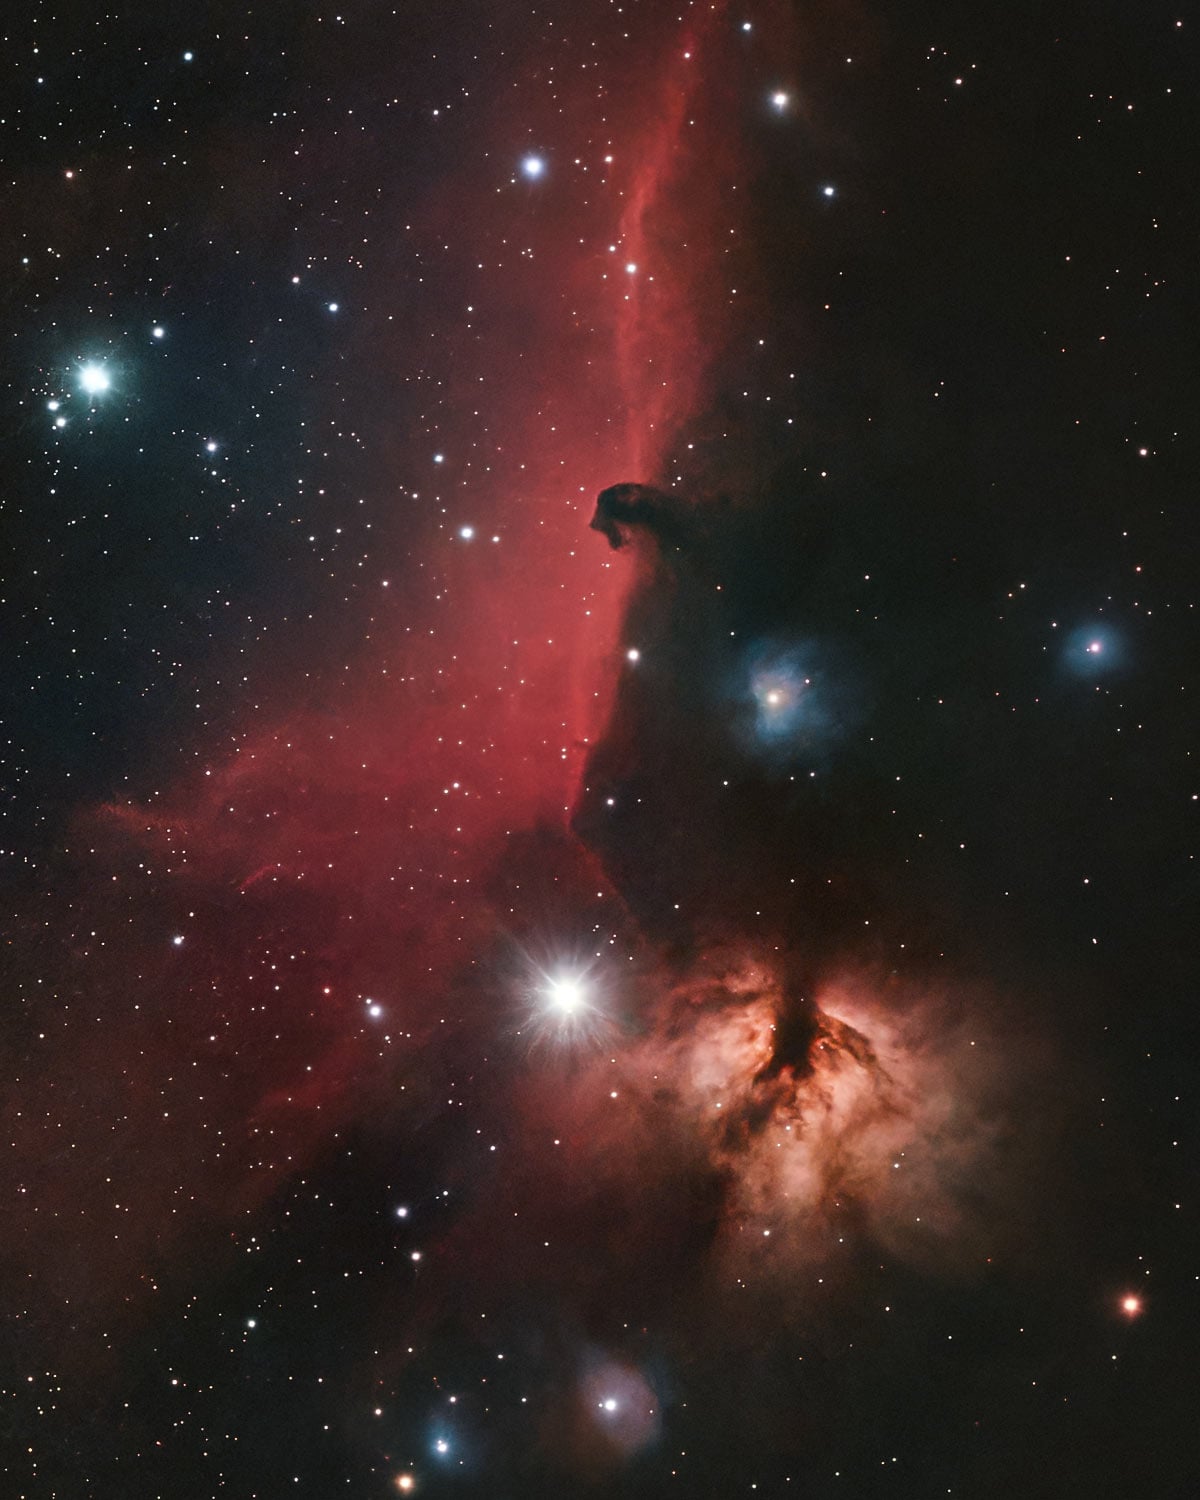
My image of the Horsehead Nebula captured using the Seestar S30 Plus (1 hour total integration, LP filter, 30-second exposures in EQ mode).
For an existing S30 owner, dedicated wide-field imaging could be a stronger reason to upgrade than the extra pixels alone. For a first-time buyer, the question is whether those additional subjects justify spending $100 more. If your budget is firm and the original S30 already covers your interests, it remains worth considering.
The S50 Pro moves into a different price bracket with its larger 50mm aperture. I would choose based on the subjects and features I expect to use, rather than assuming the most expensive model is the right starting point.
So far, the Plus has delivered the experience I hoped for: an easy setup, sharp stars in my 10-second alt-az exposures, and an Andromeda live stack that made me stop and admire the screen. For a telescope this small, that is an enjoyable start.
 Trevor Jones is an astrophotographer and a valued member of the RASC. His passion is inspiring others to start their astrophotography journey on YouTube so they can appreciate the night sky as much as he does. His images have been featured in astronomy books & online publications, including the NASA Astronomy Picture of the Day (APOD).