$1,000 vs $10,000 Telescope for Astrophotography

Have you ever wondered what the same deep-space object would look like using two very different telescopes?
I thought this was a great concept for a video (see below) and a real eye-opener for those looking into upgrading their telescope for astrophotography.
For this experiment, we used two high-quality refractor telescopes that were very different in size, and price.
One telescope costs about $1,000 and is so small that it can fit in your hand, and the other one costs nearly $10,000 and weighs over 30 pounds.
Before we get into the results, let’s take a closer look at the deep-sky target and the equipment breakdown.
You can also watch the video of this astrophotography experiment here:
The Deep-Sky Target
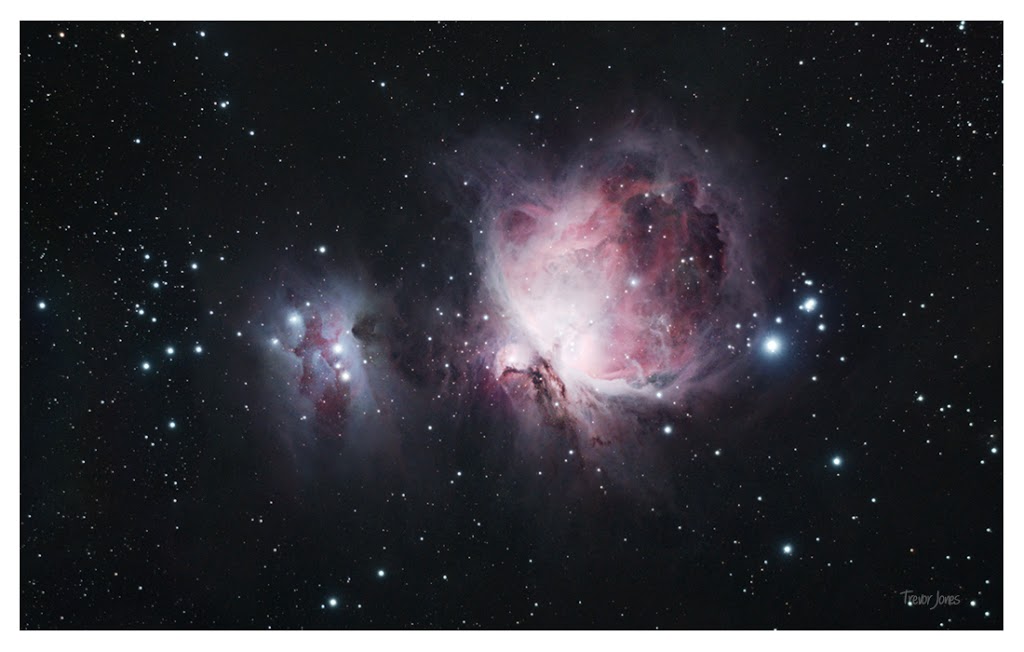
The deep-sky target chosen was the Eagle Nebula, which is visible in the night sky right now (July, August) in the constellation Serpens. It’s big, it’s bright, and it’s 7000 light years away from Earth.
Also known as Messier 16, this target is one of the brightest nebulae in the night sky and contains the Pillars of Creation, made famous by the Hubble Space Telescope. The Pillars of Creation appear relatively small within the nebula, but in actuality, they are larger than our entire solar system.
If you have not yet had a chance to image this target, be sure to check this one out with your telescope, no matter how big it is.

The Eagle Nebula location within the Milky Way
The Equipment
For the comparison, we ran two full-featured astrophotography rigs at the same time and tried to keep the setups as similar as possible (i.e. EQ mounts, camera controllers, refractor telescopes).
Both setups used dedicated astronomy cameras designed for deep-space photography. However, I don’t have two of the same cameras to make this a true apples-to-apples test, so the cameras are slightly different models.
The telescopes are high-quality refractor designs that are only 100 mm apart in size. This may not seem like a lot in terms of focal length, but that extra aperture makes a big difference in astrophotography.
In place of a laptop computer, we used two ZWO ASIAIR mini PCs to control the telescopes and automate the imaging session. They control everything from the camera and guide camera, to the tracking mount.
Before taking a closer look at each setup, let’s clarify a few things:
- These are just rough prices for the telescopes (in Canadian Dollars). They don’t include the cost of the camera, mount, and all of the other telescope accessories.
- You could take an image just as good as the one I took using your own equipment, that cost way less. By no means am I saying it costs $10K to get a picture similar to my final result.
Setup #1 – The $1,000 Telescope

- Telescope: William Optics Redcat51
- Mount: ZWO AM5
- Camera: ZWO ASI2400MC Pro
- Guide Camera: ZWO ASI120MM Mini
- Guide Scope: William Optics Uniguide 30MM
- Camera Control: ZWO ASIAIR Pro
- Filter: Optolong L-enHance filter
As mentioned, the cameras are slightly different. The camera featured in this setup shoots in full color (one-shot color), meaning after a night of imaging, there will be a complete color image ready for processing.
A light pollution filter (Optolong L-eNhance) was used to isolate the h-alpha wavelengths and create a punchier image.
This type of filter is known as a multi-bandpass filter. The transmission graph below should give you a better idea of the selective light transmission this filter allows through.
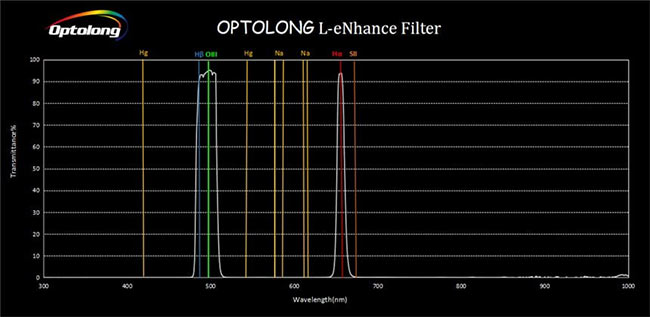
Optolong L-eNhance Filter light transmission graph.
Things to Consider
This setup is ultra-portable and can be set up and packed away quickly. The telescope is so light (just over 3 pounds), that the mount needed to run it is more affordable. You could even run this one on a star tracker which makes it a great choice for travelling.
The drawback is that the field of view (250mm) is going to be very wide when compared to other telescopes. This may impact some of the targets you want to photograph, as you won’t be able to ‘zoom in’ for a closer look or greater detail on smaller deep-sky objects.
Setup #1 is a lot more practical for most backyard astrophotographers because of its ease of use, cost, and impressive performance.
Setup #2 – The $10,000 Telescope
- Telescope: Sky-Watcher Esprit 150
- Mount: Sky-Watcher CQ-350
- Camera: ZWO ASI2600MM Pro
- Guide Camera: ZWO ASI290MM Mini
- Guide Scope: William Optics ZenithStar 71
- Camera Control: ZWO ASIAIR Plus
- Filters: Chroma 3nm Narrowband filters
- Filter Wheel: ZWO 5-position filter wheel
This setup uses a monochrome camera with narrowband filters. This means in order to produce a color image, you need to shoot through LRGB filters and build a color image using the pictures from each filter.
This type of astrophotography is known as narrowband imaging, and it is a more involved process than traditional RGB (broadband, true color) imaging.
An electronic filter wheel was used to automate the filter-changing process, and the appropriate filter rotates into place as each new picture is taken.

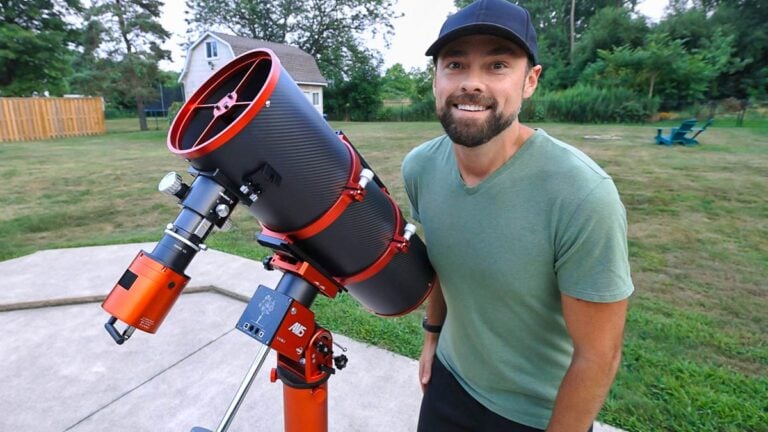
Setting up the 32-pound Sky-Watcher Esprit 150 telescope.
Things to consider
This setup is a big financial and physical commitment. And even though it is one of my favorite refractors, it is extremely heavy and may require an additional set of hands to help you set it up. Due to its size, a more portable setup may get used more frequently, especially if it’s only going to be clear for a few hours.
This heavy telescope (over 30 pounds) will also require a serious equatorial mount to operate. In this configuration, I am using a Sky-Watcher CQ350 computerized equatorial mount.
So for anyone thinking about upgrading their telescope for astrophotography, remember that your mount might have to upgrade along with it which is an additional cost.
The Session
Both cameras took 4-minute-long pictures through their respective telescopes to collect light on the camera sensor. We collected over 6 hours of total exposure time through each telescope, thanks to an additional clear night for shooting.
Even though we collected the same amount of time on the Eagle Nebula through both telescopes, the larger setup will have collected more light thanks to a larger objective lens. This is one of the biggest differences between the two telescopes and what you are paying the big bucks for.

The big telescope (setup #2) will look deep into the Eagle Nebula to reveal intricate details thanks to light-gathering power, aperture, higher magnification, and focal length. This is the benefit of all of the extra work and cost of this particular setup.
If you’ve already guessed, the pictures look way different through each telescope, since the smaller telescope (setup #1) is shooting at a quarter of the magnification of the big one. This means the field of view is much wider and you actually see other deep-space objects in the sky around the nebula.
The differences in the camera types and filters used create even more of a separation between the two images.
The Twist
As mentioned, the plan is to capture the same target using two different rigs. But what I haven’t mentioned yet, is that the smaller rig (set #1) is going to be used by Ashley.
She is familiar with using the RedCat 51 and got it set up and polar aligned for her imaging sequence. This is a telescope configuration she is comfortable with using, whereas the bigger system, she is not.
Once all of the images were captured, she processed the final calibrated master file using Adobe Photoshop (with the help of our image processing guide).
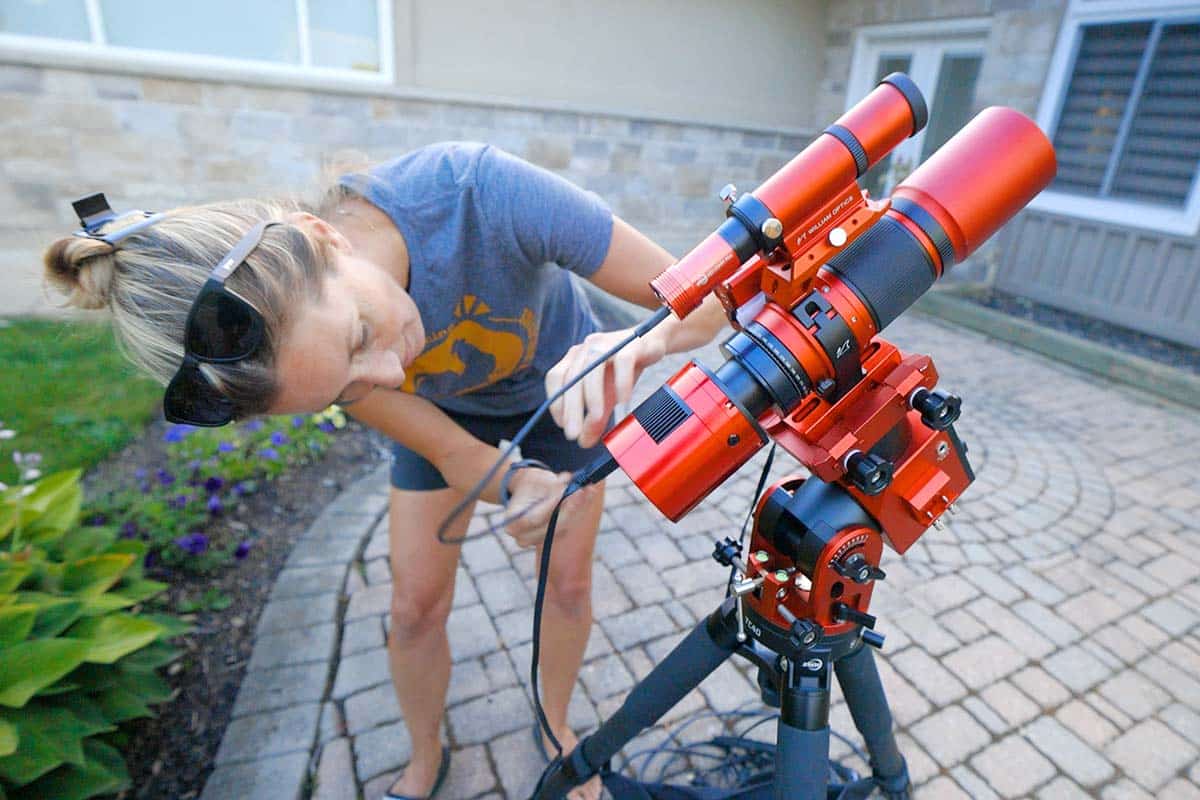
Ashley setting up the RedCat 51 telescope on the ZWO AM5 mount.
The Results
Though we are comparing two different telescopes that vary greatly in cost, you could argue that this is a better comparison of focal length than price.
The image scale between the two systems was substantially different, and that had a major impact on the resolution of the final images.
And even though there are substantial differences in the cameras used, the key differences between using a 6-inch refractor telescope and a 51mm telescope, are clear.
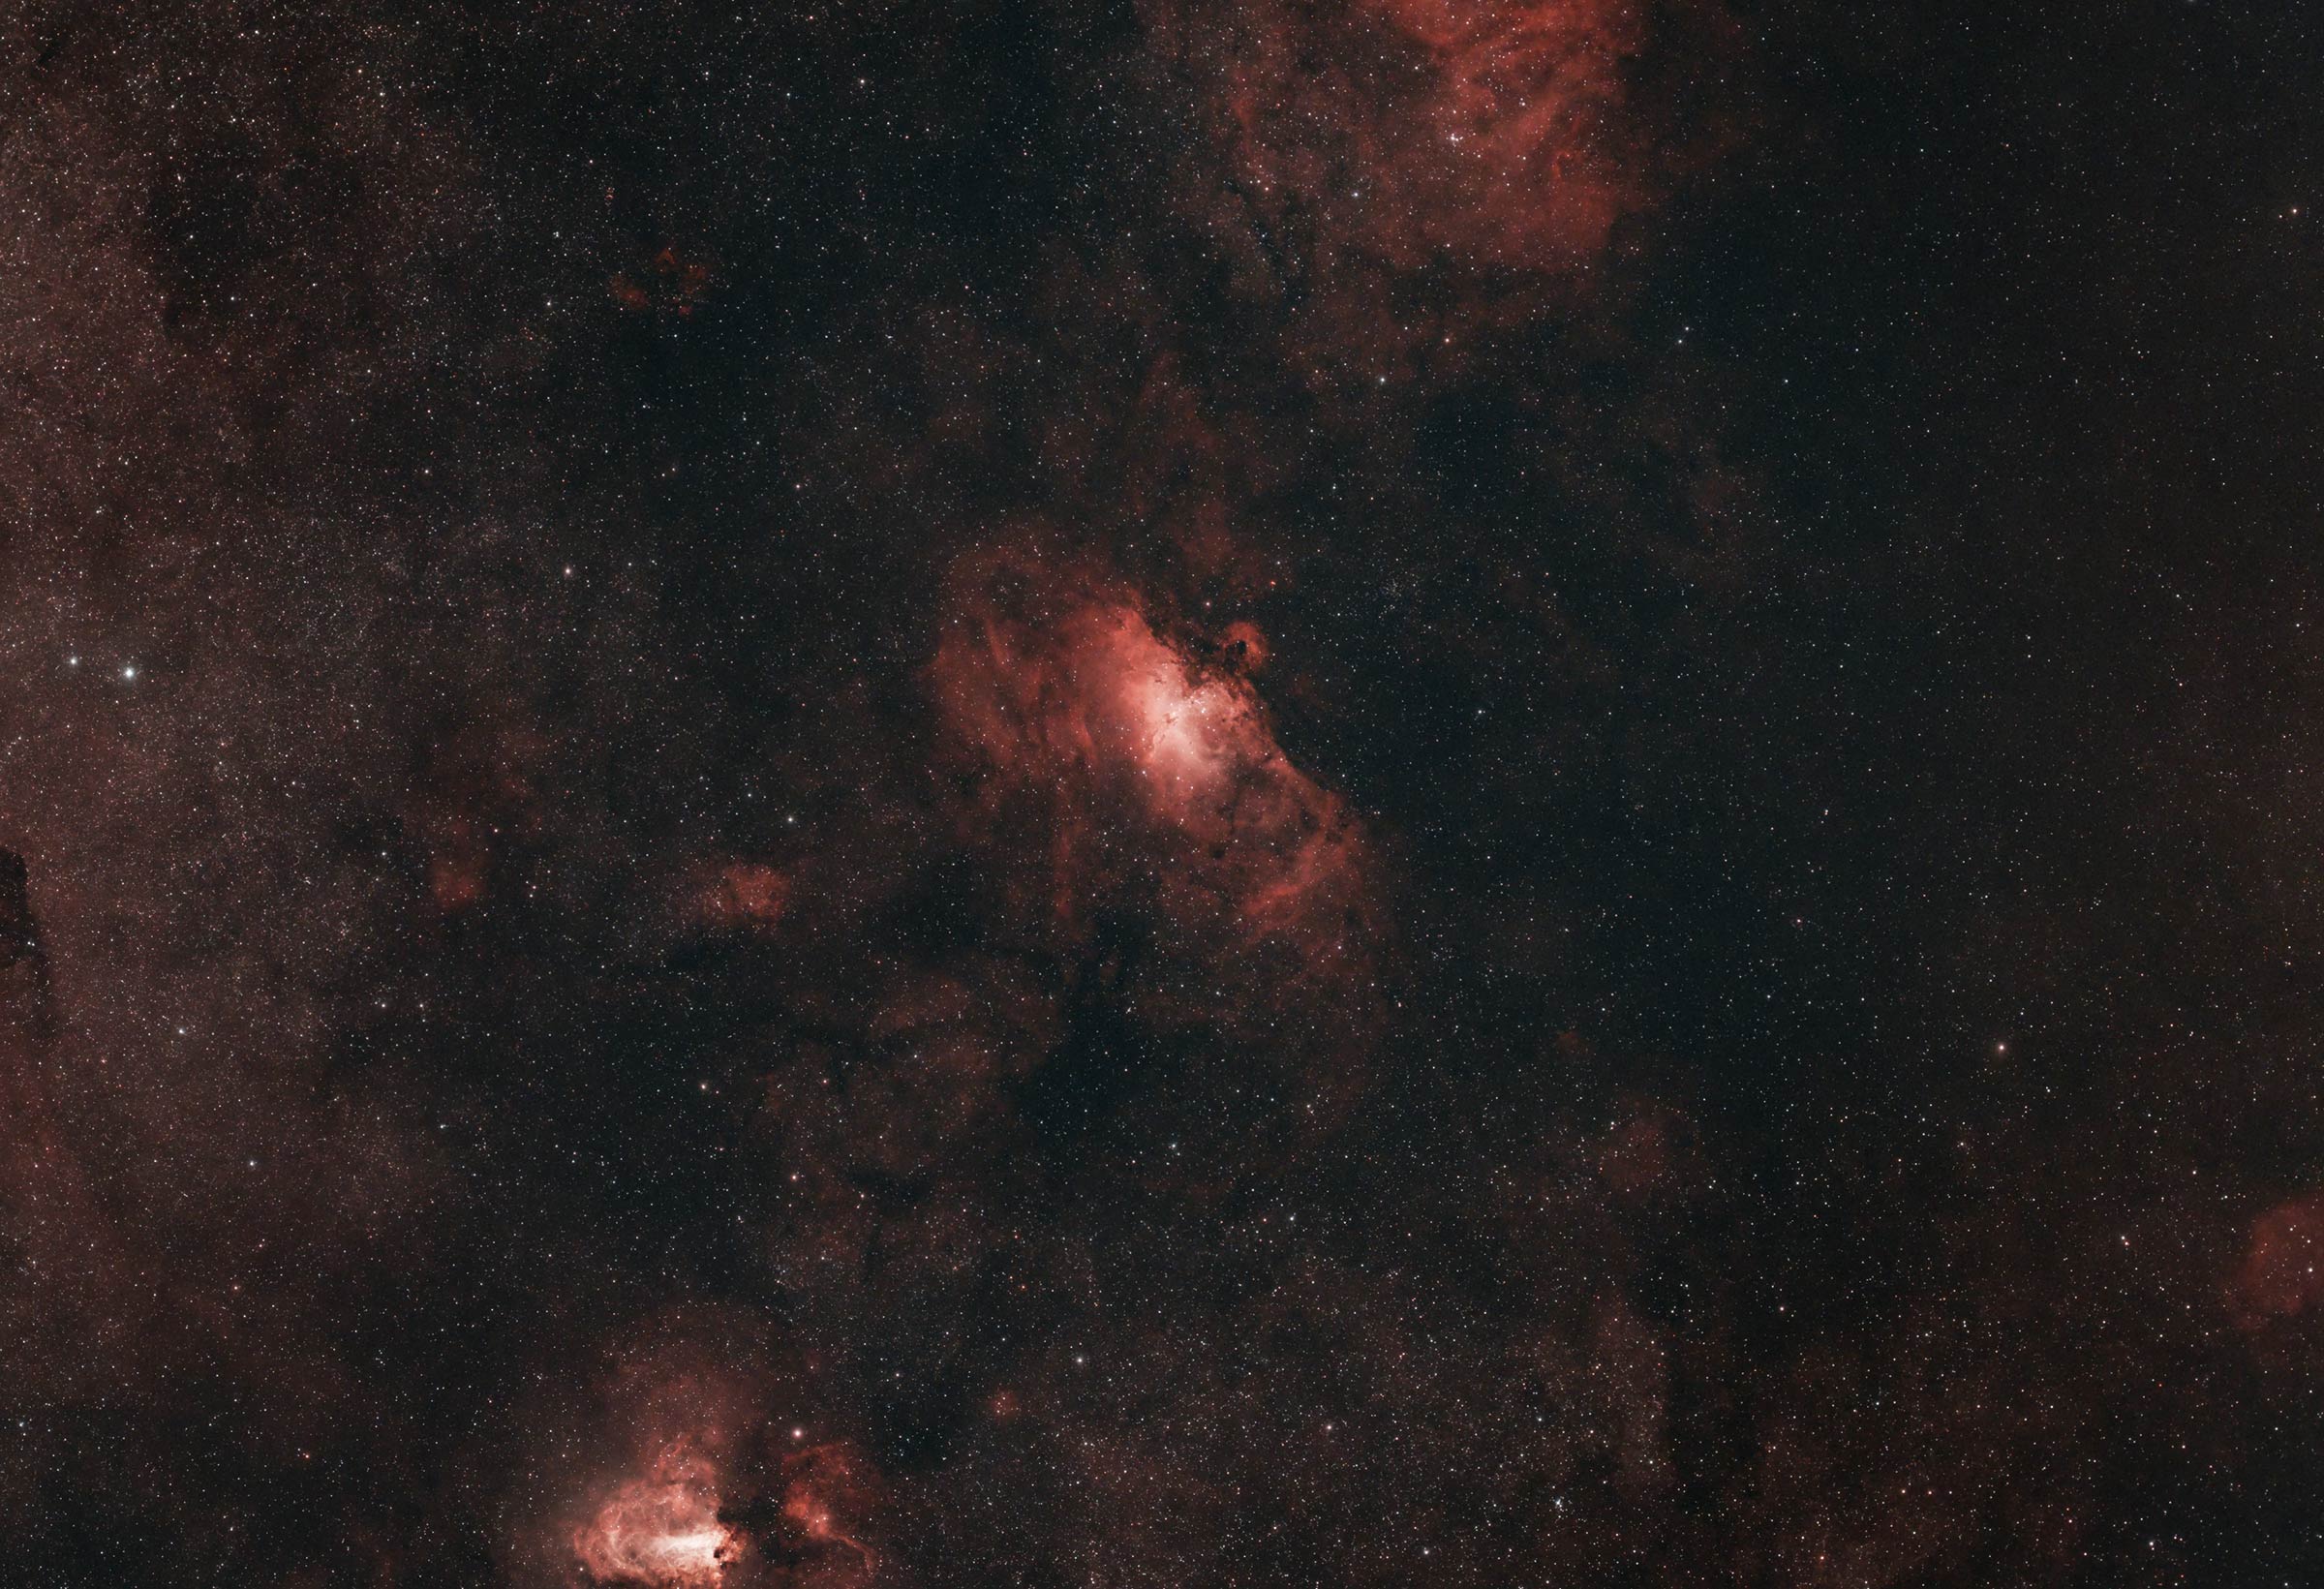
The Eagle Nebula using the William Optics RedCat 51 (250mm, RGB).
Image Details
- Total Exposure: 6 Hours
- Integration: 90 x 240-seconds
- Pre-Processing: Registered and Calibrated in DeepSkyStacker
- Processing: Adobe Photoshop

The Eagle Nebula using the Sky-Watcher Esprit 150 (1050mm, SHO).
Image Details
- Total Exposure: 6 Hours
- Integration: 30 x 240s Ha, 30 x 240s OIII, 30 x 240s SII
- Pre-Processing: Registered and Calibrated in DeepSkyStacker
- Processing: PixIndight, Adobe Photoshop
Conclusion
While many people have focused on the many differences between the two setups (other than cost), I still believe that this comparison is of value to anyone looking to ‘level up’ their astrophotography kit.
Smaller telescopes typically have shorter focal lengths, and the comparison between the two versions of the Eagle Nebula shows just how different the image will appear with more reach.
Additionally, a beginner setup is more likely to utilize a one-shot-color camera and light pollution filter, while a larger one may introduce a monochrome camera and narrowband imaging workflow.
As always, I hope that this post has inspired you to continue your astrophotography journey. Until next time, clear skies!

It’s always useful to see what different rigs can do. Loved the comparison.