How to Use a Telescope
You have completed the research and purchased your first telescope and now you’re wondering how to use this new piece of astronomy equipment. You’re ready to look at the moon and planets up close for the first time, and can’t wait to show your friends and family the Rings of Saturn.
As a beginner, you might be feeling overwhelmed as you learn new terminology and try to understand all the moving parts of your telescope. The optical design and function of a telescope may be quite simple, but successfully viewing the cosmos for the first time requires a bit of knowledge up front.
In this article, we will break down how to use your telescope so you can start enjoying views of the night sky. I’ll start by saying, never point your telescope at the Sun, this can destroy your telescope (and your eyes!).
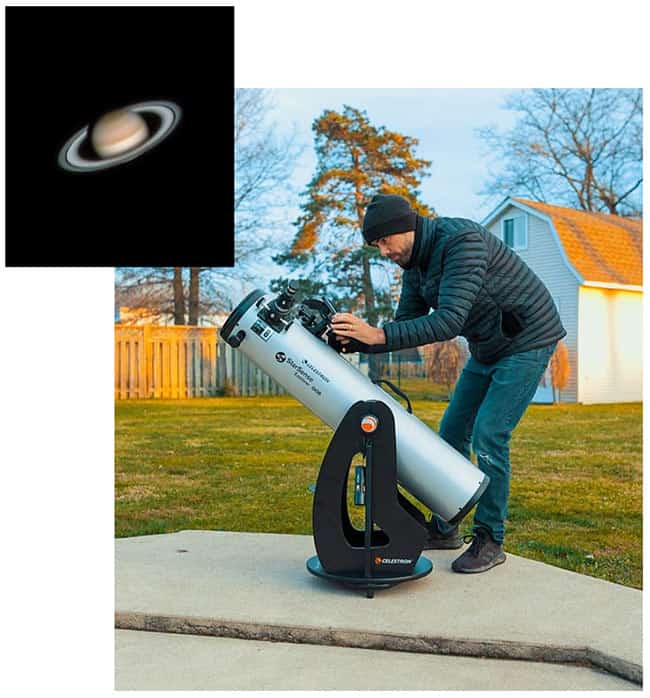
Getting Ready to View the Planet Saturn through a Dobsonian Telescope.
Here are the basic steps for how to use your telescope, covered in more detail below:
- Set up Equipment
- Level Tripod
- Align Telescope and Finder Scope
- Select An Eyepiece
- Find Object
- Focus Telescope
- Observe
- Adjust Magnification
- Track Object
- Pack up Equipment
Before Using Your Telescope
Before jumping into using your telescope right away, there are a few things you will want to do to ensure you have the best viewing experience:
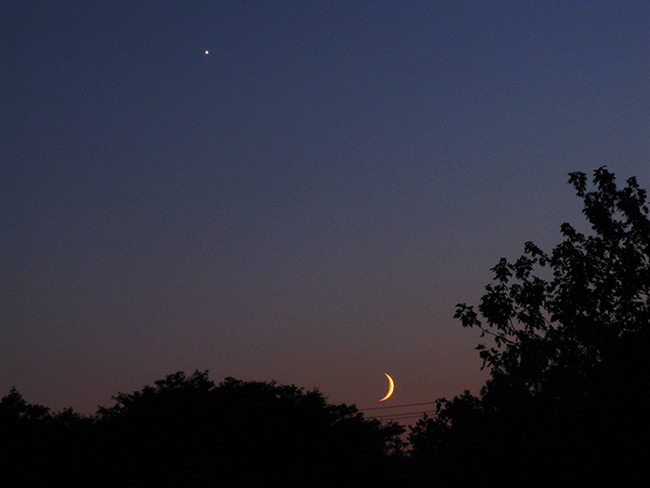
Consider the Moon Phase
The new moon phase is when the Moon is positioned between Earth and the Sun. When this happens, the side of the Moon facing Earth is not illuminated by the Sun and there is no moonlight in the sky.
Without bright moonlight, you can enjoy darker skies when viewing objects through your telescope. There are moon phase apps you can download for your phone, or mark down the new moon dates on a calendar to plan your viewing sessions around new moon days.
If you are viewing planets (and the moon, of course) the moon phase does not matter. It is possible to see the brightest galaxies, nebulae, and star clusters on a night with a bright moon, but they will be much harder to find.
Check Observing Conditions
The weather is the number one factor to determine when to set up your telescope. Not only will you need clear skies (i.e. no clouds) for great views, but you will also need to consider things like seeing conditions.
As a visual observer, seeing conditions will determine the amount of clarity you can see on your subject when viewed through the eyepiece. High levels of atmospheric turbulence or disturbance will cause objects (like stars) to lose sharpness and appear as fuzzy blobs through the eyepiece.

Helpful tips:
- Get a Weather App: Download a weather app on your phone so you can stay up to date on precipitation, cloud cover, and seeing conditions to plan your observing sessions accordingly.
- Take your telescope out a few hours prior to imaging: Minimizing the temperature difference between where your telescope is stored and the outdoor temperature will help the air inside the telescope to adjust and reduce tube currents, which can cause poor seeing.
- View Closer to the Zenith: Point your telescope away from the horizon, where there is typically more turbulence and atmospheric dispersion.
Choose your Location Wisely
A good location to set up your telescope is important. For the best views through your eyepiece, you will want to select a location away from city light pollution.
If this is not an option, and you find yourself setting up in your backyard, be sure to turn off all your outdoor lights and shield interior lights from spilling outside. If you have a good relationship with your neighbor, you might consider asking them if they wouldn’t mind turning their lights off after a certain time.
 Sky Glow, as a result of Light Pollution
Helpful tips:
- Avoid light-polluted areas: light pollution will impact the quality of the views you have through your telescope. Darker skies will provide more detail and contrast for viewing.
- Set up on the grass: Finding a location on a natural surface will help reduce the disturbance of hot air that rises off nearby surfaces (like a hot driveway), which hold heat for long periods of time.
- Avoid certain surfaces: decks and other raised surfaces are not great for visual observation. The vibration causes the surface to shake, ruining your view.
Be Prepared
It is important to be prepared for your observing session by planning ahead. If you plan on traveling to a location to set up, you will want to make sure you have all your equipment with you. Leaving even one piece behind could ruin your whole night. A checklist can be helpful during these types of situations to ensure you don’t leave anything behind (for setting up and tearing down).
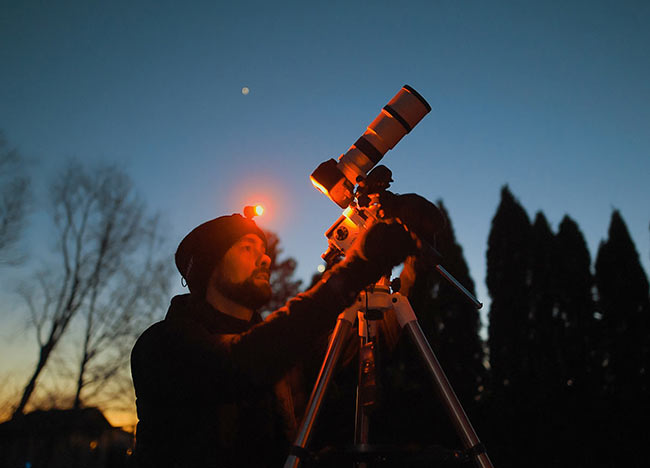
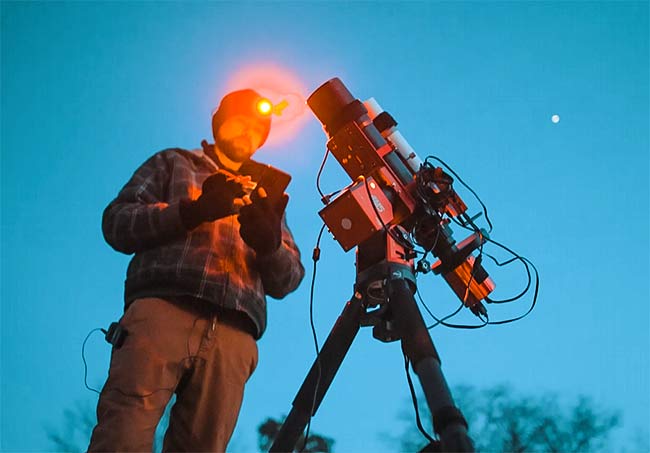 Red headlamp to maintain night vision is important.
Helpful tips:
- Wear warm clothes: it is important to wear the right clothing for your climate which will change depending on the time of year. You don’t want to cut your observing session short because you weren’t prepared with the appropriate clothing. It usually cools off a night so be sure to have warm clothes with you (i.e. sweater/jacket, gloves, hat, etc.).
- Use a red headlamp: a red headlamp is extremely important for visual observation as it helps maintain your night vision. You will not want to use any white light for finding your way in the dark, switching to a new target, taking notes or referencing your guidebook. A red headlamp is the easiest way to do this so you can remain hands-free.
Steps for How to Use Your Telescope
Now that you know exactly what to consider before you get started, let’s go through each of the steps for how to use your telescope.
Set up Equipment
As mentioned above, you are going to want to select the right location for setting up. Assuming you’ve done that, you can now set up your equipment.
Choose an area that is not too close to anything you may run into or trip on throughout the night. This may sound a little funny, but I have personally run into things after viewing the bright moon on a dark night.
If you are setting up your telescope in a place where other people may be walking by (like a star party), make sure that is not obstructing a path, and that it is thoughtfully placed so that others will see it.

Setting up my Dobsonian Telescope at a Star Party.
The first piece of equipment to set up will be your telescope mount, which will vary depending on which type you have:
- Alt/Az mount: this type of mount operates manually with basic up, down, left, and right movements. An example would be the cradle-style mount with a flat table that rotates around a vertical axis which is typical for visual Dobsonian telescopes.
- Equatorial Mount: an equatorial mount (EQ mount) is a computerized mount that allows you to track the motion of the stars. The equatorial mount head is fastened to a tripod that elevates the telescope to a practical height for imaging or observing. It requires additional setup (i.e. polar alignment and balancing) before you can start observing.
| Aspect | Alt-Az Mount | Equatorial Mount |
|---|---|---|
| Design | Simple and intuitive design | More complex design with more moving parts |
| Axis of rotation | Two axes (up-down and left-right) | Two axes (declination and right ascension) |
| Motorized tracking | Requires a motorized mount for tracking | Can be easily motorized for tracking |
| Setup time | Quick and easy to set up | Longer setup time required |
| Polar alignment | Not required | Requires precise polar alignment |
| Astrophotography | Best suited for visual and lunar/planetary astrophotography | Ideal for deep-sky astrophotography |
| Cost | Typically less expensive | Typically more expensive |
If required, the next step would be to add your telescope to the mount and any additional accessories you may need. This may include installing the finder scope bracket, adding the finder scope, etc.
Level Your Tripod
Next, you’re going to want to level your tripod/mount. Adjust the legs of the tripod so they are at a comfortable height and lock them into place. If you’re using an alt-az mount for visual observing, this is likely as accurate as you need it to be.

Levelling the tripod before adding the mount
If you plan to utilize the GoTo function of your EQ mount, you will want to use a bubble level for better accuracy. Place it on the accessory tray (if the mount is already attached) or on the tripod (before the mount is added) and adjust the tripod legs accordingly.
For a cradle-style mount, simply make sure it’s on a relatively flat surface. Try to keep the telescope off of the grass if possible. The soft grass may become very wet with condensation as the night progresses.
Align Telescope and Finder Scope
You want to make sure your telescope and finder scope are working together. To do this, you will want to make sure they are aligned so your finder scope sees the same object that is in the main telescope objective.
Find a stationary object (like a tree) and aim the telescope at the top of the tree so it sits in the middle. Now look through the finder scope and make sure it is also seeing the top of the tree in the center.
If not, use the adjustment knobs to adjust your finder scope slightly so that both the telescope and finder scope has the top of the tree (or whatever object you choose) in the middle of the field of view. This may take a few tries, looking through the telescope objective and then the finder scope to get it right.
Once this is complete, lock in your finder scope. You can now use it to help you locate objects in the night sky with confidence, knowing they are properly aligned.
Select An Eyepiece
Your eyepiece is a very important piece of equipment for visual observing. Not only does it impact the quality of your views and the magnification of your telescope, but it can assist you in finding your target by choosing the right magnification.
Start with a lower magnification (higher focal length) to help you find your object. This will provide a larger field of view in the sky for you to locate your object and align your telescope.
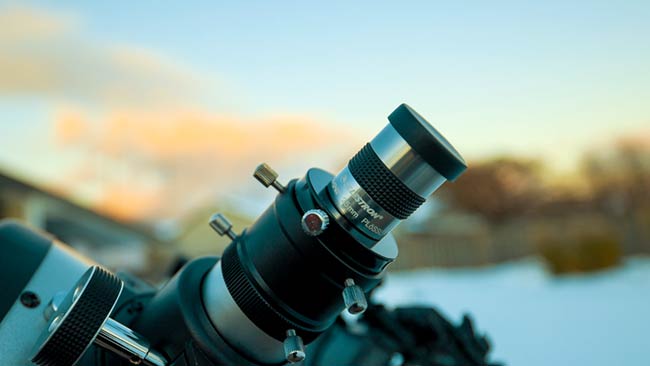
The focal length of the eyepiece can be found stamped to the side of the eyepiece in millimeters (i.e. mm). Once you have chosen your eyepiece (25mm is usually a good place to start), insert it into the tube.
Helpful tips:
- Use a diagonal: A diagonal can be used with other types of telescopes, such as refractors and SCTs. This gives you a more comfortable viewing position so you can avoid kneeling down on the ground to look through the eyepiece. Look for a 90-degree diagonal (aka a star diagonal) which is meant for astronomy.
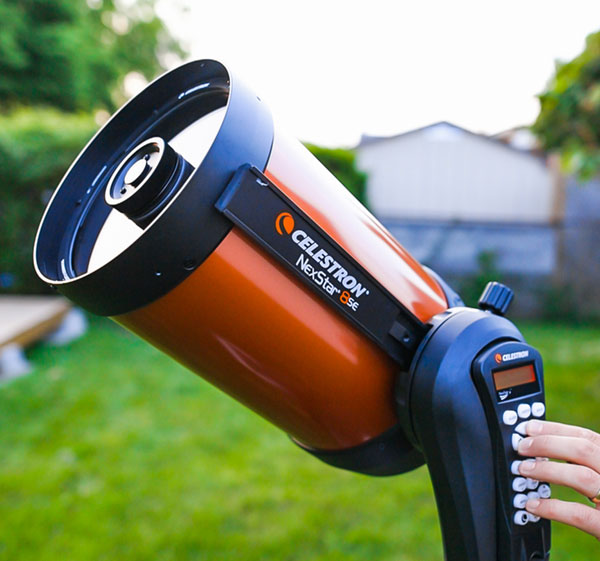
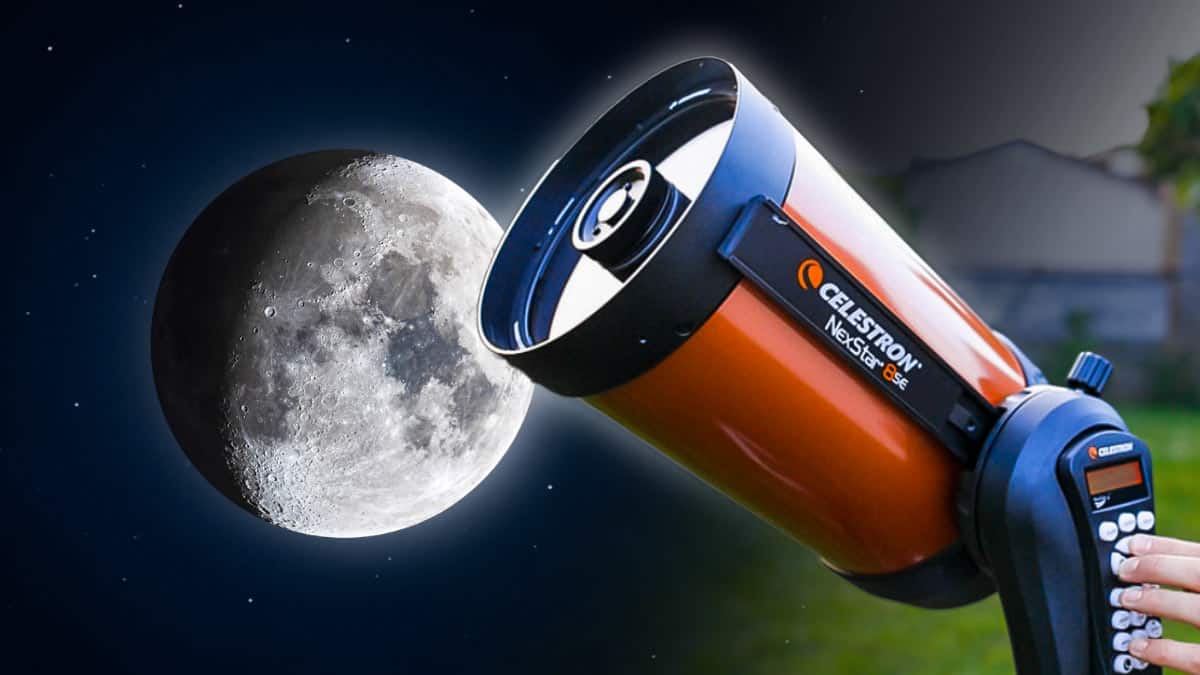
The Celestron NexStar 8SE telescope can point to objects for you using the onboard computer.
Find Object
There are so many exciting things to observe in the night sky using a telescope. Beginners often wonder what is possible to see using a basic telescope through the eyepiece.
With a manual mount, you will need to locate these objects using the finder scope and a star chart or planetarium app.
The process of finding objects in the night sky involves a technique called ‘star hopping‘. where you use easy-to-find, bright stars in a pattern to help narrow down your search.
The idea is to find an identifying pattern of stars in the sky that is close to your deep-sky object. Then, you can use your star map as a reference to move the telescope in the direction of your object.
It is best to do this using a wide-field eyepiece (32mm is perfect). You should be able to spot your target from a wider field of view, and then replace the eyepiece with a higher magnification one once you have found it.
In the example below, you can see how we use the primary stars of the constellation Lyra to find the Ring Nebula.

Star hopping from the constellation Lyra to the Ring Nebula.
If you have a GoTo mount that has been polar-aligned (and star-aligned), this will be an easy process. Simply use the hand controller to punch in the object you want to find and watch your telescope slew to the object.
For accurate telescope pointing accuracy, you must first go through a simple star alignment routine. This involves confirming the position of 2-3 bright stars in the sky.
Other telescopes, like the Celestron StarSense Explorer, also have the option of using the StarSense software to help you locate objects in the night sky.
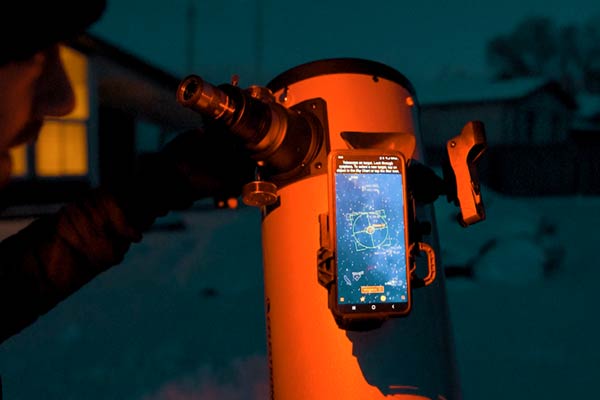 StarSense software
Solar system subjects such as the Moon and planets are often the most rewarding targets to observe through a telescope. You will find a list of detailed objects to observe at the end of this post.
Remember, don’t expect to see objects as you do in an astrophotography image. Through a telescope eyepiece, the objects will appear much dimmer and without color.
Helpful tips:
- Use a star chart or planetarium app: if you are new to visual astronomy, chances are you might need help locating the objects you want to observe (even with your finder scope). A guidebook with the constellations will help, or a planetarium app you can download on your phone.

Focus Telescope
Using a bright object like the moon, adjust the focus knob to move the eyepiece in and/or out to achieve sharp focus. Keep turning the focus knob in small adjustments until the object is clear in your field of view.
This is easiest with a low magnification eyepiece so you can find and center the object. Once the object is in focus, you can switch out the eyepiece for one that has a higher magnification. You may need to fine-tune focus again once switching to a different eyepiece.
The key here is patience, as it can take several attempts to get the object in sharp focus.
Helpful tip:
- Avoid touching the telescope/eyepiece while focusing: this can create vibrations that can make achieving critical focus more difficult.
- Check collimation: the process of checking collimation involves making sure the mirrors or lenses of the telescope are properly aligned. If the mirrors or lenses are not aligned, you might experience blurry views when you’re in focus. Be sure to follow the manufacturer’s instructions to adjust the collimation if necessary.
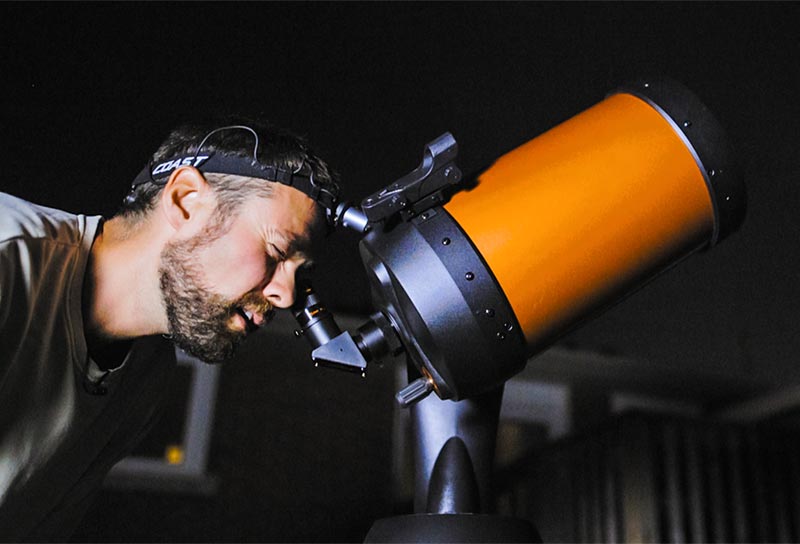
Observe
Now it’s the moment you’ve been waiting for, you get to enjoy the views through your eyepiece.
This would be the time to take notes or photograph your object. In your notes, you can include details like the shape, color, and visible features. You could even include a rough sketch.
If you have a telescope that is capable of taking photos, like the Celestron StarSense Explorer, you will get a chance to capture some photos with your smartphone, using the StarSense software.
Take your time moving across the night sky to different objects.
Adjust Magnification
As you observe certain targets, you may want to switch out your eyepiece for something with more magnification. Remember, the shorter the focal length, the higher the magnification – so to increase magnification use a short focal length.
You will want to experiment here and see what magnification works best for the object you are viewing. A higher magnification does not always provide better views. This is especially true on nights with poor seeing conditions where high magnification views may appear blurry or distorted.
 Barlow Lens attached to a planetary camera
- Explore using a Barlow Lens: after you have some experience using lower magnification eyepieces, look into using a Barlow lens. It works by increasing the focal length of the telescope, which in turn increases the magnification. Combining a Barlow lens will allow you to increase the magnification of your eyepieces, and therefore give you more magnification options when combined with your varying eyepieces.
Track Object
As you observe your object, keep an eye on it through the eyepiece. As the object moves across the sky and drifts out of the field of view, you will need to make small adjustments to the position of the telescope to keep it centered.
With a manual telescope, simply make small, periodic adjustments to keep the object in the field of view.
If your telescope mount is capable of tracking the night sky, your mount will move the telescope at the same speed as the object in the sky, compensating for the Earth’s rotation. This requires additional setup, as mentioned above, including an accurate polar alignment.
 Polar alignment with a star tracker for astrophotography
When you are finished observing, it is important to remember to return your mount to the home (starting) position before turning off the mount.
Helpful tips:
- Don’t get discouraged: remember that tracking an object can be challenging, especially for beginners. Don’t get discouraged if you struggle at first. With time and experience, you’ll become more skilled at tracking objects.
Pack up Your Equipment
When packing up your equipment, be sure to cover the objective lens of the telescope to protect against dust and moisture. Before covering your telescope, be sure to remove any added accessories.
It is best to store your telescope in a safe location to avoid theft or damage. If your equipment is damp, try to towel it off (not the telescope optics) to keep it from rusting or developing mold.
Helpful tip:
- Use a checklist: If you plan to travel frequently to dark sky locations for observing, use a checklist to ensure you leave with everything you came with.
Now that you know how to use your telescope, I hope you get it set up and observe a few targets. Here are a few great choices to consider, depending on the time of year you set up your telescope:
The Best Things to See Through Your Telescope
- The Moon
- Saturn
- Jupiter
- Mars
- The Pleiades Star Cluster
- The Orion Nebula
- The Dumbbell Nebula
- The Ring Nebula
- The Great Globular Cluster in Hercules
- The Veil Nebula
- The Double Cluster in Perseus
- The Andromeda Galaxy
- The M81 and M82 Galaxies
- The Lagoon Nebula
- The Swan Nebula
These are just a few of the best things to see through your telescope. Once you are able to find and observe these objects, you will feel confident enough to use your telescope to find even fainter, lesser-known objects. (Dark skies help!)
