The Impressive Pegasus Astro Pocket Powerbox (Review)
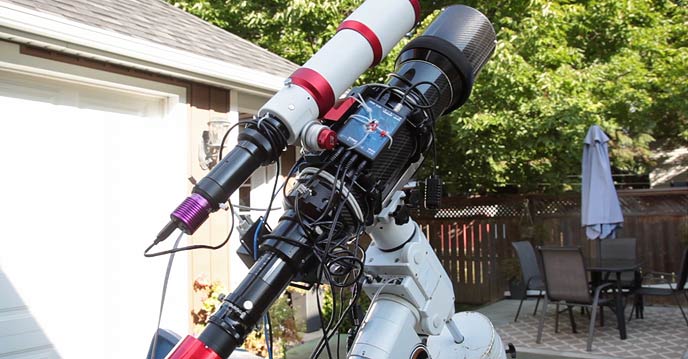
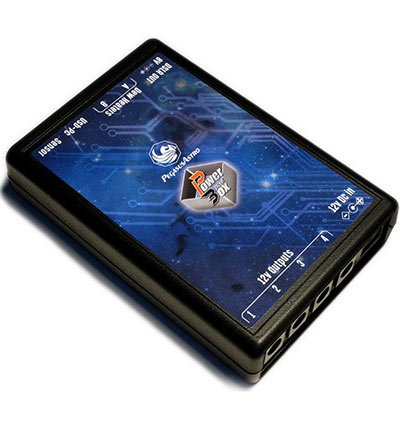
The Pegasus Astro Pocket Powerbox is an ingenious device that allows you to streamline your deep sky astrophotography setup. The goal of this little blue box is to replace your current mess of power cables running to various devices on your telescope with a single, lightweight power source.
The Pocket Powerbox includes (4) 12V outlets that I use to send power to the various devices riding along with my telescope. This includes everything from my dew heater band to my dedicated astronomy camera. The device came with all of the cables I needed in the box, which was a pleasant surprise.
It includes a dedicated 8V power supply for DSLR cameras, 2 dew-heater channels, an environmental sensor, and a slick software interface to control everything on my computer.
The Pegasus Astro Pocket Powerbox has saved me hours of setup time and created more opportunities for spur of the moment imaging sessions during the week. My favorite aspects of the Pocket Powerbox are reducing the chance of cable snags while imaging, and the dew heater channels.
About Pegasus Astro
The team consists of Evangelos Souglakos and Angelos Kechagias. They are talented amateur astrophotographers located in Greece who decided to start making their own astrophotography tools.
I think you’ll find that the solutions they offer are remarkably affordable compared to the competition, with features that only die-hard backyard imagers can fully appreciate.
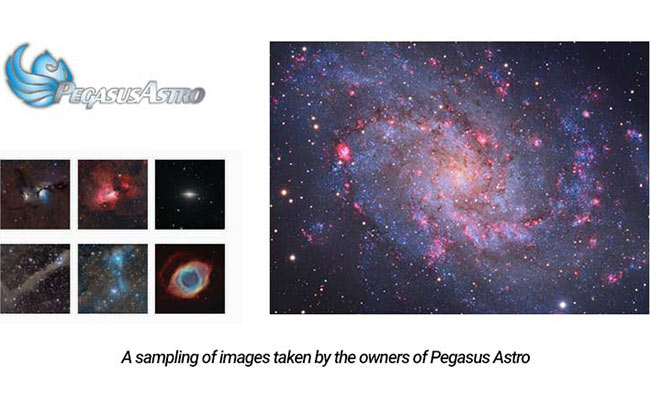
Here is an example of Evangelos Souglakos‘ work on APOD (Astronomy Picture of the Day). The astrophotography gallery on the Pegasus Astro website is absolutely incredible.
I’ve reviewed the Dual Motor Focus Controller and Stepper Motor Kit in the past, so I knew what I was getting into with the Powerbox. My Explore Scientific ED102 telescope is now decked out in blue highlights thanks to the upgrades provided by Pegasus Astro.
The Pocket Powerbox was sent to me from Pegasus Astro and Ontario Telescope and Accessories for review. The team at Pegasus Astro has gone above and beyond in terms of service and support of me, and this YouTube channel.
Pegasus Astro Pocket Powerbox Review
If you’re like me, devices like this (and the original Pegasus Astro Ultimate Powerbox) are a rather new concept. It’s not something that was on my immediate todo list, although I had seen a lot of them in use in the Backyard of the Week submissions.
I’d already sorted out all of my power sources and could produce consistent astrophotography results just the way things are. Unfortunately, this included a tangled mess of cables that were constantly snagging on the camera, telescope or mount.
Perhaps a way to streamline the way each piece of electronic equipment is connected could provide some much-needed organization to my rig? I liked the idea of being able to leave my telescope running while I sleep without the worry of a cable snag. Not to mention the time I could save by having everything “plugged into the telescope” rather than draped down to ground.
I believe the point of the Pegasus Astro Powerbox make the entire deep-sky imaging process easier and more enjoyable. And guess what? That’s exactly what happened.
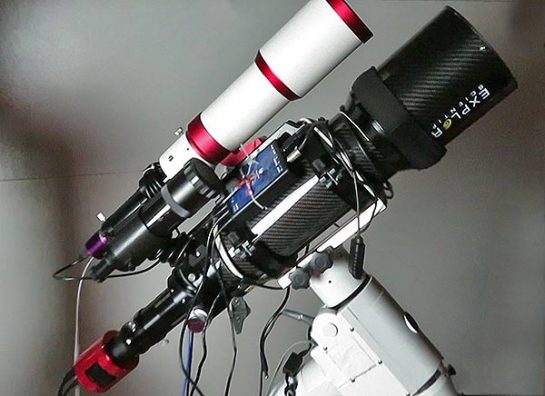
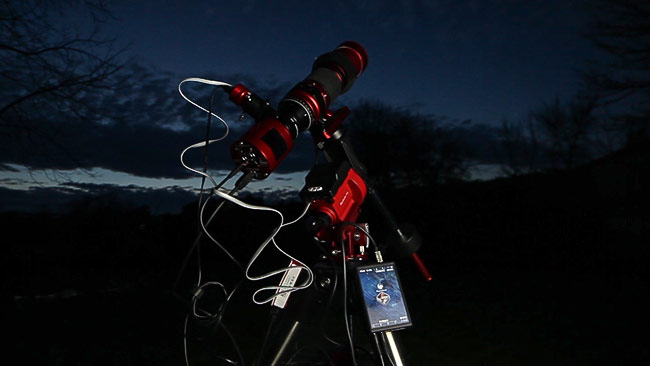
The Pocket Powerbox mounted to my Explore Scientific ED102 telescope
Specifications and Features
The Powerbox is ASCOM 6 fully supported. Up to this point, I have only used the standalone software build by Pegasus Astro to control the Powerbox, but advanced users can integrate its features with Sequence Generator Pro, Astro Photography Tool and more.
Here is a look at the included software interface:
Below, is an overview of the features provided by this little blue box:
- 4 x 12V DC Power outlets for your equipment
- 10 Amps of total power
- DSLR 8V Output (Can be switched ON/OFF)
- 2 Channels PWM Dew Heaters – RCA Outputs
- Humidity and Temperature Sensor (included)
- Auto-Tune Dew Heaters
- Reverse Polarity Protection
- USB / PC Controlled
- Lightweight and extremely compact enclosure
View full details and order online at Ontario Telescope
Mounting the Pocket Power Box to a Refractor Telescope
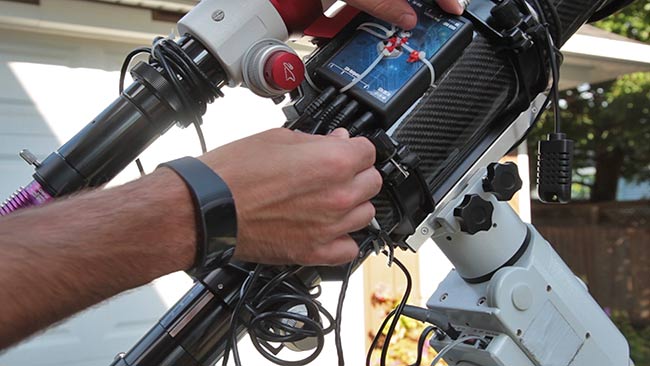
Here is a look at the pocket power box mounted to my Explore Scientific ED102 telescope. The box is virtually weightless at 250 grams, so it adds very little extra weight to your imaging payload. This is great news for owners of entry-level or intermediate equatorial mounts owners that are already pushing the limits of their payload.
It’s not the tidiest setup in the world, I went a little crazy with zip ties. I thought about wrapping black velcro ties to the PPB to secure it, but I’m not sure if this is any more organized. I could clean things up by mounting the Powerbox to a small mounting plate with some two-sided velcro strips.
For now, everything stays put and I can easily cut all of the zip ties and mount it properly later. For current owners of the Powerbox, please let me know how you have mounted the device to your imaging refractor in the comments section.
The device requires just one power source, a 12V DC In – this is now the only cable that actually runs to my household electricity from my imaging rig. No more spaghetti of black wires running up separately to the camera, dew heater controller, mount, focuser, and USB port.
What I’m utilizing on the Powerbox
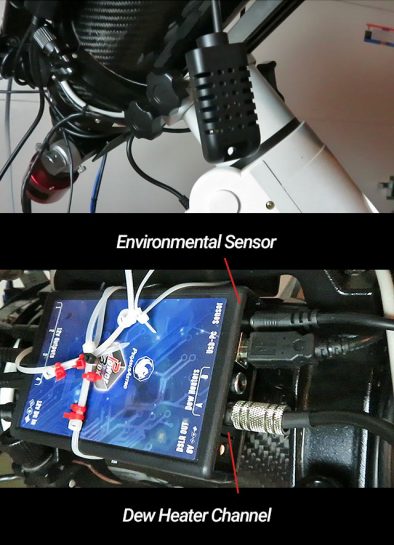
Let’s go through the ports of the Pocket Power Box I’m utilizing to streamline my imaging rig and how I cut out a whopping 4 cables running up to various places on the rig.
The first is the dew heater channel with an RCA output. I plugged in my Kendrick dew heater strap and now I use the “auto dew” feature built into the PBB software. I no longer have to run my DewBuster dew heater controller alongside the telescope.
The environmental sensor reads the current ambient temperature and dewpoint and sends a signal to the band to warm up when moisture is most likely to occur. Just like that, dew is no longer an issue on this telescope – and it’s all right there ready to go every time I set up.
As I stated earlier, the Pocket Powerbox comes with all of these 12V cables to connect your gear. I just hope you’re able to wrap them around your telescope a little cleaner than I did.
I bought a small Anker 4-port USB hub to power my various USB devices. I mounted the hub to the sadly under-utilized eyepiece tray of my HEQ mount with two-sided tape. This way I can just run all of the USB cables from the telescope into a single location that’s close by.
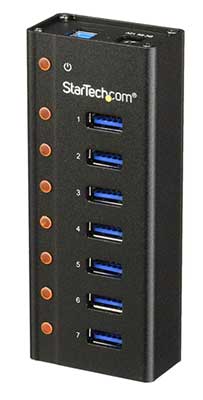
The Anker 4-port USB hub was unreliable, I eventually upgraded my USB hub for astrophotography to a Startech 7-Port USB 3.0 Hub. This is a much more robust USB hub to withstand the elements outside, and was recommended to me from Pegasus Astro.
I recommend using the StarTech 7-Port USB hub to connect the Pocket Powerbox and other devices.
Then, I can plug a single USB cable into my computer from the hub. To recap, that’s one power cable into the Pocket Powerbox, and one USB cable into my computer.
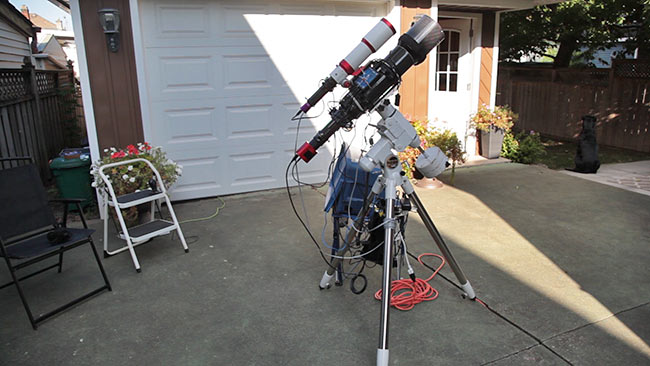
Perhaps my favorite aspect of my new streamlined imaging gear is how much time I save setting up. Everything stays together on one rig, and I can carry the whole thing in and out of the garage on a moments notice.
I plug a single USB cable into my computer, and then everything’s connected at once. All of the gear is safely powered from a single source that’s riding on the telescope. It’s as close as I’ve ever got to a plug-and-play deep sky imaging rig that’s as capable as it is convenient.
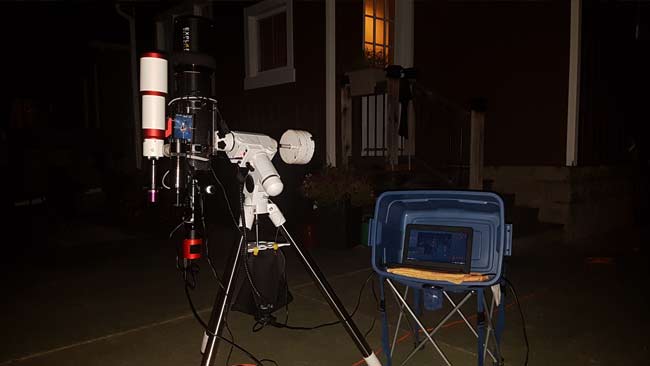
I’ve used the Pocket Powerbox on a number of imaging rigs.
I’ve decided to claim this setup as my “always-ready” telescope setup for quick and reliable imaging on a weeknight for a few hours.
What would this entire upgrade be worth if I couldn’t back it up with actual astrophotography results? In my book, a clean and organized rig sitting in the living room is trumped by a slightly disorganized assembly that can deliver the goods.
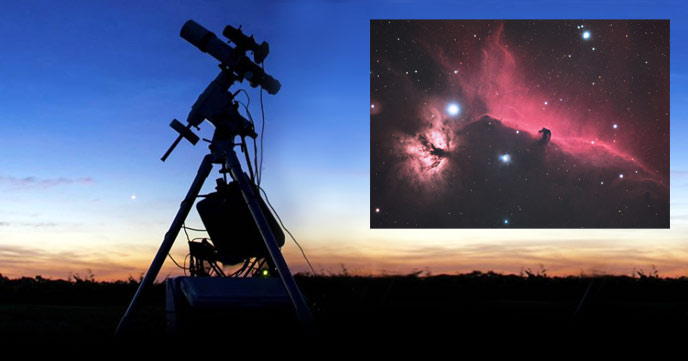
Here is an image of the North America Nebula captured using my upgraded setup that’s powered by the Pegasus Astro Pocket Powerbox.
The North America Nebula – 2 Hours, and 20 Minutes Total Exposure
Connection Issues?
If you are experiencing issues connecting your Pocket Powerbox to your PC, listen up. I have found that by following the same routine each time I use the PPB to avoid any potential issues. I use the same cabling and AC power supply every time I use the PPB, and have even color-coded it in royal blue to match the blue powerbox.
The power adapter I use to power the PPB has an output of 12V, 10 Amp. This is the exact model I purchased on Amazon. Also, I connect the device to the same USB port each time I use it, and make sure that my PC recognizes it in the device manager.
Then, it’s best to follow the same order that you plug each cable in. I start with the 12V power supply into the Pocket Powerbox, followed by the temperature sensor. Then, I plug in the dew heater band via the RCA port, and the USB-PC cable to my laptop.
Once everything has been connected properly, I connect to the device from my PC using the Pegasus Astro Pocket Powerbox standalone software (USB Serial Port COM9). From here, I make sure that the “Auto Dew” box is checked off, as I like to use the PPB for me dew heaters even when I don’t control it with my PC. (The device stores this setting internally).
Final Thoughts
For those of you with established telescope setups that are looking to organize your imaging gear and cut down on cables, the Pocket Powerbox will be your new best friend. If you’re stubborn about changing your old configuration like I was, I think you’ll be pleasantly surprised at how much easier your life gets when the PBB is involved.
If you are new to astrophotography with a less involved telescope setup, the Powerbox is likely an un-needed upgrade for now, unless you really have your heart set on an organized rig with the cable management advantages the PPB provides.
If you want some great examples of the right way to mount the Powerbox device to your telescope, have a look at some of the example images on the Pegasus Astro website.
I want to thank Pegasus Astro so much for the opportunity to try their products, and for opening my eyes to new tools that enhance my deep sky astrophotography experience. If you’re interested in the Pocket Power Box, you can order it from Ontario Telescope and Accessories.
Related Posts:
The ZWO ASIair camera controller (Raspberry Pi Computer)




Great work as usual! Future gadget for sure.
Thanks Karl!
Do I have to be concerned with any compatibility issues between the anchor 4-port USB 3.0 hub and my laptop (HP Pavilion g7; Windows 8) that only has USB 2.0 ports?
Thanks
Anker lists Windows 8 as “supported” on the product page, and yes, they are compatible with USB 2.0! You should be fine 🙂
Probably good to know for astro alternatives… 😉
There is INDI support in the making for example if your main gear is based on a setup like mine with a RaspberryPi and EKOS (OS).
As a workaround in the meantime, because the Pocket Powerbox has a EPROM, it is possible to set, for example dew values as needed via Windows and ASCOM so afterwards you only have to switch the device on to use the user configured settings ( mentioned by support). So for EKOS/INDI not flashy GUI yet but it works as expected after it has been configured.
HTH/M
Chuck, the pocket Powerbox has one USB-2 only port.
As far as I read on astro forums etc., its wise to not mix USB versions and thus avoid connectivity issues.
Hi Trevor,
I’m really interested by this little thing ! Looks amazing.
I have a little question : is the DSLR output directly useable with a fake Canon battery ? I’m wondering this because Pegasus also sells a thing called “DSLR buddy” which costs quite a bit and I don’t know if the Pocket Powerbox needs the DSLR buddy thing to connect to a DSLR or if I just need to buy the PPB and a fake Canon battery for powering up my DSLR.
Thanks for your help !
I have tried to email Pegasus to find out about hooking up a DSLR, but know reply yet. Did anyone figure this out.
Thanks
can i use the hub to cool my asi camera or do i need to use a stand alone power suply ?
Hi Ricardo – Yes! I use the Pocket Powerbox to power and cool my ASI294 camera!v Just make sure the 12V power supply powering the PPB has enough Amps to cover all of the devices connected. (I use 12V/10Ah)
Hi Trevor
Is the USB hub powered by 12V cable from one of the Powerbox’ s output ports ?
Hi Trevor
Been following you for a while and have implemented many of your “tips” over the years. I purchased a Pegasus Pocket PowerBox and have loved it since. I have one (hopefully) simple question that I can’t find the answer to in any docs. The “Battery Level” indicator/percentage – what exactly is it measuring? Is it the amount of the battery power that’s being used? Or that’s “left”?
Graham
Can you please show how you connect your pegasus astro advanced box with your asiair plus? Which usb ports do you use on the powerbox and which usb ports do you use on the asiair plus? Which powerports do you use ont he powerbox and which power ports do you use on the asiair plus?
I have just purchased one of these only to find you do not get any power lead so unless you make your own you have to pay an extra £20-£60 for one for one of their recommended.