Astrophotography Processing Graphic
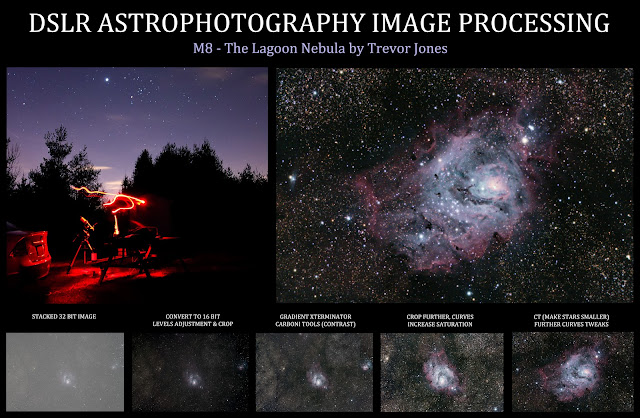
The following graphic provides an extremely basic break down of the steps that take place from a stacked image to a completed image.
In reality, there are about 50 steps (or more) involved when processing a deep-sky astrophotography image such as this. You can click on the image for a larger view.
Basic Processing of an Astro-Photo
I created a graphic showing the basic steps needed to turn a raw stack of images (light frames) into a final image. The image is of the incredible Lagoon Nebula in Sagittarius.
This was from data collected in July at the CCCA Observatory in Wellandport, Ontario. I wish I had framed the object better so I could have included M20 (The Trifid Nebula), oh well, next year.
For a more detailed deep-sky astrophotography processing tutorial, please take a look at the following resource: Deep-Sky Image Processing in Adobe Photoshop. This provides further detail into issues such as correcting gradients, reducing star bloat, and increasing the overall saturation of the image.
I also recommend the Astronomy Tools Action Set to help streamline many of the common procedures in Photoshop. Another invaluable tool for astrophotography image processing is Topaz DeNoise AI, a third-party plugin that does a great job of reducing noise in your images.
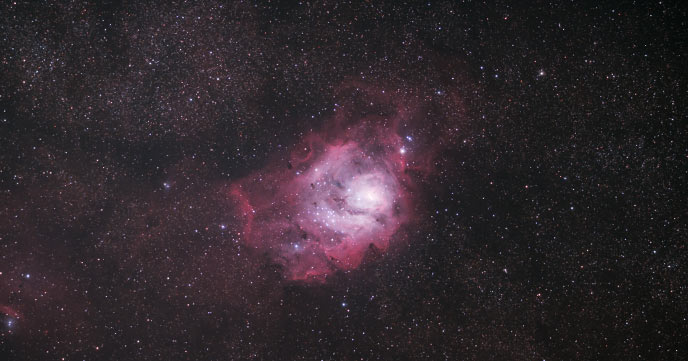
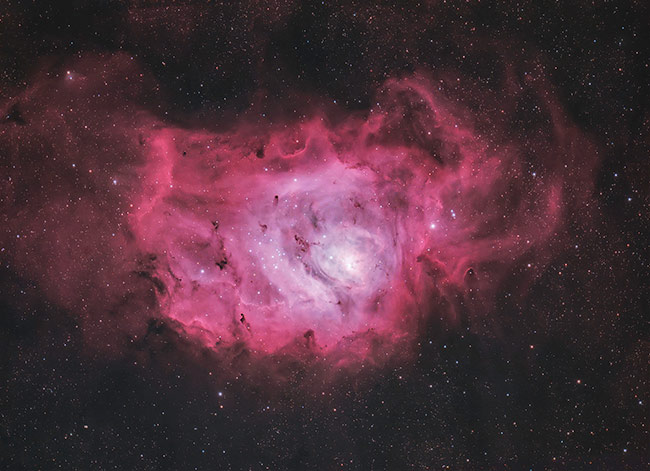
An updated image of the Lagoon Nebula captured using a one-shot-color dedicated astronomy camera.
Astrophotography Image Processing
Image processing involves many steps, from the first inspection of your light frames to final sharpening tweaks in Adobe Photoshop. I use DeepSkyStacker to integrate and calibrate my image data, and it continues to deliver excellent results.
This software provides me with a useful intermediate file that I can process further in applications like PixInsight and Adobe Photoshop. For a list of the astrophotography software I use, please visit the Resources page of this website.
I have created a premium image processing guide for those looking for a better understanding of the process from start to finish.
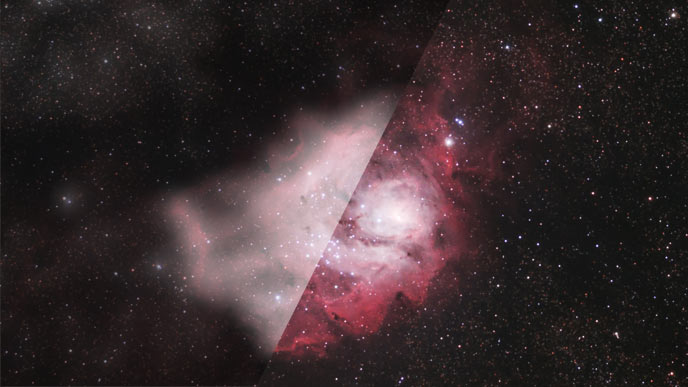
A sample of my premium astrophotography image processing guide.
Astrophotography image processing takes time to master, and your process will continuously evolve over time. Your personal image tastes will evolve as well. You may look at the images you processed many years ago and wonder “what was I thinking”.
I have experienced this many times over the years, and I find it interesting that one can see the same image and feel so different about it in a relatively short period of time. There is no “right way” to process an astrophotography image unless your goal is strictly scientific research.
Astrophotography is the marriage between art and science, and art is very subjective. I personally enjoy the artistic side of the hobby, and I am not afraid to experiment and have fun with it!
Helpful Resources:
- Get Started in Astrophotography: Beginner Astrophotography Guide
- Which Cameras Should You Buy for Astrophotography: Astrophotography Cameras
- Choosing a Telescope for Astrophotography: Best Telescopes For Astrophotography

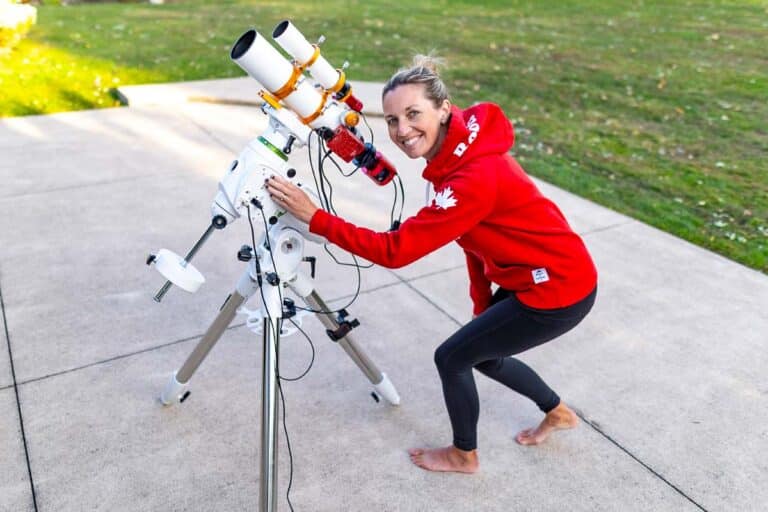


I thought I saw a Meade DSI attached to the finder scope..I assume for guiding purposes. Does the finder work well with that, and would it work well with the Orion Star Shooter Autoguider CCD?
Sorry for the delay in my reply! Yes it is a Meade DSI, but its not attached to a finder scope, its the Orion Mini 50mm Guidescope:
http://www.telescope.com/Orion-Mini-50mm-Guide-Scope/p/99607.uts?keyword=mini%2050mm
Works great a doesn't add a lot of weight.. plus its under $100!
Thanks. I just bout the ES ED80 triplet. Does the Orion mini guidescope attach easily to the OTA?