Forgotten Light Frames

While digging though some old folders on Adobe Bridge, I stumbled across some unprocessed, 300 second light frames of the Flaming Star Nebula from November 2013! When you are desperate to get out and image a new target, this is like hitting gold.
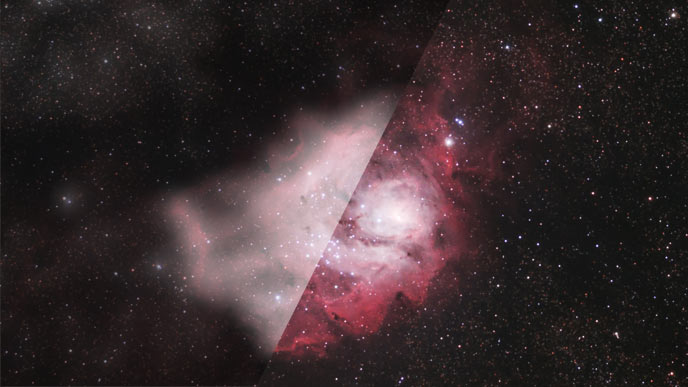
I was originally looking for my raw files of the Pacman Nebula, which I feel is in desperate need a new process. (Those stars look pretty rough) I found a folder labeled “Flaming Star – 5 Min Lights”. I never processed this image! The Flaming Star Nebula is a colorful collection of glowing gas and dust lit up by the bright star AE Aurigae.
The tough part about this process will be the limited exposure time. 1 hour of data is really not ideal for a quality astrophotography image. I find that out the hard way below:
IC 405 – The Flaming Star Nebula
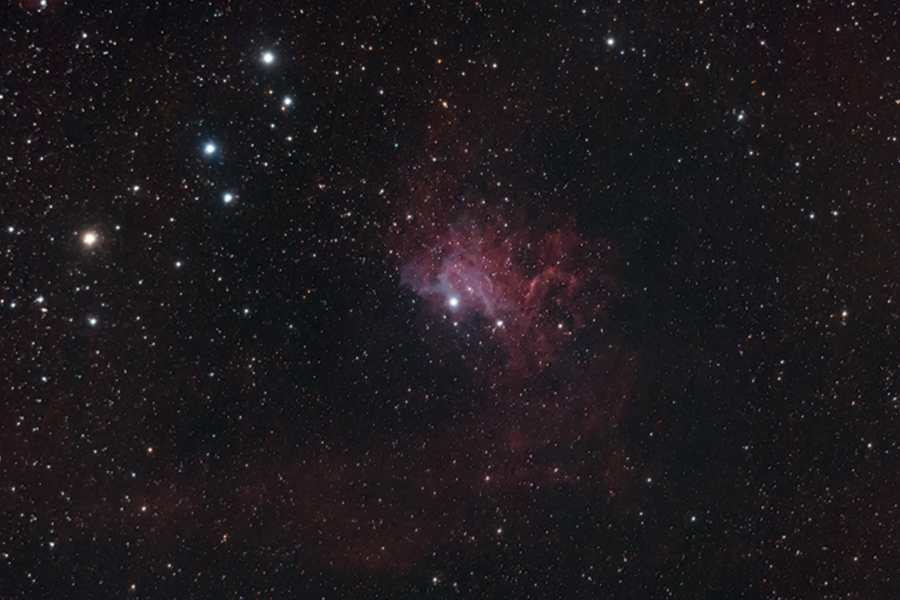
Photo Details
Photographed on: November 29, 2013
Guided with PHD Guiding
Stacked in Deep Sky Stacker
Processed in Adobe Photoshop CC
This image was acquired using Canon EOS Utilities, and not BackyardEOS as I use now. This was photo was also shot before I modified my Canon 450D for astrophotography.
Now you might be thinking “how could you spend hours imaging a nebula and forget to process it?” It’s simple – life is busy! I likely had a busy week following the imaging session and began I new session before I even looked at the precious data collected on that cold November night. I don’t see any dark frames to support the image.
This may have been another reason I held off. I bet that I wanted to take 5-minute darks of the same temperature before stacking but never got around to it. This could be a problem.
But first, let’s get this cleared up
This is budget Astrophotography. Most of my gear was purchased used from online forums and astronomy classifieds. The total value of the equipment used to photograph this nebula was purchased for under $3,000. It’s not top-of-the line gear by any stretch of the imagination. My astrophotography image processing skills were self-taught. I am no scientist, that’s for sure. Just like you, I have a strong desire to capture beautiful images of the night sky. I always appreciate constructive criticism and enjoy helping others learn through my mistakes.
Stacking without Dark Frames?
First of all, I’ll have to use dark frames from a different night to stack with the Flaming Star light frames. This means that it is very important to match the temperature of my light frames from that night of imaging.
I have done a poor job of creating a master dark library, so finding matching dark’s may be tough. I usually try to record the temperature of my dark frames in the file folder, for this very situation. There are external software applications available that can help create a dark frame library, such as Dark Library.
I remember using this years ago, but their website appears to be down right now. I will use the 5-minute dark frames from my Pacman Nebula image taken earlier that month, labeled “4 degrees“.
Another option is to just stack the light frames without any darks. I’ll try both and compare the two.
Here is the version stacked with no dark frames:
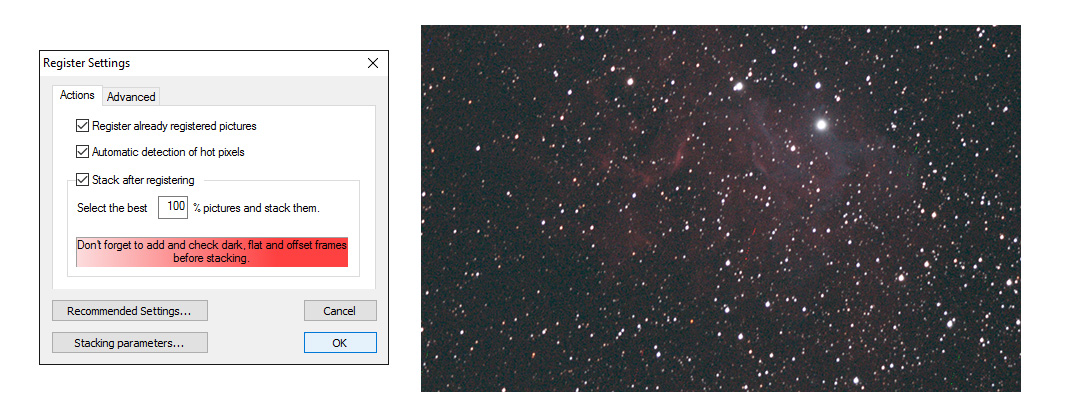
Here is the version using dark frames from a previous night:
As you can see, stacking with the dark frames produced a better result. Even though the temperature of dark frames did not match perfectly, the dark frames removed some of the dead pixels and noise from the image. Notice the red streak of dead pixels on the “no-darks” version. All of these imperfections would become intensified after processing!
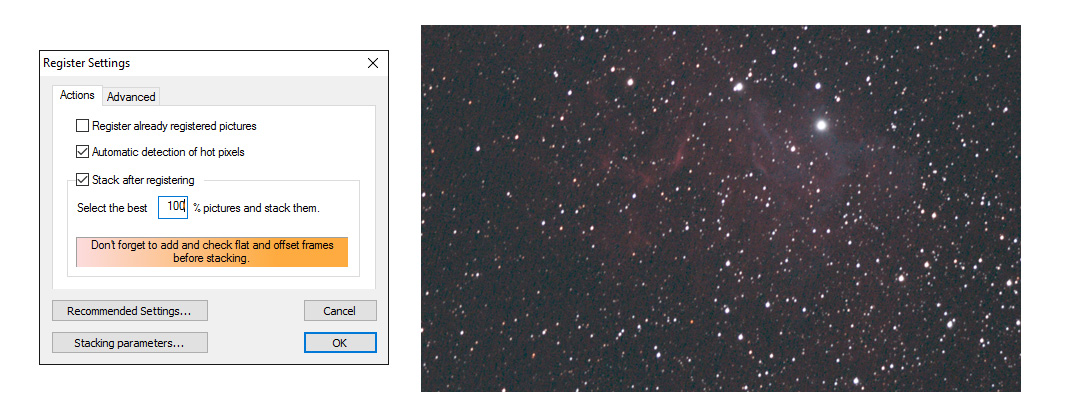
I performed a few basic edits to the examples above to have a better look at the differences. (Levels, Gradient Xterminator, and Curves) Now that we have registered and stacked our 1 hour’s worth of data, let’s start stretching the data in Photoshop.
How to take proper Dark Frames for Deep Sky Stacker
The answer to this and more in the FAQ section
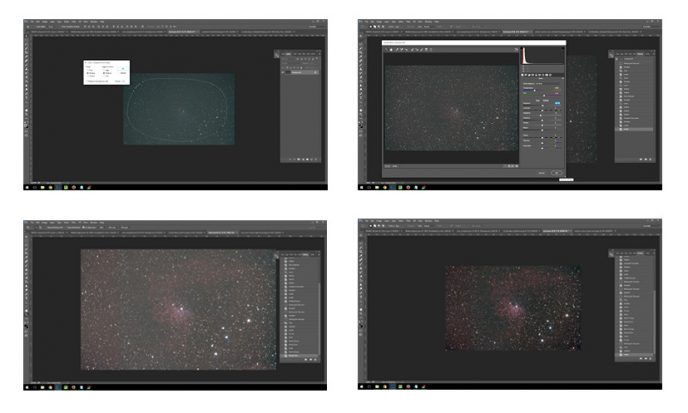
Processing the Image in Photoshop
If you have followed any of my astrophotography tutorials on my website, or video tutorials on YouTube, you already know the basics of my processing workflow. This process has evolved over the years as I learn new tricks. However, processing the Flaming Star Nebula was particularly tough because of the limited exposure time on the subject.
Add in the fact that this nebula is quite faint, with many bright stars surrounding it, and you’ve got an astrophotography challenge for even the most experienced astrophotographer.
Quick Astrophotography Tip
Try to frame your deep-sky object in an interesting way. Include nearby star clusters, nebulae, or galaxies. For inspiration, search for your target on APOD, and see how the professionals have framed the object. This may spark your creativity to photograph an existing target in a different way.
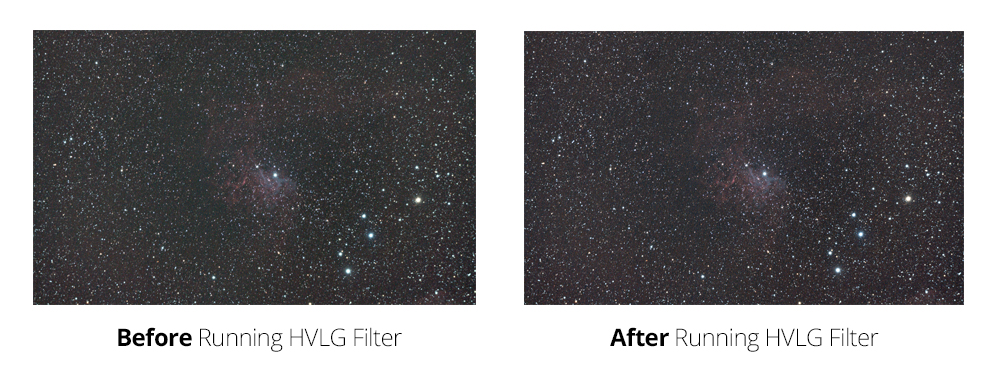
HLVG – Green Noise Remover
The entire image had a noticeable green cast over it, perhaps because of the extreme amount of noise, or the miss-matched dark frames. I ran Deep Sky Colors HLVG on medium, which helped a lot. HLVG was created by Rogelio Bernal Andreo of RBA Premium Astrophotography.
It is a chromatic noise reduction tool that attempts to remove green noise and the green casts this noise may cause in your astrophotography image. It is based on PixInsight’s SCNR Average Neutral algorithm. If you don’t already have this useful filter for Photoshop, I highly recommend it, it’s free! You can download the plugin here:
Results and Thoughts
I must admit, this post became a bit of a nightmare. I began to document my processing steps one by one, taking screenshots of progress along the way. I wanted to provide a detailed tutorial of how I turned this forgotten data into a masterpiece, despite having no associated dark frames, and only an hour’s worth of exposure time. As I experimented using different methods of noise reduction, and various orders of operations, I became very discouraged with my final image results.
I spent hours taking different roads with all of my trusted astrophotography tools at my disposal, and the results continued to be unimpressive. By adjusting the curves enough to show any substantial detail on the nebula, I introduced a frightening amount of noise into the background space. No amount of noise reduction could remove it, without turning the entire image into a blurry mess.
I just couldn’t bring myself to post a tutorial with the end result turning out as it did. So I scrapped the idea and settled for a forgettable image of the Flaming Star Nebula. Surely this gorgeous nebula that spans 5 light-years across deserves more than that.
At the end of the day:
No amount of processing can make up for lack of exposure time!
I guess you could say I was doomed from the start. I am not going to spend any more time on this image until I am able to capture at least another 2 hours of data on it. I hope you can learn from my experiences in astrophotography, in both victories and failures. But I guess that’s why you’re here 🙂 Please follow AstroBackyard on Facebook for the latest updates.