Understanding Image Scale in Astrophotography
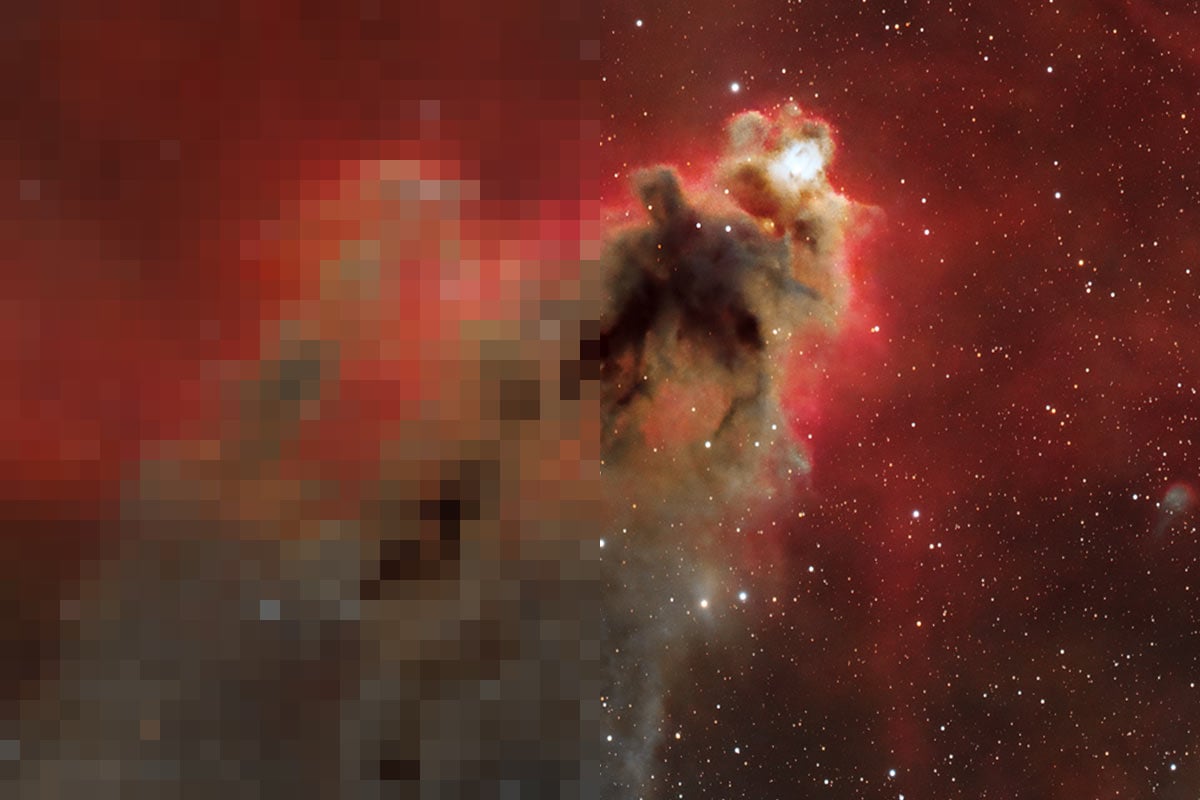
Image scale is one of the most important (and most misunderstood) concepts in deep-sky astrophotography.
If you’re choosing a new camera or telescope, understanding this single number can help you avoid costly mistakes and dramatically improve your results.
Image scale describes how much sky each pixel on your camera captures, measured in arcseconds per pixel. In simple terms, it tells you how “zoomed in” your imaging system really is.
While achieving the image scale ‘sweet spot’ is ideal, the formula is more of a rough recommendation than a strict guideline.
The Image Scale Formula
The formula to calculate image scale is straightforward: 206 multiplied by your camera’s pixel size in microns, divided by your telescope’s focal length in millimeters. That constant simply converts radians into arcseconds.
For example, a camera with 3.76-micron pixels on an 800mm telescope produces an image scale of about 0.97 arcseconds per pixel. That means each pixel records just under one arcsecond of sky.
This number matters because it determines how well your system captures fine detail relative to atmospheric seeing conditions. It also affects guiding difficulty, noise levels, and overall image sharpness.
Use The Calculator
You can use my image scale calculator to see what your image scale will be with your specific camera and telescope combination.
Enter your camera pixel size (µm) and telescope focal length (mm) to calculate your image scale in arcseconds per pixel.

Why It Matters for Astrophotography
In most backyard locations, atmospheric seeing typically blurs detail to around 2 to 3 arcseconds. If your image scale is significantly smaller than that, you may be oversampling and gaining little real resolution.
Oversampling occurs when your image scale is very small, such as 0.5 arcseconds per pixel under average seeing. While it sounds impressive, it spreads blurred detail across more pixels and increases demands on guiding and tracking accuracy.
Undersampling happens when your image scale is large, perhaps 2.5 arcseconds per pixel or more. This can make stars appear blocky and reduce fine detail, although it does make guiding easier and improves signal strength per pixel.
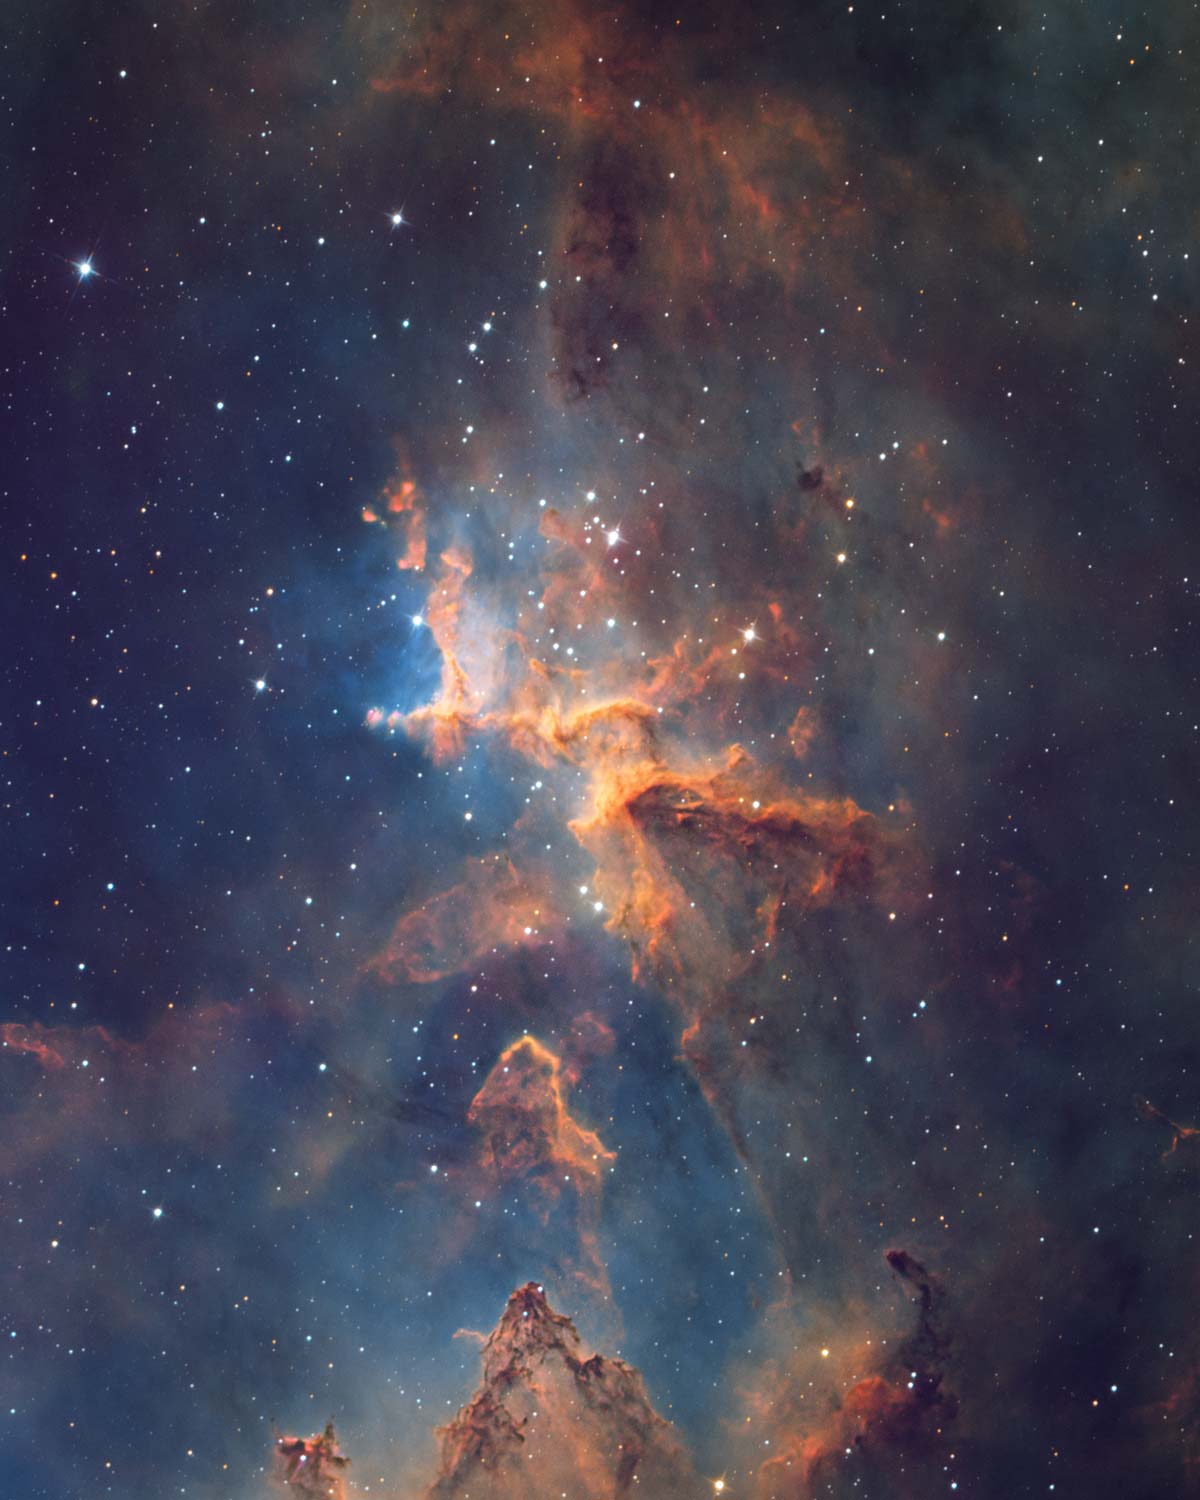
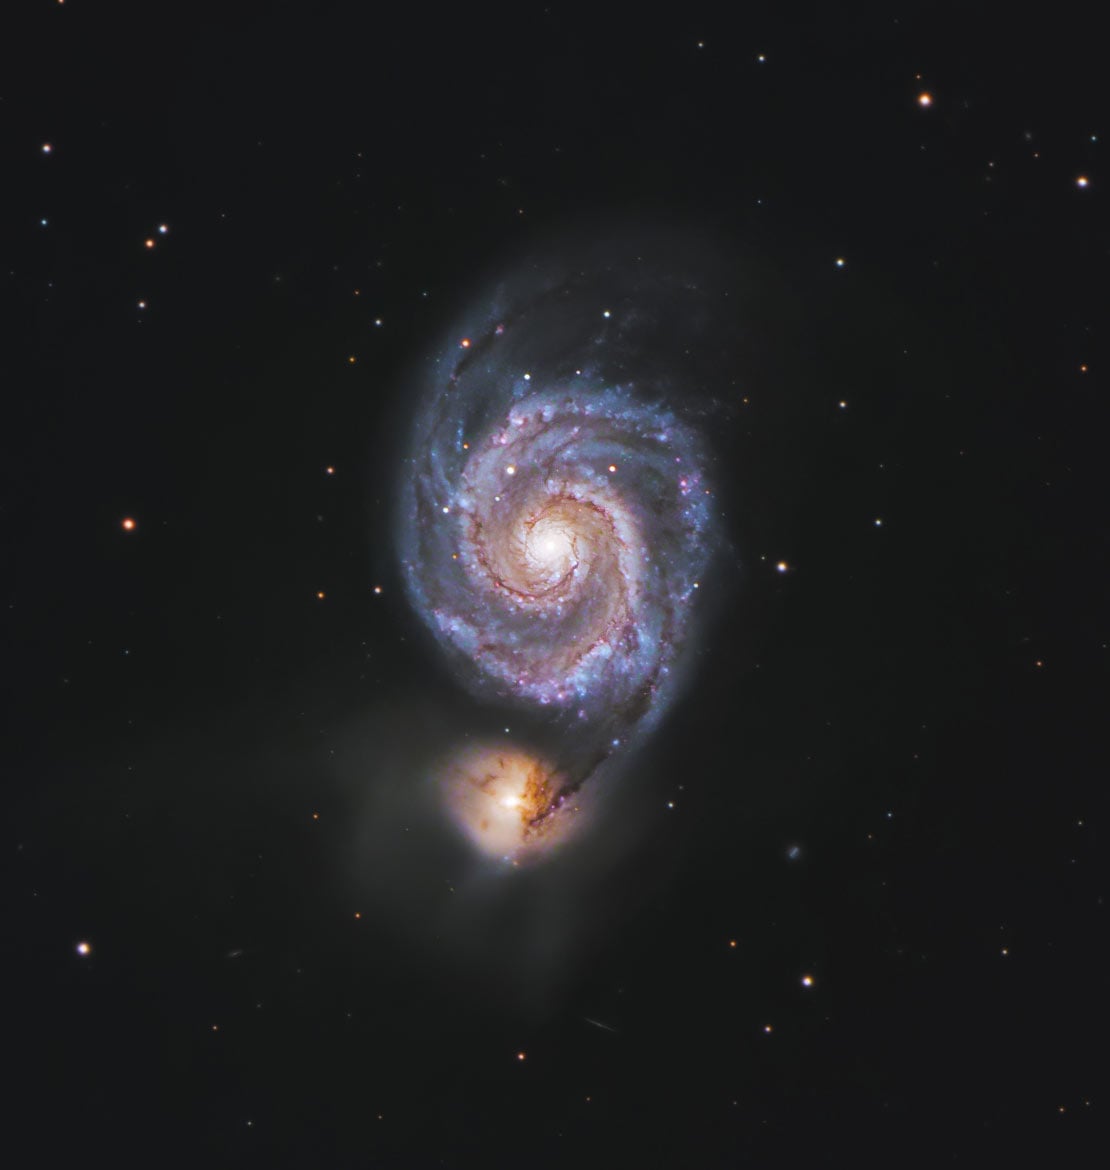
The image scale is roughly 1 arcsecond per pixel in this image. For my skies, this is a great match. (Apertura CarbonStar 200 + ZWO ASI2600MM Pro)
The Sweet Spot
Most deep-sky astrophotographers find a practical sweet spot between 1 and 2 arcseconds per pixel. This range balances resolution, guiding tolerance, and typical atmospheric conditions for many backyard imaging setups.
A common mistake is assuming that more focal length automatically means more detail. In reality, if your seeing conditions cannot support the tighter image scale, you are simply magnifying blur.
Image scale should influence every equipment decision, especially when pairing a camera with a telescope. A small change in pixel size can significantly alter your sampling, even if the focal length remains the same.

An example of the star shape in my ZWO ASI585MC Air setup with an image scale of 2.4 arcsec/pixel.
Telescope manufacturers know the importance of image scale, and offer telescopes that match the most popular camera sensors on the market. For example, the Seestar S50 smart telescope uses 250mm focal length optics with a 2.9 micron pixel camera (IMX462), resulting in an image scale of 2.36.
Things to Keep in Mind
Before upgrading gear, consider your mount’s tracking accuracy and your local seeing conditions. A well-matched system often outperforms a technically higher-resolution setup that exceeds what your environment can support.
Many capture programs and field-of-view calculators automatically display image scale, making it easy to test combinations before buying new equipment. Taking a few minutes to run the numbers can save years of frustration.
Ultimately, image scale is about balance rather than chasing the smallest number possible. When your camera, telescope, mount, and sky conditions are properly matched, your images improve in a meaningful and noticeable way.
In my experience, sampling becomes much more noticeable when photographing small galaxies or planets at longer focal lengths. Large nebulae regions are often more forgiving (unless you're a pixel-peeper).
Undersampled Images (Crunchy)
An undersampled image often looks slightly blocky, especially when you zoom in to inspect the stars. Instead of tight, well-defined star profiles, you may notice square or chunky stars caused by each pixel covering a relatively large portion of the sky.
Fine detail in small galaxies or tight nebular structures can appear smeared or simplified. When processing an undersampled image, be cautious with aggressive sharpening or deconvolution (such as BlurXTerminator), as it can quickly introduce artifacts and unnatural edges.
Gentle noise reduction and restrained contrast adjustments usually produce better results, allowing the data to look natural rather than over-processed or artificially crisp.
An example of a slightly undersampled image using ZWO Seestrar S30 Pro (3.73 arcsec/pixel).
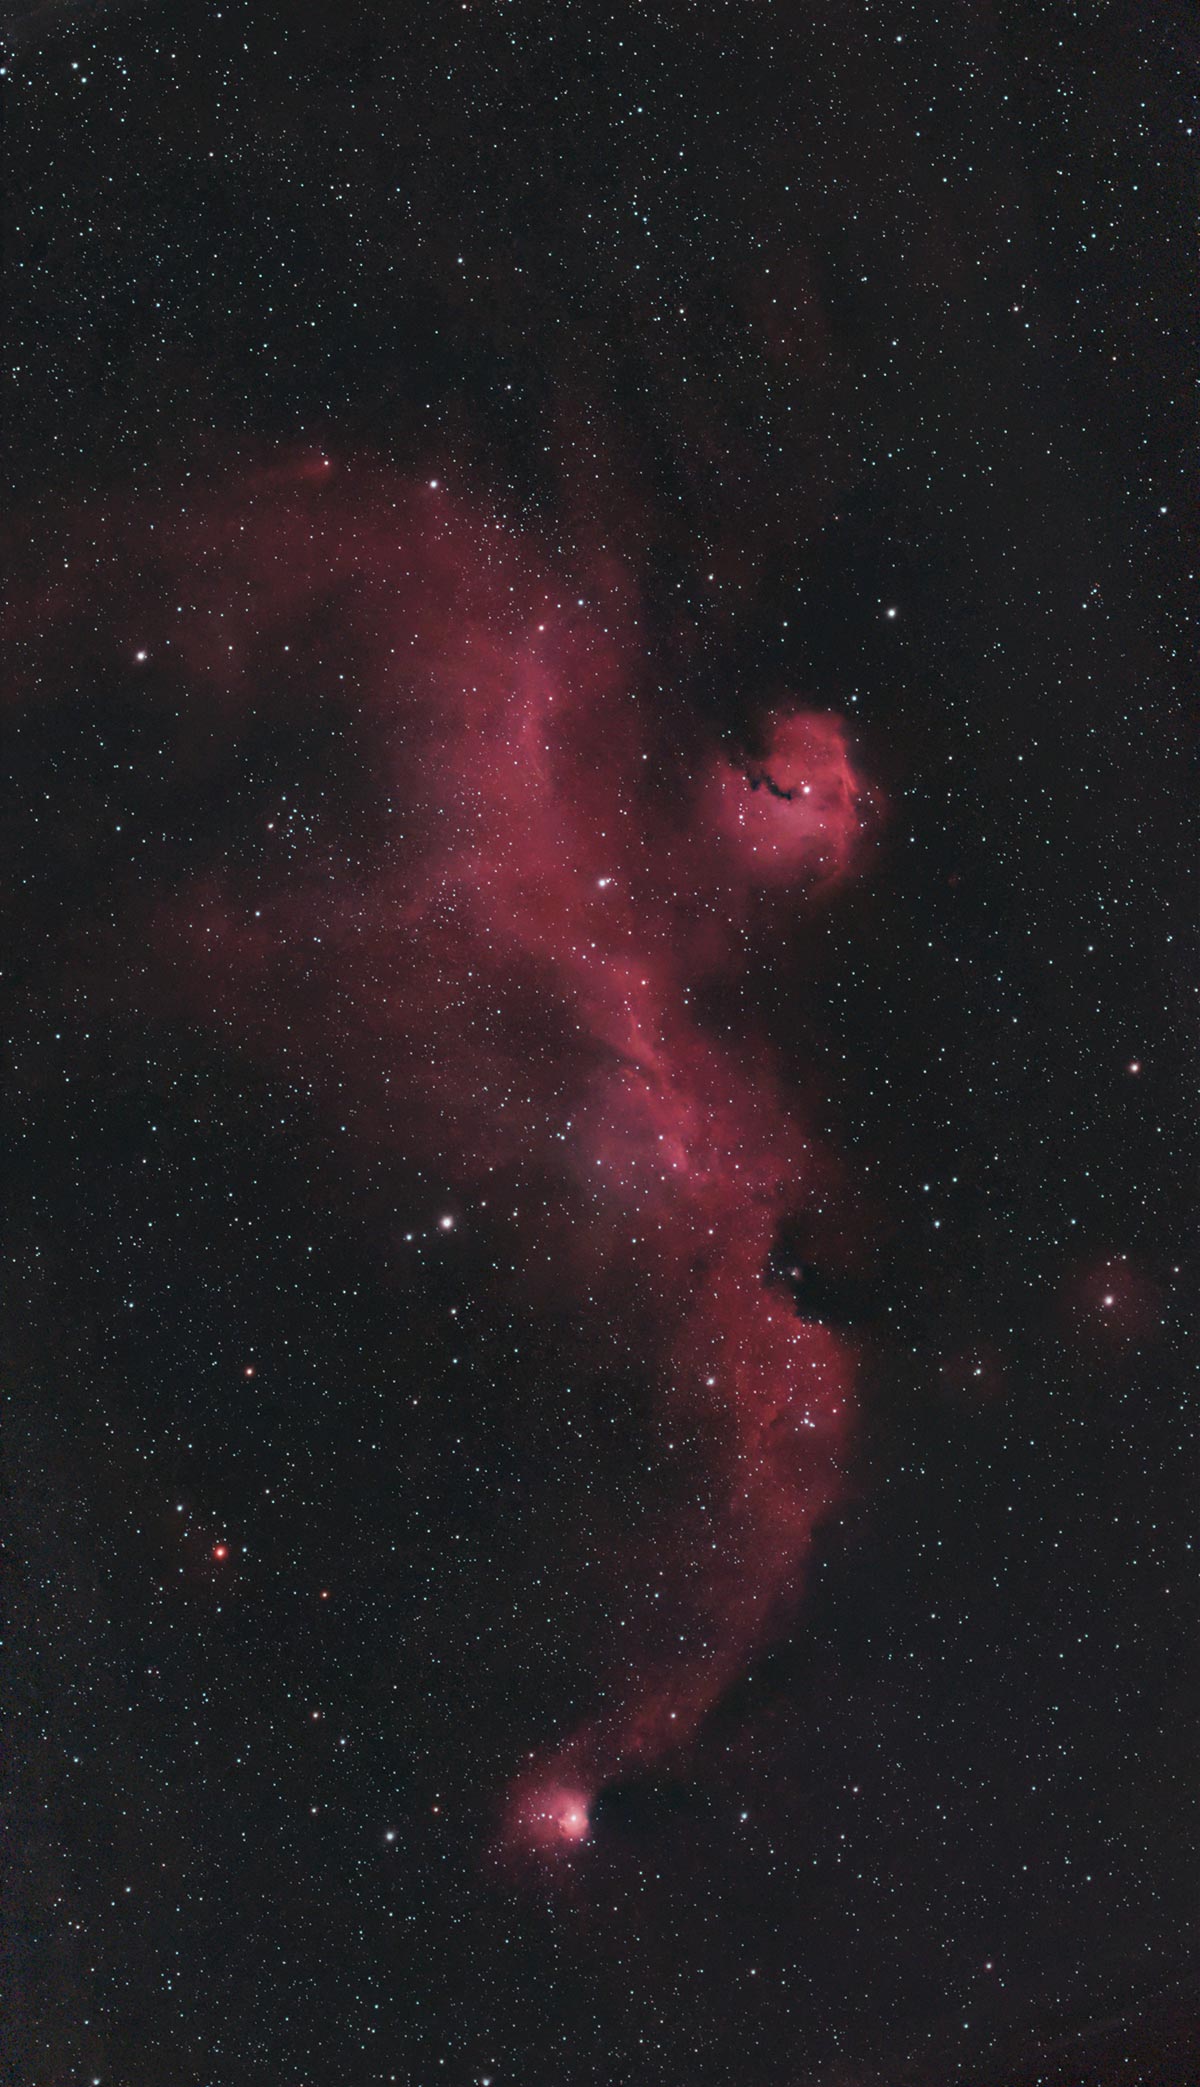
Oversampled Images (Soft)
An oversampled image often looks very smooth at first glance, with round, well-defined stars and no obvious pixelation when zoomed in.
However, it may appear slightly soft overall because fine detail is spread across many small pixels, reducing signal strength per pixel. This can make the image look noisier at the pixel level and require longer integration to achieve a strong signal-to-noise ratio.
When processing an oversampled image, avoid excessive sharpening, which can emphasize noise and create harsh star edges.
Careful noise reduction, moderate contrast adjustments, and thoughtful resampling during final export can help maintain a clean, natural appearance.
An example of a slightly oversampled image using a Starlight Xpress Trius 694 CCD Camera (0.89 arcsec/pixel).
Binning
Binning directly changes your effective image scale by combining adjacent pixels into one larger “super pixel.”
For example, 2×2 binning doubles your pixel size, which doubles your arcseconds per pixel and effectively makes your system less zoomed in.
This increases signal strength per pixel and can improve signal-to-noise ratio, especially in low-light situations. However, it also reduces spatial resolution because fine detail is averaged together.
In practice, binning can help tame oversampled systems by bringing the image scale closer to local seeing conditions, but it cannot recover detail lost from an originally undersampled setup.

For reference, I never use Bin 2x2 when capturing my deep-sky images. I always prefer to have the full-resolution (Bin 1x1) image for further processing, while others have had success with binning in certain scenarios.
Image Scale Example Setup
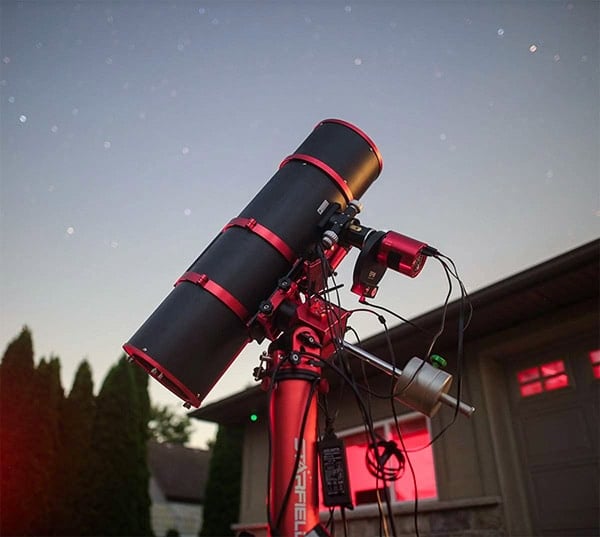
Camera: ZWO ASI2600MM Pro (3.76µm pixel size)
Telescope: Apetura CarbonStar 200 (800mm focal length)
Formula:
206 × Pixel Size (µm) ÷ Focal Length (mm)
Calculation:
206 × 3.76 ÷ 800 = 0.97 arcseconds per pixel
What this means: Each pixel captures just under one arcsecond of sky — a well-balanced image scale for many backyard locations with average seeing around 2–3 arcseconds.
Over-Sample When Capturing Planets
In solar system astrophotography, sampling becomes even more critical because you are working at very long focal lengths and capturing extremely fine detail during brief moments of steady seeing.
Undersampling can cause planetary features like cloud bands on Jupiter or surface detail on Mars to look soft and lack definition, limiting what stacking and sharpening can recover.
Oversampling, on the other hand, spreads limited photons across too many pixels, increasing noise and reducing frame rates, which are essential for lucky imaging.
Most planetary imagers intentionally aim for slight oversampling to maximize detail, but only within the limits of seeing and camera sensitivity.

My photo of the planet Saturn using a ZWO ASI585MC planetary camera on a 1350mm focal length telescope (0.4 arcsec/pixel)
Note on the Image Scale Formula
For simplicity, I’ve rounded the constant down to 206 in the examples above. The more precise value is 206.265, which you can use if you want maximum mathematical accuracy.
In practical astrophotography terms, the difference is negligible and will not meaningfully affect your results.

Trevor Jones is an astrophotographer and a valued member of the RASC. His passion is inspiring others to start their astrophotography journey on YouTube so they can enjoy the night sky as much as he does. His images can be seen in astronomy books & online publications, including the NASA Astronomy Picture of the Day.
Related Content: