Choosing a Star Tracker for Astrophotography (My Top Choice in 2026)
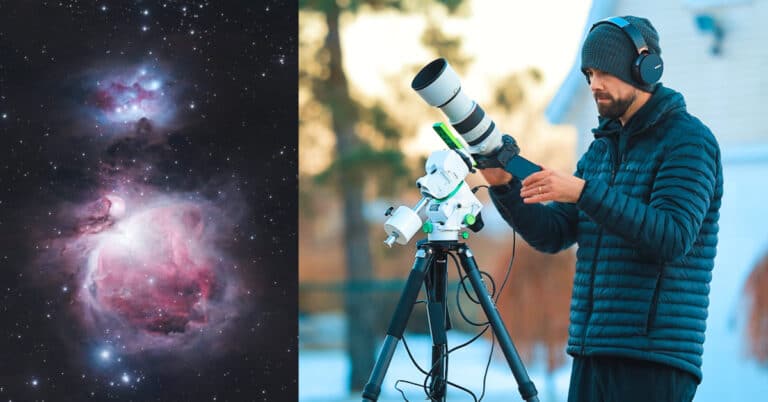
Updated January 9, 2026 A star tracker is a portable tracking camera mount designed for astrophotography. The device ‘tracks’ the motion of the stars to allow you to take long exposure images of space without star-trailing. These devices are commonly used with a DSLR/Mirrorless camera and lens, or even a small astronomical telescope. Recent models…