See the Orion Nebula Tonight with These Tips
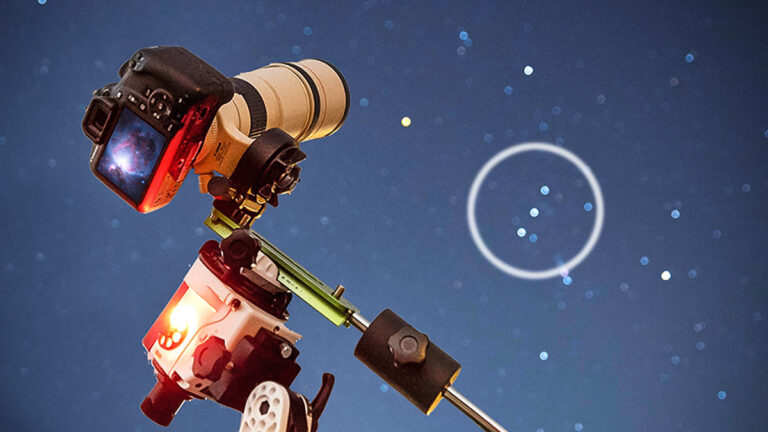
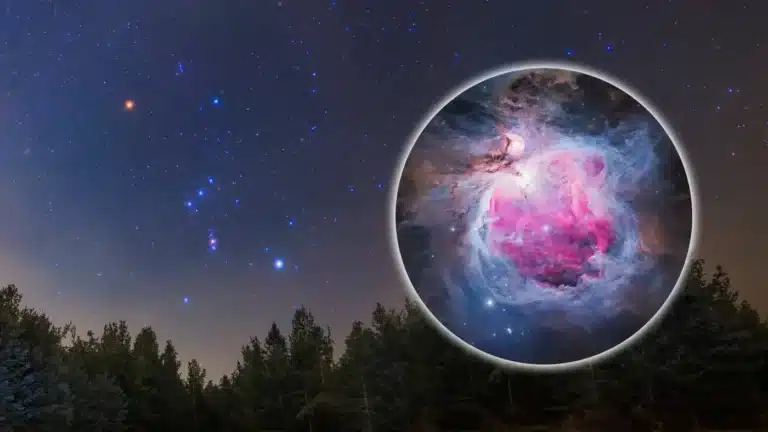
November is a great month to see the Orion Nebula from your backyard, and you do not need a telescope to see it. To see the nebula, look just below Orion’s Belt, the 3 bright stars in a line rising on the eastern horizon around midnight. The Orion Nebula is located in ‘Orion’s Sword’, a…