Summer in the AstroBackyard
This is one summer that I will never forget. The addition of my new telescope, the growth of AstroBackyard and the explosion of my YouTube channel has given me an astronomical boost in motivation and passion for astrophotography. This has not come without hard work, it has been extremely busy in terms of both astrophotography and my day job. The common sacrifice between the two has been sleep, of course. The battle between day and night is a struggle astrophotographers know all too well. I take comfort in the fact that the winter season will have many cloudy nights that will force me to catch up on my sleep, and maintain a healthier lifestyle balance.
How hard did you go this summer? Did you opt for sleep instead of imaging time? Let me know on Facebook
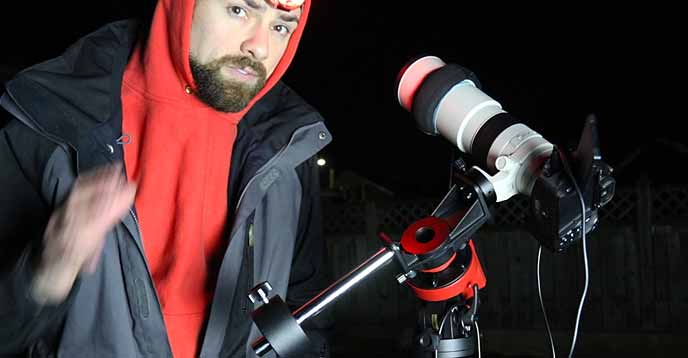
Astrophotographers are not normal!
I recently created a short “trailer” for the AstroBackyard YouTube Channel:
AstroBackyard on YouTube
The social following from this blog and my youtube channel have added another level of pressure to regularly produce quality astronomical images. This is a huge motivator for me, and a challenge I am honored to have in my life. The AstroBackyard following has already grown much faster than I anticipated. I have big plans for the future of this venture.
New Photo: The Trifid Nebula
Deep-Sky Nebula in Sagittarius
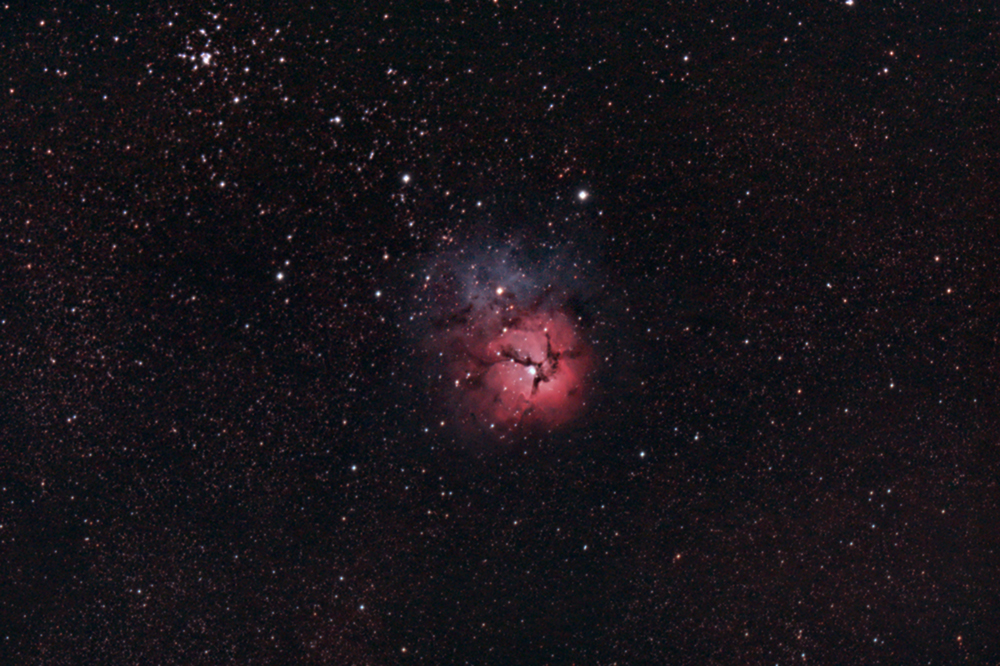
Messier 20 is one of my all-time very deep-sky objects. I remember one of the very first times I saw an image of the Trifid Nebula in a book called: The Practical Astronomer by Will Gater. The dynamic color combination of blues and pinks had me looking into astrophotography equipment so I could capture it for myself. I realized that dream in April of 2013, and have continued to soak camera time on it ever since. The image above was achieved by shooting over 3 separate nights in early August. Complete photo details below:
M20 – The Trifid Nebula
Photographed on: August 2, 3, 8, 2016
Total Exposure Time: 2 Hours, 54 Minutes (58 x 3 Minute Subs @ ISO 1600)
Mount: Sky-Watcher HEQ-5 Pro
Camera: Stock Canon Xsi
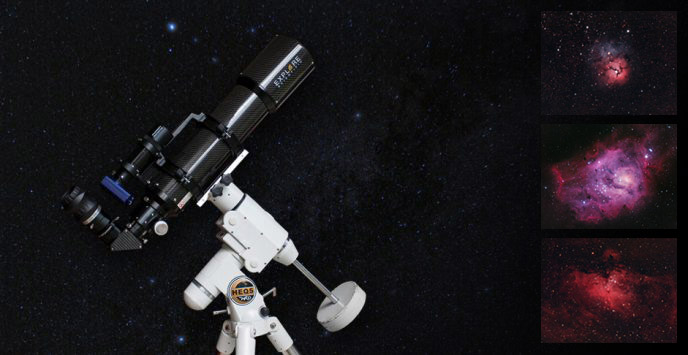
Telescope: Explore Scientific ED102 CF
Guided with PHD Guiding
Stacked in Deep Sky Stacker
Processed in Adobe Photoshop CC

I documented my night under the stars for my third and final installment on the Trifid Nebula in video form. The video discusses the specifications of my new Explore Scientific ED 102 CF, the Field-Flattener I use, and some simple tips for backyard astrophotography. Thank you to the (now over) 1000 subscribers to the AstroBackyard YouTube Channel!
New Photo: The Summer Triangle
Wide-Field Image with Tracking and Autoguiding
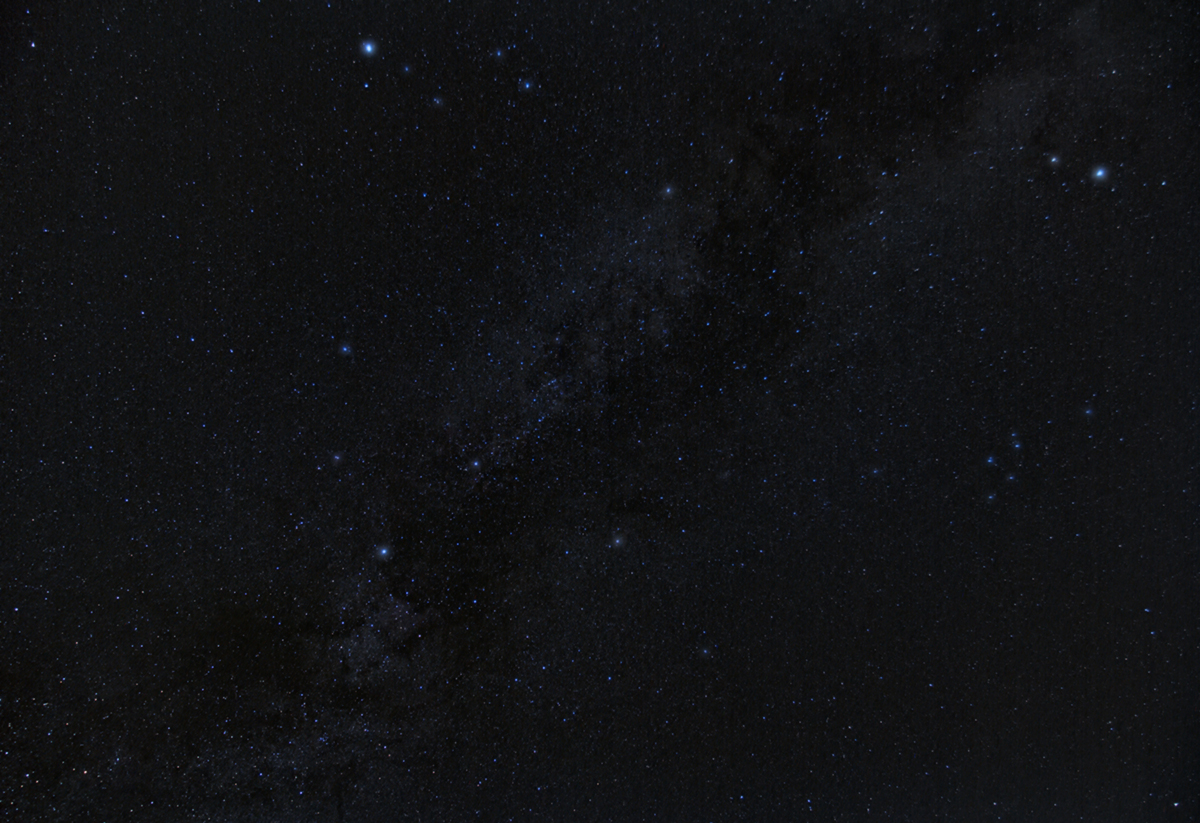
This was a very exciting experiment was finally actualized the night of August 2nd, 2016. I have always loved wide field camera lens astrophotography. Whether it’s a constellation full of stars with hints of nebulosity through a 14mm lens, or a complete portrait of the North America Nebula shot with a 200mm; camera lens astrophotography is responsible for some of the greatest images ever taken.
I mainly shoot deep-sky astrophotography through my 102mm Apo Refractor, with a focal length of 702mm. This is a great distance to photograph many deep-sky objects. It fits the entire object in the frame, yet is close enough to reveal some solid detail. However, this is far too “deep” for a number of large nebulous regions and star clusters. In instances like this, a camera lens anywhere from 50mm – 300mm will execute your plan better than any telescope. That’s great news for anyone who already owns a lens or two!
Here’s the catch. You need 2 things to produce long exposure astrophotography images with no star trails:
1. A tracking mount
A German equatorial mount will allow you to capture a much longer exposure without star trails. Your camera can then pick up deep-sky objects such as nebulae and galaxies.
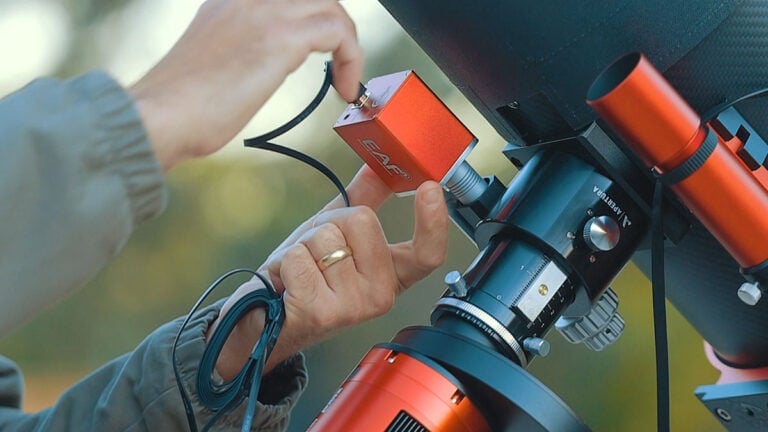
2. External camera control
You will need to take exposures longer than the 30-second maximum your DSLR will take on its own. (Without holding the shutter button down!) A camera remote or laptop comtrol will allow you to choose exposure length, and automate the process. Autoguiding will create an even better image. However, you may be able to get away with 1-2 minute exposures without it – depending on your mount.
An astrotrac or iOptron sky tracker was meant for moments like this. Not only to they simplify the polar alignment process and accurately track the sky, but they are MUCH lighter and more transportable than a full-blown GEM. If I ever plan on diving into travel astrophotography (I do!) I will certainly invest in one of these ingenious devices.
Back to my Experiment…
I used BackyardEOS to automate my imaging session:
Camera: Canon EOS 7D
Mode: Bulb
ISO: 800
Exposure: 120 seconds
Dithering: Enabled
I ended up taking about 15 x 120-second exposures at ISO 800. I also shot a few dark frames after my session, so I could stack the images into Deep Sky Stacker for a better SNR (Signal to noise ratio)
[adrotate banner=”49″]
I often tweet during my imaging sessions:
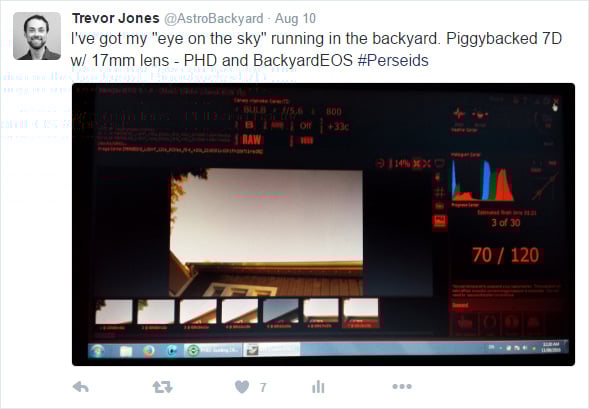
Results from the 2016 Perseid Meteor Shower
The weather was a bit iffy the week of the Perseid Meteor Shower (August 8-12). The skies were clear the night before the peak (August 10th) so I took a shot at capturing some decent meteors on that night. When thundershowers are in the forecast, I am weary of setting up my astrophotography equipment, even if the conditions are currently clear!
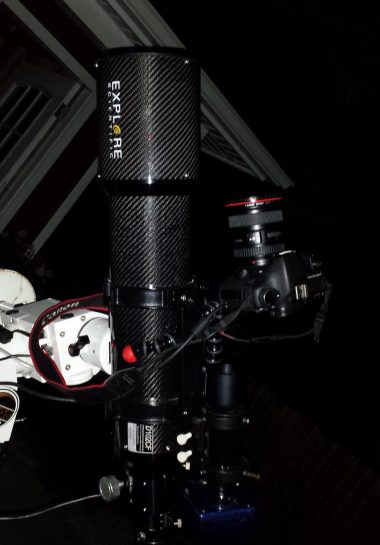
I piggybacked my Canon 7D onto my telescope using a gorilla pod as per my previous session so that I could have a wide-field eye on the sky. I pointed my wide-angle camera lens (Canon EF 17-40mm f/4L) towards the constellation Perseus over my house. This arrangement worked extremely well. I was able to capture sharp images that revealed an impressive amount of detail of this area of the sky by taking 2-minute exposures.

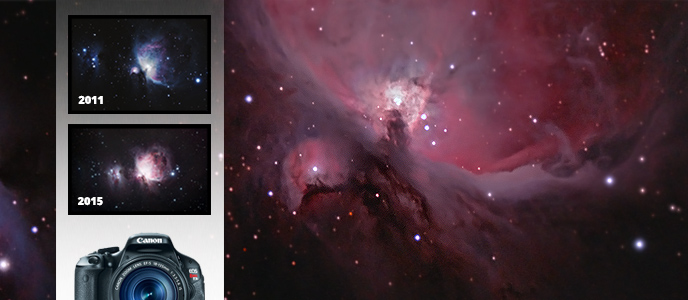
What’s Next?
I have realized that my current DSLR camera is holding back my astrophotography. Despite the fact that my Canon Rebel Xsi is modified for astrophotography, I think I would be better off with a newer unmodified, stock Canon camera. I have my eye on a used Canon T3i camera. This will give me much better noise performance, increased ISO capabilities, and a higher resolution than my ancient 450D’s 12.2 megapixels. Yes, a full-frame Canon 6D would really take my images to the next level, but that is a much bigger investment than the reasonable cost of a used Canon T3i DSLR. (Under $500!) I can then modify this camera for astrophotography myself using the tutorial by Gary Honis.
