Delta Aquarid Meteor Shower 2016
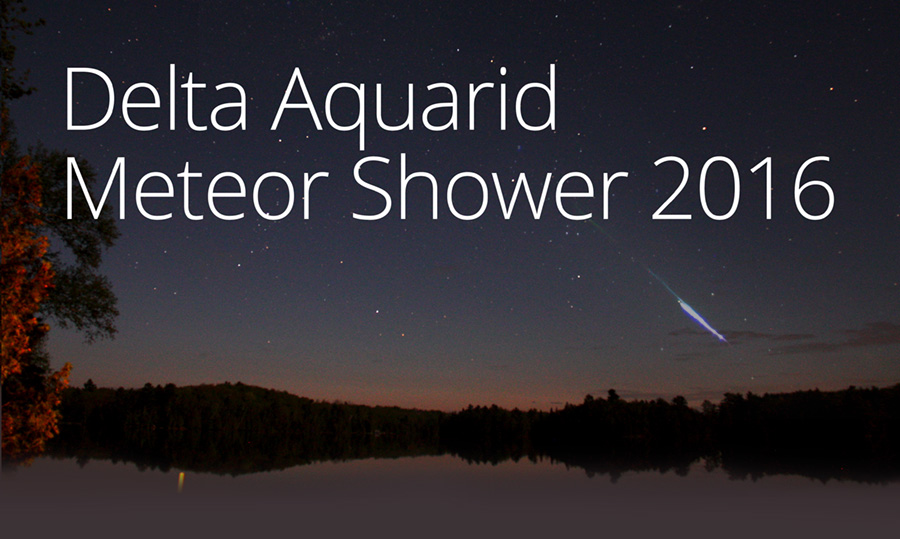
The Delta Aquarid meteor shower is heading towards it’s peak at the end of this month. But let me make one thing clear right away, this is not going to be a dazzling show of constant meteors that light up the night sky. This meteor shower is not known to be a great performer, although these celestial events have been known to be somewhat unpredictable. July 28th and 29th offer the best chance at catching a few “fireballs” in the night sky. The Delta Aquarid meteor shower begins on July 12, and runs until August 23rd. If you are watching the Perseid Meteor Shower in early August (peaking August 11, 12), you may see a few Delta Aquarids then as well. This meteor shower can produce up to 20 meteors per hour at it’s peak, as the debris from comets Marsden and Kracht enter our atmosphere.
Expect between 10-20 meteors per hour under dark skies, away from city light pollution.
Moon vs. Meteor Showers
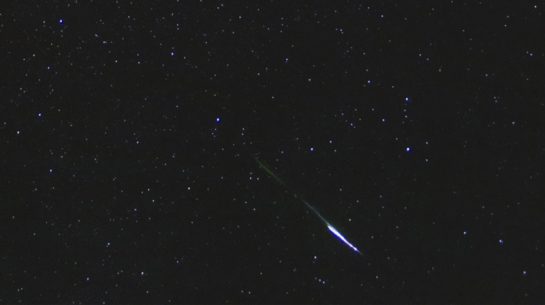
Just like the moon washes out the stars and deep-sky objects during astrophotography, the moon also hides the dim meteors produced from the Delta Aquarid meteor shower, and the others. This year, the moon will be in it’s waning crescent phase during the peak time for this meteor shower. The best time to view the Delta Aquarid meteor shower is after around midnight on Thursday, July 28th into the morning of the 29th. If you are in the city, you may only see 1 or 2 meteors per hour. If you are blessed with darker skies away from light pollution, you can expect to see as many as 10-20 per hour.
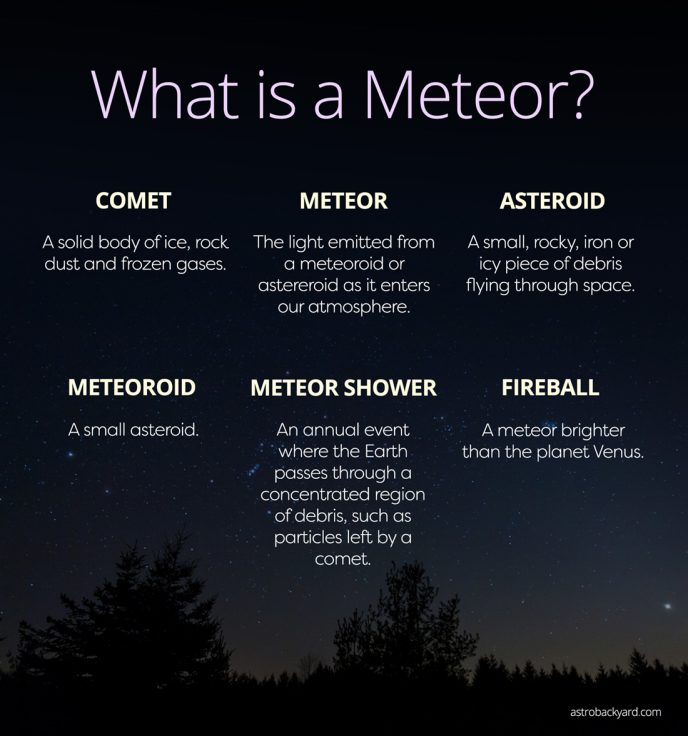
Meteor Definition (Graphic)
There seems to be some misunderstanding when it comes to what a meteor actually is, and what you are actually seeing during a meteor shower. Please see the definition of a meteor in the simple graphic below:
Photographing the Delta Aquarid meteor shower
The best way to find the radiant point for this meteor shower is to find the bright star, Fomalhaut. Moving North from Fomalhaut, look for the star named Skat, or Delta Aquarii. This is the radiant point for the Delta Aquarids, and where you will want to aim your camera lens. A planetarium app for your phone will make the whole process a lot easier! I prefer to use Stellarium for my Android Galaxy phone. This is especially helpful because you can hold your phone up the sky from your desired location (In my case the backyard) and make sure that your camera has a clear view of the radiant point. By moving your phone around in the air, you can get a clear picture of the other elements you would like to include/exclude from the shot.
Observing this Meteor Shower in the Northern hemisphere
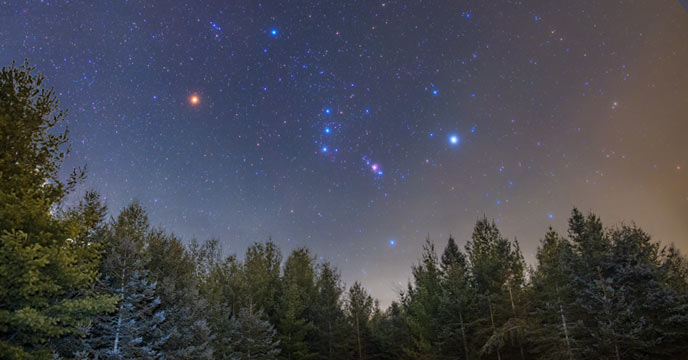
From my latitude in Ontario, Canada, the radiant point is below the horizon. This means that I will set my sights low to the horizon in the direction of this meteor shower. It is still possible to see many meteors over the course of a night from mid-northern latitudes. If Fomalhaut is below the horizon, I would focus on the area of sky consisting of the constellations Pegasus and Aquarius. This is where you are most likely to see a Delta Aquarid meteor.
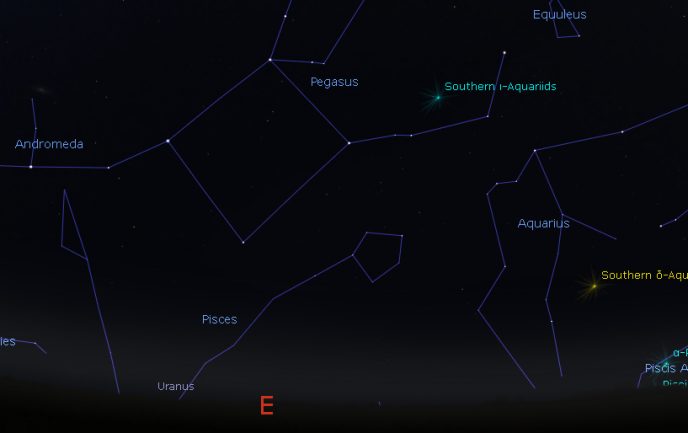
The radiant point for the Delta Aquarids is the star “Skat”
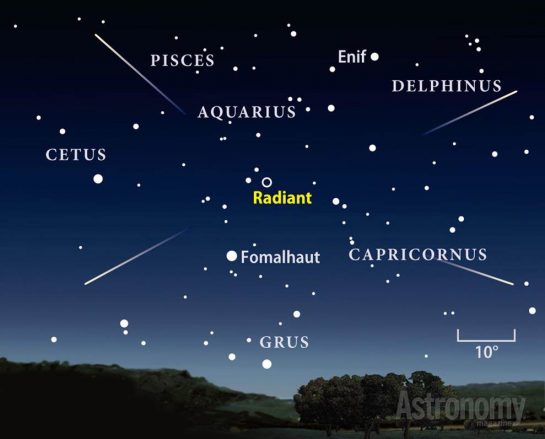
You will want attach your camera to a sturdy tripod and aim it roughly towards Fomalhaut/Skat. Try to frame the photo to include an interesting foreground object such as a tree to make the image more interesting. A wide-field lens will increase the amount of sky you can include in your shot, and your chances of capturing a meteor! I prefer to use my Canon 17-40mm F/4 L for the widest view of the sky possible.
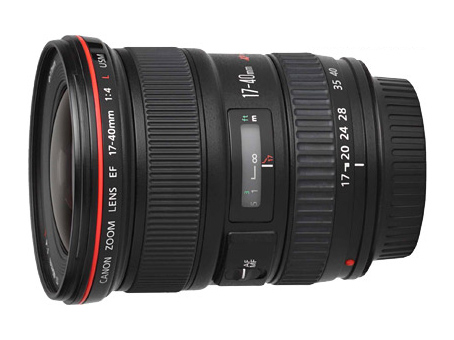
Camera settings for meteor showers
I would suggest using a low to medium aperture (f/4 – 4/8) and an exposure time of about 20-30 seconds. The fast aperture will allow a significant amount of light onto your camera sensor, to soak in the stars (and hopefully a meteor or two!) throughout the night. The longer exposure lengths of 20-30 seconds will give you a good shot at collecting a passing meteor in the sky, as your camera will be “recording” the action for a full 30 seconds. You can either set your camera to continue taking 30 second exposures on it’s own by using an intervalometer, or by connecting it to your laptop and using a program like BackyardEOS.
[adrotate banner=”38″]
Your ISO setting will depend on the amount of light pollution in your area, as darker skies will allow you to bump the ISO up, and capture more stars and less sky-glow. Pay attention to your histogram, and make sure your data (the mountain) is situated near the center, or just to the right. This will give you a fair shot at a successful processing session when you pull the image in Adobe Photoshop later. Take time at the begging of your session to
Spend time at the beginning of your astrophotography session to make sure that your focus is spot-on. Using manual focus, adjust your focus ring using a distant street-light or tree top as a point of reference. Then take a few test exposures to to get those stars as sharp as possible. Depending on your focal length, the stars may begin to trail after about 15-20 seconds. This may not be apparent in your final image, but its worth pointing out if it is something you want to avoid.
My Camera Settings:
Mode: Manual
Aperture: f/4
ISO: 800
Exposure: 25 Seconds
White Balance: Auto
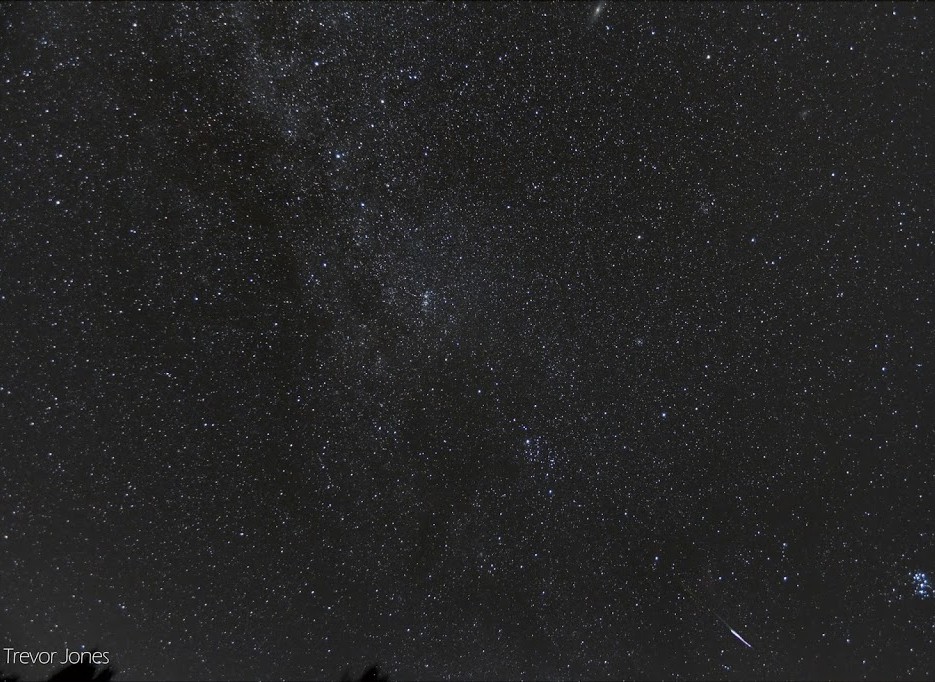
If you are lucky enough to have captured a meteor streaking across the sky in one or more of your exposures, you can stack them together using Adobe Photoshop to create a composite image. This creates a captivating image that better represents the glorious spectacle that meteor showers provide. Let’s hope that the Delta Aquarid meteor shower produces a decent show this year despite the waning crescent moon, and less frequent meteors compared to other meteor showers. And hey, the best meteor shower of the year will be here in just a few short weeks:)

Thanks for the info Trevor! I’ve been looking through your site for a couple of months now and just recently purchased a new Canon T5i. I’m learning my way around the camera with it’s 18-55mm kit lens. I’ve been successful at catching some Iridium flares and ISS passes. For my ISS shots, I’ve been using StarStax to stack the images, which results in star trails as they are typically several 10 to 15 second exposures. I am prepping to shoot Perseid meteor shower in August and am curious if there is something that I’ve missed that would allow me to stack images without the resulting star trails and without necessitating the purchase of a German Equatorial Mount?
Your site and YouTube videos have been most helpful and much appreciated!
Hi Trent! So glad to hear about your early success with the T5i. I use photoshop for stacking my ISS shots. I have a base layer (Usually the first frame) and then I place the following frames on top one by one with the blending mode set to “lighten”. This DOES create star trails, unless I go in and remove them frame by frame. For meteor showers, I would just layer the frames that included meteor streaks over a single base frame of stars (stacked, registered and processed of course;) There may be better ways out there, but this works for me. I’ll include this tutorial and compare it with another one in my upcoming post about the Perseid meteor shower. Thank you, and good luck out there!
Awesome! I’ll play around with it. Thanks for all the good info. Keep it coming!