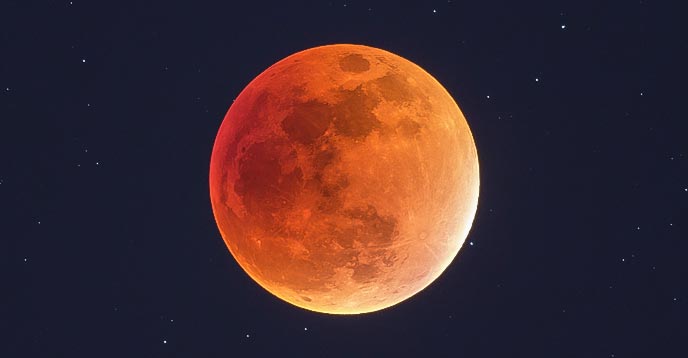
Photograph the Total Lunar Eclipse
Are you hoping to capture a photo of the upcoming total lunar eclipse on November 8th? If so, you are not alone. Amateur photographers and astrophotography enthusiasts around the world will do their best to take pictures of the upcoming lunar eclipse using a wide variety of camera equipment. A total eclipse of the moon…