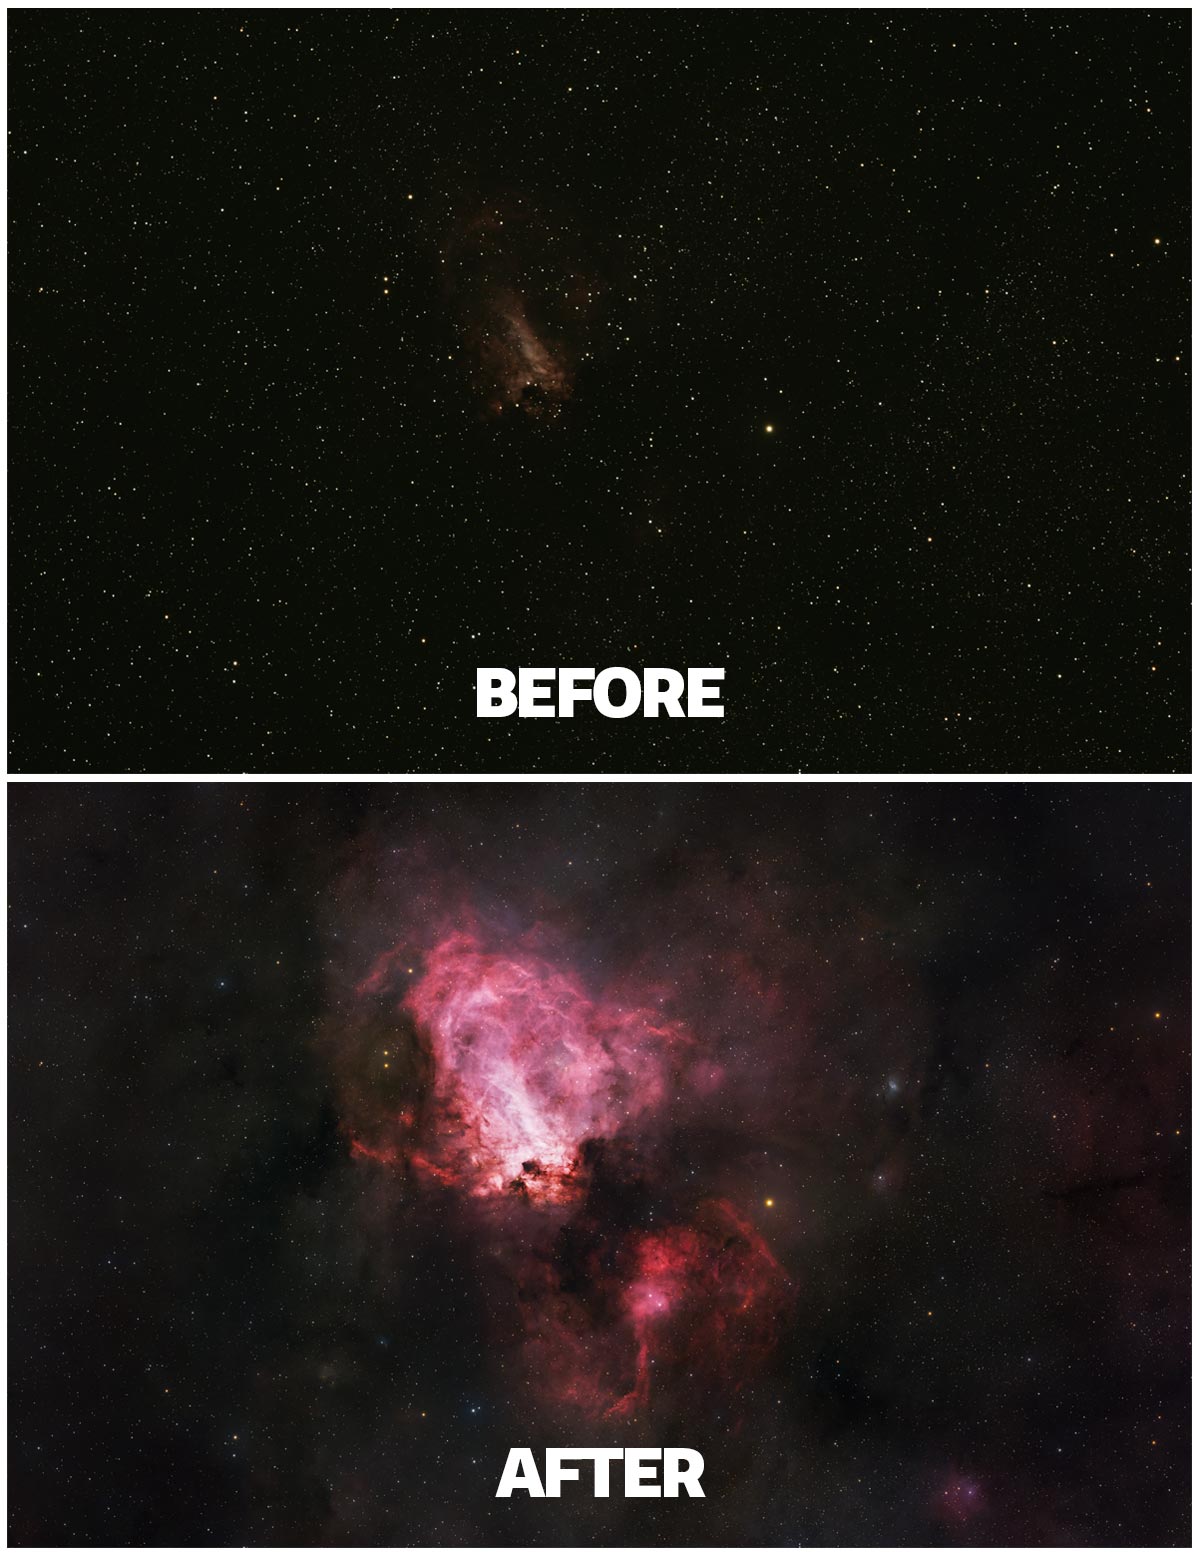
Photoshop for Astrophotography

Adobe Photoshop is a photo-editing application that can bring out the color, contrast, and faint detail in your astrophotography images. Its layers, masks, and adjustment tools make it useful for everything from a wide-angle Milky Way photo to a close-up of a distant galaxy.
I use Photoshop to process each and every one of my astrophotos. Even with powerful astronomy software like PixInsight in my workflow, Photoshop is where I make many of the decisions that give an image its finished look.
Here is how I use Photoshop for astrophotography, who I think it suits best, and which plugins and alternatives are worth considering.
Last updated: October 5, 2026.
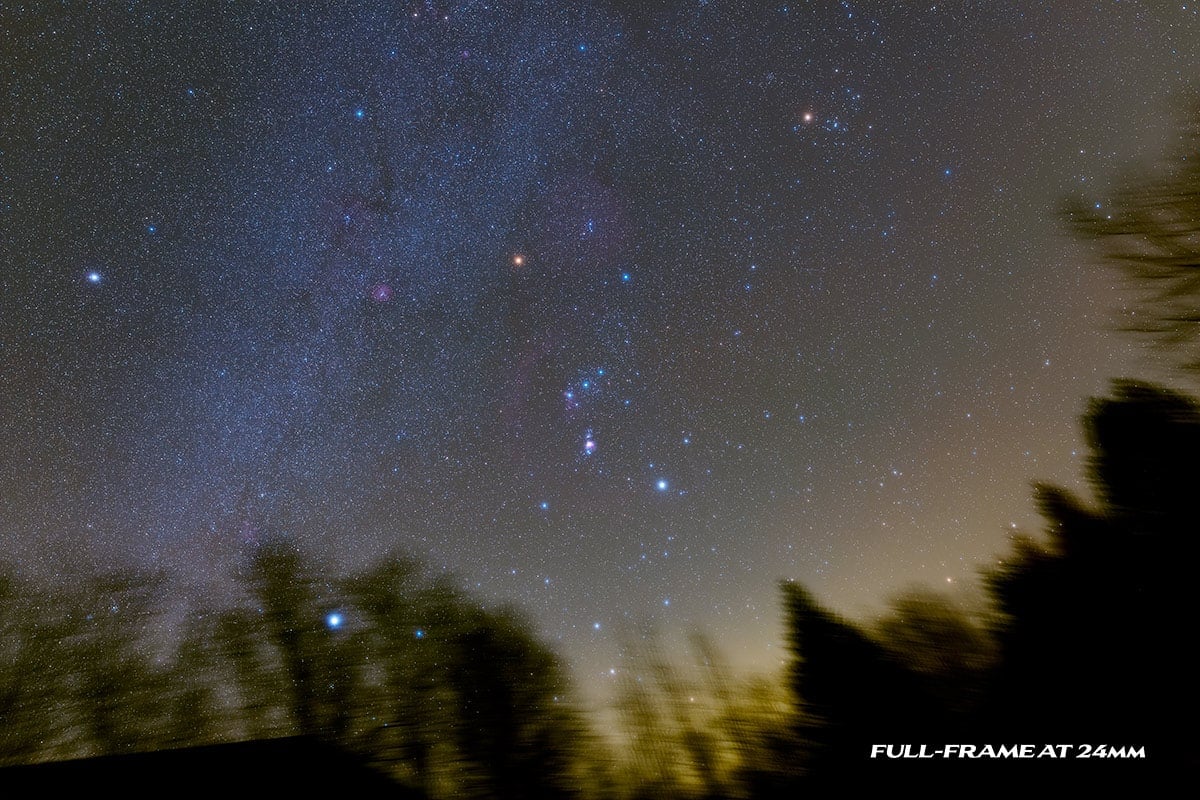
Is Photoshop good for astrophotography? Absolutely. It is my preferred editor for nightscapes, Milky Way photography, and wide-field constellation images, and an essential finishing tool for my deep-sky photos. For calibrating and stacking large deep-sky datasets, I normally use dedicated astronomy software first, then continue editing in Photoshop.
What Is Photoshop?
Adobe Photoshop is a general-purpose image editor used for photography, design, and compositing. For astrophotography, its appeal is the ability to adjust different parts of an image independently.
You can brighten a nebula while protecting its stars, balance a foreground against the night sky, or refine a color adjustment without starting over. Adjustment layers and masks make these changes easy to revisit.
This guide focuses on desktop Photoshop for Windows and macOS. Check desktop compatibility when choosing astrophotography plugins. My astrophotography resources page lists the other tools that fit around it.
Who Is Photoshop Best For?
Photoshop makes particular sense if you already enjoy photography and want an editor that works across several subjects.
- Nightscape photographers: You want control over the sky, horizon, and foreground.
- Milky Way and constellation imagers: You want to develop RAW photos and refine wide-field images.
- Deep-sky astrophotographers: You need flexible finishing tools for stacked images or separate star and nebula layers.
- Existing Adobe users: You can build on familiar tools instead of learning an entirely new interface.
If you only need automated deep-sky calibration and stacking, another application is a better starting point. Photoshop earns its place through editing flexibility.
Why I Use Photoshop for Every Astrophoto
For me, processing involves a lot of small decisions. Is the background too dark? Are the stars overpowering the nebula? Have I pushed the color a little too far?
Photoshop makes those decisions feel manageable. I can put an adjustment on its own layer, switch it off to compare, and reduce the opacity until the change feels right. That ability to back off is just as valuable as the ability to push an image further.
I also like being able to work locally. A faint outer region of a galaxy might need more attention, while the bright core already looks good. A mask lets me make that adjustment where it helps.
With deep-sky images, Photoshop fits naturally after my PixInsight processing. With a nightscape, it may handle most of the editing. Having a familiar finishing environment across both types of images is a big reason I continue using it.
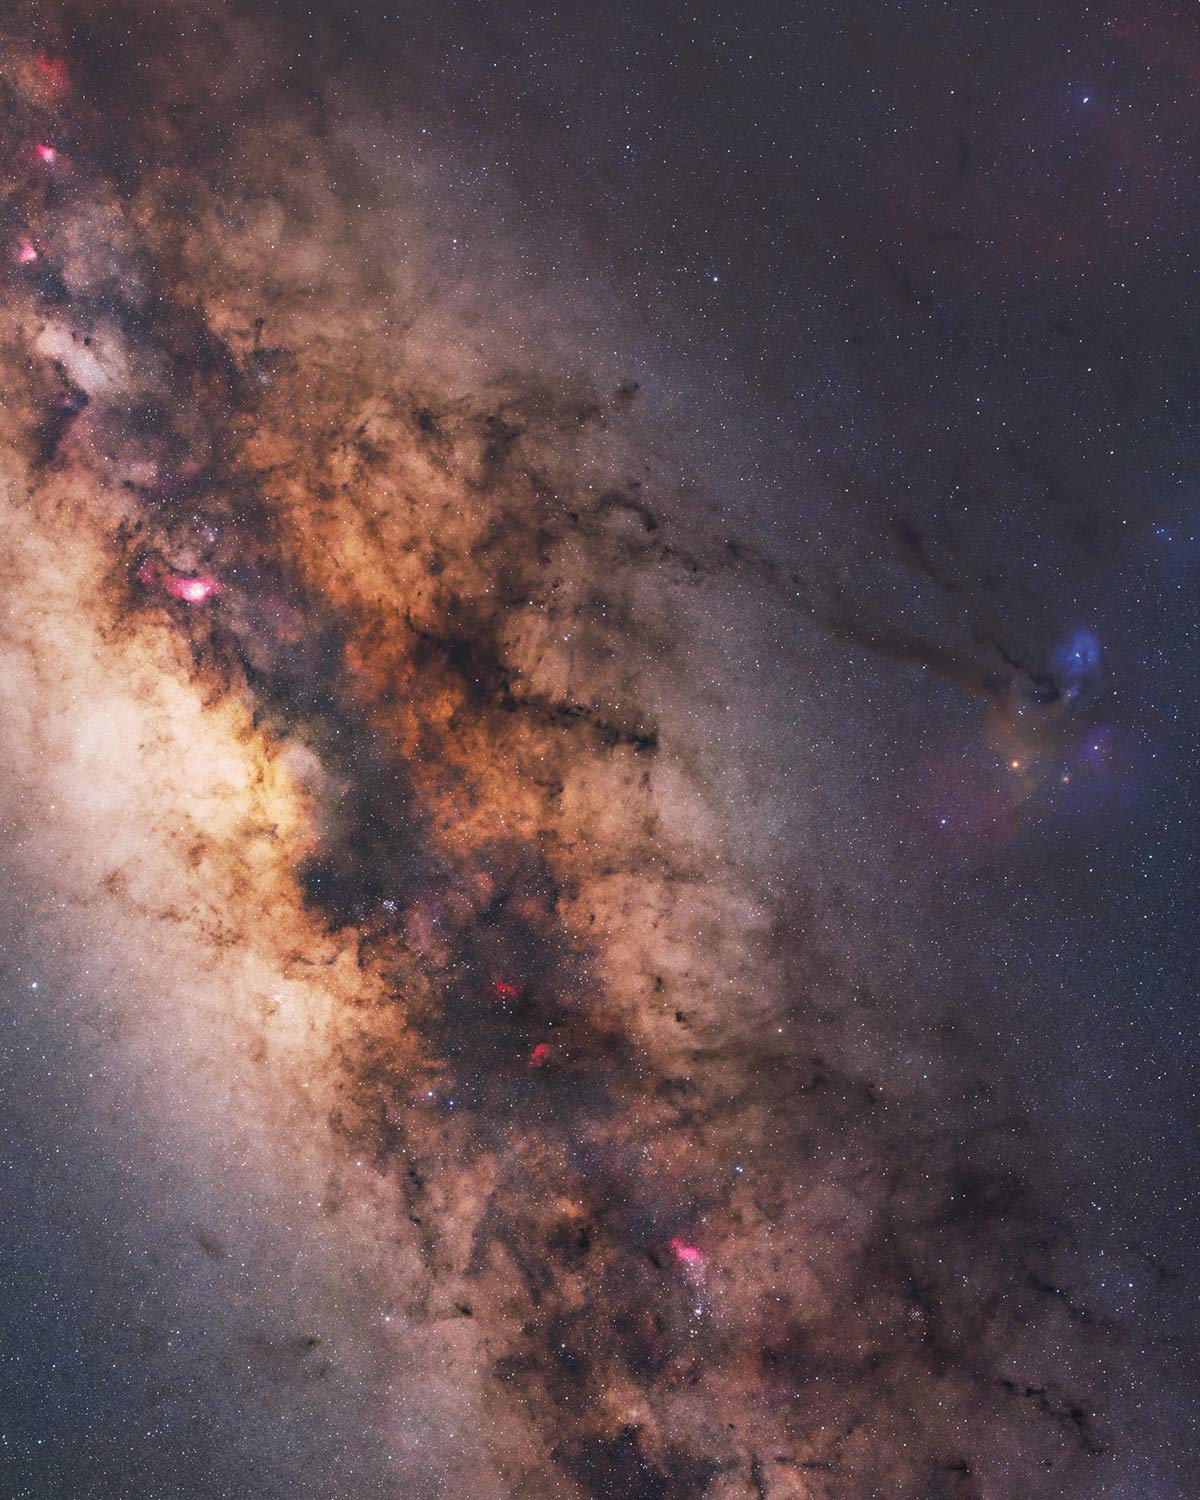
Photographing the Milky Way? Photoshop is my preferred editor for wide-angle night-sky images, especially when a landscape is part of the composition. See my Milky Way Photography guide for the capture settings and approach behind these photos.
Photoshop Price and Free Trial
Desktop Photoshop is available through an Adobe subscription. The Creative Cloud Photography plan includes Photoshop and Lightroom; Adobe’s published US price is US$19.99 per month on an annual plan billed monthly at the time of writing.
Check Adobe’s current plans for regional pricing, taxes, promotions, and cancellation terms. An annual plan billed monthly still involves an annual commitment.
Adobe offers a seven-day Photoshop trial that converts to a paid subscription unless canceled before it ends. Download through Adobe and choose a plan that includes the desktop application. Third-party astrophotography plugins are separate purchases.
Download Photoshop (Latest Version)
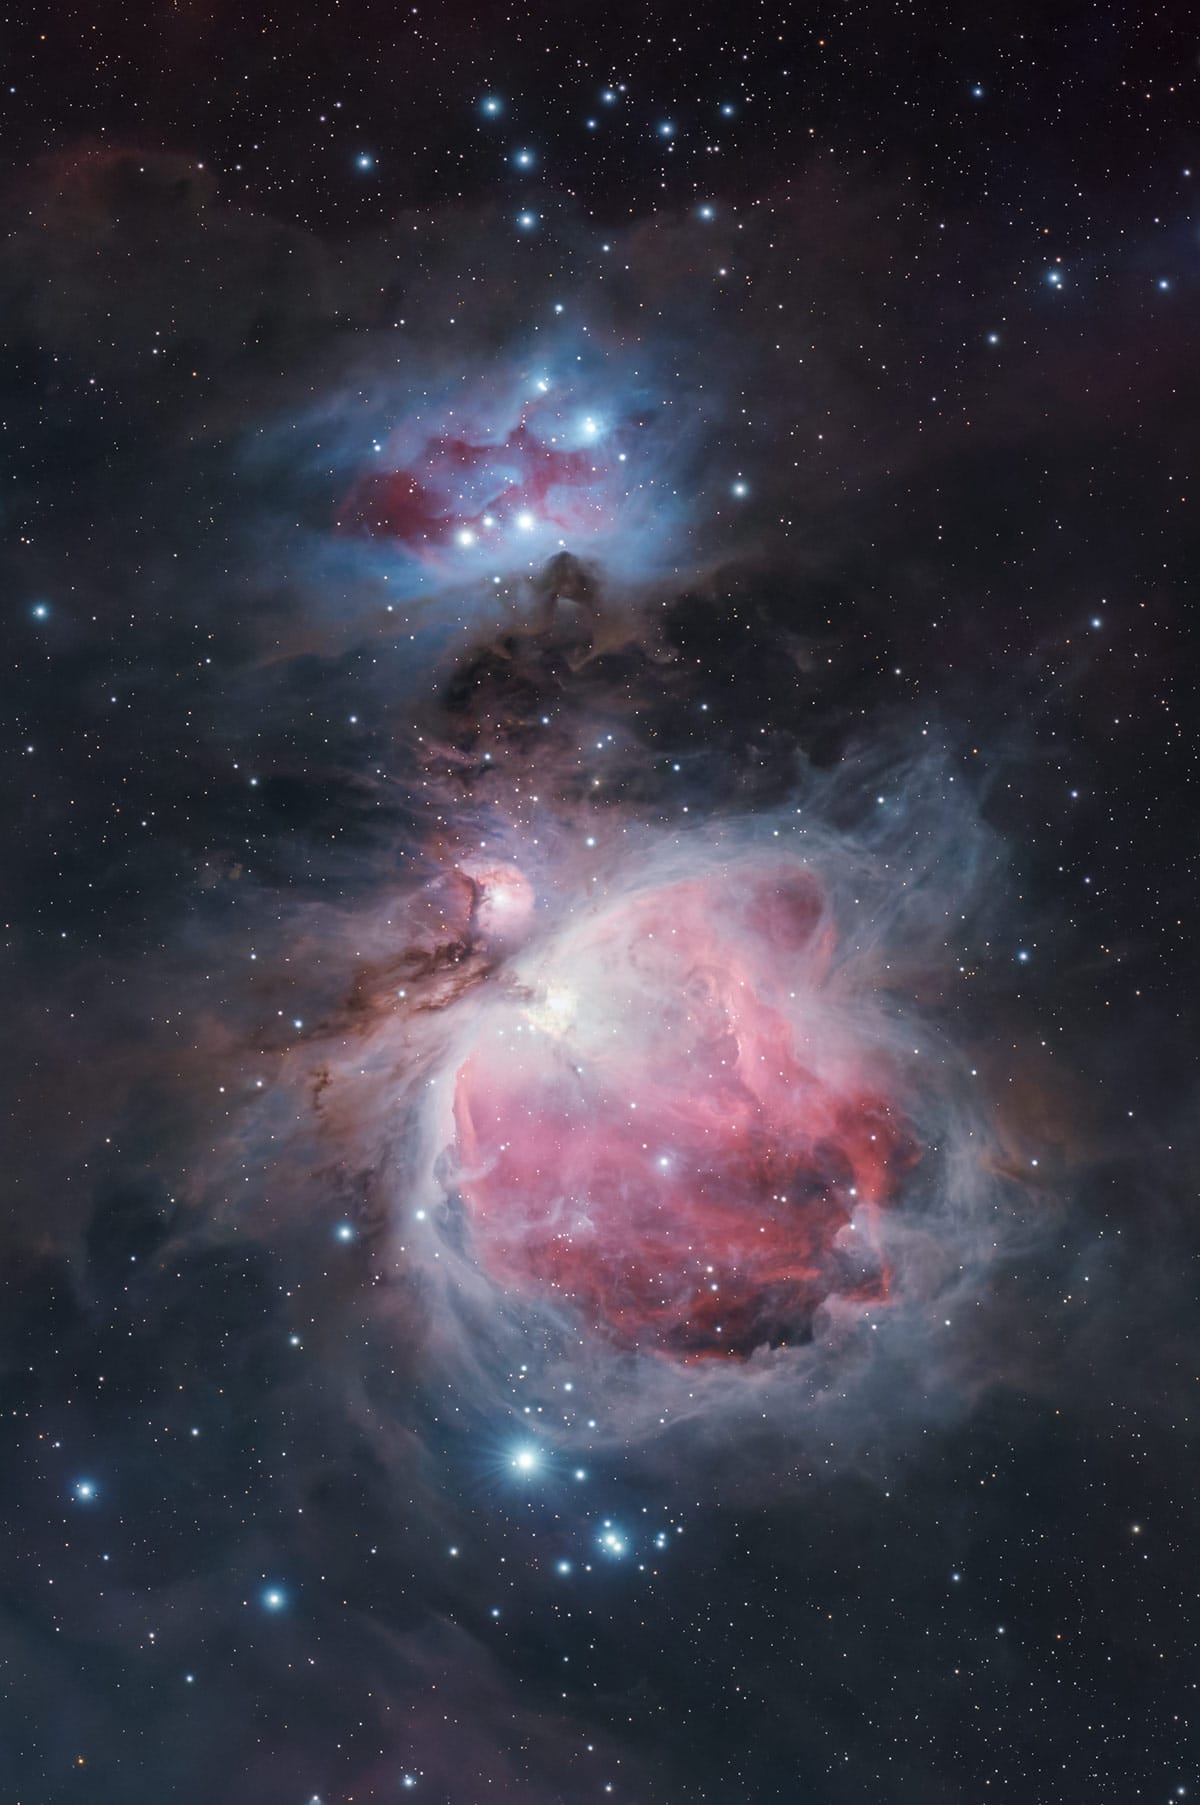
Photoshop Astrophotography Tutorial: The Basic Workflow
This overview explains the main decisions. For a complete walkthrough with practice data, follow my step-by-step Photoshop astrophotography tutorial.
1. Start with the Right File
For deep-sky work, begin with a calibrated, stacked master. For a single nightscape, open the original camera RAW file through Adobe Camera Raw.
In a PixInsight-to-Photoshop workflow, a stretched 16-bit TIFF is a useful handoff for finishing. Keep your original floating-point master too. Photoshop supports 32-bit files, but many familiar editing tools are more restricted at that bit depth.
If the image is still linear and nearly black, follow a tutorial designed for that starting point. Avoid casually reducing its precision before developing the faint signal.
2. Stretch Carefully with Curves and Levels
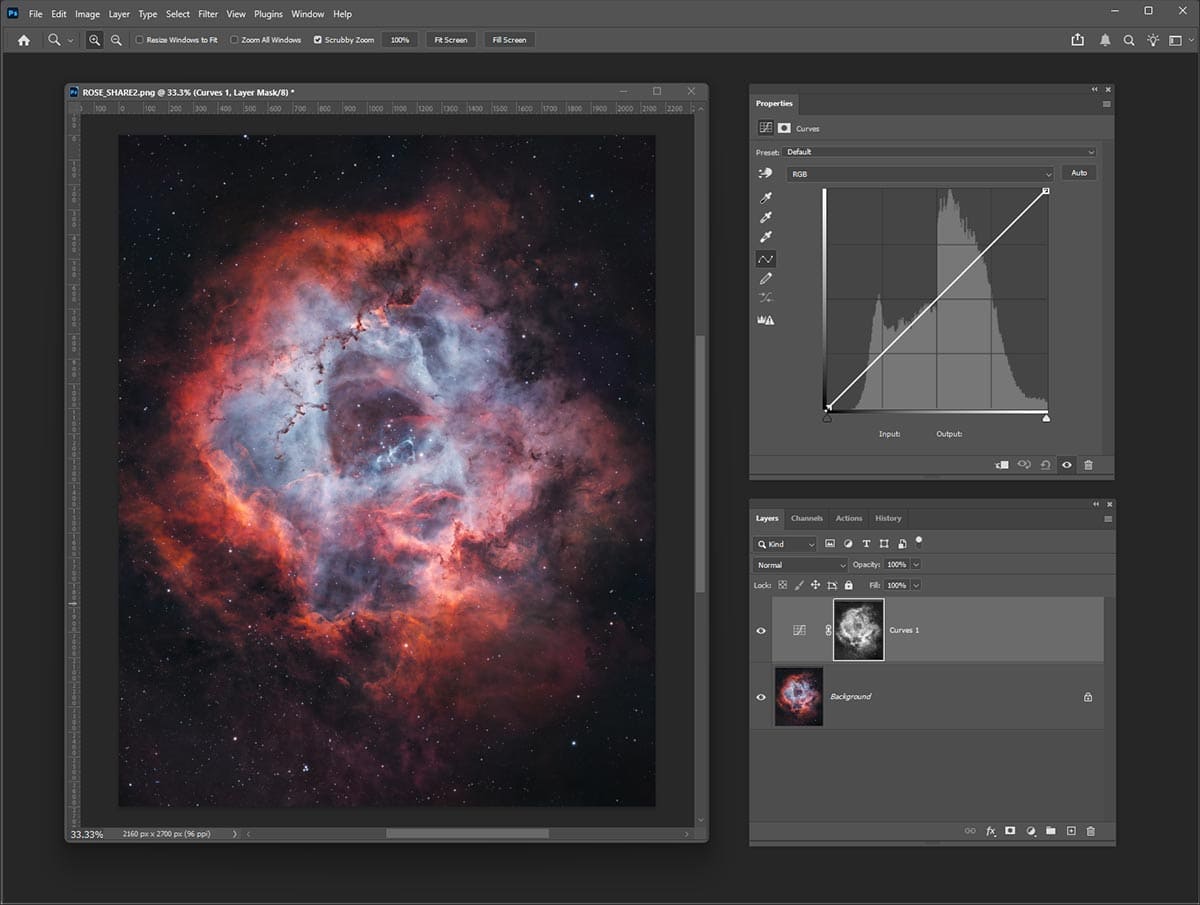
Stretching remaps brightness so faint structures become visible. Add a Curves adjustment layer and lift the darker tones gradually while watching the stars and bright core regions.
Use Levels to refine the tonal range, but avoid moving the black point into the image data. A completely black background can look dramatic while hiding the faint dust you worked hard to capture.
3. Control Color and Contrast with Masks
Use Color Balance, Curves, or Hue/Saturation adjustments to refine the image. Apply a layer mask when only part of the frame needs the change: white reveals the adjustment, black hides it, and gray applies it partially.
For nightscapes, this lets you work on the sky and foreground separately. For nebulae, it helps keep a contrast or saturation boost from overwhelming the stars.
4. Address Gradients, Noise, and Stars
Uneven sky brightness needs background correction, not just a darker black point. Gradient-removal tools can help, but protect real nebulosity when identifying the background.
Noise reduction and star separation can also be useful. Inspect the image at 100% and compare before and after. Smooth backgrounds should not come at the expense of delicate structure. If these jobs were already completed in PixInsight, assess whether further processing is needed.
5. Finish with Camera Raw and Save Your Master
I use Camera Raw adjustments for final refinements to contrast and color. On a compatible Smart Object, the Camera Raw Filter can remain editable. Treat strong Clarity and Dehaze settings carefully; they can exaggerate noise and halos.
Save a layered PSD or PSB master so you can revisit your edits. Export a separate JPEG converted to sRGB for web sharing. My current astrophotography processing workflow shows how Photoshop fits into the larger process.
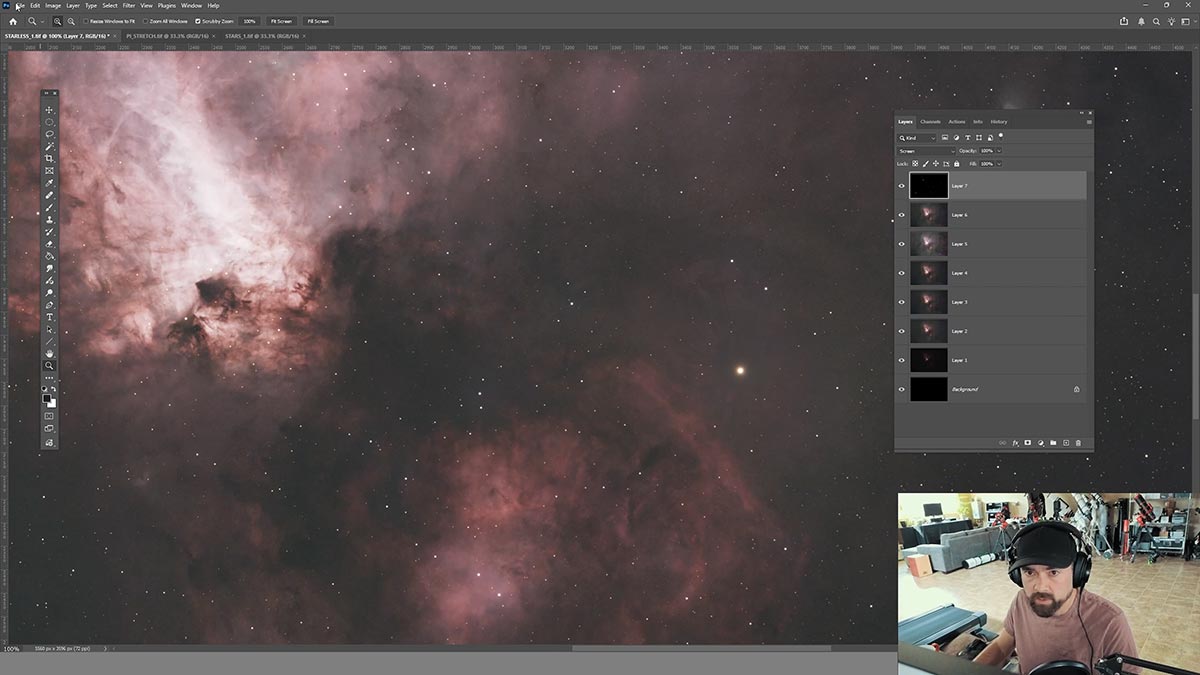
Can You Stack Astrophotography Images in Photoshop?
Yes. Photoshop can combine aligned exposures using Smart Object stack modes such as Mean or Median to reduce noise.
- Load the exposures using File > Scripts > Load Files into Stack.
- Select the layers and use Edit > Auto-Align Layers; inspect the star alignment.
- Convert the selected layers into a Smart Object.
- Choose Layer > Smart Objects > Stack Mode > Mean or Median.
Auto-Align is not a dedicated astronomical registration tool and can struggle with star fields. In untracked nightscapes, the stars move relative to the foreground, so aligning one will not align the other.
For routine calibration and larger stacks, I prefer dedicated software. Compare your options in my astrophotography image stacking software guide.
Photoshop Astrophotography Plugins and Actions
Plugins add specialized tools, while actions automate sequences of Photoshop commands. Both can save time, but neither replaces understanding the adjustment.
- NoiseXTerminator: An astronomy-focused noise-reduction plugin. Compare fine detail before and after applying it.
- StarXTerminator: Separates stars from the surrounding subject so you can process them independently.
- GradientXTerminator: Models unwanted background gradients using your background selection.
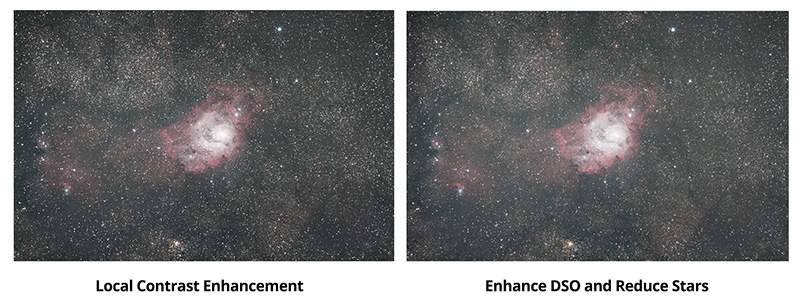
- Astronomy Tools Actions Set: Noel Carboni’s collection includes actions for star reduction, color enhancement, and noise control. I have used this set in my Photoshop tutorials for years.
Check each developer’s operating-system, Photoshop-version, and bit-depth requirements before buying. Learn the built-in Curves, Levels, and masking tools first, then add something that solves a problem in your images.
What about BlurXTerminator? I use it in PixInsight. RC Astro also offers a standalone version, but it is not a native Photoshop plugin. Do not assume every tool in a PixInsight tutorial installs directly into Photoshop.
Photoshop vs. PixInsight for Astrophotography
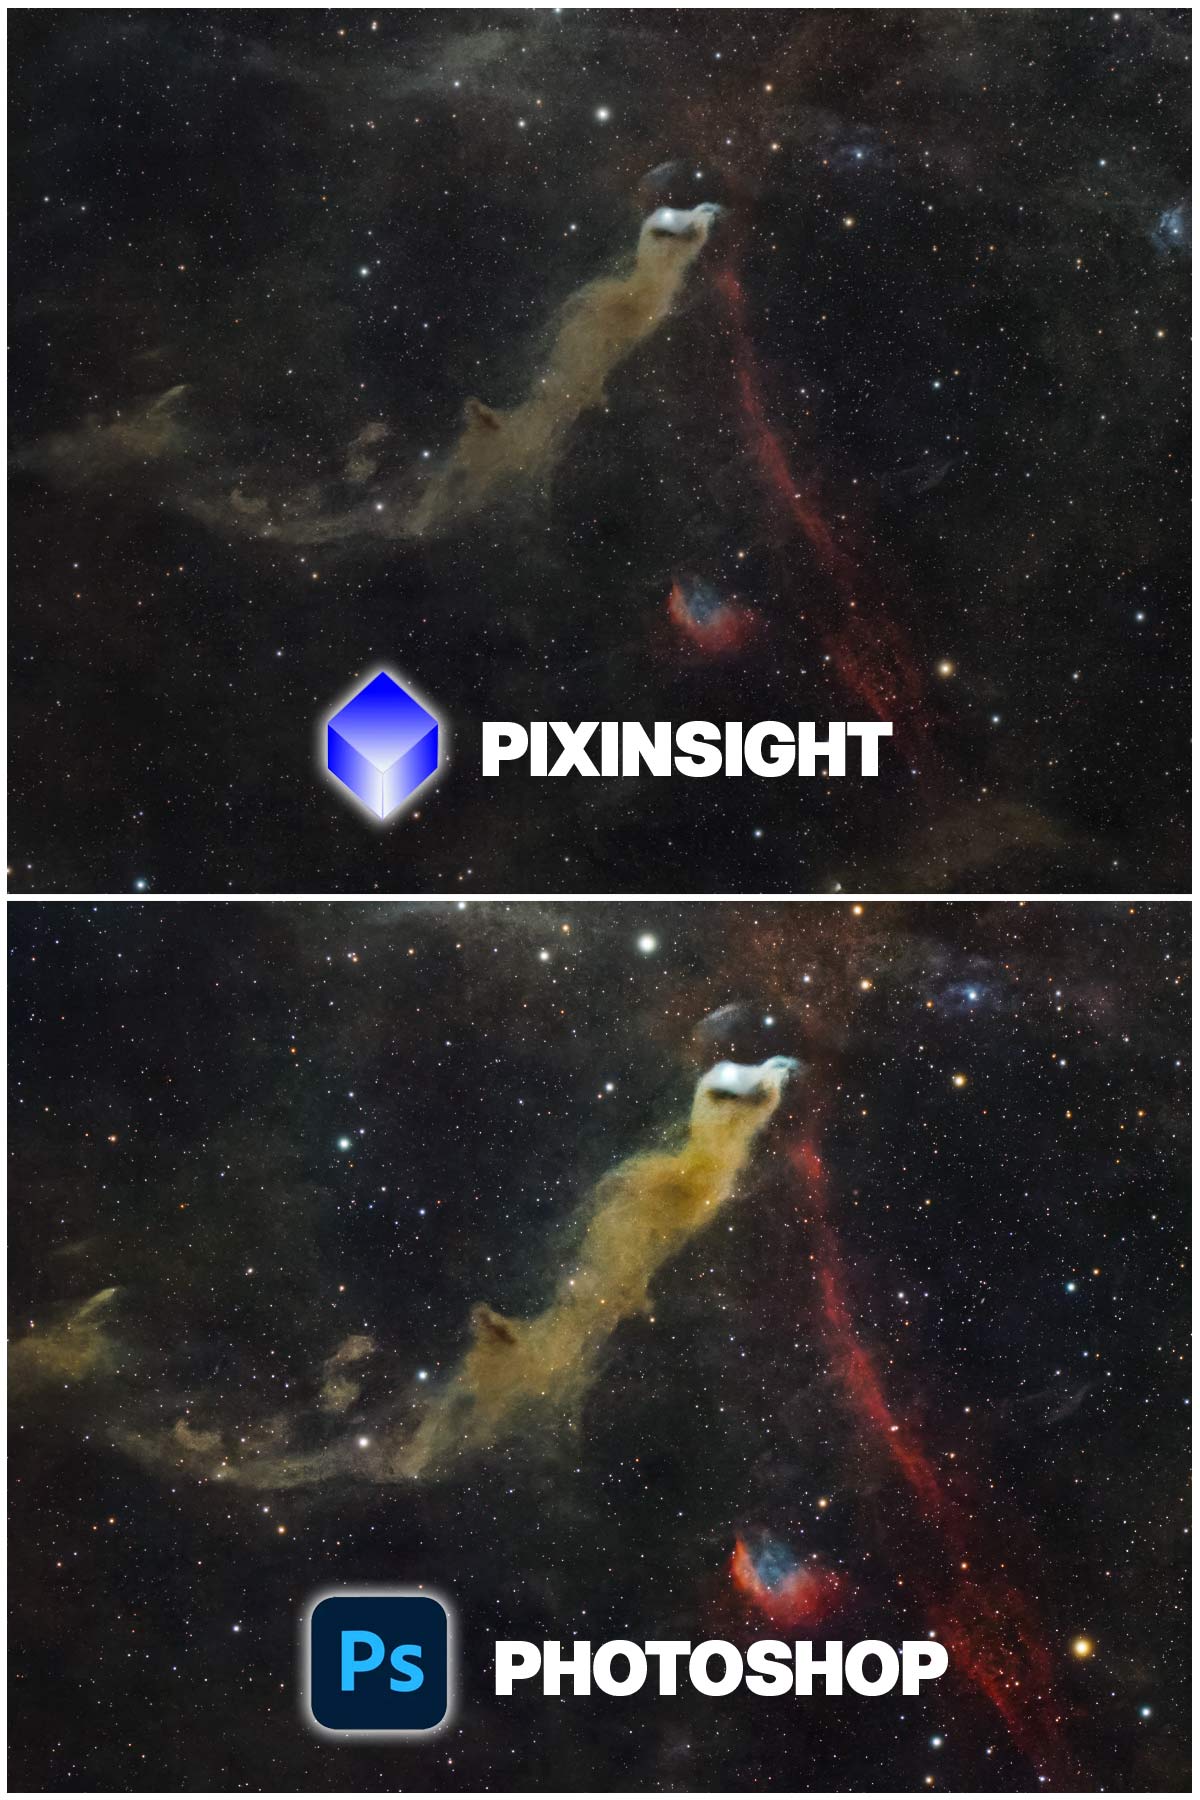
Photoshop is my choice for flexible editing and finishing; PixInsight is my choice for specialized deep-sky processing. They overlap, but their strengths explain why I use both.
PixInsight brings calibration, registration, integration, astronomical color calibration, and advanced processing into one environment. It can produce a finished image without Photoshop.
Photoshop gives me layers, masks, familiar RAW adjustments, and straightforward control over the strength of each edit. I particularly enjoy that approach for nightscapes and wide-field images.
If you already own Photoshop, you can start with a separate stacking application and learn to finish your images there. If you regularly process demanding deep-sky projects, explore PixInsight as well. Buying both is optional; learning your tools matters more than collecting them.
Photoshop Alternatives for Astrophotography
The best Photoshop alternative depends on whether you need layers and masks, astronomical processing, or both. Here is how the main choices compare.
| Software | Features and Best Fit |
|---|---|
| Photoshop | Cost: Subscription. Editing: Layers, masks, Curves, Camera Raw, plugins. Stacking: General image-stack tools; separate software recommended for deep-sky calibration. Best fit: Nightscapes and flexible finishing. |
| PixInsight | Cost: Paid license. Editing: Astronomical calibration and processing, masks, scripts, plugins. Stacking: Dedicated calibration, alignment, integration. Best fit: Complete deep-sky workflows. |
| Siril | Cost: Free, open source. Editing: Background extraction, color calibration, stretching, scripts. Stacking: Dedicated calibration, alignment, integration. Best fit: Deep-sky processing on a budget. |
| Affinity | Cost: Core editing tools free. Editing: RAW development, layers, masks, curves, macros. Stacking: Desktop astrophotography stack tools with calibration frames. Best fit: A layer-based Photoshop alternative. |
| GIMP | Cost: Free, open source. Editing: Layers, masks, curves, color adjustments. Stacking: Pair with dedicated astronomy software. Best fit: Free editing of an already stacked image. |
Affinity deserves a look if you want a familiar layer-based editor without a Photoshop subscription. Siril is especially useful if your priority is the astronomical processing itself. My broader image processing software comparison explores more options.
What Computer Do You Need?
Check Adobe’s current Photoshop requirements, along with those of your plugins. Large layered images can need considerably more memory and disk space than a single camera photo.
I would prioritize adequate RAM and fast SSD storage, including free space for Photoshop’s scratch disk. For a new computer intended for large astrophotography projects, 32 GB of RAM is a sensible starting target, with more useful for heavier work.
My computer for image processing guide covers the practical trade-offs.
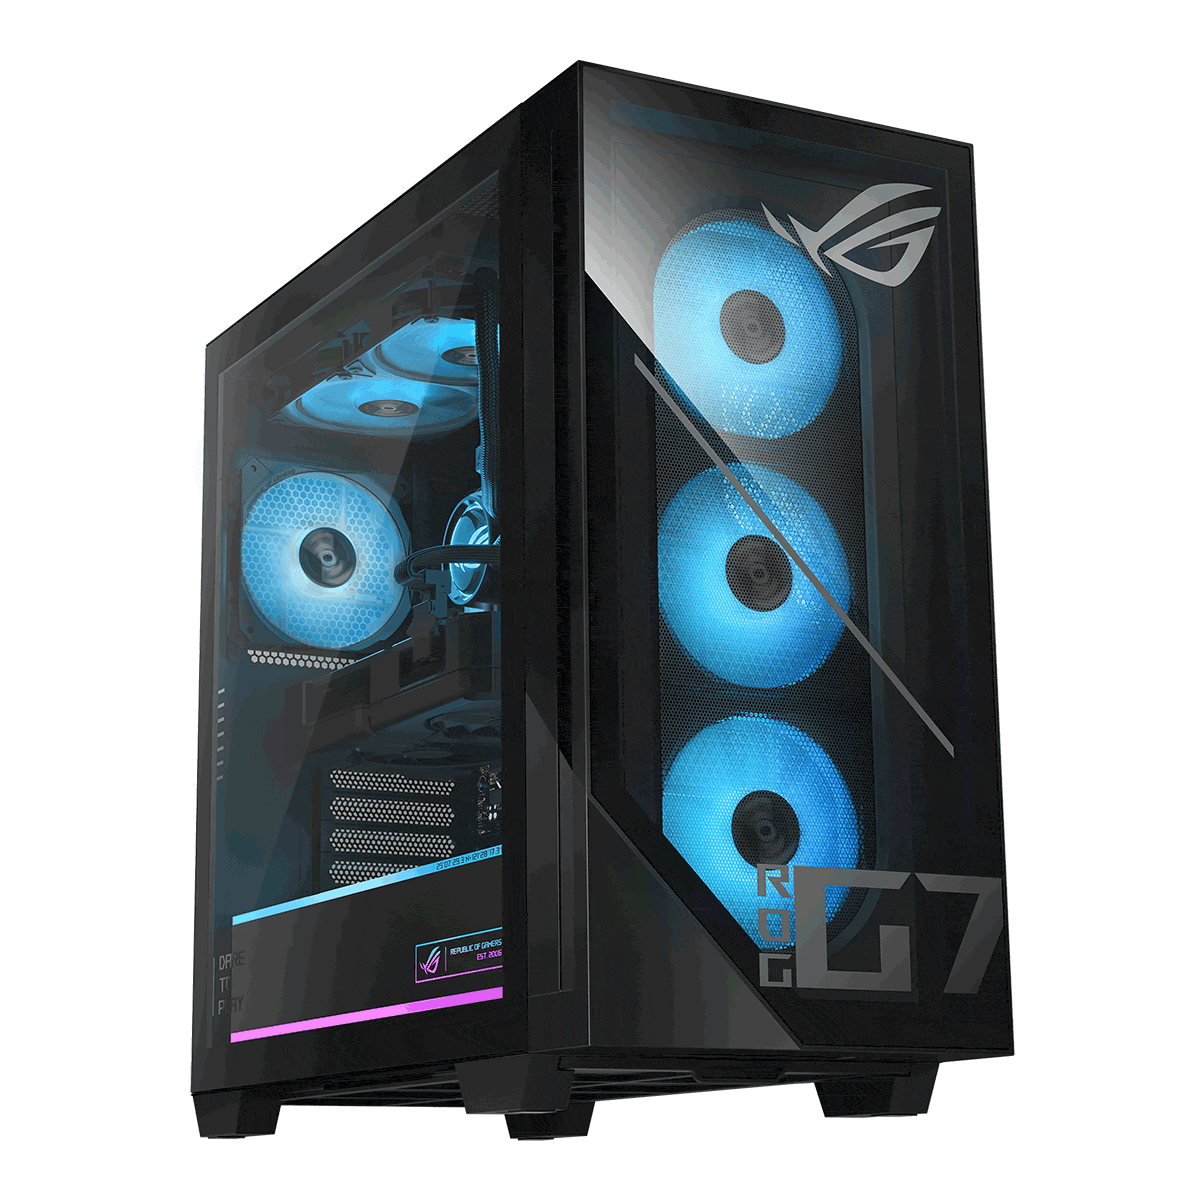
I use an ASUS ROG G700 (2025) G700 Gaming Desktop for my astrophotography image processing.
Frequently Asked Questions
Photoshop or Lightroom for astrophotography?
Lightroom is useful for organizing photos and developing RAW nightscapes. Photoshop is my preference when I need detailed layer blending, masks, or astrophotography plugins. They can work together.
Can Photoshop open FITS files?
FITS is not a standard native Photoshop image format. A practical route is to process the FITS data in astronomy software and export a suitable TIFF for Photoshop, keeping the original master.
Should I use generative AI on my astrophotos?
For a faithful astronomical image, avoid using Generative Fill to invent stars, nebulae, or missing sky. The aim is to reveal the signal you captured. Always inspect noise reduction and sharpening for unwanted artifacts too.
Ready to try it? Start with my Photoshop astrophotography tutorial and practice data. Working on the same image makes it much easier to understand what each adjustment contributes.