OSC Narrowband Image Processing in PixInsight
As an astrophotographer myself, I am constantly learning new image-processing tips and tricks from the astrophotography community. My absolute favorite way to learn is by watching YouTube videos created by knowledgeable people willing to share what they have learned.
I have recently discovered Paulyman Astro, who is a fantastic resource for all things PixInsight. He has a down-to-earth approach and I find his videos easier to digest than many other PixInsight tutorial videos.
In the video shared at the top of this post, Paul shows you how to take an OSC (one-shot-color) image captured using a dual narrowband filter to create a Foraxx palette image, which many people believe to be more eye-catching than a traditional “Hubble Palette” style image.
I know that many amateur astrophotographers taking images in the city are using one-shot-color cameras with dual narrowband filters as I do, which makes this technique ultra-relevant. You may be surprised at how much light and detail you can pull out of your image data.
Below, you’ll see the image I produced using Paul’s OSC Narrowband Tutorial. If you want to practice this technique on the same data, you can download it here: RAW Seagull Nebula Data.

The Seagull Nebula in the Foraxx Palette using this tutorial.
Resources and Tips
This is an extremely valuable technique to learn for anyone who shoots with a color camera and a multi-bandpass narrowband filter like the Optolong L-eXtreme, or the Antlia ALP-T Dual Narrowband filter.
While you can follow along with the tutorial in PixInsight, be advised that he uses some additional plug-ins and scrips including a Generalized Hyperbolic Stretch (GHS) script and Russ Crowman’s Star XTerminator.
Even if you decide not to remove the stars from your image, or leverage the new GHS script, the Pixel Math formulas shared in this video are highly valuable. I personally learned a lot about combining channels in PixInsight.
Important Note: When Paul gets to the part about creating a synthetic OIII channel using pixel math, be sure to have ‘create new image‘ selected under the ‘destination‘ section. You will also want to create an image ID for the new file called ‘OIII’.
Resources Needed for this tutorial:
Related Post: Essential Resources for Astrophotography
Generalized Hyperbolic Stretch (GHS)
Aside from being a start-to-finish OSC dual narrowband processing video, it is a great primer to the Generalized Hyperbolic Stretch (GHS) tool itself. The GHS tool is a powerful way to stretch your image data in very specific ways, and I believe it is superior to the default histogram transformation tool found in PixInsight.
It allows you to select a key area of the image data in the histogram, and carefully pull that data forward. In the image below, you see the exact settings I used in GHS including the stretch factor and local stretch intensity. I found the GHS tool to be very intuitive.

Stretching my starless image data (OIII) using the GHS tool in PixInsight.
I used GHS to carefully stretch my image data using Paul’s helpful guidance in the video. It seems that the most effective way to use GHS is with your individual color channels in a starless format.
Once you have stretched each channel to your liking, it is simply a matter of recombining the channels into a color image and returning the stars. If you have not tried this incredible script from Dave Payne and Mike Cranfield yet, I highly recommend that you do.
Image Processing Steps:
Here is an overview of the image processing steps Paul takes to produce a Foraxx color palette image using my IC 1396 image data. It is easiest to follow along with the video itself, but sometimes it is also useful to see each step in a ‘checklist’ format.
- Download and Install the GHS Script
- Download and Install StarXTerminator and NoiseXTerminator
- Dynamic Crop
- AutomaticBackgroundExtraction
- RGB Channel Extraction
- Combining the Green and Blue Channels
- Removal of Stars using StarXTerminator
- Generalized Hyperbolic Stretch
- Creation of Synthetic Color Channel
- The Foraxx Palette
- Curves Adjustments
- Saturation Adjustments
- Noise Reduction with NoiseXTerminator
- Star Correction
- Add Stars back into the Image
![]()
The PixelMath formula for the Foraxx Palette.
Results using the Foraxx Palette
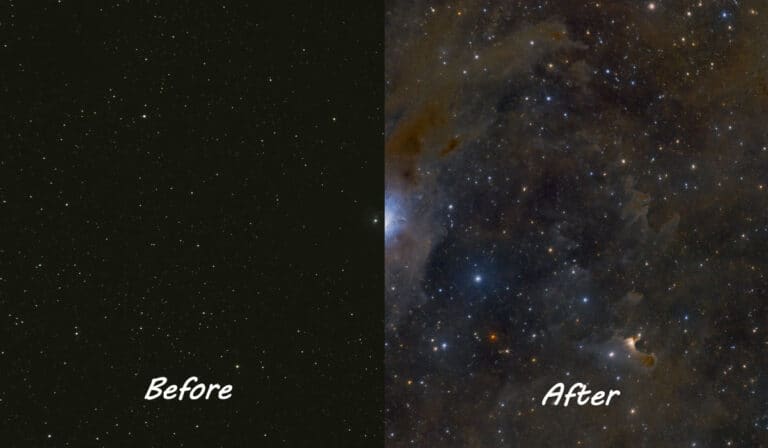
While I am still a fan of the traditional Hubble Palette, I was astonished at how different my image data looked when processed in the Foraxx Palette. The use of pixel math was a bit daunting for me, and this process uses a formula I do not fully understand.
The process involves creating a synthetic green channel from your non-linear Ha and OII channels using a specific pixel math expression. The resulting image is now identified as ‘Ho’, and is an essential part of a Foraxx palette image.
Not only was this tutorial interesting in terms of the new color palette, but the use of GHS resulted in a more dynamic rendering of my image data than ever. I will be incorporating more stretching in PixInsight into my image-processing workflow in the future.
I will continue to explore new OSC narrowband image processing techniques in PixInsight using the many free resources available today. I hope that this video was as enlightening to you as it was to me.
Be sure to subscribe to the Paulyman Astro YouTube Channel for more informative PixInsight image processing tutorials. Thanks, Paul!
You might also want to check out my 100+ page image processing guide, which focuses on image processing in Adobe Photoshop for beginners.
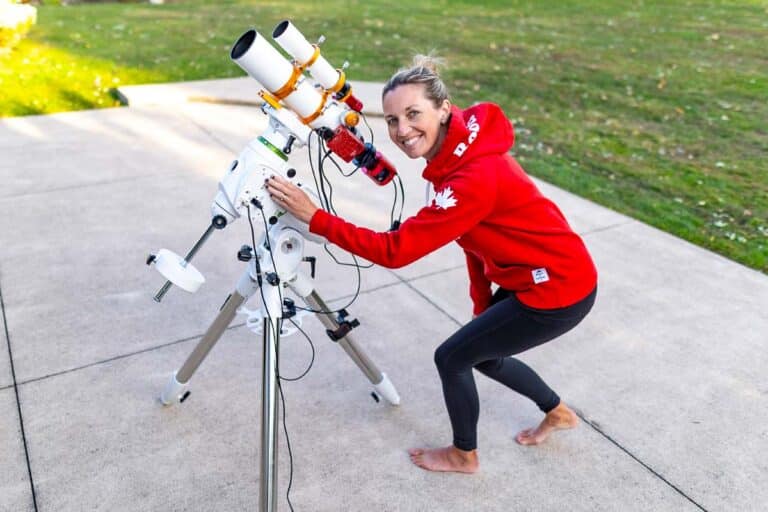
Trevor Jones is a deep-sky astrophotographer and a valued member of the RASC. His passion is to inspire others to start their astrophotography journey on his YouTube Channel, so they can appreciate the night sky as much as he does. His images have been featured in astronomy books, and online publications including the NASA Astronomy Picture of the Day (APOD).


Hi Trevor. Nice image. Why the author of the video recommends using noisexterminator after stretching and not before?
Cs
It has been a long time since I created that video I can’t recall precisely what I said. I may have still been experimenting with exactly how I wanted to use it in try workflow.
Now a days I tend to use NoiseX very early on in my processing and don’t tend to need any further noise reduction down the track.
Regards,
Paulyman
Amazing results Trevor! Thanks for the kind words and I’m glad a much more experienced astrophotographer than myself is getting something from my script.
Regards from Aus,
Paulyman
Many thanks Trevor. I’m relatively new to AP and just cracking the ice on Pixinsight…any tips/workflows that make this complex software easier to understand are much appreciated!