Sky-Watcher Wave 150i Strain Wave Mount Review
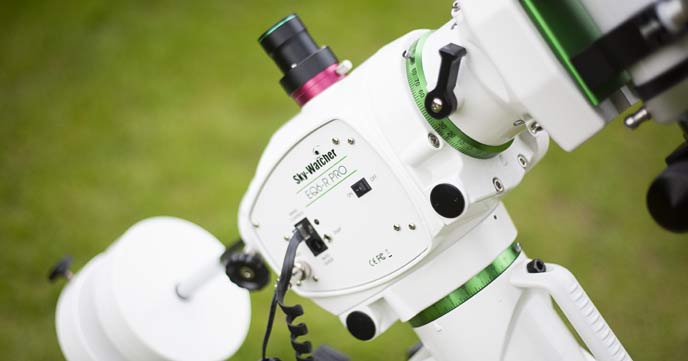
The Sky-Watcher Wave 150i strain wave mount is the latest equatorial tracking telescope mount from a brand known for its reliable astrophotography mounts. For the first time in Sky-Watcher’s history, this mount doesn’t require a counterweight. Strain wave gear telescope mounts are designed to be compact, portable, and lightweight. In fact, the Sky-Watcher Wave 150i…