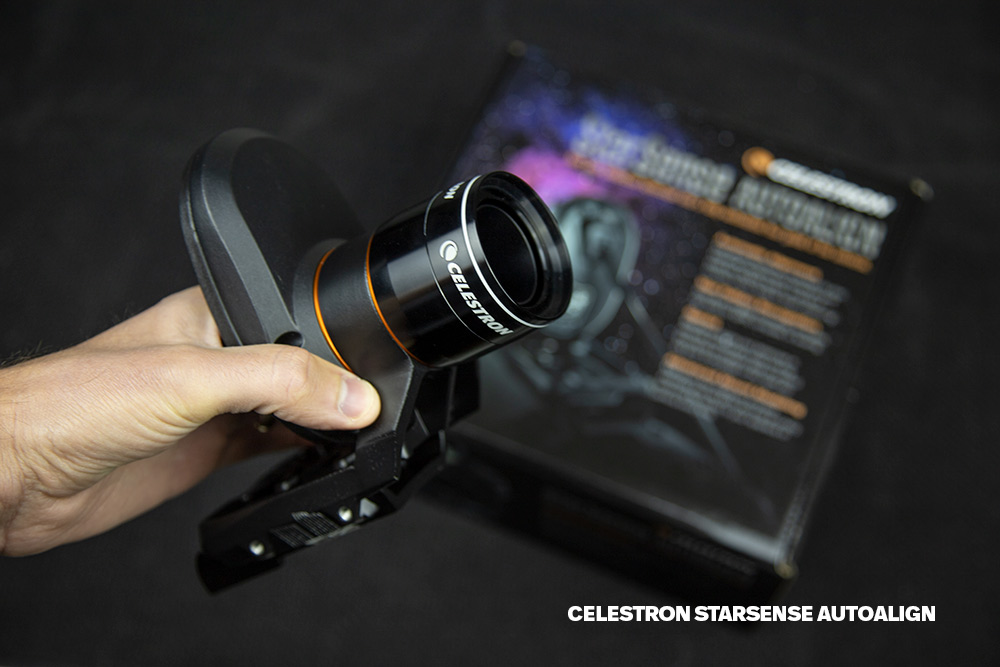
Celestron StarSense AutoAlign Review
The Celestron StarSense AutoAlign device is an accessory for Celestron telescope mounts that automatically aligns itself with the night sky. It uses an internal camera to capture an image of the stars in the sky, and analyze it to identify the stars in the image.
Based on the information it captures, the StarSense AutoAlign can create an accurate model of the night sky. Once this alignment process is complete, you can select any celestial object in the hand controller’s database, and StarSense will automatically center the object in your eyepiece or astrophotography camera.
Computerized GoTo equatorial telescope mounts already include a star-alignment routine feature to understand the telescope’s position, but this process is manual and can be time-consuming. The StarSense was designed to save time under precious dark skies, and improve the pointing accuracy of your telescope mount.
In this article, I’ll explain how to use the Celestron StarSense AutoAlign device on your telescope to create an accurate pointing model of the night sky. For more technical information about setting the StarSense AutoAlign up, you can also read the manual.
Celestron created this handy video describing how to set up the StarSense AutoAlign camera. I used this device to align my Celestron CGX-L mount in the following video:
Why Use a StarSense AutoAlign Accessory?
Traditionally, I have enjoyed the simple task of a one-star, or two-star alignment of my astrophotography mounts. The StarSense automates this series of actions, for a price.
When using refractor telescopes in the focal length range of 400-1000mm, a standard star alignment routine is very effective at creating an accurate pointing model for your telescope mount. However, when you increase the reach of the telescope to the realm of the Celestron Edge HD 11 (2800mm), the manual star alignment routine is no longer an option.
It was this transition that opened my eyes to the StarSense AutoAlign device, a telescope accessory that has been on my radar for some time. I found an immediate need for a solution after wasting an entire clear night in the cold trying to align my telescope mount using my traditional methods.
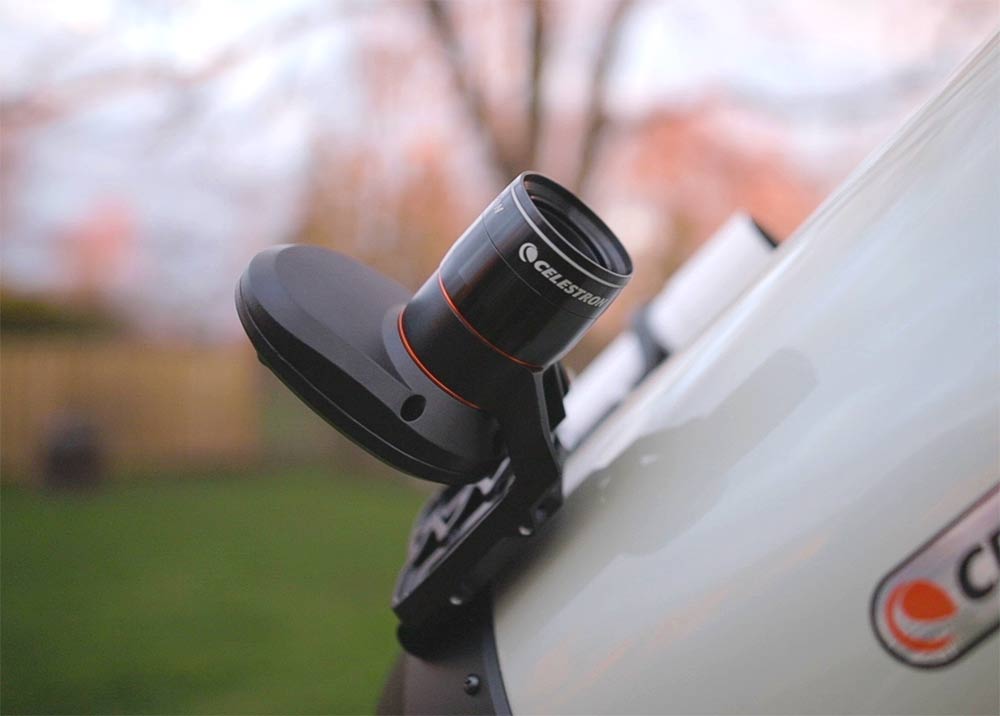
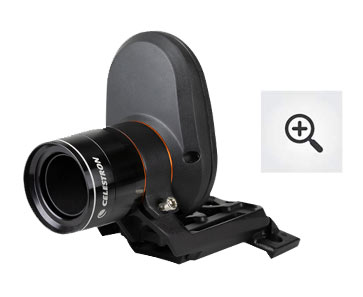
The StarSense camera mounted to my Celestron Edge HD 11 via the mounting bracket.
How to Use the Celestron StarSense AutoAlign
Owners of Celestron SCT’s such as the Edge HD 11 can mount the StarSense bracket to the base of the optical tube, just as you would a finder scope bracket. You can either replace your finderscope with the StarSense AutoAlign device or mount another bracket on the other side of the optical tube base.
Once the StarSense AutoAlign has been attached to the optical tube, you can plug in the included auxiliary cable into the back of the StarSense camera. Connect the other end of this cable to your Celestron telescope mount’s auxiliary port. (In my case, the Celestron CGX-L).
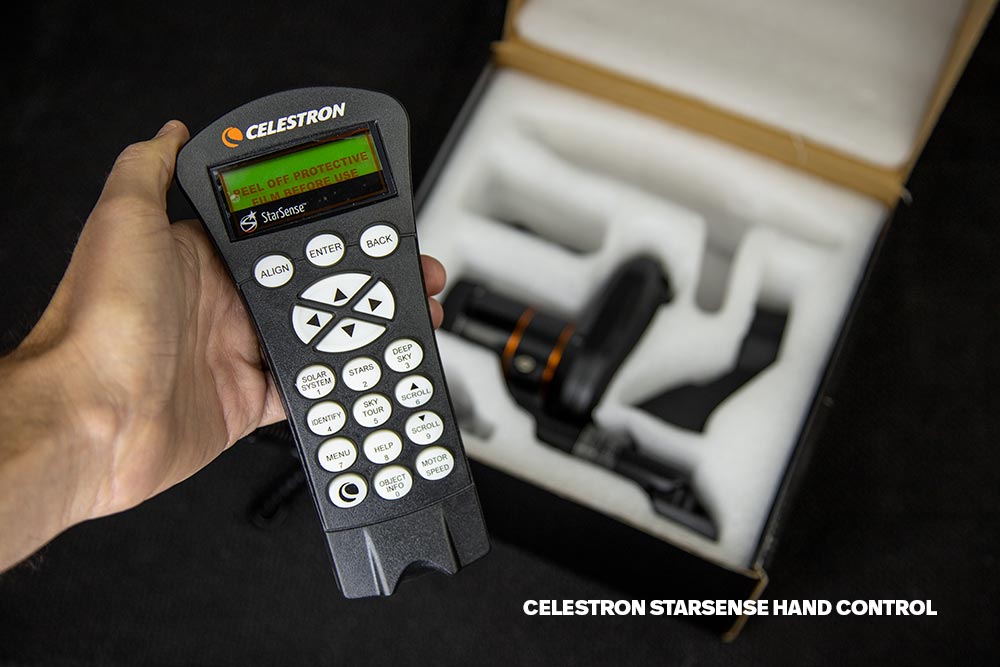
The StarSense AutoAlign device comes with a new hand controller that replaces your existing Celestron NexStar version. You simply need to plug in the phone-jack style connecter on the StarSense to the “hand control” port on your telescope mount.
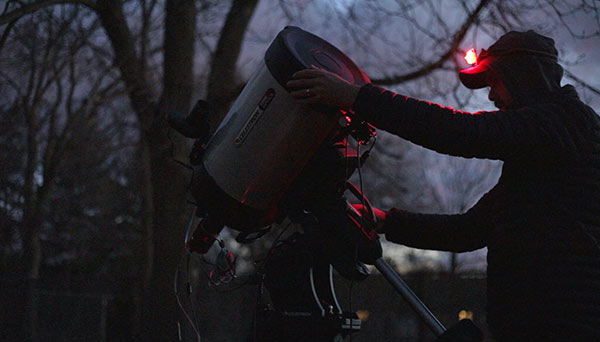
To get started with the StarSense AutoAlign process, you’ll want to have your telescope mount roughly polar aligned with the celestial pole. You can now take the camera’s dust cap off so it can begin taking images of the night sky.
If your observing location is heavily obstructed, you may need to use the “StarSense Manual Align” mode. Otherwise, the StarSense will automatically choose a new star if it is obstructed during the auto-alignment procedure.
Full Setup Process:
- Turn the telescope mount on, and wait for the hand controller to state “StarSense Ready”
- Press Align > StarSense Auto > Enter
- Enter your Location, Time, and Date if Necessary
- Confirm the Time Source, and Daylight Savings Setting
- Confirm your telescope is in the Home Position
- Press Enter on the “Set Align Start” display message
The StarSense AutoAlign will now begin the automatic alignment procedure. As the telescope is moving around the night sky collecting images, the hand controller will display the “Acquiring Position” message, followed by “Acquiring Image”, and “Sensing”.
If you see the “Too Few Stars” message appear, StarSense will move the telescope towards a different part of the sky to take a new image. Once the automatic alignment process is finished, the hand controller will display the message “Alignment Complete”. Now, press “Enter” to start using your telescope and pointing toward the object of your choice.

StarSense Setup Tips:
Be careful when navigating through the menu options on the hand controller, using the “back” and “enter” keys to confirm your selections can be a bit tedious. I had to adjust my location and time-and-date settings twice.
Make sure that the firmware on all of your Celestron devices are up to date (Use the Celestron Firmware Manager) The first time I ran through the StarSense setup process, the firmware in the StarSense hand control and my Celestron CGX-L mount were out of date.
When I first used the StarSense AutoAlign accessory on my Edge HD 11, I experienced some odd behavior from the device. The telescope would start pointing towards the ground, looking for stars.
It turns out that I needed to update the firmware in the StarSense (and my Celestron CGX-L mount) to the latest version available on the Celestron website. Thankfully, Celestron has built an incredibly useful tool for these situations.
The Celestron Firmware Manager (CFM) communicates with your Celestron devices and automatically applies the latest firmware updates. To accomplish this, you simply need to connect a mini USB cable to the base of the hand controller.
With the StarSense AutoAlign camera connected to the mount, you can run the Celestron Firmware Manager, and it will “see” all of your connected devices. You can then apply any firmware updates needed. Very slick if you ask me!

The application feels a little strange, it opens up like a java window on a webpage. You may need to disconnect your devices and try the tool again until all of your Celestron accessories are identified.
In my experience, I had to run the tool twice to confirm that the firmware updates were applied to my Celestron CGX-L telescope mount.
Calibration/First-Time Setup
When you first start using your StarSense camera, you will need to calibrate it to the center of your telescope’s field of view. This only needs to be done once, and you should do it after your initial auto star-alignment routine.
The purpose of the calibration process is to accurately align the camera’s image center, with the center of the telescope’s field of view. Depending on the angle of your StarSense AutoAlign device in the bracket, it may already be very close.
- Press Stars > Named Stars > Enter
- Choose a bright named star from the list > Enter
- Locate the star in the field of view using a wide-field eyepiece or your imaging camera
- Use the arrow keys to roughly align the star in the center of the field and press Enter
- Now, switch to a high-power eyepiece (or use the crosshair aid in your imaging software) to perfectly center the star
Note:
The Celestron manual suggests that you use the UP and RIGHT arrows to make the final centering adjustments. This corrects any errors due to mechanical backlash in the mount.
This was a surprisingly easy process and only took me about 10 minutes in total. The longest part was removing my camera and focal reducer, and attaching the EdgeHD visual back and eyepiece.
Thankfully, the rough auto-align process gets you very close to the named star you choose, and its simply a matter of fine-tuning the direction your scope is pointing using the eyepiece.
Once the calibration was complete, I was astounded at how accurate the StarSense system was. The Celestron EdgeHD 11 telescope I am using has a focal length of 1960mm (with the 0.7X focal reducer), and the mount pointed directly at the M13 globular cluster the very first try.

My image of the Great Globular Cluster in Hercules.
What’s Included?
The most surprising inclusion in the Celestron StarSense AutoAlign box was the new hand controller. I did not expect this piece of equipment, although it makes sense considering that many amateur astronomers will be using the StarSence for visual observations without an external computer.
The StarSense hand controller replaces your standard Celestron NexStar unit. It retains all of the original GoTo functionality and control of your Celestron mount but with a few really cool new features. These include auto-align, multi-star calibration, and a graphical 4-line LCD.
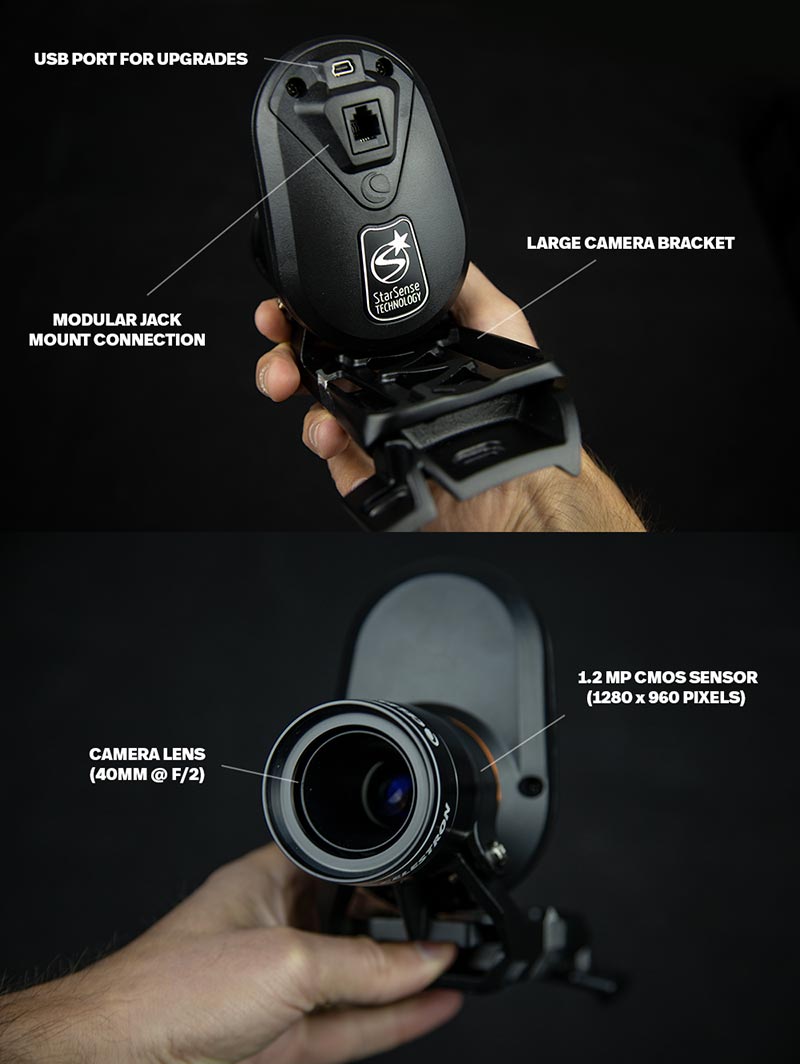
Here are all of the components found in the Celestron StarSense AutoAlign box:
- StarSense Camera
- Large Camera Bracket
- Large Camera Bracket Base
- Small Camera Bracket
- StarSense Hand Control
- Camera to Auxiliary Port Cable
- 4mm Allen Wrench
- 2 Thumbscrews for Large Camera Bracket
Telescope Mount Compatibility:
Celestron suggests that you set up the StarSense AutoAlign device using a wide-angle, low-power eyepiece, followed by a high power eyepiece to fine-tune things. Astrophotographers can also use their cameras to view the image through the telescope, and that’s the route I personally took.
The device works with most of the computerized telescope mounts in Celestron’s line-up. The StarSense can be mounted to all of Celestron’s Schmidt-Cassegrain Telescopes and Edge HD’s. Here is the complete list of StarSense compatible mounts:
- NexStar SE Series
- CPC, CPC DX
- NexStar GT (with Auxiliary splitter)
- CGE Pro
- Advanced VX Series
- CG-5 Computerized (with Auxiliary splitter)
- CGEM, CGEM DX
- CGE
- NexStar SLT
- LCM (with Auxiliary splitter)
You can even use the StarSense AutoAlign camera with Sky-Watcher mounts. If you own a telescope mount such as the Sky-Watcher EQ6-R Pro, you have the option of using the StarSense AutoAlign for Sky-Watcher Mounts.
Is the StarSense Worth Buying?
This topic has been discussed at length in the astrophotography forums for a few years now. It’s worth reading what the owners of this accessory have to say about it, but I’ll give you a quick recap.
Generally, the consensus is yes, this device is well worth the money. The only potential headaches you may experience are in the setup stages, particularly with the location settings and camera calibration process.
I had to run through the location settings twice before getting it right because it can be a little hard to navigate through the menus on the hand controller.
Others have mentioned that they find the 3-line LCD display to be difficult to read. I must admit, the text is rather small, but the StarSense hand control is actually one of my favorite aspects of the device.
Do you need one to achieve accurate pointing accuracy out of your mount? Of course not.
However, the StarSense will save you a lot of time in the long run, and I have already experienced this benefit myself.
I often have 2 astrophotography setups running in the backyard, and it’s nice to set the auto-align routine and move on the other tasks.
Final Thoughts
I realize that many of you will have a hard time justifying the purchase of a device that does one, rather simple task during the telescope setup process. After all, you could set up plate-solving software on your computer to create an accurate pointing model of your sky and precisely locate objects.
But what about visual astronomers using Celestron telescopes with long focal lengths? Is an effective tool that quickly, and automatically aligns the telescope with the night sky overhead of value? I think so.
Yes, I am an amateur astrophotographer, and by trait, I should be better at adapting and to the latest software options available. And I do, for the most part.
Yet, there is something I can appreciate about an ingenious device that automates this pivotal process and saves me hours of time in the long run.

Don’t underestimate the value of your time. Associate the appropriate value to the telescope accessories that give you just a little bit back.
Think about doing astronomy outreach at an event or at a star party. The StarSense could be auto-aligning the telescope while you chat with fellow observers and aspiring amateur astronomers instead of aligning the mount manually.
Even 3 years ago, I would have said: “I don’t need that, I’ll figure it out on my own”. I said the same thing about the QHY Polemaster.
Despite my early troubles with this device (which were sorted out by updating the firmware), this accessory has been a valuable addition to my astrophotography setup.
It saves me time and allows me to focus on other things while it’s running.
The Celestron StarSense AutoAlign is available at High Point Scientific