Best Milky Way Lens (2026 Guide): My Top Picks for Astrophotography
If you’ve already read my Milky Way Tutorial, you know the basics: dark skies help, solid technique matters, and your settings aren’t random guesses. But when it comes to making your Milky Way photos look crisp and clean, the camera lens you use can make or break the shot.
I’ve been capturing wide-angle Milky Way photos for over 10 years, everywhere from Bortle 1 dark skies to my Bortle 6 backyard. And while you can absolutely get a Milky Way photo with a “good enough” lens, the right Milky Way lens makes the whole experience easier: sharper stars, less corner smearing, cleaner files, and fewer headaches in post.
In this guide, I’ll show you exactly what to look for in a Milky Way lens, how to choose between a prime and a zoom, and I’ll share my personal top lens recommendations (including the three lenses I’d happily build a nightscape kit around).

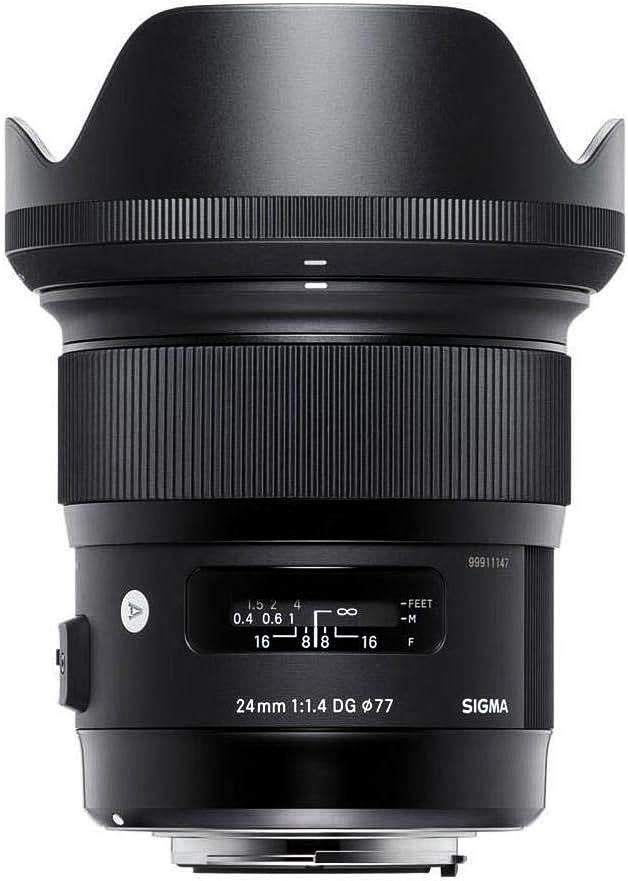
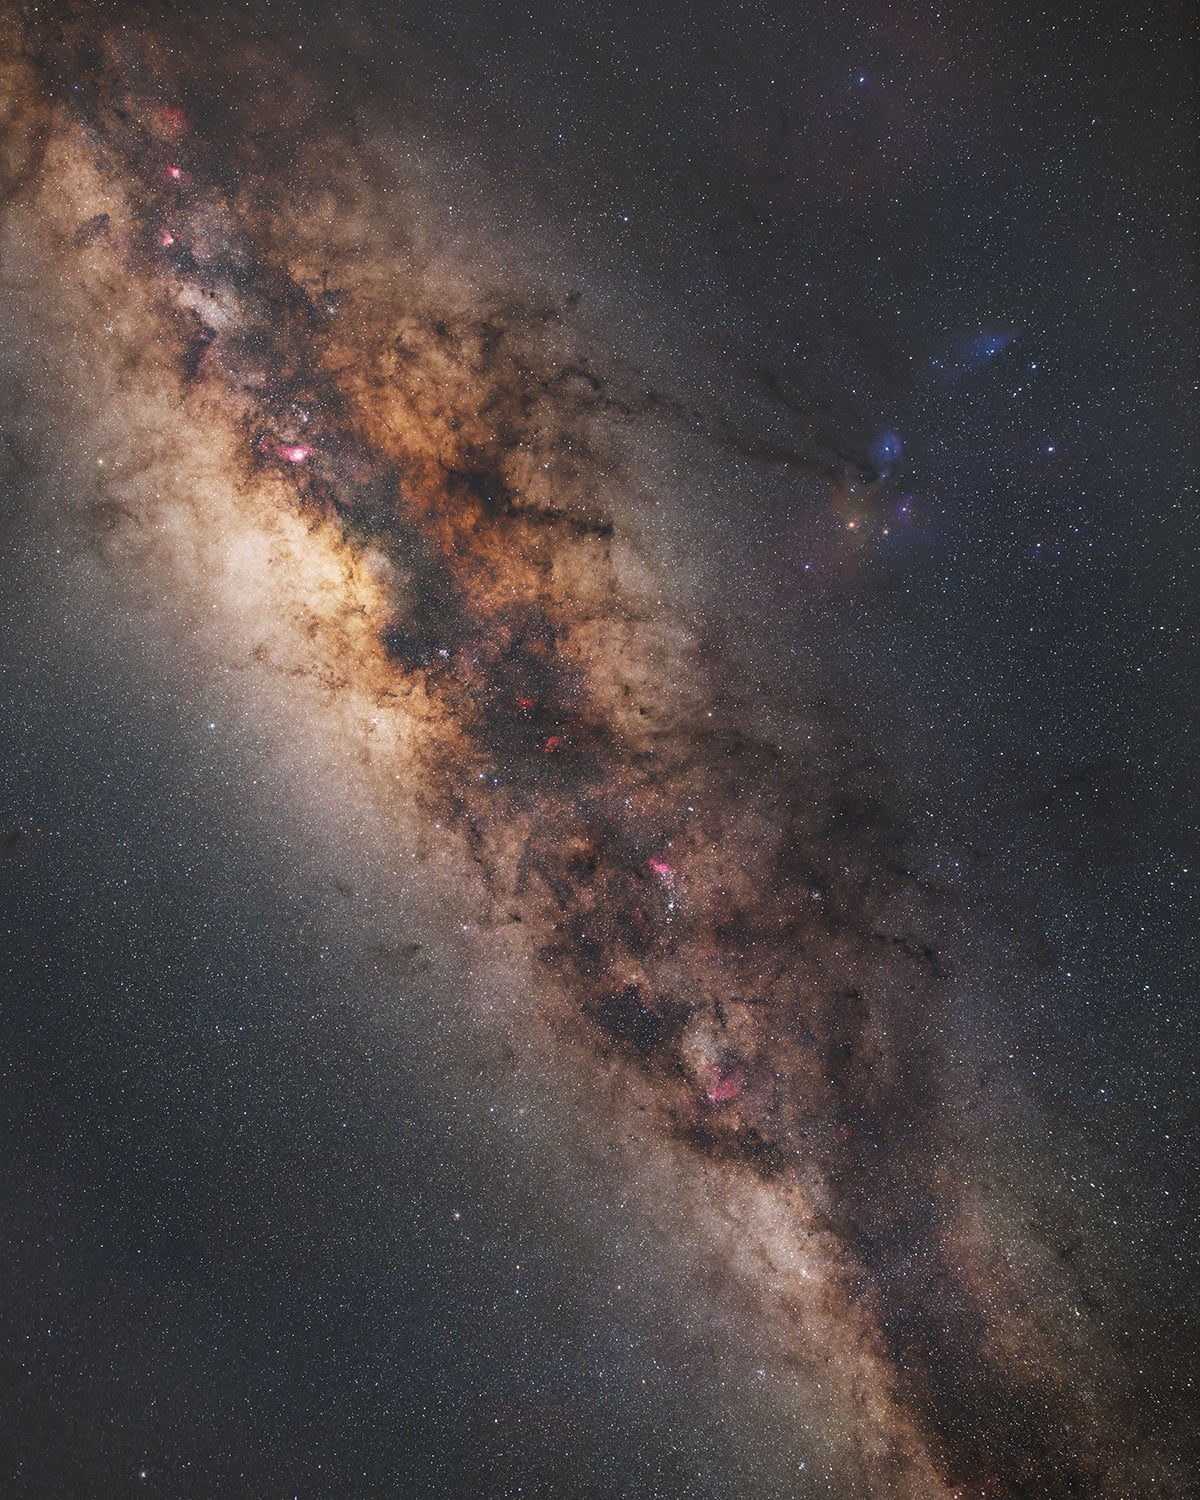
I captured this image of the Milky Way core using a Sigma 24mm F/1.4 lens and Canon EOS Ra (tracked and stacked).
My Top Milky Way Lens Picks
- Sigma 24mm f/1.4 – My favorite overall lens for Milky Way photography. Extremely sharp with a fast f/1.4 aperture that captures more light from the night sky.
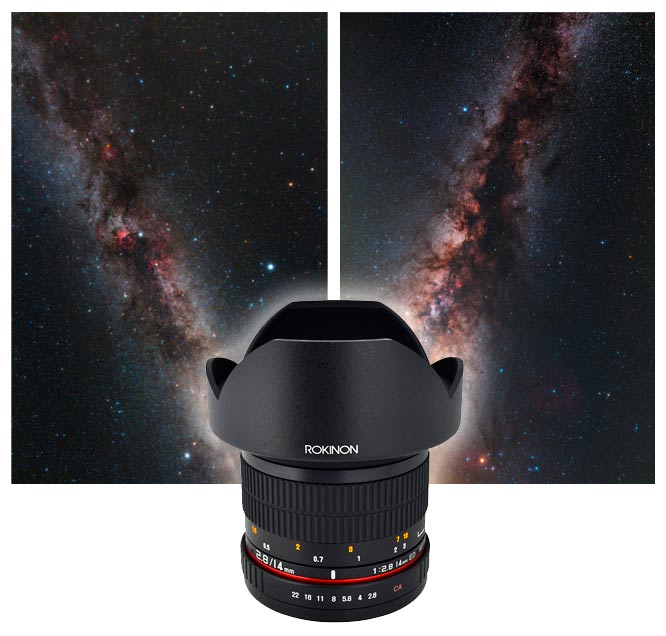
- Rokinon 14mm f/2.8 – A popular budget-friendly ultra-wide lens that captures a huge portion of the Milky Way sky.
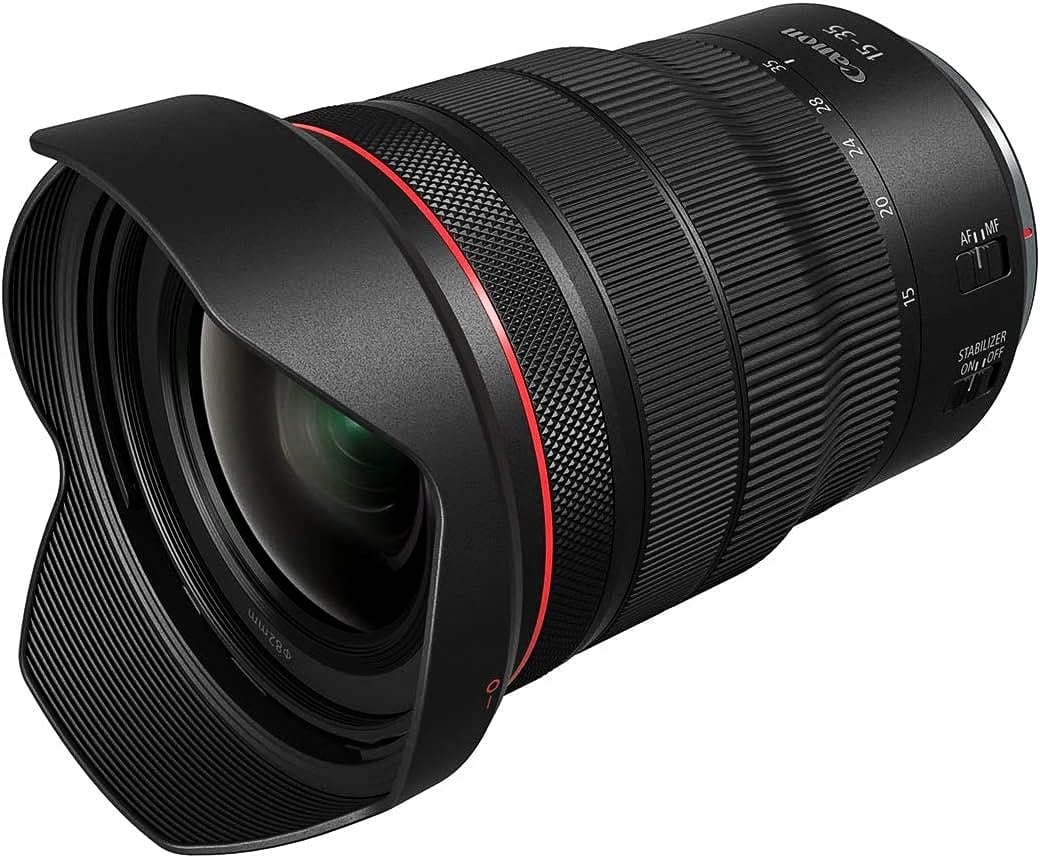
- Canon RF 15-35mm f/2.8 – A premium wide-angle zoom for Canon mirrorless cameras that offers excellent image quality and flexibility in composition.
What Makes a Great Milky Way Lens?
1) A Wide Focal Length
For classic Milky Way landscapes, most photographers land in a practical sweet spot: 14–24mm on full-frame. That range captures a large chunk of sky while keeping exposure times manageable. If you’re shooting APS-C, think roughly 10–16mm depending on your crop factor.
Wider than 14mm can look dramatic (and it can be awesome for big arches), but the ultra-ultra-wide look often makes the Milky Way core appear smaller in the frame. On the other end, 24–35mm can look incredible if you want the core to feel larger or you plan to shoot a panorama.
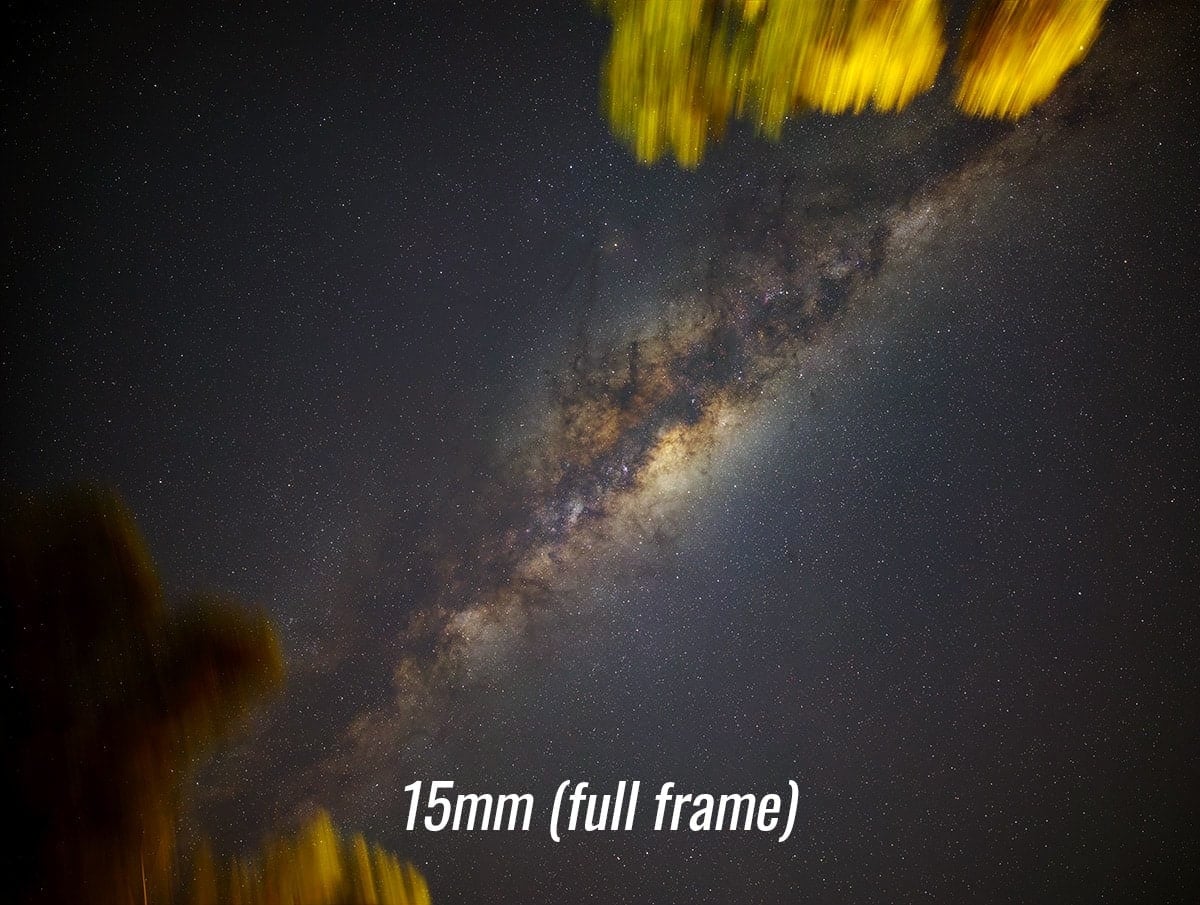
An example of how much of the Milky Way you can capture when using a full-frame camera with a 15mm focal length lens.
2) A Fast Aperture (f/1.4 to f/2.8)
A wider maximum aperture lets in more light. That usually means a lower ISO (cleaner image), a shorter shutter speed (less star trailing), or both. For Milky Way work, f/2.8 is a proven workhorse (especially on ultra-wide zooms), while primes at f/1.4–f/2 give you extra flexibility when conditions aren’t perfect.
Many Milky Way gear guides focus on this “wide and fast” principle because it’s such a reliable recipe for strong results.
3) Clean Corner Stars (low coma and astigmatism)
This is the big one that surprises newer Milky Way photographers: a lens can look sharp in the center, but turn corner stars into tiny “wings,” streaks, or seagull shapes. This is usually caused by optical aberrations like coma and astigmatism.
A great Milky Way lens needs to be fast, short, minimal distortion/vignetting, and not affected by coma. One of the most useful “lens reality checks” is that many lenses improve dramatically when you stop down slightly. A lens that looks messy in the corners at f/1.4 may clean up nicely at f/2.0–f/2.8.

While my Canon RF 15-35mm F/2.8 is the most versatile Milky Way lens I use, the stars in the corners are quite distorted when viewed up close.
4) Manageable Vignetting and Distortion
Most wide-angle lenses vignette at wide apertures. That’s normal. But heavy vignetting and strong distortion can create uneven sky brightness and force aggressive profile corrections in post. Those corrections can amplify noise (especially in brighter skies).
5) Prime vs. Zoom
Primes are often faster (f/1.4–f/2), can be sharper, and can have better star shapes when you get a good copy. Zooms are more flexible, easier to frame in the dark, and can do double-duty for daytime landscapes.
If you want a balanced perspective on why both belong in an astrophotography kit, this guide on the best lenses for Milky Way photography explains the zoom vs. prime decision in a very practical way.

All of the photography gear we brought on our trip to Australia in 2024.
My Top 3 Milky Way Lens Recommendations
These are the three lenses I personally recommend most often for wide-field Milky Way photography. They cover real-world needs: wide enough, fast enough, and capable of producing clean stars.
1) Sigma 24mm f/1.4 Art
If I could only bring one prime lens for Milky Way work, 24mm is an incredibly comfortable focal length. It’s wide enough for big sky scenes and foreground storytelling, but not so wide that the Milky Way core looks tiny.
- Great for single-frame Milky Way landscapes
- Excellent for panoramas (less extreme distortion than ultra-wides)
- Very flexible in brighter skies thanks to the f/1.4 aperture
If you’re picky about corner stars, try stopping down slightly (for example, f/1.8–f/2.2) and compare the corners at 100%. That small change can make a big difference.
2) Rokinon 14mm f/2.8
If you’ve been researching Milky Way lenses for any length of time, you’ve probably seen the Rokinon (also sold as Samyang in many regions). It’s popular for a reason: it’s ultra-wide, capable, and often punches above its price point.
- Very wide field of view (great for big Milky Way arches)
- Manual focus (totally normal for astro once you learn it)
- Strong value for beginners building a Milky Way kit
3) Canon RF 15–35mm f/2.8L
If you shoot Canon RF and want one lens that covers wide Milky Way landscapes, tighter 24–35mm compositions, and daytime landscape work, it’s hard to argue against the RF 15–35mm f/2.8L.
This is the lens I use to capture video footage for my YouTube channel. While it’s a bit pricey, it’s definitely the most versatile camera lens I own overall.
- 15mm for big sky scenes
- 24–35mm for tighter framing and pano-friendly compositions
- Excellent dual-purpose lens for travel and landscape shooting
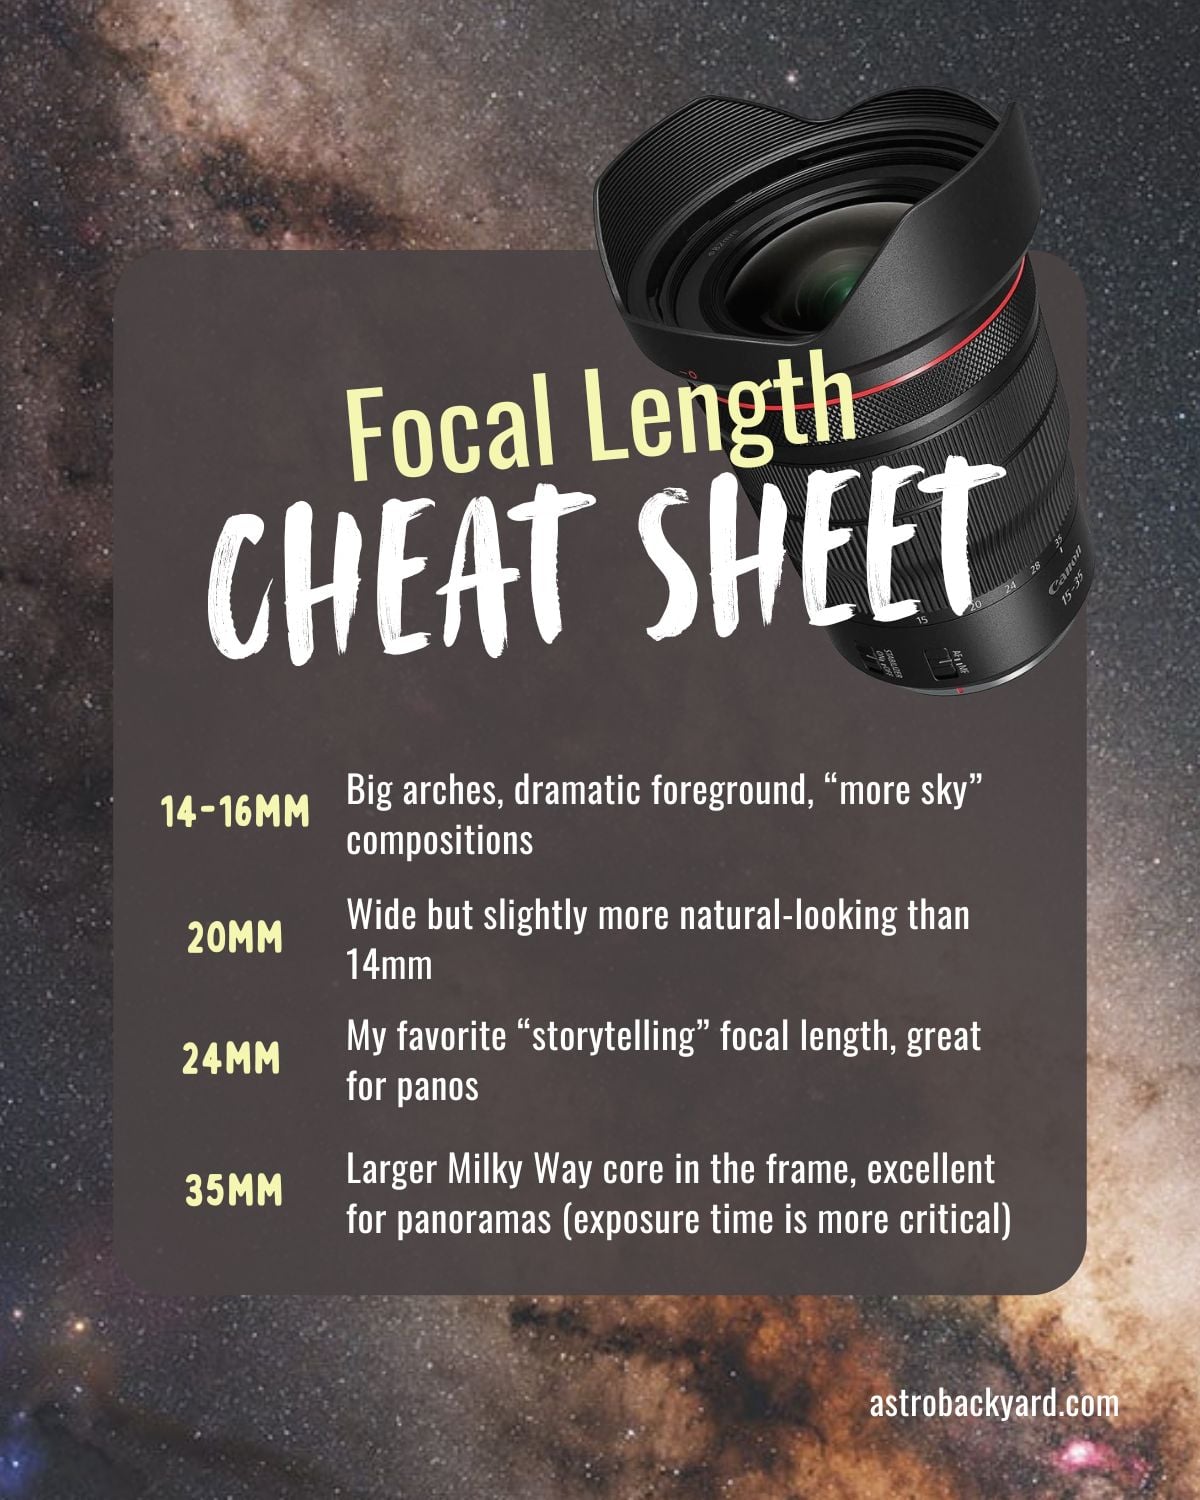
Focal length cheat sheet (full-frame)
- 14–16mm: big arches, dramatic foreground, “more sky” compositions
- 20mm: wide but slightly more natural-looking than 14mm
- 24mm: my favorite “storytelling” focal length, great for panos
- 35mm: larger Milky Way core in the frame, excellent for panoramas (exposure time becomes more critical)
The Cameras I Use for Milky Way Photography
Over the years, I’ve tested many cameras for astrophotography, but the two I rely on most for Milky Way photography are both full-frame Canon mirrorless models: the Canon EOS Ra and the Canon EOS R6.
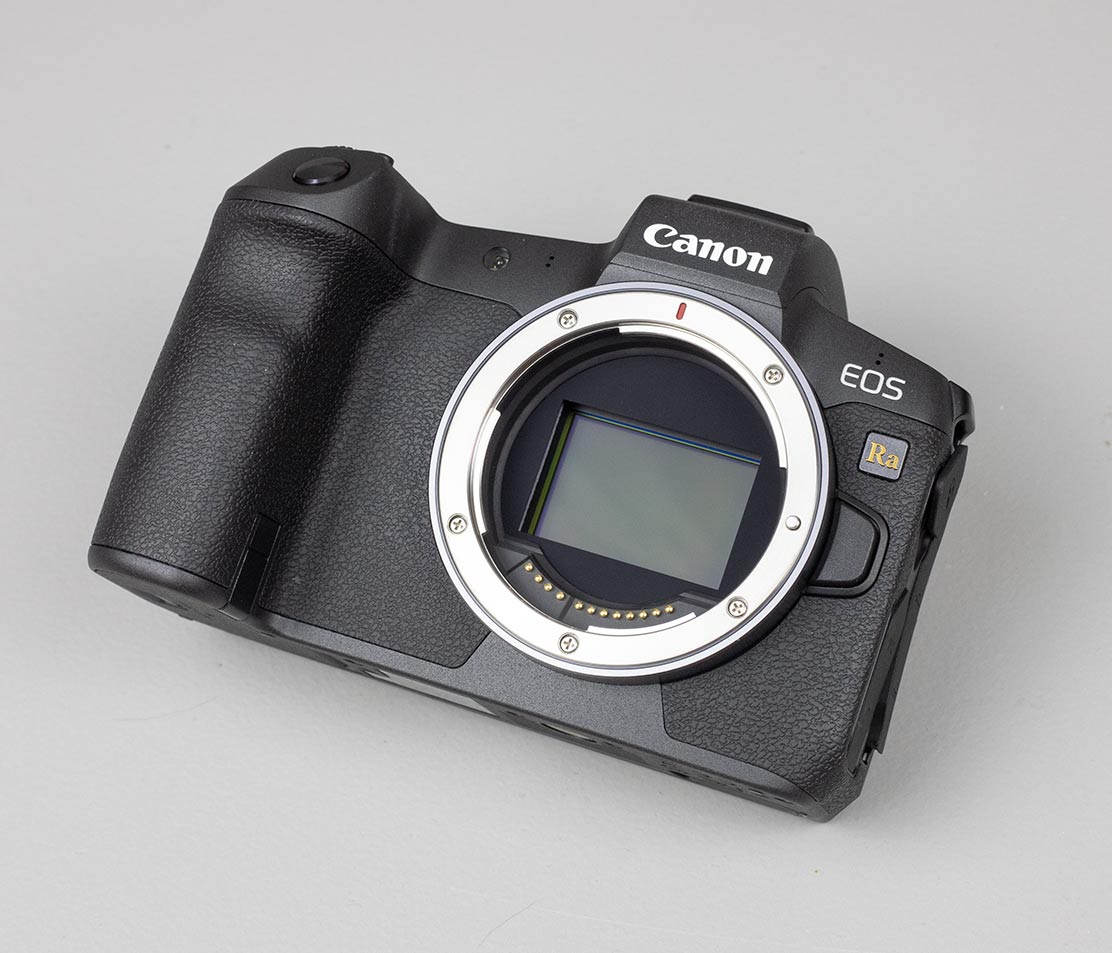
The Canon EOS Ra is my dedicated wide-angle astrophotography camera. It features a factory-modified sensor that is much more sensitive to hydrogen-alpha light, which allows it to record the deep red emission found in many nebulae throughout the Milky Way.
This modification makes it especially effective for capturing rich star fields and faint interstellar dust in wide-field Milky Way scenes.
I also regularly use the Canon EOS R6 for Milky Way photography. While it doesn’t have the astro-modified sensor of the Ra, it performs extremely well in low-light conditions thanks to its modern full-frame sensor and excellent high-ISO performance.
The R6 is also my primary video camera for filming my YouTube videos, so it often comes with me on nightscape trips and doubles as a capable Milky Way camera.
If you’re choosing a camera for Milky Way photography, a modern full-frame camera with good high-ISO performance will make a noticeable difference when shooting the night sky.

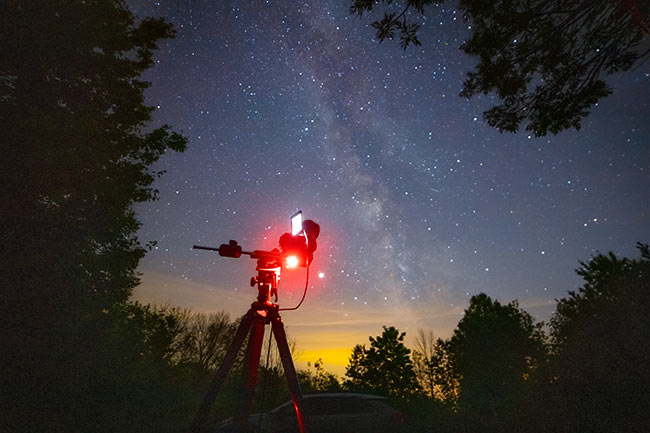
Using a Star Tracker for Milky Way Photography
A star tracker can open up even more possibilities when photographing the Milky Way. Instead of relying only on very fast lenses and short exposures, a tracker follows the motion of the night sky, allowing you to use longer exposure times without star trailing.
This means the exposure time can do much of the heavy lifting, gathering more light and revealing finer details in the Milky Way. With a tracked exposure, you may be able to shoot at lower ISO settings or stop your lens down slightly while still capturing a bright, detailed night sky.
Buying Tips that Save You Money (and Frustration)
Don’t chase “the best lens” on paper
The best Milky Way lens is the one that fits your shooting style. If you’re always hiking to a viewpoint, a lighter prime might get used more than a heavy zoom. If you love changing compositions quickly in the dark, a zoom might be the best “keeper rate” lens you can buy.
Test corner stars at the aperture you’ll actually use
Many lenses look very different wide open vs. stopped down. If you buy a fast prime, don’t assume f/1.4 is automatically the “best setting.” Sometimes the cleanest results come from stopping down slightly to tame coma/astigmatism.
Crop sensor Milky Way lenses
APS-C cameras can shoot beautiful Milky Way images. The main difference is that your field of view is narrower at the same focal length, which means star motion becomes noticeable sooner. That’s why wider lenses (around 10–16mm APS-C) are so popular for nightscapes.
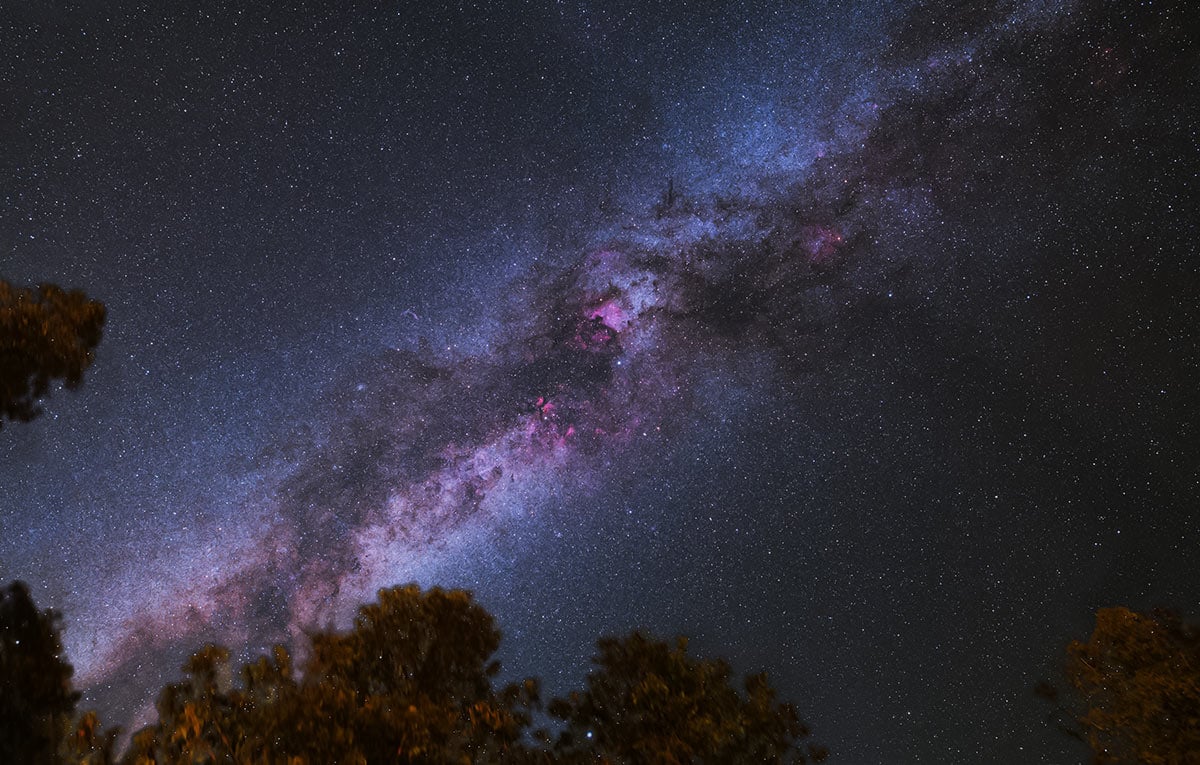
I captured the Cygnus region of the Milky Way from a dark sky site using the Sigma 24mm F/1.4.
Only Shoot From a Dark Sky Location
One of the most important factors in capturing a great Milky Way photo is your location. I don’t recommend trying to photograph the Milky Way from a heavily light-polluted area. Even my own backyard, which is around Bortle 6, is simply too bright for a satisfying wide-angle Milky Way image.
The main issue is sky glow. Under bright suburban skies, the faint structure of the Milky Way is washed out by artificial light, making it very difficult to recover meaningful contrast during processing. You can attempt to reduce the glow in post-processing, but with wide-angle Milky Way images, there’s usually just too much light pollution baked into the photo.
Instead, try to travel to a darker observing site whenever possible. A location rated Bortle 4 or darker will make a dramatic difference. Under these skies, the Milky Way’s dust lanes, star clouds, and core structure become far more visible in your raw images.
Not only will your photos look better straight out of the camera, but they will also be much easier to process, allowing the Milky Way’s natural detail to shine through.
Taking and Processing Milky Way Photos
Choosing the best Milky Way lens is an important step, but capturing a great image of the night sky also depends on proper technique and processing. Camera settings, accurate focusing in the dark, and noise reduction during editing all play a major role in the final result.
Once you have a fast, wide-angle lens, you’ll want to dial in the right exposure settings, find a dark-sky location, and carefully focus on the stars. After your images are captured, a bit of post-processing will help bring out the Milky Way’s dust lanes, star clouds, and natural color.
If you’d like a complete step-by-step walkthrough of the entire process, including camera settings, focusing techniques, and my editing workflow, see my full guide here: Milky Way Photography Tutorial
 Trevor Jones is an astrophotographer and a valued member of the RASC. His passion is inspiring others to start their astrophotography journey on YouTube so they can appreciate the night sky as much as he does. His images have been featured in astronomy books & online publications, including the NASA Astronomy Picture of the Day (APOD).