Selective Processing for More Detail
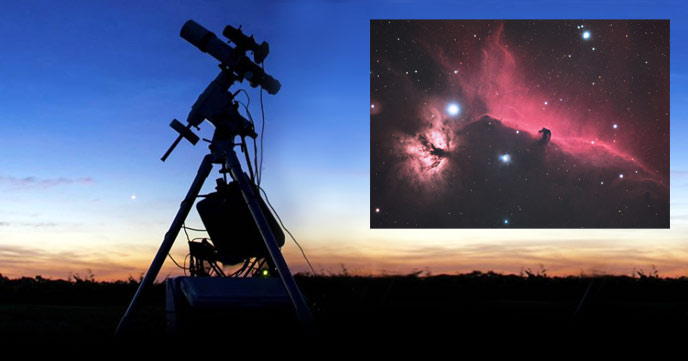
Staying Inside – Image Processing
The unseasonably cold weather and precipitation we have experienced here in Southern Ontario have given me the perfect opportunity to go through my old astrophotography images and reprocess the data. I have been advancing my image-processing skills by studying current astronomy images taken by the pros.
Being a creative professional myself, I have always understood and appreciated the power of inspiration. I am always interested in new image-processing techniques, Photoshop tutorials and new software that can enhance my work. Through selective processing, I have been able to squeeze out the most amount of detail from my astro images.

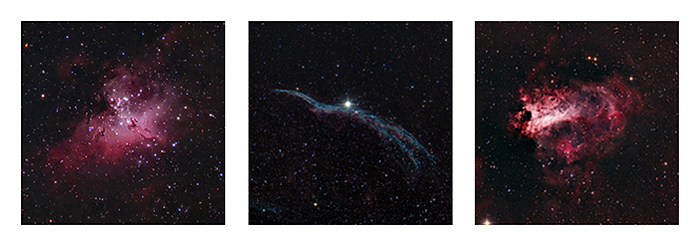
My latest take on The Swan Nebula is my favorite version yet. Through selective processing, I was able to tame the background stars, while intensifying the gorgeous pinks and reds in the nebula itself.
I also recently reprocessed my wide-field image of the Western Veil Nebula, with a focus on reducing star size, and overall image contrast and color. The “witch’s broom nebula” is a tough process, especially if you have to deal with a severe gradient behind all of those stars. After assessing the gradient in Photoshop, (mostly due to heavy light-pollution) I can easily even out the sky background using the Gradient Xterminator plugin.
I am quite pleased at my latest results of the Eagle Nebula as well. I went through my astrophotography folders from the past 4 years (like I said, it’s been cloudy!) and found a set of almost 2 hours of frames on M16 that I had not previously used!
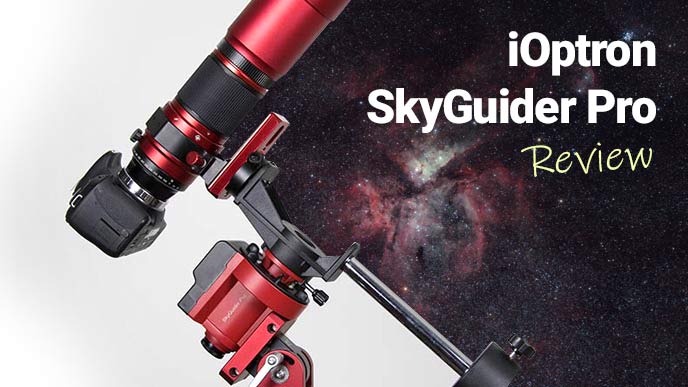
I combined all of the data together from May 2012, and May 2013 in DeepSkyStacker to create an image with over 3 hours of exposure time. I decided to keep the extremely wide-field view captured by my 80mm telescope, rather than cropping the photo around the nebula.
This image really benefited from the selective processing technique. By reducing the stars on a separate layer, I was able to keep all of the detail found in the nebula.
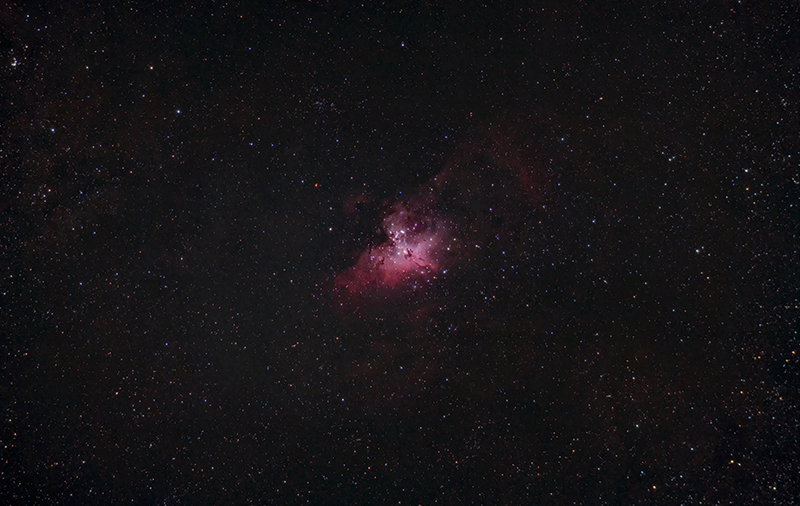
Image Processing Techniques
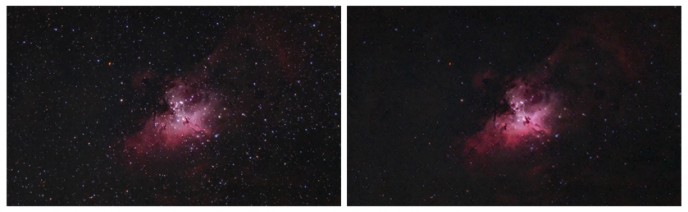
One of the processing techniques I have been implementing into my photos is to process different elements of the image separately. By this, I mean to process the background, the stars and the nebulosity on their own.
I am able to do this by selecting each element of the image and stretching the data without affecting the other areas. For example, I can boost the vibrance and saturation of the nebula or galaxy without adding additional noise to the background of space and stars.
As I have stated many times, I prefer to tame the stars in the image to be as small as possible. Normally, I would run the “make stars smaller” action to the entire image in Photoshop.
This actually starts to diminish the precious detail in your deep-sky object that you worked so hard to capture! Many other actions that are intended to correct issues with the background space and stars can take away from your subject as well.
You can also manually Remove the Stars Completely from your image using photoshop.

Selective Processing
There are several ways to accomplish the selective processing technique to your astronomy photos. You can create multiple adjustment layers of your image in Photoshop, and apply the various actions to each element of the image on a separate layer.
I use the Select and Mask tool to refine my selections before applying effects. This ensures that each new adjustment layer is blended naturally into the final image.
Once you have applied your desired settings applied to each layer, you can use layer masks to combine all aspects of the photograph into one. This means you will likely have layers for:
-
The Background Space – With a balanced black-point set
-
The Background Stars – Small, sharp and with lots of accurate colour
-
The Brighter Stars – Soft, or with Diffraction Spikes and Color
-
The Deep-Sky Object – Full of luminance, color and detail
-
The Core or Brightest Area of the DSO – reduced to show detail, not blown out
You can also process the selected elements of your images as separate documents. Sometime I prefer to do this to really focus on achieving the best possible result for my focus area, without the temptation to poke around at another feature.
Once you have processed each version of the image with your focus area maximized, you can then combine the images using layer masks. The blending and layer masking is definitely the most delicate stage of the process. You can really make a mess of an image by failing to inspect all areas of your image before flattening.
I find it helpful to use a reference image of your deep-sky target. This is the best way to make sure you have not overstretched your image data, and that your colors and details are an accurate portrayal of that particular deep sky wonder. I often look for inspiration on APOD!
To stay connected with me and my latest astrophotography images, please follow my Facebook Page. I hope you are all excited about the wonderful deep-sky targets that will be gracing our night sky the coming months, I sure am!
Resources:
Astrophotography for Beginners – The Basics
this was super helpful thank u!
You’re welcome Alex!