Screen Calibration
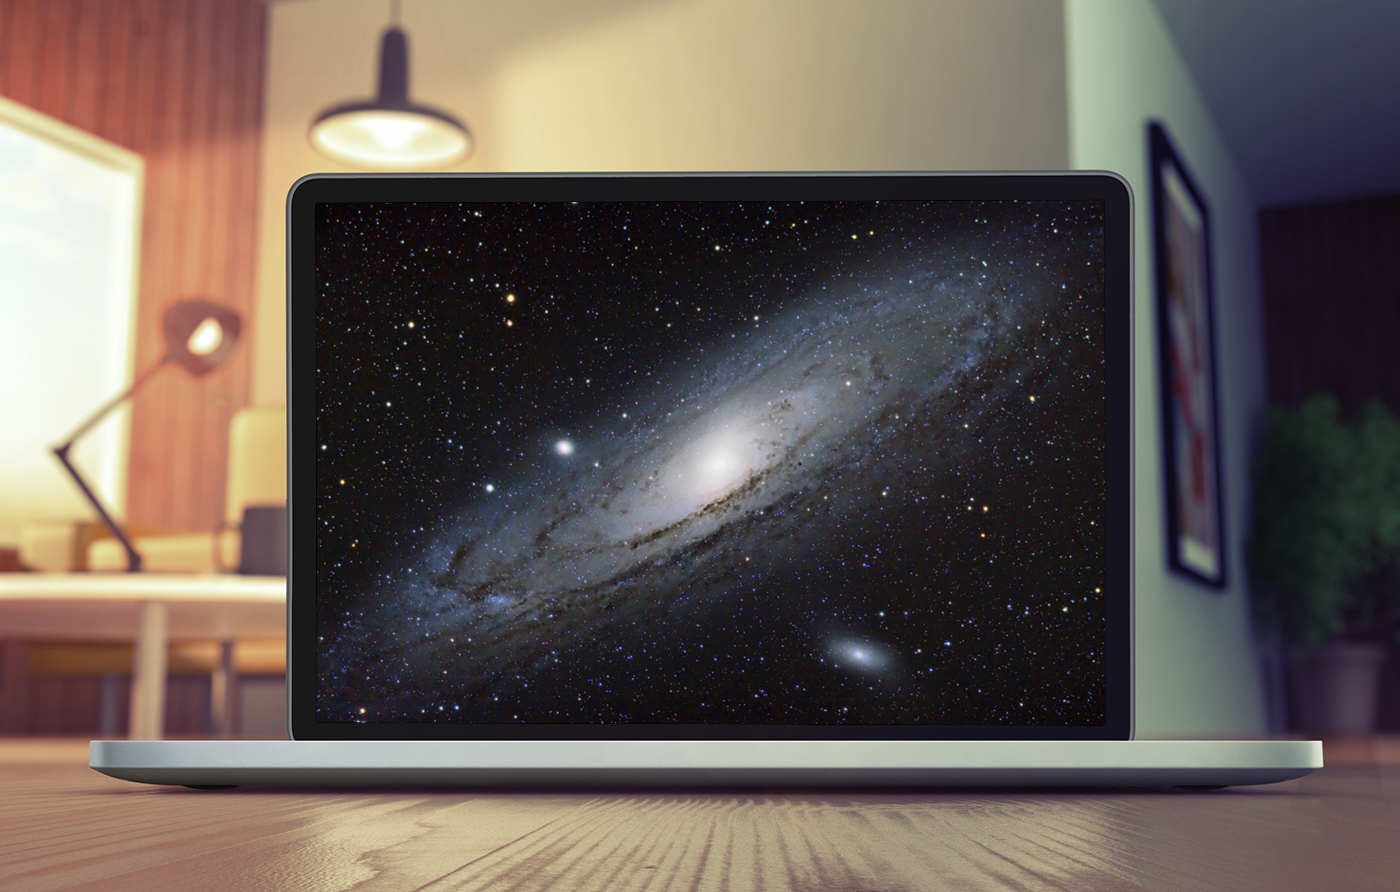
When I purchased a new laptop computer back in 2016 for image processing and video editing and was quickly reminded of the importance of having a well-calibrated computer monitor.
The brightness of my new laptop screen was intense. It appears to be about 25% brighter than my well-calibrated 23 Inch external IPS monitor.
When it comes to editing and viewing astrophotography images, the screen you’re using can really change the appearance of your results. If it’s too dim, you may not see all of the hidden imperfections in your data.
This results in astrophotography images that are less than pleasing to the eye. I’ve had to re-process many of my own photos in the photo gallery after discovered that they did not look the way I intended them to on different screens.
Screen Calibration for Astrophotography
If you have been processing your astrophotography images on a dim monitor, you may be in for an unpleasant surprise when you see them on a bright screen for the first time.
This can be a bit of an unsettling moment, especially if you’ve never been through this exercise before.
When you upload your image to the web, you have to accept the fact that people from all over the world may view your work on monitors and screens that display images MUCH different than yours.
Having a monitor that is too bright will show all of the impurities in your background sky.
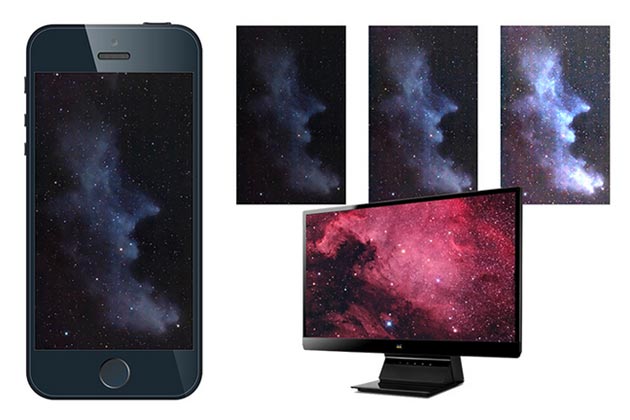
One of the most extreme examples of the “bright screen effect” is to view your image on a mobile phone with the brightness tuned all the way up. Most people do not leave their mobile screens at this intense level at all times, but its interesting to see a potential worst-case scenario.
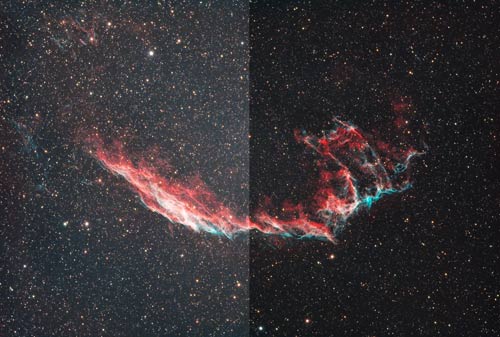
A common tactic beginners use (myself included), is to decrease the brightness or contrast of the image to “hide” the imperfections present in the background sky.
Noise, color blotches, and a generally poor signal-to-noise ratio turn to black. Unfortunately, this method degrades image quality and you lose an incredible amount of detail in your image. Don’t hide your sky!
It is wise to make sure your computer screen is giving you an accurate rendition of the image you worked so hard to capture. There are many ways to calibrate your computer monitor settings, including online tools and dedicated devices that can match specific color profiles.
The device below (Spyder5 Colorimeter), helps you share and print your images with the look you intended.
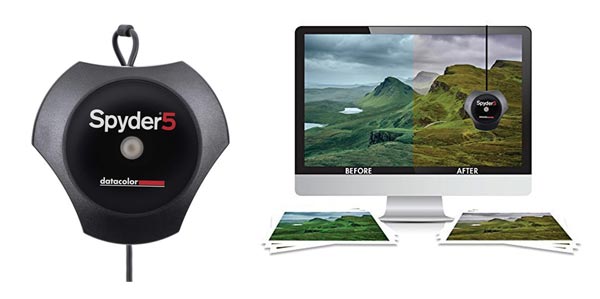
The Dataclor Spyder5Pro color accuracy device
A colorimeter will usually have a room light sensor that measures the lighting conditions of your room. If there has been a change in lighting in the room, it alerts you to modify your calibration settings for optimal color accuracy.
This creates a unique color profile for each of your monitors, and it can help you get a better match between your photos on screen and in print.
Why should you calibrate your monitor?
By spending a little time adjusting the calibration settings of your monitor, you can help ensure that the colors and brightness of your astrophotos are represented accurately.
I’ve never used a Colorimeter myself, but I have spent a lot of time adjusting settings manually to find the right balance. When I decide to start printing my photos, I think the Colorimeter is a good idea.
In terms of photography, screen calibration can have a dramatic effect on your online experience whether you are processing astrophotography images or not. You can ensure that you are seeing the images displayed on screen as they were intended to be viewed.
This is especially important for creative professionals such as Graphic Designers, Photographers and Video Production teams.
The idea is to have your monitor conforming to a preset color benchmark such as the sRGB or Adobe RGB color space.
How do your astrophotography images appear on other screens?
How to Manually Calibrate your Screen for Astrophotography
The first step towards adjusting your computer monitor display settings is by using the interface on the unit itself. Some models have more in-built control options than others.
If you use an external monitor like me, it will have a set of controls, usually at the front and under the screen.
My ViewSonic LED monitor has the typical bare-bones contrast, brightness, and color mode. You’ll want to make sure that you do not have any ambient lighting in the room affecting your views, so close the blinds and turn off the light.
Do not calibrate your monitor in a bright, sunlit room, or with reflections appearing on-screen.
For accurate results, face your screen head-on, with your eye lined up with the top of the screen.
Calibration Tools and Adjustments
It is necessary to have some reference material on-screen that will let you know if you’ve pushed your settings too far one way or the other. See the grayscale chart from APCmag below:
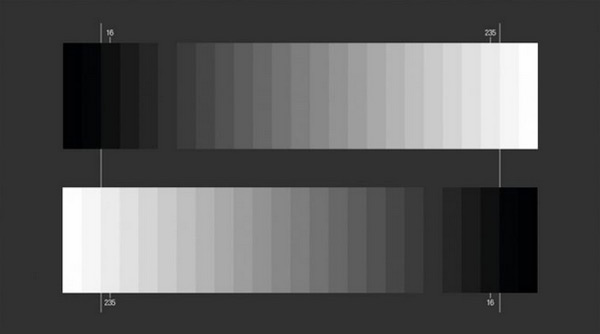
You should be able to distinguish between each shade of white/black
Using the Color Calibration Feature in Windows 10
If you are using Windows 10, they have a nifty color calibration walk-through that is great for making adjustments called Display Color Calibration.
It will take you through a number of tests to see just how far off your display is. They call it “color” calibration, but it’s really an overall screen calibration test.
You can get to it by following this command path: Start Menu > Settings > System > Display > Advanced Display Settings > Color Calibration. The following calibration images are used in the Windows color calibration test.
Have you Checked Your Gamma Today?
“Gamma defines the mathematical relationship between the red, green, and blue color values that are sent to the display and the amount of light that’s ultimately emitted from it.”
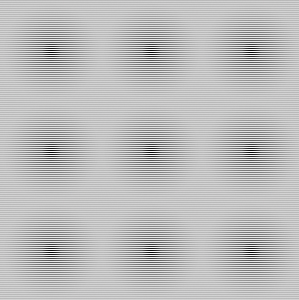
In the image above, you should not see any overly obvious “dots” within the circles.
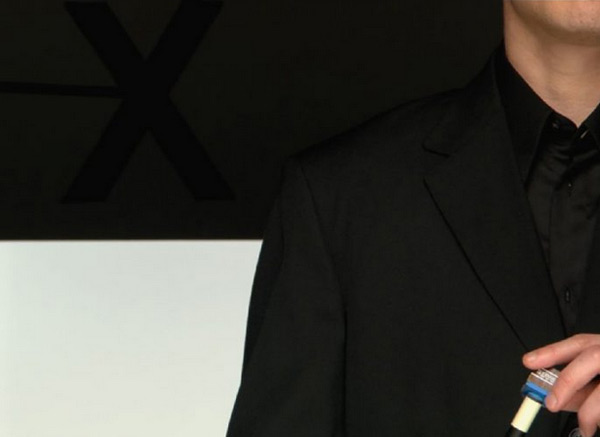
The Brightness Effect
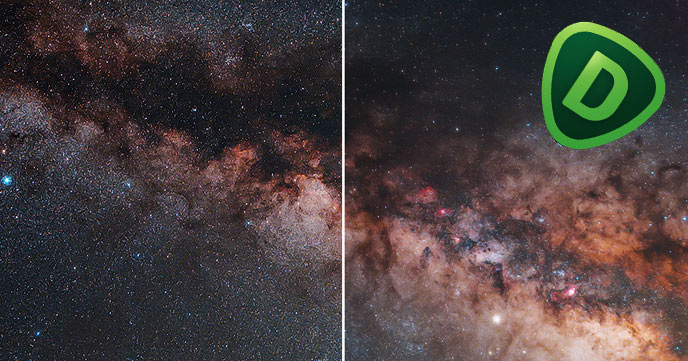
As I stated earlier, having a display that is too bright can absolutely wreak havoc on an astrophoto that has been stretched too far. I know about this phenomenon all too well, as I like to stretch my data to its full potential (and sometimes go too far).
The tell-tale signs of an astronomical image that has been stretched too far, or with serious gradient and vignetting issues – is a muddy, green/brown background sky.
The sky may appear to have a nice neutral dark grey or black on your dim monitor, but on your nephews brand new ultra-backlit iPhone, it’s a multicolored mess.
Even images on APOD can appear to diminish in quality under the scrutiny of an overly bright display.
Here’s an image you can use as a guide. You should be able to distinguish between the mans shirt and the background. The black “X” in the background should be barely visible.
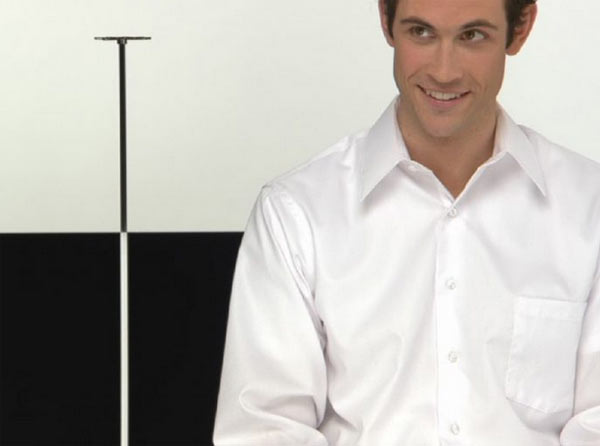
Contrast – Don’t Overdo it
Using the image below, adjust the contrast settings of your monitor so that the background appears black and not grey. If you have lost details in the white shirt the man is wearing, such as the buttons and creases, you have pushed the contrast too far.
My Best Advice
My advice is to process the image on image on a screen that has been calibrated as best as possible. If you have access to an overly bright, unforgiving display – maybe have a look at your image on that as well.
It can be useful to see an exaggerated version of your subject and fix any issues that really jump out at you.
It may be helpful to view your processed image on several different screens (including your phone) to get a feel for the middle ground. I usually preview my images on at least 3 monitors before posting online.
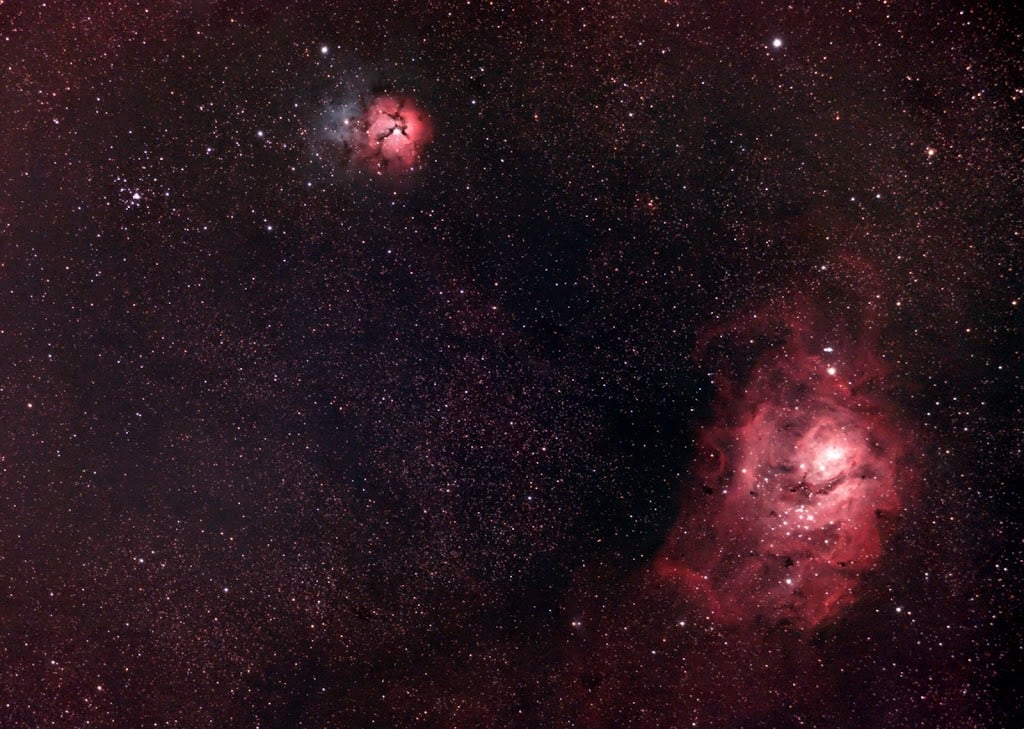
Take a look a few example astronomy photos taken by professionals on Astronomy Picture of the Day. Use the color, levels and background sky you see in their photos as a guideline. Chances are, the photos you see here will look great, no matter which display screen you view them on.

This is because they have taken the precautions needed to ensure that their images are an accurate representation of scientific data, including screen calibration. Many of these astrophotographers have dedicated calibration tools to help them keep their displays accurate.
I have had many issues with uneven sky backgrounds in the past, primarily due to the lack of using flat frames.
The dim monitors hide this messy background making the sky to appear a nice dark grey or black. There is value in viewing your images on a variety on screens to learn how to better process your images.
I hope that this write-up has opened your eyes to the importance of screen calibration when processing astrophotography images.
As for getting your night sky photos printed? I’ll save that for another post.
Watch my Astrophotography Image Processing Tutorial (Photoshop)
Wow, you’ve totally opened my eyes up to the importance of screen calibration. I’m using a Macbook Pro Retina display, which is awesomely bright. I should totally use a variety of displays when finalising my images though.
I don’t know why I never thought of this, I come from a music technology background where it’s really important to listen to your final mix on a variety of speakers and headphones before publishing. It’s exactly the same principle!
Thanks Jamie, I am glad you found this useful!
Thank you Trevor.
I didn’t know about this handy app. I was looking to calibrate my laptop to display CCD and DSLR pictures properly. But couldn’t find out a way to do it.
I have now calibrated my ACER TravelMate.
Glad to hear it Paul! Cheers
I took my first astrophoto at Cherry Springs the other night — on my iPhone 11 using the 4$ Slow Shutter Cam app by leaning it against a table on the ground. First try without looking I hit Sagittarius bullseye in the center of the frame, along with Saturn and a bit of Scorpius. Result after editing was pedestrian but impressed my friend — brought The Way out a bit. Anyway, the guide above translates well to any screen. I hope to apply your advice in earnest some day.